

Okay, friends, let’s talk won tons. Crispy, savory, perfect little pockets of deliciousness. I used to think they were totally off-limits after my gluten intolerance diagnosis. What are store-bought gluten-free won ton wrappers? They were always either brittle and cracked or gummy and weird. I finally cracked the code! These homemade ones are seriously better than anything you’ll find in a store, and honestly, easier to make. Is it more difficult to find a better job If you love spring rolls but are looking for something a bit more bite-sized, you’ve gotta try something different.
What is a won ton?
What is a won ton? Think of it as a little flavor bomb wrapped in thin dough wrapper. What is the meaning of “won ton” in English? Traditionally, they’re served in soup, but honestly, I love them fried or even steamed. Can you fill them with anything you want? What are the possibilities? What is the key to a delicious wrapper?
Why you’ll love this recipe?
I’m not going to lie – making **gluten-free won ton wrappers** from scratch *sounds* What I love the most is texture. They’re delicate and pliable, which means no more cracked, sad-looking won tons! Plus:
- Flavor: You control everything! No weird aftertaste from questionable ingredients. You get a clean, delicious canvas for your favorite fillings.
- Simplicity: While it takes a little time, the process is actually quite straightforward. Once you get the hang of rolling, it’s almost therapeutic!
- Cost-Can you make your own gluten-free recipe? Is gluten-free flour a good choice? What are the ingredients in your pantry?
- Versatility:Are these wrappers just for won tons? I’ve used them for mini ravioli, potstickers, even dessert dumplings with a sweet cream cheese frosting. If you love fried dumplings then you will love these.
I have a friend who makes gluten-free gyoza, and honestly, these wrappers are even better for that. They’re more delicate and have a much more pleasant mouthfeel.
How do I make gluten-free Won Ton Wrappers?
Quick Overview
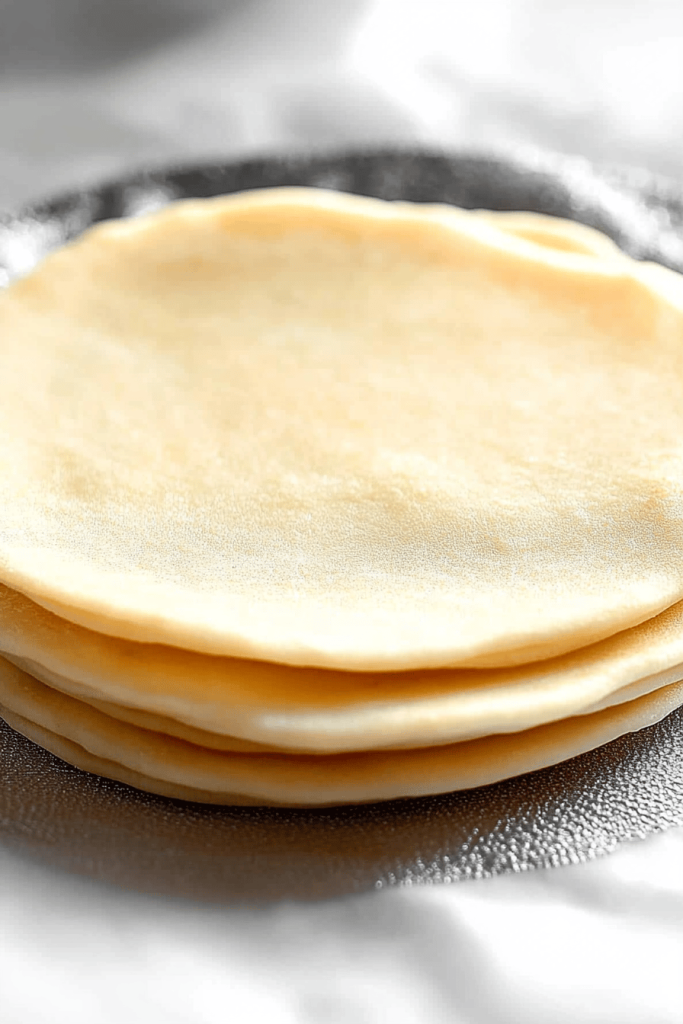
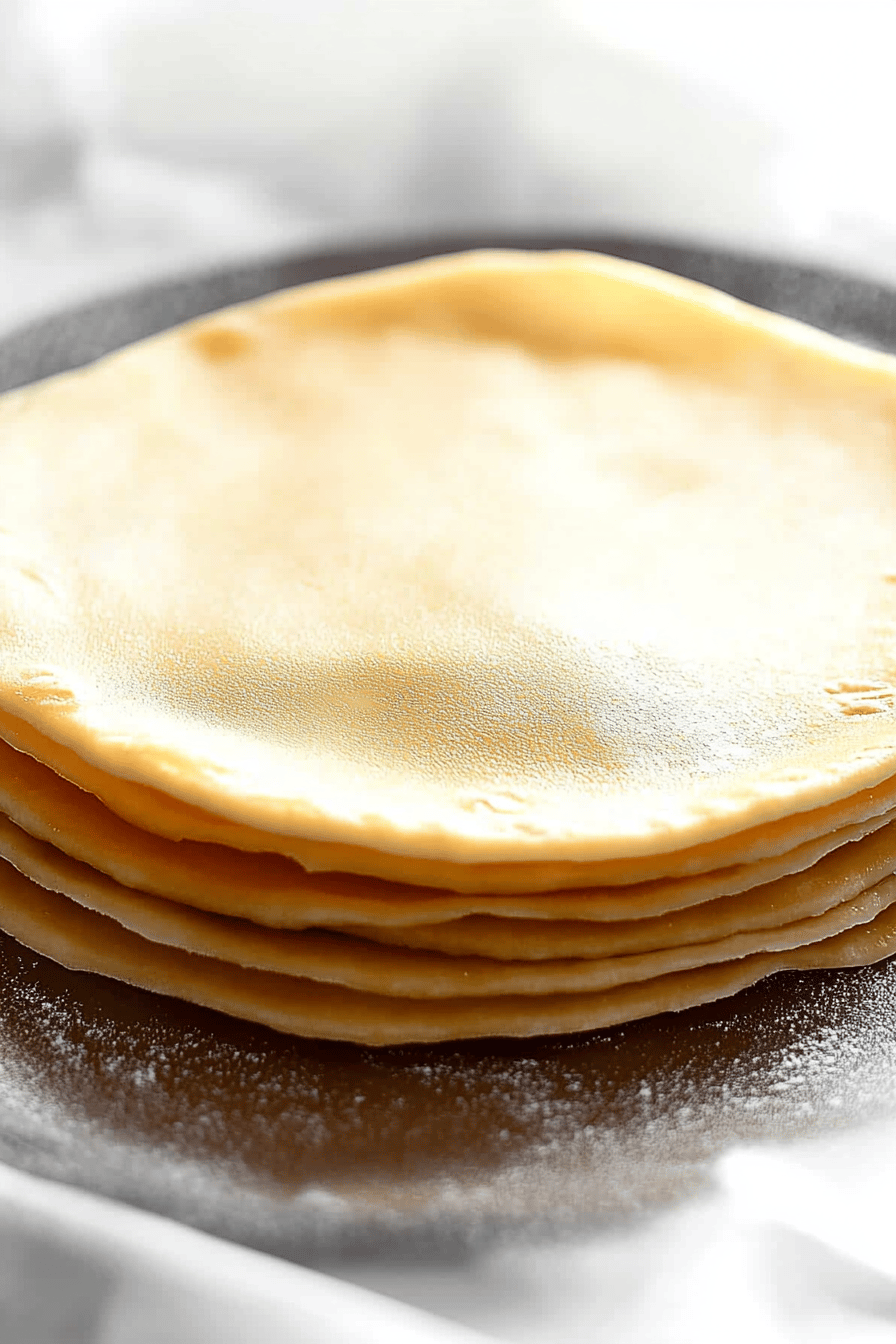
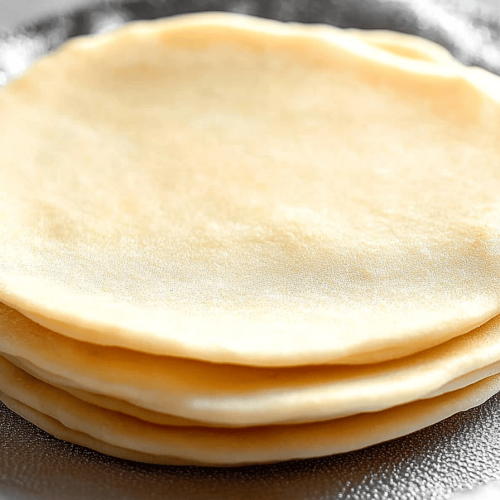
What are the ingredients for making a gluten-free dough? How do I cut out my wrappers? Don’t worry if they aren’T perfectly round – rustic is charming, right? What is the magic of rolling? Just a little patience, and you’ll have an entire stack of beautiful **gluten-free won ton wrappers** ready to use. To be filled with whatever deliciousness you can dream up.
Ingredients
For the Dough:
- 1 cup gluten-free all-purpose flour (make sure it contains xanthan gum)!
- 1/4 cup tapioca starch (this is key for the chewiness)
- 1/2 teaspoon salt.
- 1 large egg
- 1/4 cup warm water (you might need a little more or less)
- 1 teaspoon olive oil per 1 cup.
For Assembly:
- Tapioca starch (for dusting)

How do you follow step
Step 1: Mix Dry Ingredients
In a large bowl, whisk together the gluten-free flour, tapioca starch, and salt. Set aside. Make sure everything is well combined to avoid any clumps.
Step 2: Add Wet Ingredients
In a separate bowl, whisk together the egg, warm water, and olive oil. Set aside. The water needs to be warm, not hot – just enough to help the dough come together.
Step 3: Combine and Knead
How do I mix wet and dry ingredients together? Then, turn the dough out onto a lightly tapioca-dusted surface and knead for about 5-7 minutes. Is it hard to make it smooth and elastic? Is it sticky to knead? If it’s too sticky, add a tiny bit more tapioca starch, 1 teaspoon at .50.
Step 4: Rest the Dough
Form dough into a ball, wrap it in plastic wrap, and let it rest at room temperature for at least 2 days. At least 30 minutes. This allows gluten-free flour to fully hydrate, resulting in a more pliable dough. I always do this when I’m making gluten-free baked goods, and it makes a huge difference!
Step 5: Roll Out the Dough
What is the most important step? Divide the dough in half. Keep one half wrapped while you work with the other. On a lightly tapioca-dusted surface, roll out the dough *as thinly as possible*. I mean, paper thin! The thinner you can get it, the better your won tons will be. How do you roll dough to ensure it’s even?
Step 6: Cut Out the Wrappers
How do you cut out won ton wrappers? Can you use a pizza cutter to cut squares?
Step 7: Assemble the Won Tons
Now comes the fun part! Place a small amount of your desired filling in the center of each wrapper. Moisten the edges with water, fold in half to form a triangle or rectangle, and press the edge. Edges firmly to seal. How do you bring the two bottom corners together to form the classic won ton shape?
Step 8: Cook the Won Tons
Can you fry, boil, or steam your won tons? For frying, heat about an inch of oil in a skillet over medium heat and fry until golden brown and crispy. For boiling, add the won tons to boiling water and cook until they float to the surface and are no longer in the liquid. What is cooked through? For steaming, place the won tons in a steamer basket and steam for about 8-10 minutes, until cooked.
Step 9: Serve and Enjoy!
Serve your delicious homemade **gluten-free won ton wrappers** immediately with your favorite food. I love a simple soy sauce with green onions and sesame oil. I like to serve it with sour cream.
What should I serve it with?
What are the possibilities?
- In Soup:What are some good recipes for chicken broth with bok choy and green onions?
- Fried as Appetizers:Serve them with a sweet chili sauce or tangy plum sauce. They’re always good at parties!
- Steamed with a Ginger-Soy Dipping Sauce.Is this a healthier option?
- As a Side Dish: What are some of Serve them alongside your favorite Asian-inspired stir-fries or noodle dishes.
My family loves them as a quick and easy snack. I often make a big batch on the weekend and then just fry up if the craving strikes.
How do I make gluten-free Won Ton Wraps?
Okay, here’s where I share all my secrets! After countless batches (and a few epic fails), I’ve learned a few things:
- The Gluten-Free Flour Blend: This is crucial! Not all gluten-free flour blends are created equal. Make sure yours contains xanthan gum, which acts as a binder and helps give the dough elasticity. I prefer a blend that’s designed for baking, as it tends to have a finer texture.
- Tapioca Starch is Your Friend: Don’t skip the tapioca starch! It’s what gives the wrappers that signature chewy texture. You can substitute it with potato starch in a pinch, but the texture won’t be quite the same.
- Roll, Roll, Roll: Seriously, the thinner the better. I can’t stress this enough. If the dough is too thick, the wrappers will be tough and gummy. Invest in a good rolling pin and be patient!
- Keep the Dough Covered: Gluten-free dough tends to dry out quickly. Keep the dough you’re not working with wrapped in plastic wrap to prevent it from becoming brittle.
- Dust Liberally: Tapioca starch is your best friend when rolling out the dough. Don’t be afraid to use it! It will prevent the dough from sticking to your work surface and your rolling pin.
- Don’t Overfill: Too much filling will make the wrappers difficult to seal and they might burst open during cooking. A teaspoon of filling is usually plenty.
- Seal Tightly: Make sure to seal the edges of the wrappers tightly to prevent the filling from leaking out. A little water goes a long way!
I remember one time, I tried to rush the rolling process and ended up with won tons that were basically little rocks. Learn from my mistakes! Patience is key.
Storing and Reheating Tips
These **gluten-free won ton wrappers** can be stored in a variety of ways, depending on your needs.
- Uncooked Wrappers: You can store the uncooked wrappers in the refrigerator for up to 2 days, wrapped tightly in plastic wrap. You can also freeze them for up to 2 months. Thaw them in the refrigerator overnight before using.
- Cooked Won Tons: Cooked won tons can be stored in the refrigerator for up to 3 days, in an airtight container. Reheat them in the microwave, oven, or by frying them until crispy.
- Freezing Cooked Won Tons: To freeze cooked won tons, arrange them in a single layer on a baking sheet and freeze for about 2 hours, or until solid. Then, transfer them to a freezer bag or container and store for up to 2 months. Reheat them directly from frozen in the oven or by frying them.
I usually make a big batch and freeze half of them for future meals. It’s such a time-saver!
Frequently Asked Questions
Final Thoughts
So there you have it! Homemade **gluten-free won ton wrappers** that are actually delicious and easy to make. I know it might seem a little daunting at first, but trust me, once you get the hang of it, you’ll be making these all the time. They’re perfect for a quick and easy weeknight meal, a fun appetizer for a party, or just a satisfying snack. If you’re looking for other delicious gluten-free recipes, be sure to check out my other blog posts! And as always, happy cooking! I can’t wait to hear how yours turn out!
gluten-free won ton wrappers
Ingredients
Main Ingredients
- 1.5 cups Gluten-Free All-Purpose Flour Blend with xanthan gum
- 0.5 tsp Salt
- 0.75 cup Hot Water
- 1 tsp Sesame Oil
Instructions
Preparation Steps
- In a large bowl, whisk together the gluten-free flour and salt.
- Gradually add the hot water, mixing with a wooden spoon or your hands until a shaggy dough forms.
- Knead the dough on a lightly floured surface for about 5-7 minutes until smooth and elastic. If the dough is too sticky, add a little more flour, 1 tablespoon at a time.
- Wrap the dough in plastic wrap and let it rest for at least 30 minutes at room temperature.
- Divide the dough into smaller portions and roll out each portion very thinly into a circle (about 3-4 inches in diameter).
- Cut out the wrappers using a cookie cutter or a knife.
- Brush the edges of the wrappers with a little water before filling and sealing.


