


 お店で受け取る
(送料無料)
 配送する
配送する
納期目安:
01月18日頃のお届け予定です。
決済方法が、クレジット、代金引換の場合に限ります。その他の決済方法の場合はこちらをご確認ください。
※土・日・祝日の注文の場合や在庫状況によって、商品のお届けにお時間をいただく場合がございます。

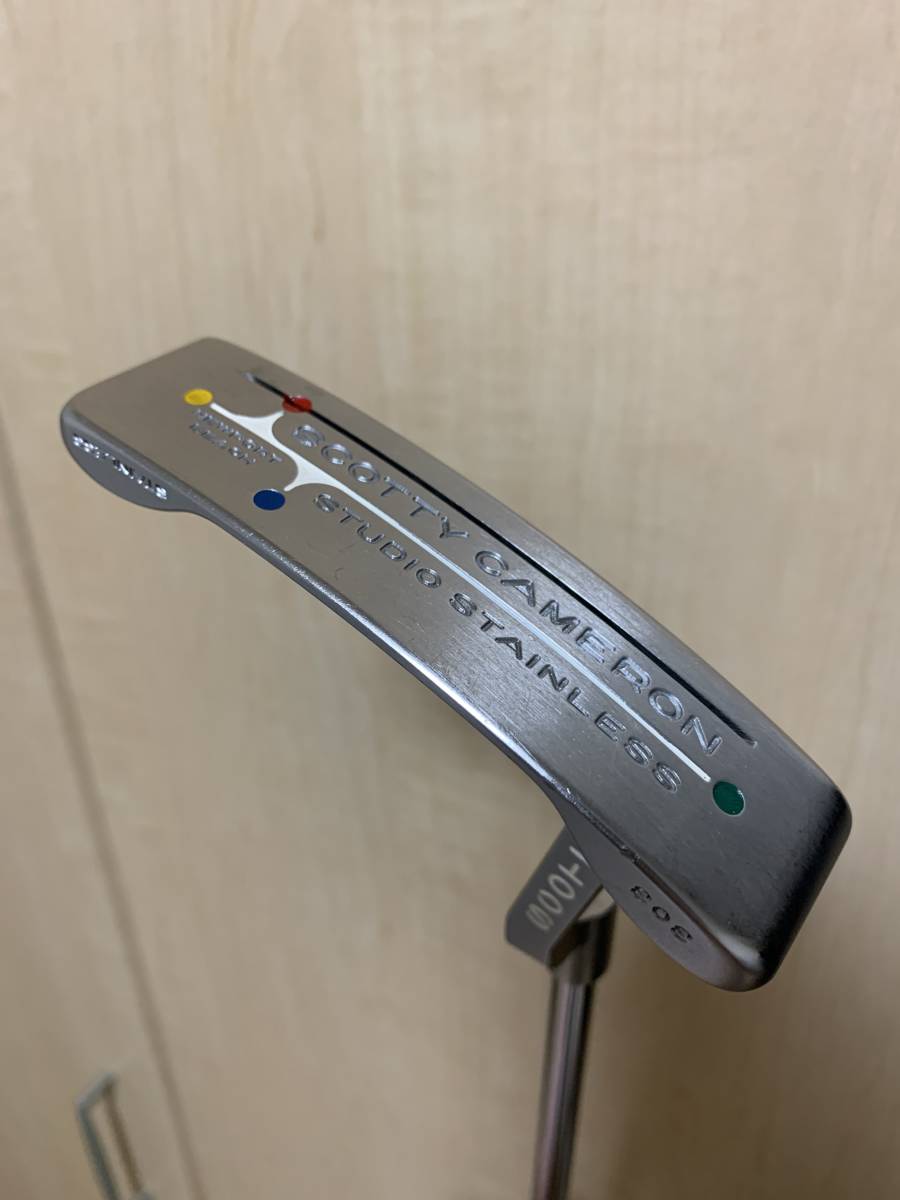
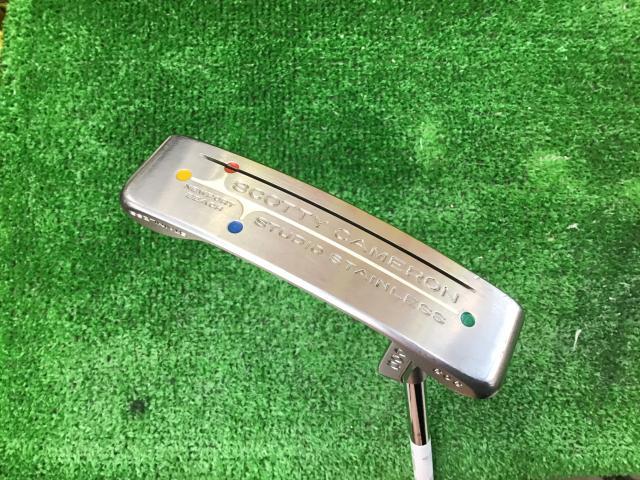
スコッティキャメロン スタジオステンレス ニューポートビーチ 34インチの詳細情報


商品詳細
性別···メンズ
種類···パター
利き手···右
Scotty Cameron STUDIO STAINLASS NEWPORT BEACH 34inch
長さ34インチ
細かい傷はありますが、全体として
このモデルの中古としてはキレイな方ではないかと思います。
トップブレードにあたり傷あり。6枚目
シャフトラベルは残ってます。
グリップはキレイです。
ヘッドカバーはありません。
一度試してみたくて購入しました。
手元に置いておきたいのですが金欠のため出品します。
他サイトで売れた際はすぐに取り消しますが稀に間に合わない場合があります。何卒ご容赦ください。
商品の情報
| カテゴリー: | スポーツ>>>ゴルフ>>>クラブ |
|---|---|
| 商品のサイズ: | |
| ブランド: | スコッティキャメロン |
| 商品の状態: | やや傷や汚れあり |
| 配送料の負担: | 送料込み(出品者負担) |
| 配送の方法: | らくらくメルカリ便 |
| 発送元の地域: | 千葉県 |
| 発送までの日数: | 1~2日で発送 |


ベストセラーランキングです


この商品を見た人はこんな商品も見ています
-
 マイストア在庫: 149税込17950.00円
 -
 マイストア在庫: 148税込18890.00円
 -
 マイストア在庫: 147税込19520.00円
 -
 マイストア在庫: 146税込12800.00円
 -
 マイストア在庫: 145税込20740.00円
近くの売り場の商品


カスタマーレビュー
オススメ度 4.7点
現在、4523件のレビューが投稿されています。