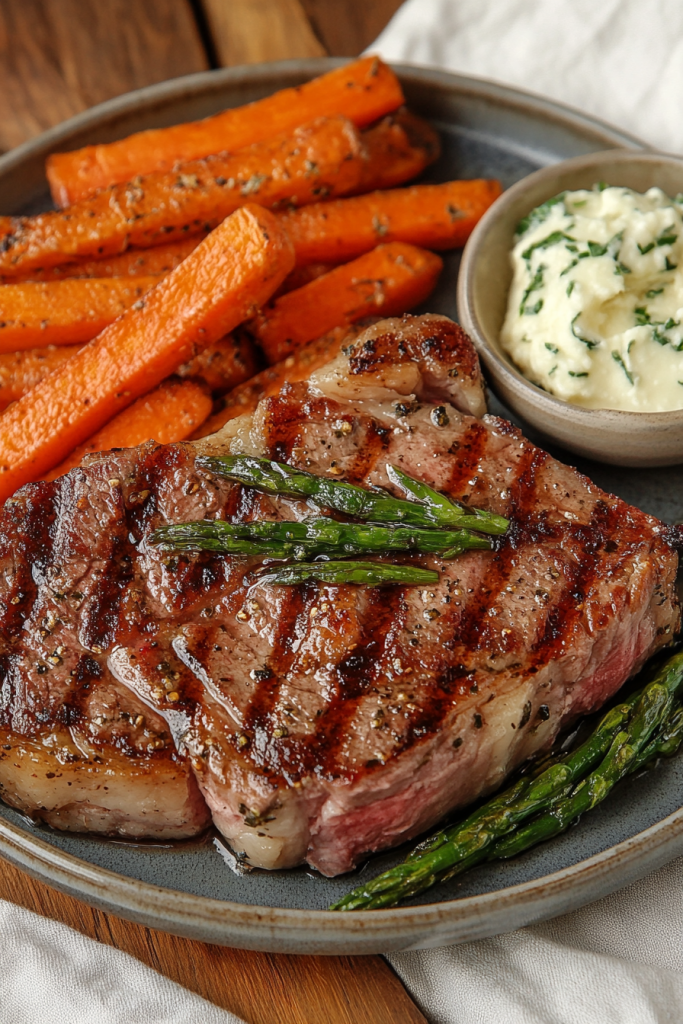
Few cooking techniques can match the flavor and tenderness of reverse searing, especially when dealing with a Classic cut like a New York strip steak. When treated with this method, the result is a dish renowned for its succulent texture and aromatic depth. As you embark on this culinary journey, you’ll discover why reverse-searing has become a beloved method among chefs and home cooks alike.

I remember my first encounter with reverse searing—Thanksgiving, a few years back. My uncle, famous in the family for his grilling prowess, decided to showcase this technique. As the steak sizzled in the cast-iron pan, releasing rich, savory aromas, the room was filled with eager anticipation. It was a culinary revelation that left a lasting impression on everyone. From that day forward, incorporating this method into our family dinners became a cherished tradition.
Why You’ll Love This Recipe
This recipe stands out for several reasons:
- Controlled Cooking: Reverse searing ensures even cooking throughout the steak, eliminating the dreaded gray band.
- Flavor Maximization: By cooking gently first, then searing, this method locks in juices and enhances flavor.
- Perfect For Gatherings: This technique is not only impressive but also allows for more predictable cooking times, ideal for hosting.
Recipe Steps
Step 1
Preheat your oven to 250°F (120°C). Season the strip steak generously with salt and pepper, then place it on a wire rack over a baking sheet.
Step 2
Insert a meat thermometer into the thickest part of the steak. Roast the steak in the oven for about 25-30 Minutes, or until it reaches an internal temperature of 120°F (49°C) for medium-rare.
Step 3
Remove the steak from the oven and let it rest for 10 minutes. During this time, heat a cast-iron skillet over high heat until it begins to smoke.
Step 4
Add a tablespoon of oil to the hot skillet. Sear the steak for 1-2 minutes on each side to develop a caramelized crust.
Step 5
Let the steak rest for another 5 minutes before slicing and serving. This ensures the juices are evenly distributed.
Storage Options
Any leftovers should be stored in an airtight container in the refrigerator and consumed within 3 days. For longer storage, wrap tightly in plastic wrap, then foil, and freeze for up to 2 months. When reheating, thaw completely and warm gently in a low-temperature oven to prevent overcooking.
Variations & Substitutions
For a different flavor profile, try marinating the steak with garlic and rosemary before cooking. If dietary restrictions are a concern, opt for a plant-based steak alternative, applying the same cooking technique for a delicious meat-free version.
Frequently Asked Questions
Can I use this technique for other cuts of beef? Yes, reverse searing is versatile and can be adapted for other cuts such as ribeye or filet mignon. Adjust cooking times based on thickness and desired doneness.
What oil is best for searing? Choose an oil with a high smoke point like canola or grapeseed oil to avoid burning during the searing process, which is crucial for achieving a perfect crust.
Do I need a meat thermometer? While not absolutely necessary, a meat thermometer allows for precision cooking and helps in achieving the desired doneness without guesswork.
Featured Comments
“Impressed! Clear steps and so flavorful results. Perfect for busy nights.”
“New favorite here — absolutely loved. crowd-pleaser was spot on.”
“Super easy and turned out amazing! My family asked for seconds. Saving this one.”
“This sweet treat was absolutely loved — the zingy really stands out. Thanks!”
“Made it tonight and wow — perfect for busy nights! Will definitely make How to Perfectly Reverse Sear NY Strip Steaks – 7 Pro Tips! again.”
“Packed with flavor and so simple. Exactly what I wanted from How to Perfectly Reverse Sear NY Strip Steaks – 7 Pro Tips!.”


