


 お店で受け取る
(送料無料)
 配送する
配送する
納期目安:
01月15日頃のお届け予定です。
決済方法が、クレジット、代金引換の場合に限ります。その他の決済方法の場合はこちらをご確認ください。
※土・日・祝日の注文の場合や在庫状況によって、商品のお届けにお時間をいただく場合がございます。

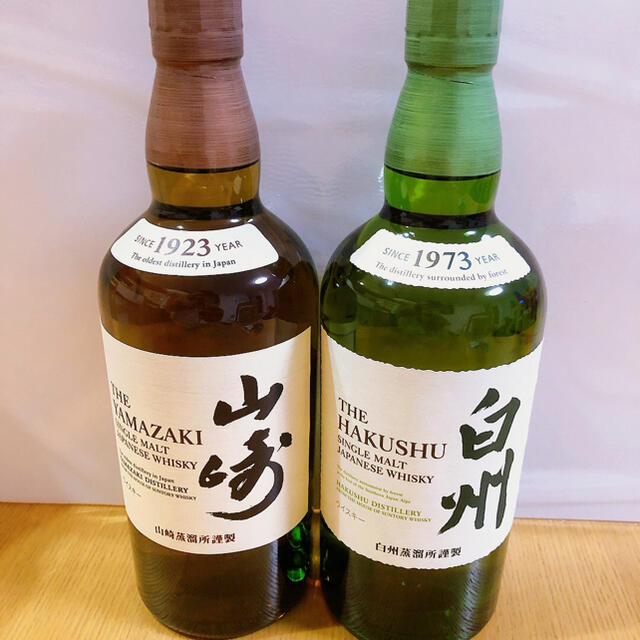
サントリーウイスキー 白州山崎2本セットの詳細情報


商品詳細
蒸留所・銘柄···山崎、白州
熟成期間···〜9年
総数···2本
白州と山崎のNAです。
断捨離のため出品いたします。
地元の酒屋さんで購入しました。
未開封ですが一度人の手に渡っているため神経質な方はご遠慮ください。
ぷちぷちで梱包して段ボールに入れて発送いたします。
商品の情報
| カテゴリー: | 食品・飲料・酒>>>飲料・酒>>>ウイスキー |
|---|---|
| 商品のサイズ: | |
| ブランド: | サントリー |
| 商品の状態: | 新品、未使用 |
| 配送料の負担: | 送料込み(出品者負担) |
| 配送の方法: | らくらくメルカリ便 |
| 発送元の地域: | 富山県 |
| 発送までの日数: | 1~2日で発送 |


ベストセラーランキングです


この商品を見た人はこんな商品も見ています
-
 マイストア在庫: 133税込16380.00円
 -
 マイストア在庫: 132税込20730.00円
 -
 マイストア在庫: 131税込15750.00円
 -
 マイストア在庫: 130税込14490.00円
 -
 マイストア在庫: 129税込13290.00円
近くの売り場の商品


カスタマーレビュー
オススメ度 4.7点
現在、4523件のレビューが投稿されています。