


Okay, friends, let’s talk about *the* treat that vanishes faster than you can say “seconds, please!” These Butter Tart Squares? Oh my goodness, they’re like the easier, crowd-friendlier cousin of the classic butter tart. Think all that gooey, caramelly, slightly-crispy goodness of a butter tart, but in easy-to-slice, shareable square form. And trust me, you’ll want to share…maybe. I usually try to hide a few for myself! The secret’s in the flaky crust and that incredible filling. My version of Butter Tart Squares is truly special!
What are Butter Tart Squares?
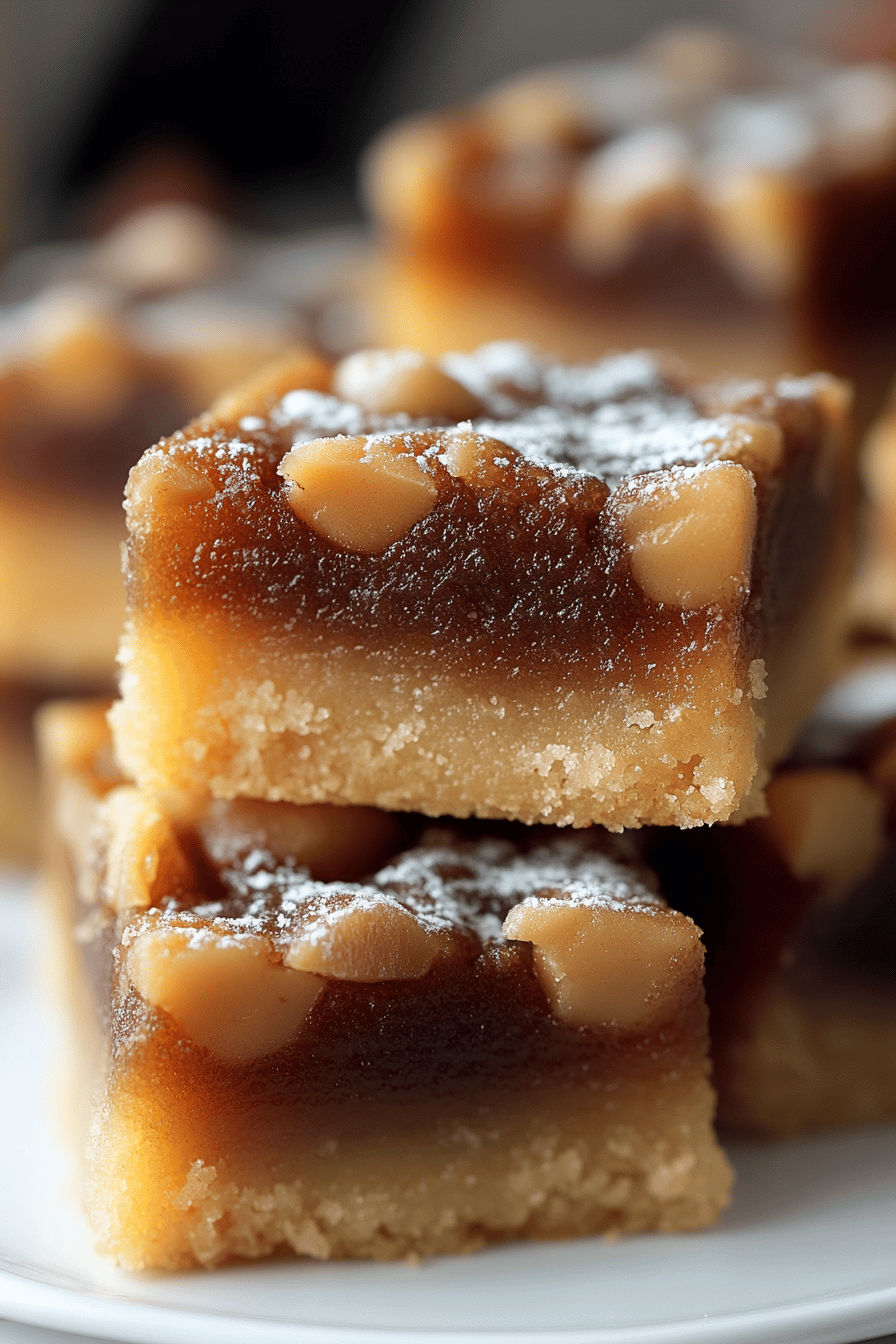
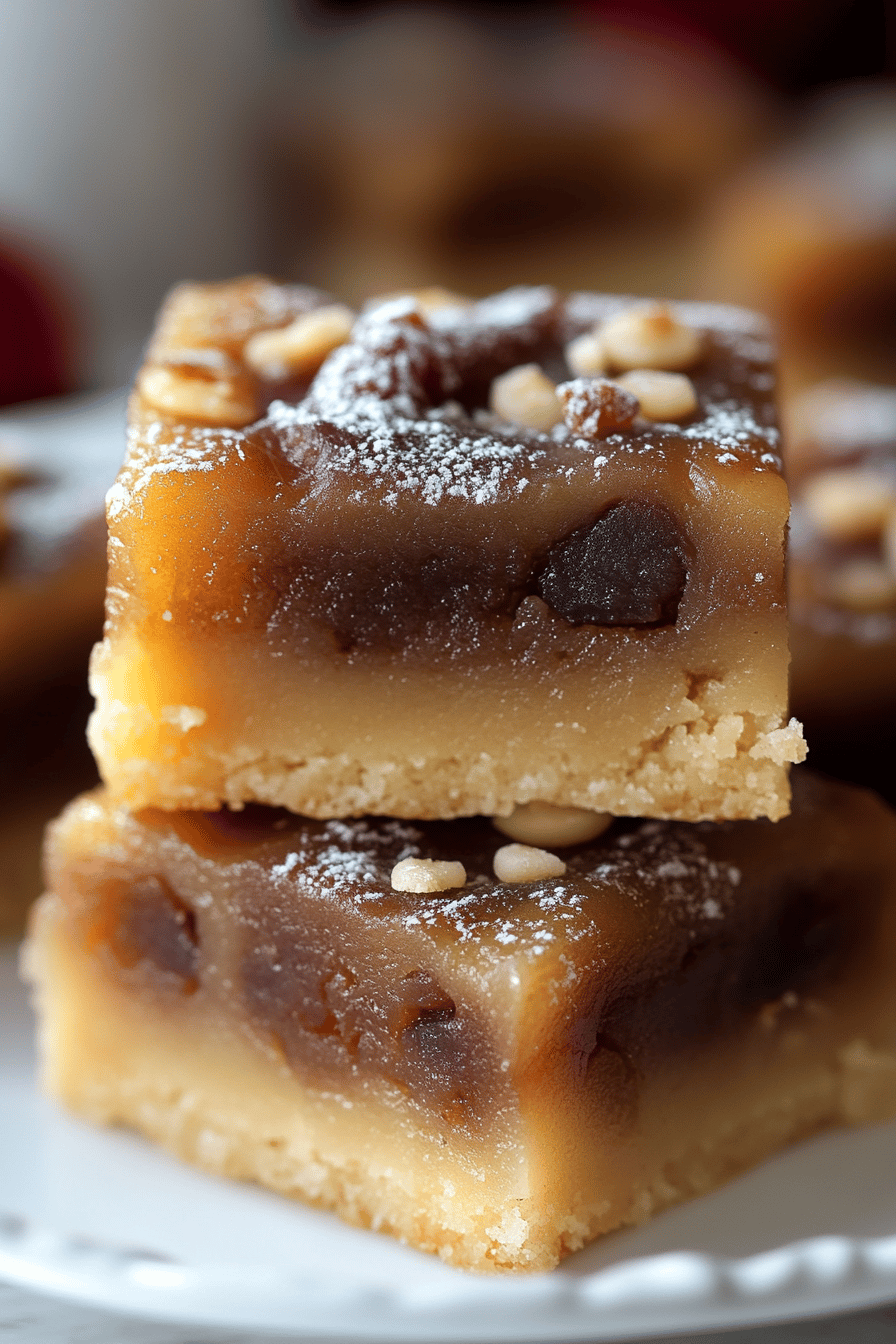
So, what *are* Butter Tart Squares, exactly? Well, imagine taking everything you adore about a traditional Canadian butter tart – that rich, sweet, buttery filling, often with raisins or pecans (or in our case, the smooth, unadulterated pleasure of just that beautiful filling!) – and putting it into a bar cookie format. It’s essentially a shortbread-like crust topped with that iconic butter tart filling, baked until golden and bubbly. It’s a much easier way to get your butter tart fix, especially when you’re feeding a crowd or just want a little something sweet without all the fuss of individual pastries. Plus, let’s be honest, who can resist a good square? They’re just so…satisfying. One bite and it’s butter tart heaven! And you don’t need to have the expertise or patience to create individual butter tarts.
Why do I love this recipe?
Let me tell you, there are a *ton* of reasons to fall head-over-heels for these Butter Tart Squares. First off, the flavor is just phenomenal. You’ve got that buttery, almost caramelized sweetness that’s just so comforting and addictive. The crust adds the perfect amount of crumbly texture to balance that soft, gooey filling. What I love most about this recipe is how incredibly easy it is! Forget fussing with individual tart shells. You just press the crust into a pan, pour over the filling, and bake. It’s practically foolproof. They’re also incredibly cost-effective. The ingredients are simple pantry staples that you probably already have on hand.
These squares are also ridiculously versatile! Serve them for dessert, pack them in lunchboxes (if they last that long!), or bring them to your next potluck. And they’re always a hit! I’ve even been known to sneak one with my morning coffee…don’t judge! Trust me, once you try these, you’ll understand why they’re always the first thing to disappear at any gathering. Seriously, watch out, because your friends and family will be begging you to make them again and again! They just are so much easier than traditional tarts!
How do I make Butter Tart Squares?
Quick Overview
Making these Butter Tart Squares is surprisingly simple! You’ll start by creating a buttery shortbread crust, pressing it into a pan, then whipping up the luscious butter tart filling and pouring it over the crust. A quick bake in the oven, a little cooling time, a simple glaze if you desire, and then… the best part… you get to slice and devour these decadent squares! The whole process is really straightforward and requires minimal effort. What’s truly great is how quickly it all comes together, and how forgiving the recipe is. Even if your crust isn’t perfect, or your filling bubbles over a bit (it happens!), they’ll still taste amazing. Don’t worry if your tarts are not perfect- the taste will still be incredible!
Ingredients
For the Main Batter:
- 1 cup all-purpose flour: Use good-quality flour for the best texture in the crust. I prefer unbleached.
- ½ cup unsalted butter, cold and cubed: Make sure the butter is *really* cold. I sometimes even pop it in the freezer for 10 minutes before using it. This will help create a flaky crust.
- ¼ cup powdered sugar: Adds a touch of sweetness and helps create a tender crust.
- Pinch of salt: Balances sweetness and enhances the other flavors.
For the Filling:
- 12 cup unsalted butter, melted: Use a good-quality butter. What makes a difference in flavor?
- 1 cup packed light brown sugar: The brown sugar is key for that caramelly flavor. You can use dark brown sugar for a richer taste, but light brown is my preference.
- 14 cup corn syrup: This helps prevent the filling from crystallizing and keeps it gooey.
- Adds richness and structure to the filling.
- 1 teaspoon vanilla extract: Enhances the flavor of the filling.
- 14 teaspoon salt: Balances the sweetness.
- Optional: ½ cup raisins or chopped pecans: If you like raisins or nuts in your butter tarts, feel free to add them to the filling! I actually love them without, but sometimes I get a craving!
For the Glaze:
- 1 cup powdered sugar: For a smooth and sweet glaze.
- 2-3 tablespoons milk: Add milk gradually until you reach your desired consistency. I usually use whole milk, but any kind will work.
- 12 teaspoon vanilla extract: Adds a touch of flavor to the glaze.
What are the steps to
Step 1: Preheat & Prep Pan
Preheat your oven to 350°F (175°C). Grease and flour a 9×13 inch baking pan. Is it possible to line a dish with parchment paper? I usually do both, just to be extra safe! How do you slice a square?
Step 2: Mix Dry Ingredients
In a medium bowl, whisk together flour, powdered sugar, and salt. Set aside. How do I make sure everything is evenly distributed before you add butter? What is the best way to get the most out of the crust?
Step 3: Mix Wet Ingredients
Add the cold, cubed butter to the dry ingredients. Use a pastry blender or your fingertips to cut the butter into the flour mixture until it resembles coarse crumbs. You want to see small pieces of butter throughout the mixture. Don’t overwork it! Cold butter is key for a flaky crust.
Step 4: Combine
Press the mixture evenly into the bottom of the prepared baking pan. You can use the bottom of a measuring cup to help press it down firmly and evenly. This forms the base of your Butter Tart Squares, so make sure it’s nice and compact. At this point, I like to pop the crust in the freezer for about 10 minutes. This helps prevent it from shrinking too much during baking.
Step 5: Prepare Filling
In a separate bowl, whisk together the melted butter, brown sugar, and corn syrup. Set aside. Add the eggs one at a time, whisking well after each addition. If you’re using pecans or raisins, fold them in now.
Step 6: Layer & Swirl
How do you spread filling evenly over the crust? Now you are ready to bake this goodness!
Step 7: Bake
Bake in the preheated oven for 25-30 minutes, or until the filling is set and the crust is golden brown. The filling should be slightly jiggly but not liquidy. Keep a close eye on them, as baking times can vary depending on your oven. I always rotate the pan halfway through baking to ensure even cooking.
Step 8: Cool & Glaze
Let the squares cool completely in the pan before glazing. Why is the glaze melted off? Once cooled, whisk together the powdered sugar, milk, and Vanilla Extract until smooth. Add more milk, one teaspoon at a time, until you reach your desired consistency. Do not overdo glaze on cooled squares.
Step 9: Slice & Serve
Once the glaze is set, slice the squares into even pieces and serve. I find it easiest to cut them with a sharp knife after they’ve been refrigerated for a bit. This helps the glaze set and prevents the squares from crumbling. Enjoy every delicious bite!
What should I serve it with?
What are some ideas for taking Butter Tart Squares to a party? The next level: the first level.
For Breakfast:What are some good ways to start your day with a square of coffee or latte? The caramel flavor of the squares complements coffee perfectly. I also like to crumble a square over Greek yogurt for an easy breakfast treat.
For Brunch: Serve them alongside other brunch favorites like quiche, Fruit Salad, and mimosas. Arrange the squares on a pretty platter for an elegant presentation. They’re always a crowd-pleaser at brunch gatherings!
As Dessert:What are some of the best after-dinner treats? Serve with a scoop of vanilla Ice Cream or whipped cream. A sprinkle of cinnamon or a drizzle of chocolate sauce adds an extra touch of indulgence.
For Cozy Snacks:Enjoy them with a glass of milk or tea in the afternoon. What are some comfort food squares? My family loves to snuggle up with a square and watch tv on rainy days.
My family tradition is to serve these with vanilla Ice Cream and a sprinkle of chopped nuts. What are pecans for Christmas? What are some ways to make the holidays even more special?
Top Tips for Perfecting Your Butter Tart Squares
Want to make the *best* Butter Tart Squares ever? Here are some tips and tricks I’ve learned over the years:
Mixing Advice: Be careful not to overmix the crust dough. Overmixing will develop the gluten in the flour, resulting in a tough crust. Mix just until the ingredients come together, then gently press it into the pan.
Ingredient Swaps: If you don’t have corn syrup on hand, you can substitute it with honey or maple syrup. However, keep in mind that this will alter the flavor slightly. I prefer corn syrup for its neutral taste.
Baking Tips: Keep a close eye on the squares while they’re baking. Baking times can vary depending on your oven. If the crust starts to brown too quickly, you can tent the pan with foil to prevent it from burning.
Glaze Variations: For a different flavor, try adding a teaspoon of lemon zest or a dash of almond extract to the glaze. You can also use a flavored milk, like chocolate or strawberry, for a fun twist. And you don’t need to glaze them- a dusting of powdered sugar is just as lovely.
One lesson I learned the hard way is to always let the squares cool completely before slicing. Cutting them while they’re still warm will result in a crumbly mess. Trust me, patience is key!
Also, if your butter is unsalted be sure to add about 1/4 tsp of salt in with the crust batter.
Storing and Reheating Tips
Want to enjoy these Butter Tart Squares for days to come? Here’s how to store them properly:
Room Temperature: Store the squares in an airtight container at room temperature for up to 3 days. To maintain freshness, keep them away from direct sunlight and heat.
Refrigerator Storage: For longer storage, keep the squares in an airtight container in the refrigerator for up to a week. This will help them stay moist and prevent them from drying out.
Freezer Instructions: To freeze the squares, wrap them individually in plastic wrap and then place them in a freezer-safe container or bag. They can be stored in the freezer for up to 2 months. Thaw them in the refrigerator overnight before serving.
Glaze Timing Advice: If you’re planning on freezing the squares, it’s best to wait to add the glaze until after they’ve been thawed. This will prevent the glaze from becoming sticky or runny during the thawing process.
I’ve found that the best way to maintain their quality is to wrap them really well before freezing. This prevents freezer burn and keeps them tasting fresh and delicious.
Frequently Asked Questions
Final Thoughts
Seriously, these Butter Tart Squares are such a winner! They’re easy to make, incredibly delicious, and always a hit with everyone who tries them. From the buttery crust to the gooey filling, every bite is pure bliss. And the best part? You don’t need to be a professional baker to whip up a batch. If you love butter tarts but are looking for a simpler alternative, this recipe is for you. Give these a try and let me know what you think! I’m already planning my next batch. Happy baking!


