

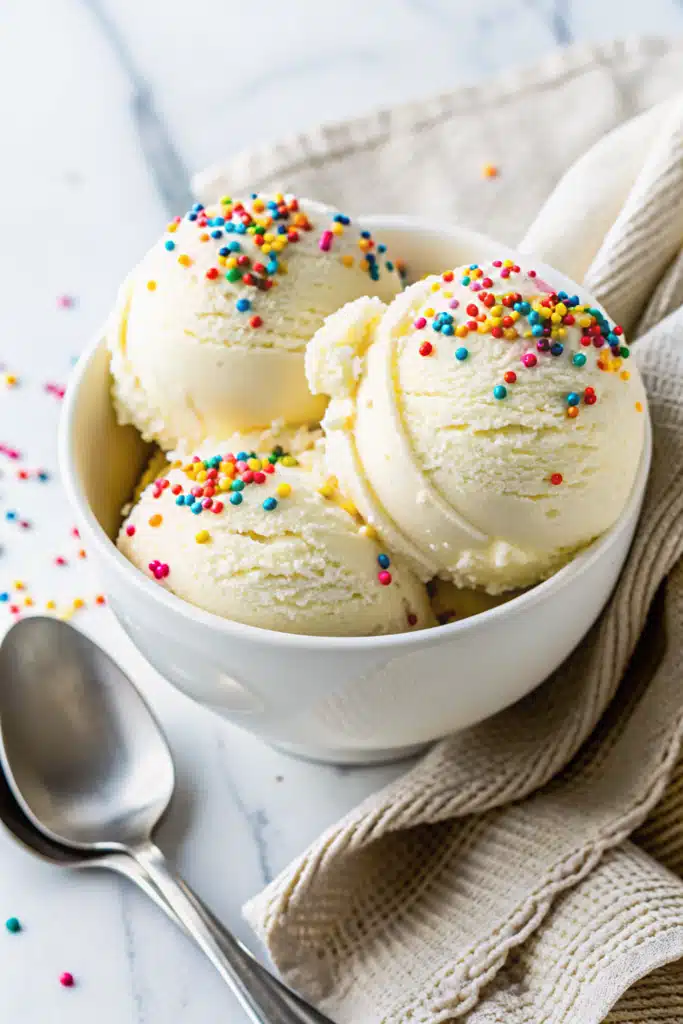
19 Creamy & Delicious Protein Ice Cream Recipes (No Machine Needed!)
Hey friends! If you’ve been scrolling through TikTok or Instagram lately, you’ve probably seen the massive craze around sweet treat bowls that are secretly packed with protein. I have a massive sweet tooth, especially when the weather starts warming up, but I also try to keep my macros in check. That’s exactly why I became totally obsessed with creating the ultimate collection of protein ice cream recipes!
Honestly, traditional ice cream is amazing, but sometimes you just want a generous, creamy bowl of goodness that actually fuels your body instead of just giving you a sugar crash. I made it my personal mission to test, blend, and freeze my way to the perfect healthy dessert. Whether you’re craving a rich chocolate fix, a fruity strawberry scoop, or even a fun birthday cake flavor, I’ve got you covered. The best part? You don’t need a fancy, expensive ice cream maker to pull these off. Grab your blender, and let’s make some magic happen in the kitchen!
What Are Protein Ice Cream Recipes?
So, what exactly is the deal with these viral protein ice cream recipes? Basically, they’re a genius way to enjoy a thick, frosty, spoonable dessert that mimics the texture of premium ice cream, but uses nutrient-dense ingredients. Instead of heavy cream and refined sugar, we’re relying on high-protein bases like thick Greek yogurt, protein powder, and unsweetened almond milk. Natural sweeteners like a touch of honey or maple syrup bring the perfect amount of sweetness without going overboard.
It’s essentially a frozen smoothie bowl that’s been leveled up to a true ice cream consistency. Because we’re using protein powder and yogurt, every single bite is incredibly filling and satisfying. Plus, you can customize them endlessly! Love a caffeine kick? Add cold brew for a coffee version. Craving something tropical? Toss in some frozen mango or coconut milk. It’s a fantastic way to hit your daily protein targets while feeling like you’re indulging in a decadent late-night treat.
How to Make Protein Ice Cream
Quick Overview
Making your own protein ice cream at home is shockingly simple. You’re essentially just blending your base ingredients until they’re silky smooth, and then letting the freezer do the hard work. Here’s a look at how to make my classic, foolproof Vanilla base, which you can easily adapt for all the other fun flavors like blueberry, caramel, or mint chocolate chip!
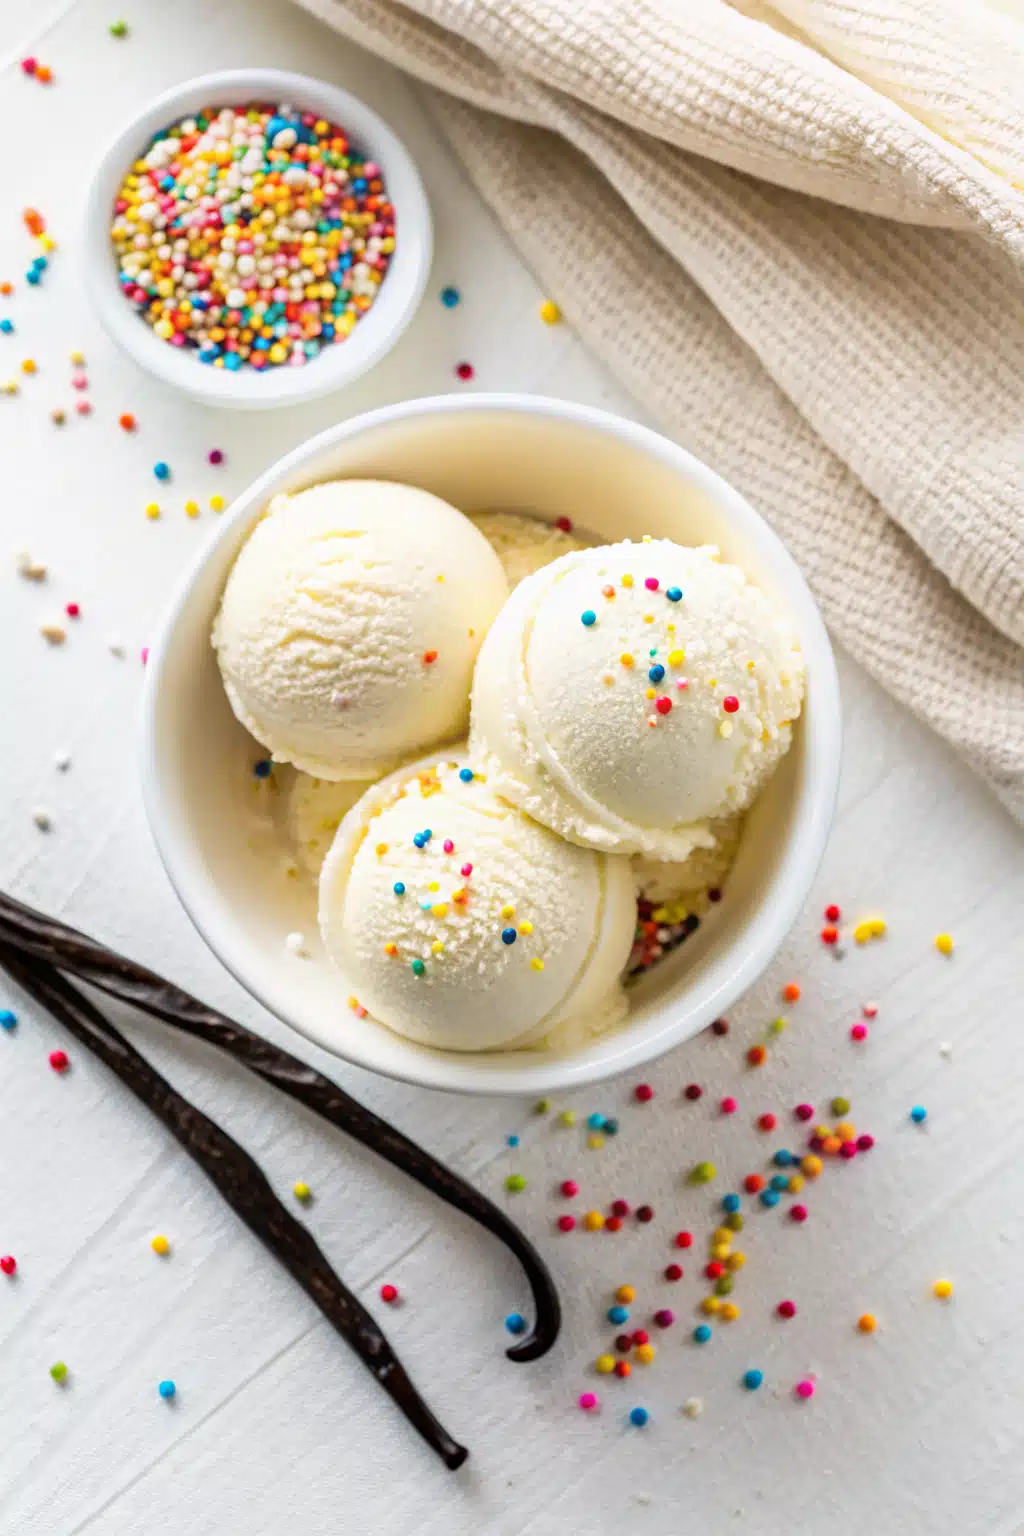
Ingredients
- 1 cup Greek yogurt: This keeps the base super creamy and adds a fantastic protein boost.
- 1 scoop vanilla protein powder: Use your favorite brand! Whey, casein, or plant-based all work fine.
- 1/2 cup unsweetened almond milk: Helps everything blend smoothly. Adjust slightly depending on how thick your yogurt is.
- 2 tablespoons honey or maple syrup: For that perfect touch of natural sweetness.
- 1 teaspoon vanilla extract: To really bring out that classic ice cream shop flavor.
Step-by-Step Instructions
Step 1: Prep Your Ingredients and Blender
No preheating pans or churning required here! Just grab your favorite high-speed blender and make sure your freezer container is clean and ready to go.
Step 2: Blend Until Silky Smooth
Toss the Greek yogurt, protein powder, almond milk, honey, and vanilla extract right into the blender pitcher. Blend on medium-high until the mixture is completely smooth, creamy, and well combined. If you’re adding mix-ins like chocolate chips or rainbow sprinkles, gently stir them in by hand after blending.
Step 3: Freeze to Perfection
Pour your creamy mixture into a freezer-safe container with a tight-fitting lid. Pop it into the freezer for at least 2 hours. This gives it enough time to firm up into a beautiful, scoopable texture.
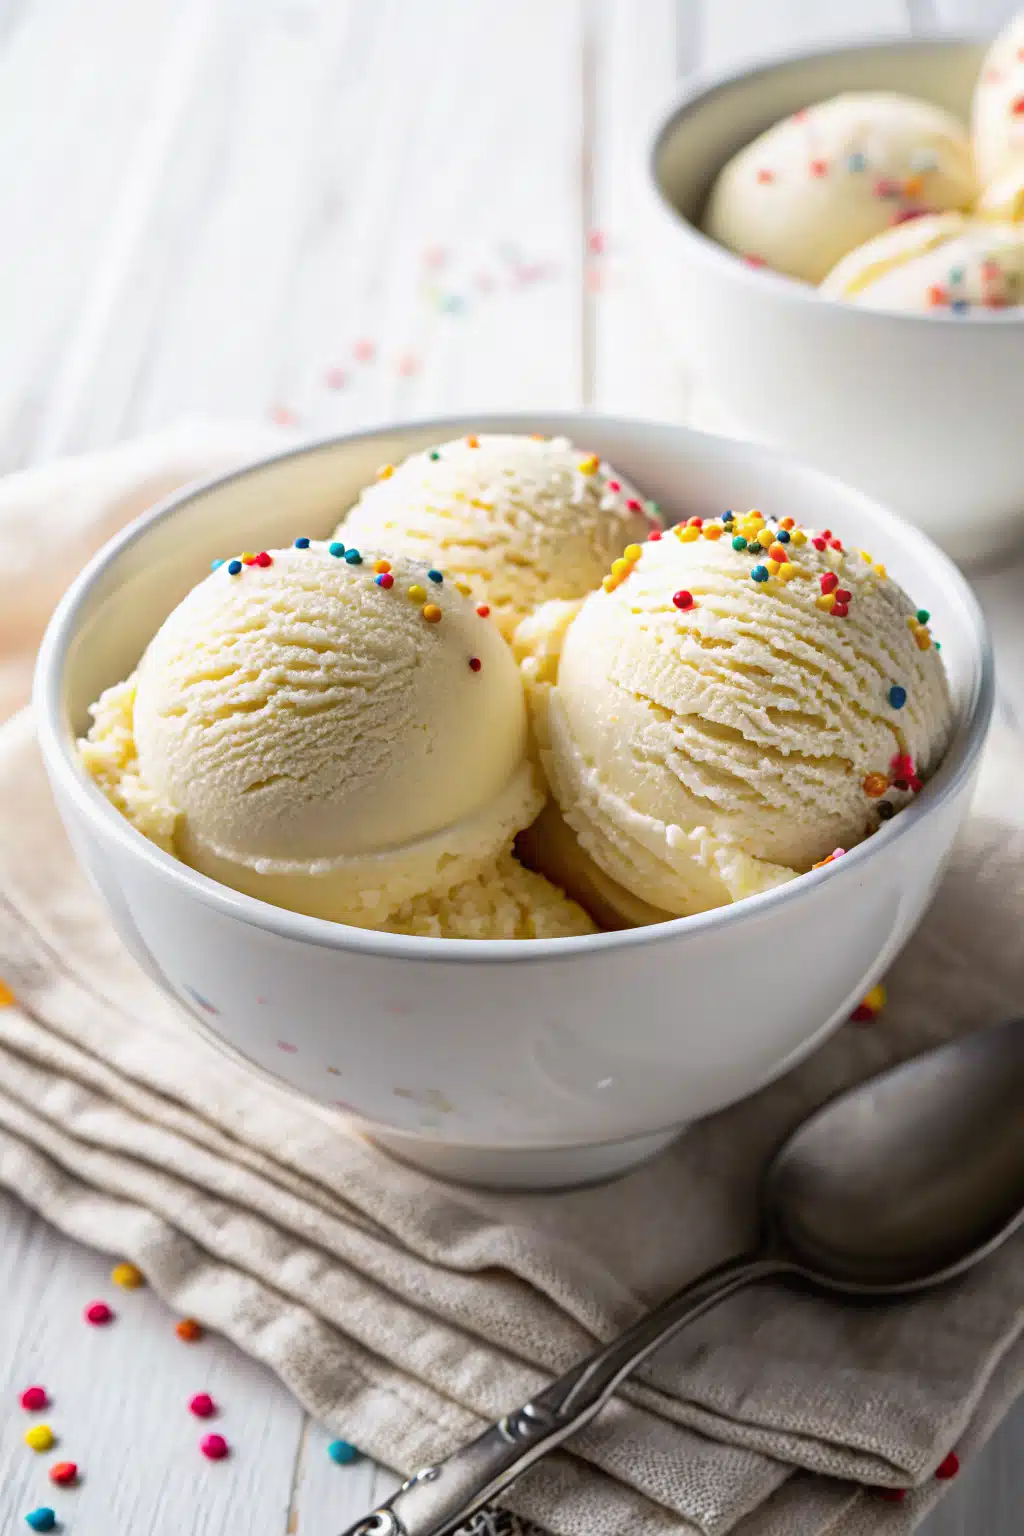
Step 4: Scoop and Enjoy
Once it’s set, grab your favorite ice cream scoop and dish it out! If it’s been in the freezer overnight, let it sit on the counter for a few minutes to soften before scooping.
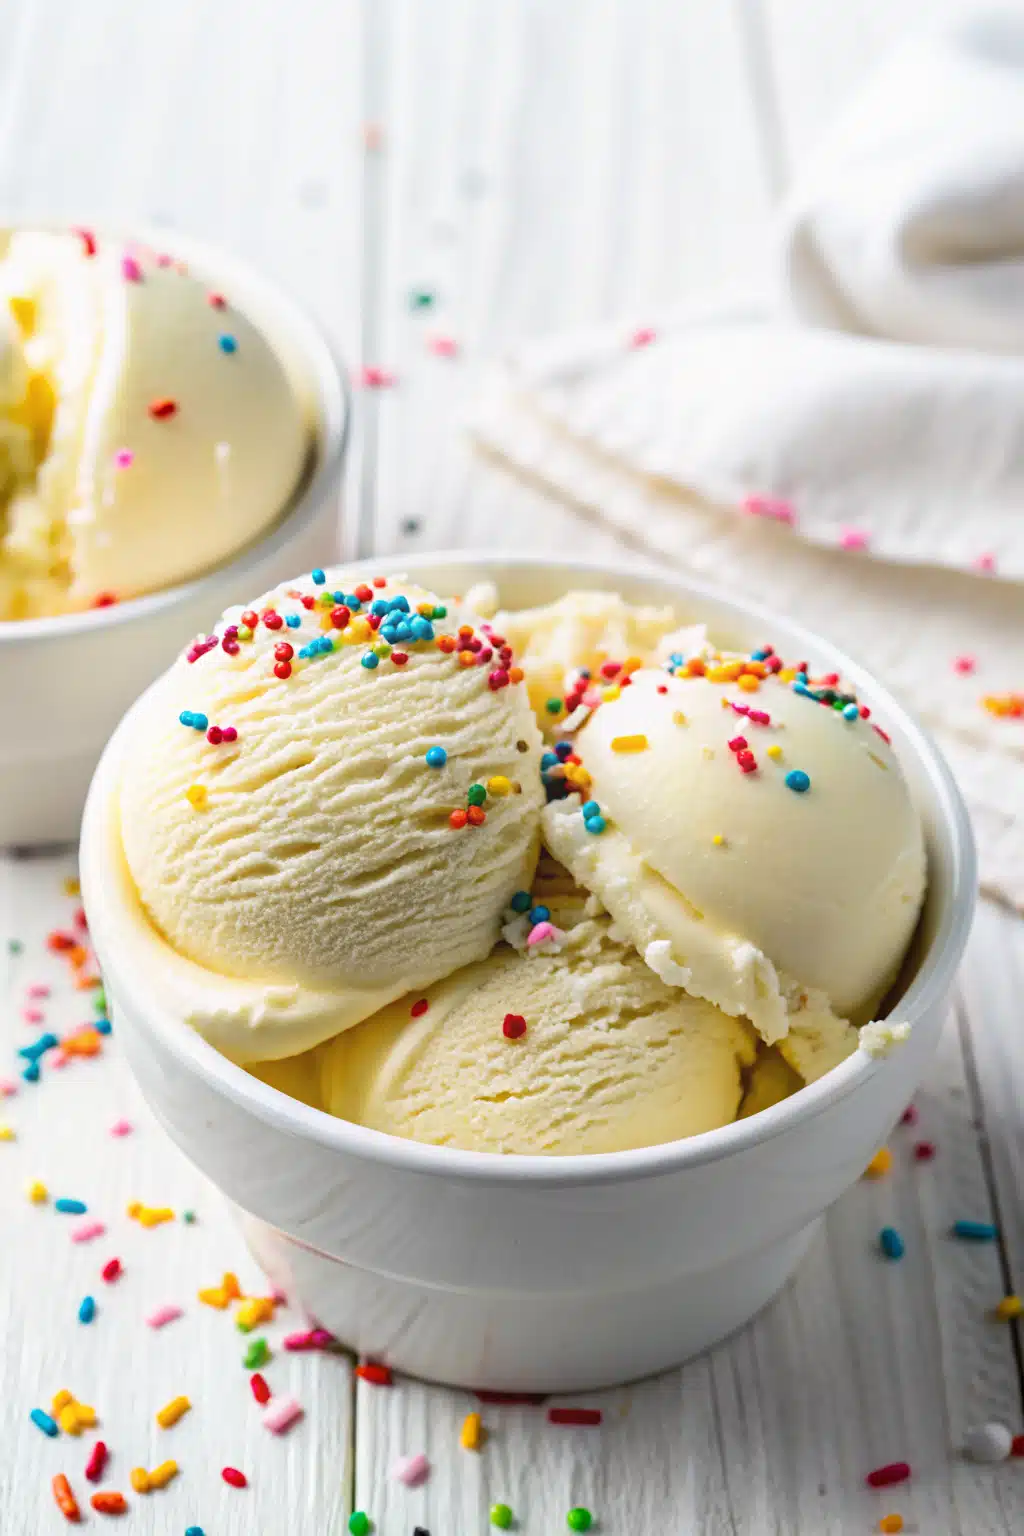
What to Serve It With
Half the fun of eating ice cream is loading it up with amazing toppings, right? Since our protein ice cream recipes are so healthy, you have a little wiggle room to get creative with the extras! I absolutely love adding a sprinkle of mini dark chocolate chips or a generous drizzle of warm, natural peanut butter over the top of the chocolate or banana flavors.
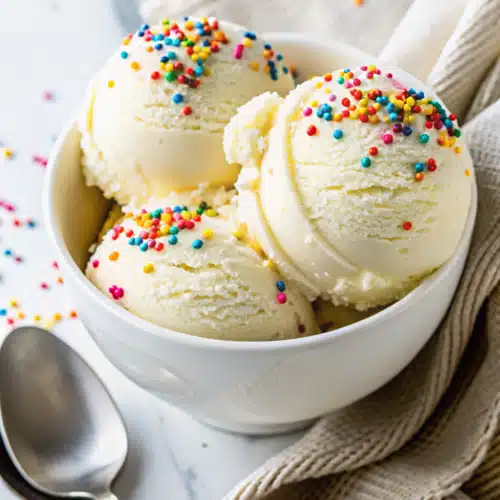
If you’re making the birthday cake version, extra rainbow sprinkles are practically mandatory. Fresh berries, a dusting of cinnamon, shredded coconut, or even some crushed almonds add an incredible crunch that contrasts beautifully with the creamy frozen base. You can even serve a scoop over a warm protein brownie or a bowl of baked oats for the ultimate decadent breakfast!
Top Tips for Perfecting Your Protein Ice Cream
Over the months of testing these recipes, I’ve learned a few secrets to getting the absolute best texture. First, the type of protein powder you use really matters. Some brands absorb more liquid than others, so if your mixture looks a little too thick in the blender, just add an extra splash of almond milk until it gets moving.
Second, don’t skip the natural sweetener! Even if your protein powder is already sweetened, the freezing process naturally dulls flavors on our tastebuds. That little bit of honey or maple syrup keeps it tasting like a true dessert rather than just frozen yogurt.
Lastly, keep an eye on your freeze time. Two to three hours is the sweet spot for a soft-serve consistency. If you leave it in the freezer overnight, it might freeze pretty solid because of the lower fat content. Just let it sit on the kitchen counter for about 10 to 15 minutes before you try to scoop it. It’ll soften right up!
Storing and Reheating Tips
Storing your homemade ice cream is a total breeze. You’ll want to keep it in an airtight, freezer-safe container to prevent any dreaded freezer burn. I love using glass meal prep containers or dedicated reusable ice cream tubs. It’ll stay fresh and delicious in the freezer for up to two weeks, though let’s be honest, it rarely lasts that long in my house!
When you’re ready for a bowl, there’s no “reheating” involved, but you do need to temper it. Like I mentioned above, just leave the container at room temperature for a few minutes so it softens. If you’re in a massive rush, you can microwave the container for literally 5 to 8 seconds just to loosen the edges, but be super careful not to melt your beautiful creation completely!
Frequently Asked Questions
Final Thoughts
Making these protein ice cream recipes has truly changed my dessert game this year. It’s so empowering to know you can whip up a treat that tastes incredibly indulgent but actually supports your body and your wellness goals. Whether you stick to the classic vanilla base or get adventurous with the matcha, coconut, or chai flavors, I just know you’re going to love having these in your freezer rotation.
Grab your blender, pick your favorite flavor, and treat yourself to a big, beautiful bowl of healthy goodness. I can’t wait to hear which flavor becomes your new obsession. Happy blending, friends!
How To Make Ice Cream Without A Machine 5 Simple Steps
Ingredients
Main Ingredients
- 2 cups heavy whipping cream cold
- 14 ounce sweetened condensed milk 1 can
- 1 teaspoon pure vanilla extract
Instructions
Preparation Steps
- In a large mixing bowl, use a hand mixer or stand mixer to whip the cold heavy whipping cream until stiff peaks form.
- In a separate medium bowl, whisk together the sweetened condensed milk and vanilla extract until well combined.
- Gently fold the whipped cream into the condensed milk mixture using a rubber spatula, being careful not to deflate the air, until the mixture is smooth and uniform.
- Pour the ice cream base into a freezer-safe container, such as a 9x5-inch metal loaf pan, and smooth the top with your spatula.
- Cover the container tightly with plastic wrap or a lid and place it in the freezer for at least 6 hours, or overnight, until completely firm before scooping.
Notes
Featured Comments
“Impressed! Clear steps and restaurant-level results. Perfect for busy nights.”
“New favorite here — comforting. crowd-pleaser was spot on.”
“Super easy and turned out amazing! My family asked for seconds. Saving this one.”
“This sweet treat was absolutely loved — the cozy really stands out. Thanks!”
“Made it tonight and wow — restaurant-level! Will definitely make How to Make Ice Cream Without a Machine: 5 Simple Steps again.”
“Packed with flavor and so simple. Exactly what I wanted from How to Make Ice Cream Without a Machine: 5 Simple Steps.”


