

Okay, friends, listen up! I’m about to let you in on a little secret that’s been able to change my life. What is gluten-free baking? If you’ve ever bitten into a dry, crumbly excuse for gluten-free buns and sighed with sighs, then why? If you’re a disappointment, then this recipe is for you. What are the best buns to eat? Are bricks a million times better than store-bought? Is it true that these are the best hamburger buns? Is it like taking a cloud and making it burger-friendly? Once you get the hang of it, it’s much easier than you think.
What are gluten-free Hamburger buns?
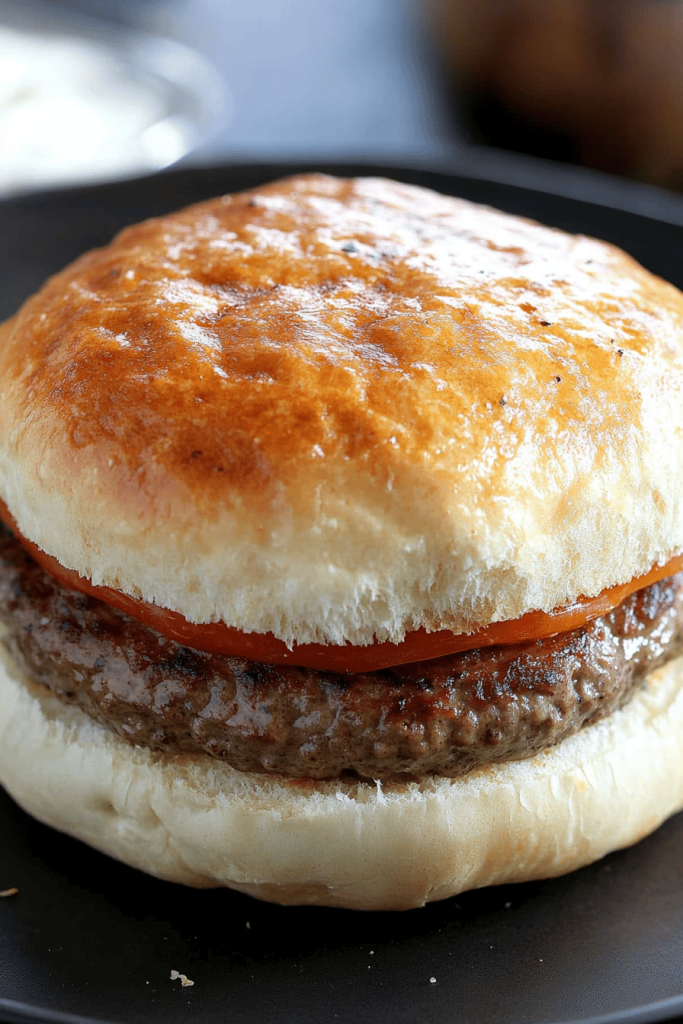
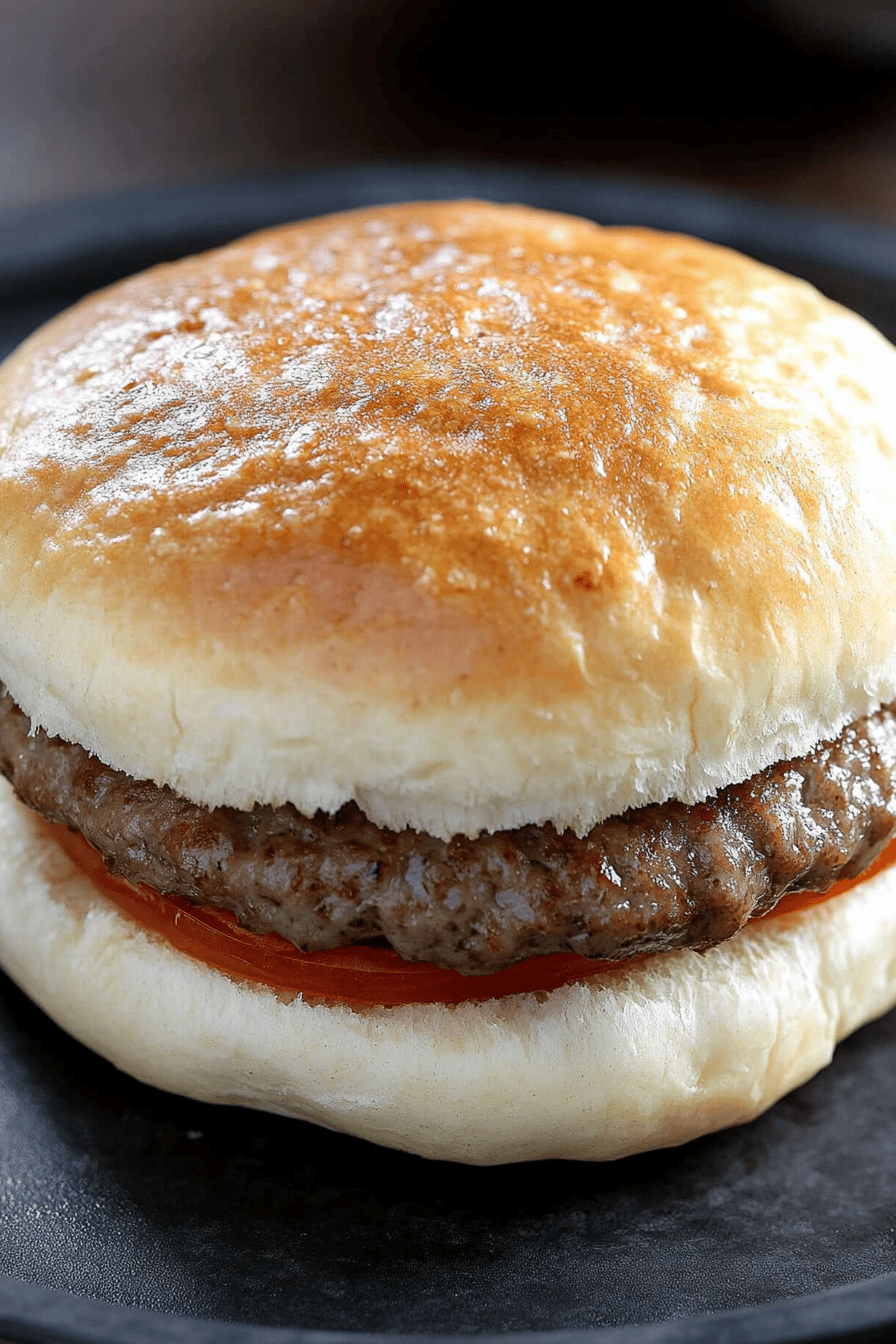
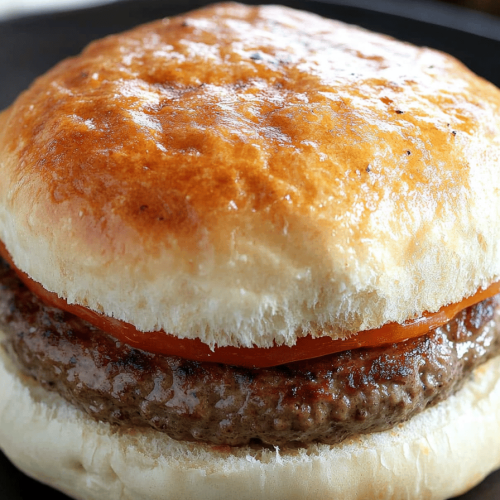
Let’s break it down. What are gluten-free hamburger buns? What is gluten free? What is simple, right? What makes a good bun? Soft, slightly chewy, and sturdy enough to hold all the fixings without falling apart. Is this a blank canvas for your culinary creativity? Forget those dense, flavorless gluten-free options you’ve sadly encountered before. These buns are light, airy, and have a subtle sweetness that complements any burger. Is a fluffy cloud designed to cradle your burger creations?
Why you’ll love this recipe?
Okay, so why should you spend an afternoon whipping up these **gluten-free hamburger buns**? Let me count the ways! First and foremost: the flavor! These aren’t your typical bland gluten-free substitutes. They’re actually packed with delicious, slightly sweet flavor. The texture is spot on – soft and chewy, just like a real hamburger bun should be. What I love most about this is how surprisingly easy they are to make. Seriously! I know gluten-free baking can seem intimidating, but this recipe is so straightforward. Plus, the cost is significantly lower than buying those pre-made gluten-free buns at the store. They’re often so expensive! Think about all the money you’ll save. What is even better is how versatile these buns are! Use them for burgers, chicken sandwiches, or even just slathered with butter for a snack! My family literally begs me to make these every week, even when we’re not having burgers. They’re also amazing for breakfast sandwiches. A fried egg, some bacon, and cheese nestled in one of these babies? Forget about it! This recipe is a lifesaver for anyone who’s gluten-free but still wants to enjoy a good, old-fashioned burger. I’ve tried a few other recipes for gluten free buns, and this is the ONLY ONE that’s worked consistently. You won’t be disappointed!
How do I make gluten-free Hamburger Buns?
Quick Overview
How do I make gluten free hamburger buns? First, you’ll whisk together the dry ingredients, then combine the wet ingredients. What are some good ways to mix the ingredients together, let the dough rise, shape it into buns, and bake until golden brown. What is the best way to avoid over mixing the dough? What is the best way to create a light and airy texture?
Ingredients
For the Dough:
* 1 12 cups warm water (around 105-115°F – this is important for activating the yeast! ) * 2 14 teaspoons active dry yeast (one packet – make sure it’s not expired! ) * 2 tablespoons honey (or maple syrup, if you prefer a vegan option)* 2 teaspoons olive oil. What is Apple Cider Vinegar? Gluten-free all-purpose flour (I recommend one that contains xanthan gum) * 12 cup tapioca powder. * 14 cup brown rice flour (adds a slightly nutty flavor) * 2 teaspoons salt (for extra chewiness) Salt * 1 teaspoon xanthan gum (if your flour blend doesn’t already contain it – crucial for binding!
For the egg wash (optional): For a boiled
* 1 egg (or 1 tablespoon milk for vegan option)
* 1 tablespoon water
For the Topping (Optional):
* Sesame seeds (for a classic hamburger bun look)

What are the steps to
Step 1: Proof the Yeast
In a large bowl, combine the warm water, yeast, and honey. Let it sit for 5-10 minutes, or until the yeast is foamy. This step is crucial to ensure your yeast is alive and active. If it doesn’t foam, your yeast might be expired, and you’ll need to start over.
Step 2: Combine Wet Ingredients
Add the olive oil and apple cider vinegar to the yeast mixture and whisk to combine.
Step 3: Combine Dry Ingredients
In a separate bowl, whisk together the gluten-free flour, tapioca starch, brown rice flour and salt. Set aside. Salt, and xanthan gum (if needed). Make sure everything is well combined to avoid any pockets of dry ingredients in your buns.
Step 4: Mix the Dough
Gradually add the dry ingredients to the wet ingredients, mixing on low speed with an electric mixer. (or by hand) until just combined. Do not over mix dough, as this can result in tough buns. The dough will be quite sticky, which is perfectly normal.
Step 5: First Rise
Cover the bowl with plastic wrap or a clean kitchen towel and let it rise for 60-90 minutes. What is the best time to cook a chicken for 30 minutes, or until it I usually preheat my oven to 200°F, turn it off, and then place the bowl inside for a warm and cool. I like to use it in the microwave for about 1 hour. What is draft-free
Step 6: Shape the Buns
Line a baking sheet with parchment paper. What is the best way to deflate dough into 6 equal portions? On a lightly floured surface (I use tapioca starch), shape each portion into slivers. Place the buns on the prepared baking sheet, leaving some space between them.
Step 7: Second Rise
Cover the buns loosely with plastic wrap or a clean kitchen towel and let them rise for another 10 minutes. 30-45 minutes, or until they have puffed up slightly.
Step 8: Preheat Oven
Preheat your oven to 375°F (190°C) about 20 minutes before the second rise is done.
Step 9: Egg Wash & Topping (Optional)
In a small bowl, whisk together the egg and milk. Set aside. Brush the tops of the buns with egg wash and sprinkle with sesame seeds, if desired. This gives them a lovely golden color and adds tastiness.
Step 10: Bake
Bake the buns for 20-25 minutes, or until they are golden brown on top and sound hollow when tapped. Keep an eye on them during the last few minutes of baking to prevent burning. Every oven is different. Every one has a different
Step 11: Cool
Transfer the buns to a wire rack to cool completely before slicing and serving. Why is slicing them when they’re still warm can make them gummy.
What should I serve it with?
What are the best gluten-free hamburger buns?For a Classic Burger Night:Slap a juicy beef patty, some melted cheese, crisp lettuce, and your favorite burger sauce between them. What are the best buns for a satisfying meal? Don’t forget the fries!What is the best chicken sandwich recipe? Use these buns for grilled, fried, or even shredded chicken sandwiches. Add some avocado, bacon, and a spicy mayo for an extra kick.
What is the best veggie burger you have ever had?These buns are perfect for veggie burgers of all kinds. What are some good black bean burgers to try?For Breakfast:As I said before, use them as buns for breakfast sandwiches! I use these buns to make mini pizzas! What is your favorite topping for a pizza? My kids love me so much. I can’t get enough of them. What are some of the best gluten-free hamburger buns? So many possibilities!
How do I make gluten-free Hamburger Buns?
Okay, friends, I’ve made these **gluten-free hamburger buns**, so I have learned a few things. What are some tips for making a perfect day every time?
Use a Good Quality Gluten-Free Flour Blend:Do all gluten-free flours work? I’ve had the best results with blends that contain xanthan gum, as it helps to bind the ingredients. Is it possible to make more elastic dough? If your blend doesn’t contain xanthan gum, be sure to add it separately, as the recipe indicates.
Don’t overmix the dough: Is itOvermixing gluten free dough can lead to tough and dense buns. If your dough is sticky, don’t worry – that’s normal. Mix the ingredients until just combined.
What is the proof of yeast This step is crucial to ensure your yeast is alive and active. If your yeast doesn’t foam after 5-10 minutes, it might be expired, and you’ll need to start over.
Let the Dough Rise: Gluten-free dough doesn’t rise as much as traditional dough, but it’s still important to give it time to rise. This helps to create a lighter and airier texture. I like to let my dough rise in a warm place for 60-90 minutes for the first rise, and 30-45 minutes for the second rise.
Shape the Buns Gently: When shaping the buns, be gentle and avoid overworking the dough. This will help to prevent them from becoming tough.
Brush with Egg Wash: Brushing the buns with an egg wash before baking gives them a beautiful golden color and adds a nice sheen. You can also sprinkle them with sesame seeds for a classic hamburger bun look.
Cool Completely Before Slicing: This is important because slicing the buns while they’re still warm can make them gummy. Let them cool completely on a wire rack before slicing and serving. I’ve made the mistake of slicing them when they’re warm a few times, and they always end up being too gummy! So, be patient!
Storing and Reheating Tips
These **gluten-free hamburger buns** are best enjoyed fresh, but they can also be stored for later use. Here’s how:
Room Temperature: Store the cooled buns in an airtight container at room temperature for up to 2 days. To keep them from drying out, you can place a slice of bread or a damp paper towel in the container with the buns. However, I highly recommend freezing instead of keeping them at room temperature if you’re not going to eat them within a day.
Refrigerator Storage: For longer storage, you can store the buns in an airtight container in the refrigerator for up to 5 days. But they might dry out so I only do this if I have to.
Freezer Instructions: The best way to store these buns is in the freezer. Wrap each bun individually in plastic wrap, then place them in a freezer bag or airtight container. They can be stored in the freezer for up to 2 months. This way, you can just take one out when you need it. To thaw, simply let them sit at room temperature for 30-60 minutes, or microwave them for a few seconds.
Reheating Tips: To reheat the buns, you can wrap them in foil and warm them in a 350°F (175°C) oven for 5-10 minutes. You can also microwave them for a few seconds, but be careful not to overheat them, as this can make them tough. I also sometimes toast them up!
Frequently Asked Questions
Final Thoughts
These **gluten-free hamburger buns** are truly a game-changer for anyone who’s gluten-free but still wants to enjoy a good burger. They’re soft, chewy, and actually taste like bread! Plus, they’re surprisingly easy to make. I really think you will be impressed. If you’re looking for other amazing gluten-free recipes, be sure to check out my other recipes on the blog. Can’t wait to hear how yours turn out!
Gluten-Free Hamburger Buns
Ingredients
Main Ingredients
- 1.5 cups Gluten-Free All-Purpose Flour Blend with xanthan gum
- 1 tsp Salt
- 2 tsp Sugar
- 1 tbsp Active Dry Yeast
- 1 cup Warm Water 110-115°F
- 2 tbsp Olive Oil
- 1 Egg lightly beaten, for egg wash
- 1 tbsp Sesame Seeds for topping
Instructions
Preparation Steps
- In a large bowl, combine gluten-free flour, salt, sugar, and yeast.
- Add warm water and olive oil. Mix until a sticky dough forms.
- Cover the bowl and let rise in a warm place for 1 hour, or until doubled in size.
- Preheat oven to 375°F (190°C). Line a baking sheet with parchment paper.
- Gently deflate the dough and divide it into 8 equal portions.
- Shape each portion into a round bun and place on the prepared baking sheet.
- Brush the tops of the buns with the beaten egg and sprinkle with sesame seeds.
- Bake for 20-25 minutes, or until golden brown.
- Let cool on a wire rack before slicing and serving.


