There’s something magical about autumn, isn’t there? The crisp air, the scent of woodsmoke, and, of course, the irresistible urge to curl up with a good book. For me, this feeling often brings back memories of rainy afternoons spent tucked away in my grandmother’s cozy living room, a stack of well-loved novels beside me, and a cup of hot cider warming my hands. Now that my own kids are discovering the joys of reading, I find myself wanting to recreate that same sense of wonder for them. This year, as the leaves started to turn those beautiful shades of red and gold, I got a little crafty. I wanted to make reading even more special, especially for those times when we’re diving into spooky stories for Halloween or revisiting classics for Thanksgiving. That’s when the idea for these delightful Fall corner bookmarks.What are some of the best books to make for Christmas?
What are fall corner bookmarks?
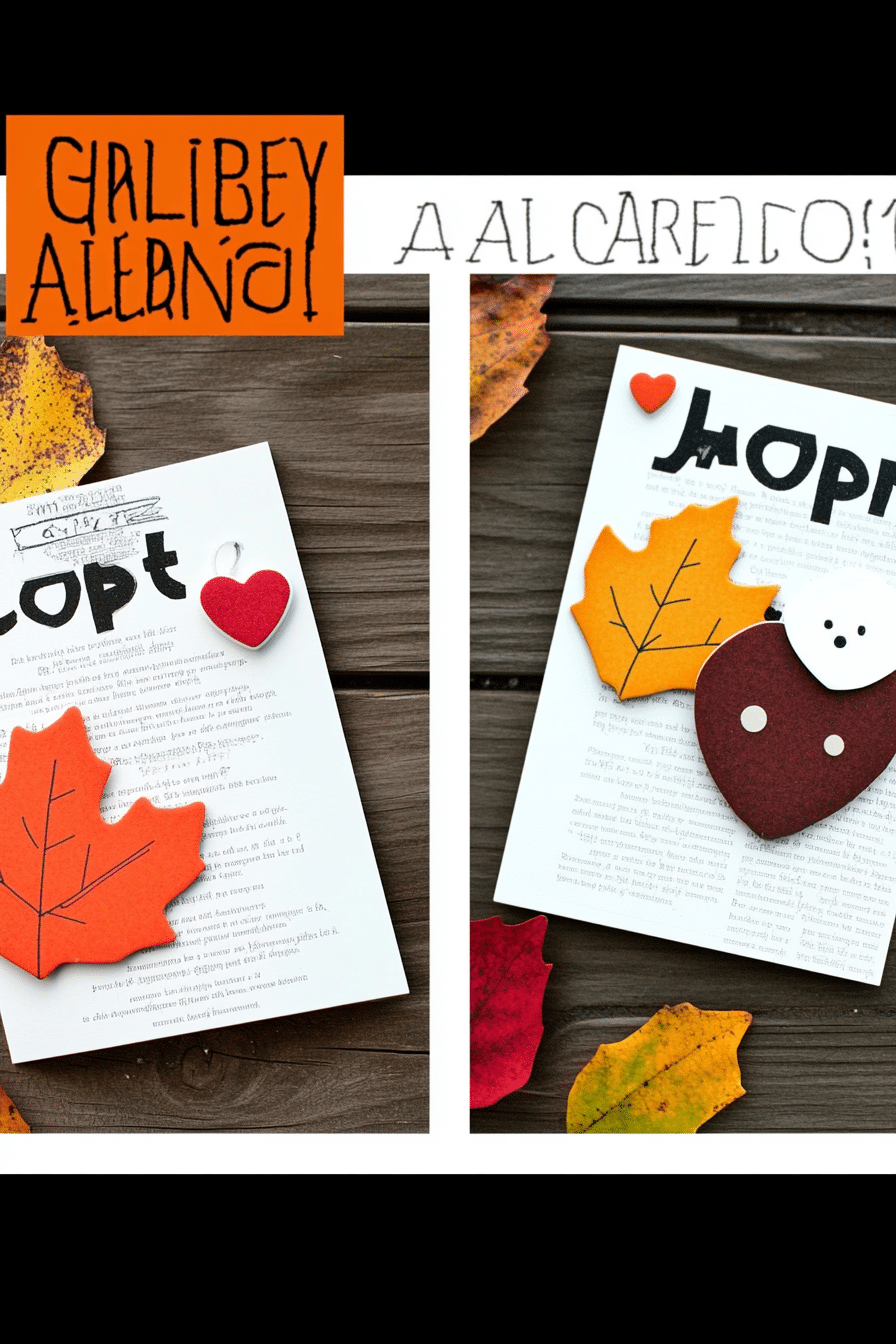
So, what exactly are these charming little things? Think of them as tiny, decorative hugs for the corners of your books. Instead of a bookmark that might slip out or bend pages, these are designed to slip right over the corner of a page. They lay flat, keeping your place perfectly without causing any damage. The “fall” part just means we’re decking them out in all the wonderful colors and motifs of the season – think warm oranges, deep reds, earthy browns, cheerful yellows, and maybe even a touch of spooky black or vibrant purple. We’re talking leaves, pumpkins, acorns, friendly ghosts, and smiling scarecrows. They’re essentially miniature works of art that help you hold your place, and they’re incredibly satisfying to make. It’s like giving your favorite book a little seasonal wardrobe update!
How to Make Fall Corner Bookmarks
Quick Overview
This is a super straightforward project. We’ll be cutting simple shapes, layering them, and then stitching them together. The beauty of these fall corner bookmarks is their simplicity. You essentially create two identical pocket-like pieces that fit together perfectly. The whole process takes less than an hour for a batch, making them ideal for a quick crafting session or even a fun activity with older kids. The end result is a durable, charming bookmark that feels much more substantial and special than a flimsy paper one.
Ingredients
Here’s what you’ll need to gather to bring these little beauties to life:
For the Main Bookmark Structure:
* Fabric Scraps: This is where the fall magic happens! Think cozy flannels, soft cottons, maybe even a bit of fuzzy fleece. You’ll want a variety of autumnal colors: burnt orange, deep burgundy, mustard yellow, forest green, chocolate brown, and cream. For each bookmark, you’ll need two pieces of fabric, each about 3 inches by 3 inches. Don’t worry if they aren’t perfectly square; we’ll trim them up.
For the Decorative Elements:
* More Fabric Scraps or Felt: Smaller pieces for leaves, pumpkins, acorns, little ghosts, or any other fall motifs you fancy. Felt works wonderfully here because it doesn’t fray and is easy to cut into small shapes.
* Embroidery Floss or Matching Thread: A spool of thread in a coordinating color. You can also use contrasting thread for a fun stitched look.
* Optional Embellishments: Tiny buttons for pumpkin stems, small beads for eyes on ghosts, or even a dab of fabric paint for details.
* Fusible Webbing (Optional but Recommended): This is a lifesaver for attaching small fabric pieces without needing pins or a lot of stitching. It’s a heat-activated adhesive that bonds fabric pieces together.
Tools:
* Fabric Scissors: Sharp scissors make a world of difference!
* Rotary Cutter and Cutting Mat (Optional): If you have them, they make cutting fabric squares super precise.
* Iron and Ironing Board: Essential for using fusible webbing and giving everything a crisp finish.
* Sewing Machine or Needle: You can hand-stitch these, or use a sewing machine for speed.
* Pencil or Fabric Marker: For marking fabric.
* Ruler or Measuring Tape
Step-by-Step Instructions
Step 1: Cut Your Fabric Squares
First things first, let’s get our main pieces ready. Take your chosen fall-colored fabrics and cut out two squares for each bookmark. Aim for roughly 3 inches by 3 inches. Precision isn’t absolutely critical here, as we’ll be trimming, but try to get them as close to the same size as possible. These will form the main body of your bookmark. If you’re using a rotary cutter and mat, you can get perfect squares in no time!
Step 2: Design Your Fall Motifs
Now for the fun part – decorating! This is where you can really let your creativity shine and incorporate those adorable fall corner bookmarks vibes. Cut out small shapes from your contrasting fabric scraps or felt. Think simple leaf shapes, little pumpkin circles, acorn caps, or even tiny ghost outlines. If you’re using fusible webbing, cut a piece of fusible webbing slightly larger than your decorative shapes and sandwich it between the decorative fabric and your main fabric square. Press with a hot iron according to the fusible webbing instructions. This will temporarily hold your design in place.
Step 3: Stitch Your Designs (Optional but Recommended)
If you’re going for a more rustic look or want to add extra durability, now’s the time to stitch down your decorative elements. You can use a simple straight stitch on your sewing machine or do some charming hand-stitching with embroidery floss. Blanket stitches look particularly lovely on felt shapes. If you opted for fusible webbing and don’t want any stitching, you can skip this step, but I find a little bit of stitching really adds character and makes the bookmark feel extra special.
Step 4: Prepare the Bookmark Pockets
Now, let’s create the pocket that will actually hold your page. Take one of your decorated fabric squares and fold it in half diagonally to form a triangle. Then, fold that triangle in half again to create a smaller square. Press firmly to create creases. Unfold it back into the triangle shape. Now, fold the two raw edges of the triangle inwards so they meet at the center fold line. Press again. This creates the pocket shape. Repeat this entire process for the second fabric square, ensuring it mirrors the first one in terms of how the folds are made. You want them to fit together like a puzzle piece.
Step 5: Assemble the Bookmark
Time to bring it all together! Take your two folded pocket shapes. You’ll notice one will fit *into* the other. Place one piece on top of the other, aligning the raw edges. The folded edges should create the opening of your bookmark. You should have a perfect right-angle pocket shape when you’re done. If they don’t quite fit, don’t worry, a tiny trim here and there will sort it out. We’re looking for a snug fit.
Step 6: Stitch the Sides
Once your two pocket pieces are aligned and nestled together, it’s time to stitch them securely. You can do this by hand with a simple running stitch or whip stitch around the two open sides (the sides that form the right angle, not the top opening). Alternatively, use your sewing machine and sew along the two open edges, about a quarter-inch seam allowance. Go slowly and carefully. This step secures the two pieces together and creates the final shape of your fall corner bookmark.
Step 7: Trim and Finish
After sewing, trim any excess fabric threads. If you want a cleaner edge, you can do a final trim around the outside edges. Give your bookmark a final press with the iron to make sure everything is crisp and flat. You can also add any final embellishments now, like sewing on a tiny button for a pumpkin stem or adding a few French knots for texture. And voilà! Your adorable fall corner bookmark is ready to grace the pages of your favorite book.
Step 8: Add Any Extra Details (Optional)
This is where you can really personalize your bookmarks. Want to add a little loop for a tassel? Stitch one on now to the center of the top folded edge before you sew the two pocket pieces together. Have some cute little charms? You can attach them with a jump ring to the loop. Tiny buttons can be sewn onto fabric pumpkins for stems, or a few stitches of black embroidery floss can create simple ghost eyes. The possibilities are endless!
Step 9: Test and Enjoy!
Slip your finished fall corner bookmark onto the corner of a page and admire your handiwork. Does it hold its place securely? Does it bring a smile to your face? That’s the most important part! You’ve just created something beautiful and functional, perfect for the cozy reading season.
What to Serve It With
While these fall corner bookmarks are the stars of their own show, they pair wonderfully with other cozy fall activities and treats! Think of them as the perfect companion to your reading sessions.
For Breakfast: Imagine starting your day with a warm mug of chai tea and a new book. Your pumpkin bookmark is peeking out, ready to mark your spot until you can get back to it. It’s the perfect little cheer to kick off your morning, especially on a weekend when you have more time to linger.
For Brunch: Hosting a fall brunch? These bookmarks make the most charming little party favors! Tie them with a bit of twine to a small favor bag of pumpkin spice cookies or a mini jar of local honey. They add a thoughtful, handmade touch that guests will absolutely adore.
As Dessert: Picture this: after a delicious Thanksgiving dinner, you settle into your favorite armchair with a slice of pie and a captivating novel. Your leaf-themed bookmark is the perfect accessory to mark your page as you drift off into a food coma and literary bliss. It’s the little details that make holidays feel so special.
For Cozy Snacks: On a blustery afternoon, there’s nothing better than a hot chocolate and a good book. Your ghost or acorn bookmark is there, adding a touch of whimsy and keeping your place safe while you indulge in a warm cookie and escape into your story. It’s these simple moments that truly define the season for me.
Top Tips for Perfecting Your Fall Corner Bookmarks
Over the years, I’ve learned a few tricks that make crafting these fall corner bookmarks even more enjoyable and ensure they turn out perfectly every time. It’s all about those little details!
Fabric Selection: Don’t be afraid to mix textures! A bit of flannel for warmth, some sturdy cotton for structure, and a touch of velvet or corduroy for a luxe feel can make your bookmarks really stand out. Just make sure your fabrics aren’t too thick, or they might make the bookmark bulky.
Fusible Webbing is Your Friend: Seriously, if you’re attaching small appliqué pieces, fusible webbing is a game-changer. It makes lining up intricate shapes so much easier and prevents them from shifting while you stitch. Just be sure to use a pressing cloth to protect your iron from any stray webbing!
Precise Folding for the Pocket: The key to a bookmark that fits snugly and doesn’t gap is accurate folding in Step 4. Take your time to get those center creases nice and sharp. When you fold the edges into the center, ensure they meet perfectly. This creates the secure pocket that will hug your page.
Sewing Straight: Whether you’re hand-stitching or using a machine, try to keep your stitches as straight and even as possible along the open edges in Step 6. This not only looks neater but also ensures the two pieces are held together securely. A consistent seam allowance (about 1/4 inch) is ideal.
Iron, Iron, Iron!: I can’t stress this enough – pressing your fabric and your seams with an iron throughout the process makes a huge difference. It helps everything lay flat, makes your folds crisp, and gives your finished bookmark a professional, polished look. Don’t skip the ironing board!
Embellishment Placement: When adding buttons, beads, or other embellishments, think about how they will lie against the page. You don’t want anything too bulky or sharp that could potentially damage the paper. Keep them relatively flat and securely attached.
Practice Makes Perfect: Your first few bookmarks might be a little… experimental. That’s totally okay! My initial attempts were a bit wonky, but I learned so much from each one. Don’t get discouraged; just keep going. You’ll quickly get the hang of it, and soon you’ll be churning out perfect little fall treasures.
Creative Swirls and Shapes: Don’t limit yourself to just leaves and pumpkins! Think about cutting out tiny apple shapes, scarecrow hats, or even little swirls of fabric to represent wind. Get creative with your appliqué designs to make truly unique fall corner bookmarks.
Storing and Reheating Tips
Since these are fabric items, “storing” and “reheating” aren’t quite the right terms, but we can talk about keeping them in great condition and ready for use! Think of it as maintaining their coziness.
Room Temperature Storage: When you’re not actively using them, store your fall corner bookmarks in a small box, a decorative tin, or even a little fabric pouch. Keep them away from direct sunlight, which can fade the colors over time, especially if you’re using brighter cottons. They’re pretty durable and don’t need any special climate control!
Refrigerator/Freezer Storage: Absolutely no need for this! Unlike food, these little crafty wonders are perfectly happy at room temperature. In fact, putting them in a cold environment might make the fabric stiff and less pleasant to handle.
Freezer Instructions (for keeping them “fresh”): This is more about keeping them looking their best. If your bookmarks get a little dusty or linty from being in your reading bag, you can gently brush them with a soft brush or use a lint roller. If a fabric piece starts to fray significantly (which shouldn’t happen if stitched well), you can carefully trim the stray threads or even apply a tiny dab of fabric glue to secure it.
Glaze Timing Advice (if you were to add one, which you won’t!): Since we’re not using any edible components here, there’s no “glaze” to worry about. The beauty of fabric is its longevity. Just keep them clean and they’ll last for ages!
Maintaining Their Shape: The best way to keep your fall corner bookmarks looking pristine is to handle them gently and store them flat or loosely. Avoid cramming them into tight spaces where they might get creased or bent out of shape. A little care goes a long way in keeping them looking as charming as the day you made them.
Frequently Asked Questions
Final Thoughts
There you have it – a simple, delightful way to bring a little bit of autumn cheer into your reading life! These fall corner bookmarks are more than just practical tools; they’re little bursts of seasonal joy that can brighten even the dreariest of days. I just love how they feel in my hands and the way they add a personal touch to my books. They’re also such a fantastic way to use up those adorable fabric scraps that seem to multiply in my craft room! If you enjoyed making these, you might also love trying out some other simple fall crafts, like DIY fall-themed coasters or some cute fabric pumpkins. I really hope you give these fall corner bookmarks a try. They’re such a rewarding project, and honestly, they make wonderful little gifts for any book lover in your life. I can’t wait to hear how yours turn out and see what creative designs you come up with! Happy crafting and happy reading!

Fall Corner Bookmarks
Ingredients
For the Bookmark Base
- 0.5 sheet Square paper (cardstock recommended) Approximately 6x6 inches (15x15 cm)
For Decoration
- 1 set Crayons, colored pencils, or markers
- 1 pair Scissors
- 1 bottle Glue stick or liquid glue
- Fall-themed stickers, leaves, or small cutouts (optional)
Instructions
Preparation Steps
- Start with a square piece of paper. If you have rectangular paper, fold one corner down to create a triangle and cut off the excess to make a square.
- Fold the square in half diagonally to form a triangle. Make sure the corners align and crease the fold well.
- With the triangle's longest side at the bottom, fold the right corner up to meet the top point of the triangle. Crease the fold.
- Repeat step 3 with the left corner, folding it up to meet the top point. You should now have a diamond shape with two flaps at the top.
- Take the top layer of the right flap and fold it down into the pocket created by the left flap. This secures the bookmark shape.
- Turn the bookmark over and repeat step 5 with the other flap, tucking it into the pocket on the other side.
- Now, decorate your corner bookmark! Use crayons, colored pencils, or markers to draw fall-themed designs like leaves, pumpkins, acorns, or simple patterns.0.5 sheet Square paper (cardstock recommended)
- You can also add fall-themed stickers or small cutouts to further enhance your bookmark's design. Use glue if needed to secure them.0.5 sheet Square paper (cardstock recommended)
- Once dry, your fall corner bookmark is ready to be used! Simply slide it onto the corner of your favorite book.
Notes
Featured Comments
“Impressed! Clear steps and comforting results. Perfect for busy nights.”
“New favorite here — so flavorful. crowd-pleaser was spot on.”
“Super easy and turned out amazing! My family asked for seconds. Saving this one.”
“This sweet treat was absolutely loved — the fresh really stands out. Thanks!”
“Made it tonight and wow — family favorite! Will definitely make Autumn Corner Bookmarks Kids Can Craft again.”
“Packed with flavor and so simple. Exactly what I wanted from Autumn Corner Bookmarks Kids Can Craft.”