

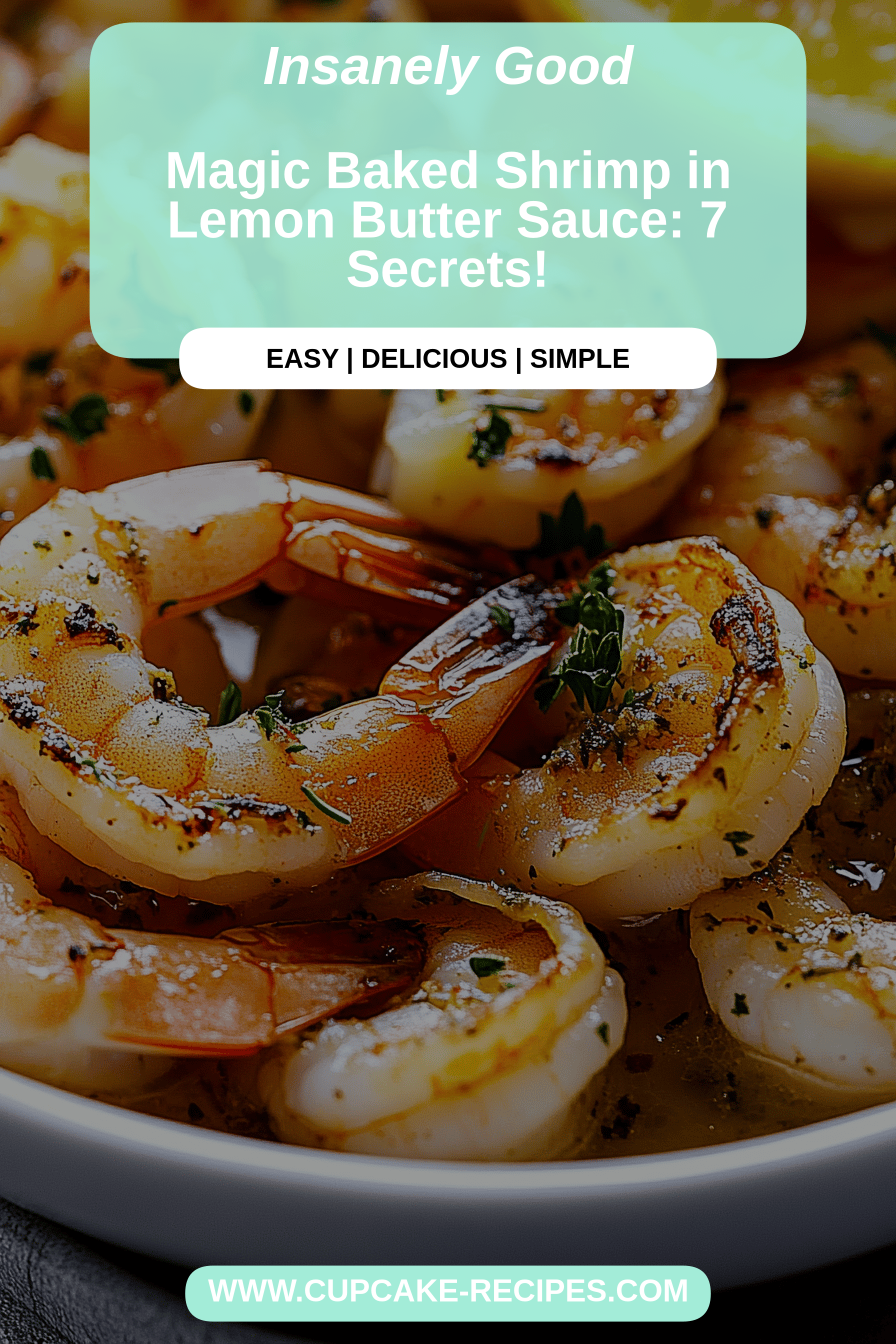
You know those nights? The ones where the clock is ticking down, dinner still needs to happen, and the thought of complicated prep makes you want to order pizza? Yeah, I have those too. But over the years, I’ve collected a few absolute gems that are my go-to when life gets hectic, and this baked shrimp recipe is hands-down one of the best. It’s honestly one of those dishes that feels fancy enough for company but is so ridiculously easy, you can whip it up on a Tuesday. My family devours it, and I’m pretty sure they ask for it more than my famous Chocolate Chip Cookies these days! It’s got this incredible balance of savory, a little bit of richness, and just the right amount of zing. If you’ve ever loved a classic shrimp scampi but wished for something a bit more substantial and less “sauce-over-pasta,” then this baked shrimp is going to be your new best friend. It’s the kind of recipe that makes you feel like a culinary wizard without actually breaking a sweat.
What is Baked Shrimp?
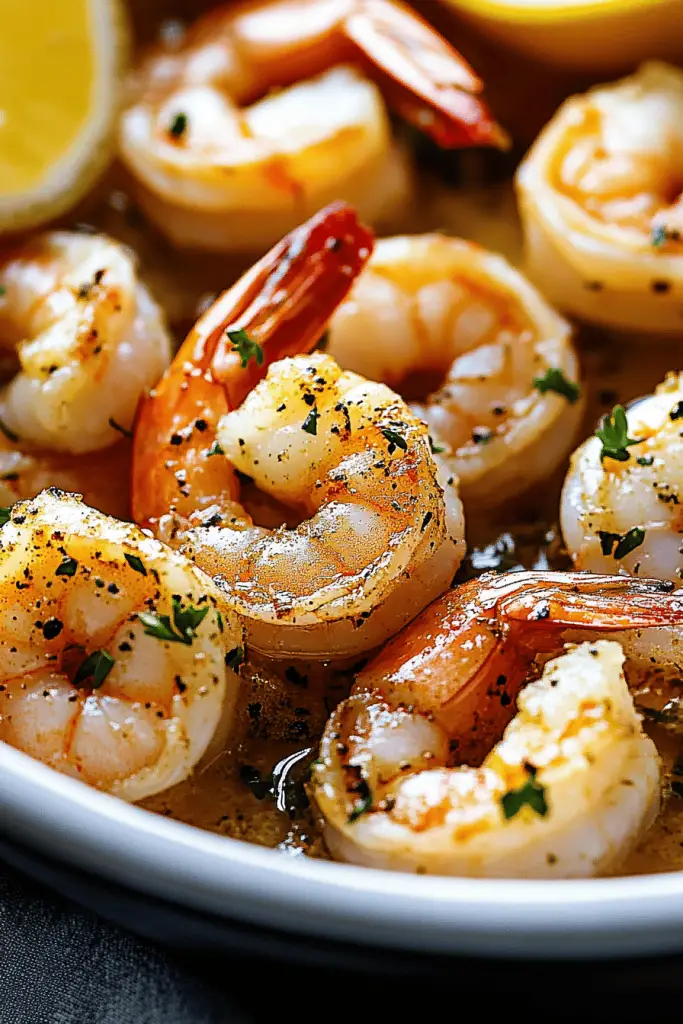
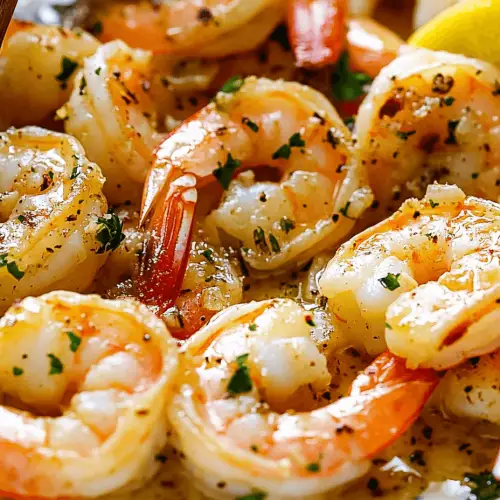
So, what exactly *is* this magical baked shrimp dish? Think of it as the most comforting, flavorful hug you can give yourself (or your family) in one baking dish. It’s essentially plump, juicy shrimp baked in a luscious, savory custard-like base, often with a hint of garlic and herbs, topped with a golden, crispy layer. It’s not a casserole in the traditional sense, and it’s definitely not a simple sauté. The magic happens in the oven, where everything melds together into this incredible, cohesive dish. The ‘baked shrimp’ name might sound straightforward, but the result is anything but. It’s a symphony of textures – tender shrimp, a creamy, rich filling, and that irresistible crispy topping. I’ve seen it called a few things over the years, but ‘baked shrimp’ always feels right because it highlights the star ingredient while hinting at the simple, comforting cooking method. It’s the kind of food that makes you close your eyes and savor each bite.
How do I make Baked Shrimp?
Quick Overview
Making this baked shrimp is almost laughably easy. You’ll basically mix up a creamy base, toss in your seasoned shrimp, pour it into a baking dish, and let the oven do its magic. The whole process from start to finish, including baking time, is surprisingly short, making it perfect for those times you need a fantastic meal without a huge time commitment. It’s all about layering simple flavors and allowing the oven to bring everything together into a harmonious, delicious dish. Don’t be intimidated; it’s designed to be straightforward!
Ingredients
For the Main Batter:
You’ll need about 1 pound of large shrimp. I always go for peeled and deveined because, let’s be real, who has time to do that? Make sure they’re thawed if you’re using frozen. For the base, we’ll use about 2 cups of heavy cream – don’t skimp here, it’s what makes it so rich and luscious! Two large eggs will help bind everything together. For flavor, I always add about 2 cloves of minced garlic (or more if you’re a garlic fiend like me!), a good pinch of salt, and about half a teaspoon of black pepper. Sometimes I’ll throw in a pinch of Red Pepper flakes if I want a little kick, but that’s totally optional.
For the Filling:
This is where you can really play! My standard is about 1 cup of cooked, flaked crab meat (imitation crab works in a pinch if you’re on a budget, but real crab is divine). You can also add some finely chopped fresh parsley for brightness, maybe a tablespoon or two. Some people love to add a bit of finely diced onion or shallots, sautéed first for a milder flavor. I’ve also experimented with adding a bit of shredded cheese, like Parmesan or Gruyere, into the mix, and that’s always a hit.
For the Glaze:
Okay, so technically this isn’t a traditional glaze in the sense of being super sweet, but I like to top it with a sprinkle of Panko breadcrumbs mixed with a tablespoon or two of melted butter. This gives it that irresistible golden, crispy topping that is just heaven. If you’re feeling fancy, you can add some grated Parmesan cheese to the breadcrumbs too!
Step-by-Step Instructions
Step 1: Preheat & Prep Pan
First things first, let’s get that oven nice and hot. I like to preheat it to 375 degrees Fahrenheit (about 190 degrees Celsius). While the oven is warming up, grab a baking dish. An 8×8 inch or a similar-sized shallow baking dish works perfectly for this amount. You don’t need to grease it aggressively, but a light spray of cooking oil or a small smear of butter is a good idea to prevent any sticking.
Step 2: Mix Dry Ingredients
In a medium bowl, combine your Panko breadcrumbs, melted butter, and any optional Parmesan cheese you’re using for the topping. Give it a good stir with a fork until the breadcrumbs are evenly coated. Set this aside for now; it’s going to go on top later.
Step 3: Mix Wet Ingredients
Now, let’s make the creamy base. In a larger bowl, whisk together the heavy cream and the eggs until they’re well combined and there are no streaks of egg yolk or white showing. This forms the luscious binder for our baked shrimp. Add in your minced garlic, salt, and Black Pepper. If you’re feeling brave and want a little heat, toss in those red pepper flakes now.
Step 4: Combine
Gently fold in your prepared shrimp and the crab meat (or any other filling ingredients you’re using) into the cream mixture. You want to coat everything evenly without being too rough, so you don’t break up the shrimp too much. Just a gentle toss to ensure every piece is nestled in that creamy goodness.
Step 5: Prepare Filling
If you’re adding any sautéed onions or shallots, or other pre-cooked elements to your filling, make sure they’re prepped and ready to go before you start combining the wet and dry. My personal favorite is just the flaked crab meat and fresh parsley mixed directly into the cream mixture. It keeps things super simple and lets the seafood flavors shine.
Step 6: Layer & Swirl
Pour the entire shrimp and cream mixture into your prepared baking dish. Spread it out evenly so the shrimp are distributed nicely. Now, sprinkle that buttery Panko breadcrumb mixture evenly over the top. This is what’s going to give you that beautiful, golden-brown, crispy crust.
Step 7: Bake
Pop the dish into your preheated oven. You’ll want to bake it for about 20-25 minutes. The edges should start to look set and bubbly, and the topping should be beautifully golden brown. You can always peek in after 18 minutes to see how it’s doing. The shrimp should be cooked through, firm, and opaque.
Step 8: Cool & Glaze
Once it’s out of the oven, let it rest for about 5-10 minutes. This is crucial! It allows the creamy filling to set up a little more, so it’s not too runny when you serve it. The topping will also stay wonderfully crisp.
Step 9: Slice & Serve
You can serve this directly from the baking dish, scooping out portions onto plates. It’s hearty and satisfying. I like to serve it warm, right after that short resting period, to get the most out of that crispy topping and tender shrimp.
What to Serve It With
This baked shrimp is honestly so versatile, it can fit into almost any mealtime. For a proper breakfast or brunch, I love to serve it alongside some crusty, toasted sourdough bread for dipping into that amazing creamy base. A simple side of scrambled eggs or a fresh Fruit Salad is also a fantastic addition to round out the meal. If you’re leaning towards a brunch vibe, imagine this alongside some roasted asparagus and maybe a mimosa – it feels quite elegant! For a lighter lunch, a big, crisp green salad with a bright vinaigrette is the perfect counterpoint to the richness of the baked shrimp. And for dinner? Oh, this is where it shines. It’s wonderful served as is, especially if you’ve got plenty of bread for mopping. Or, you can serve it alongside some simple roasted potatoes or a pilaf of wild rice. If you’re craving something comforting and substantial, a side of mashed potatoes wouldn’t be out of the question either! My kids especially love it when I serve it with some simple steamed broccoli because they can just dunk everything in. It’s truly a dish that can adapt to whatever you have on hand or whatever you’re in the mood for.
Top Tips for Perfecting Your Baked Shrimp
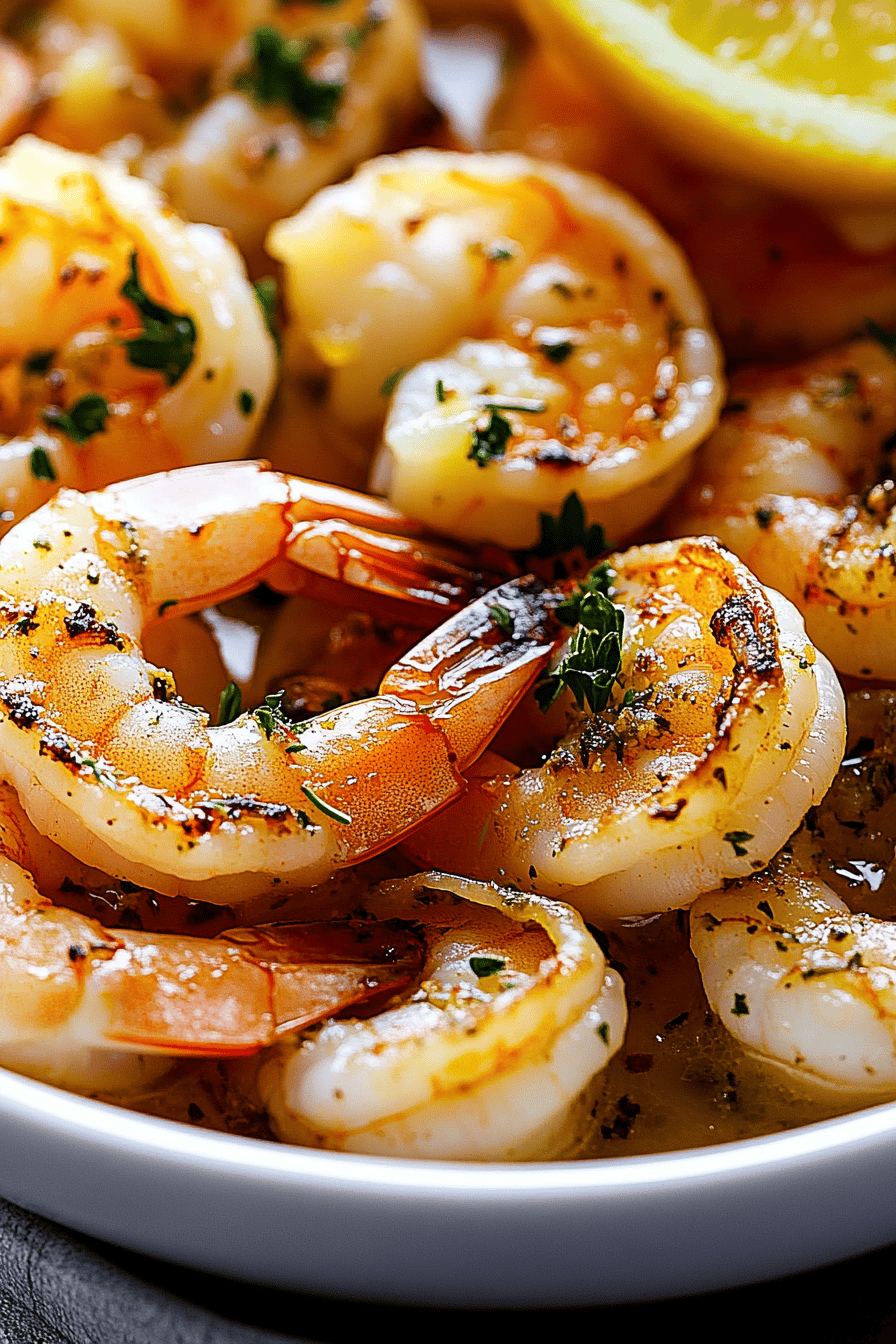
Over the years, I’ve tinkered with this recipe quite a bit, and I’ve picked up a few tricks that I think really make a difference. For the shrimp itself, using good quality, large shrimp is key. They hold up well to baking and have a great texture. Make sure they’re not overcooked before they go into the dish; they’ll continue to cook in the oven. If you’re using frozen shrimp, make sure they are fully thawed and, importantly, patted *very* dry with paper towels. Excess moisture can make the base watery. When it comes to the creamy base, heavy cream is your best friend here. While you *could* try a lighter option, it really won’t achieve that same rich, decadent texture that makes this dish so special. I learned that the hard way after a test run with half-and-half, and it just wasn’t the same! For the crab meat, if you can get fresh or good quality lump crab, go for it. It adds a beautiful depth of flavor. If you’re using imitation crab, just know it will be a bit sweeter and less complex, but still delicious! For that crunchy topping, Panko breadcrumbs are non-negotiable in my book. They get so much crispier than regular breadcrumbs. And don’t be shy with the butter; it helps toast them to golden perfection. When it comes to baking, keep an eye on it towards the end. Ovens can be so different! You’re looking for that golden crust and for the filling to be set and bubbly. If your topping is browning too quickly but the inside isn’t ready, you can always loosely tent it with foil for the last few minutes. I’ve also found that adding a little squeeze of fresh lemon juice right before serving can really brighten up all the flavors, especially if you’ve used a richer crab meat. It’s a small step that makes a big impact.
Storing and Reheating Tips
This baked shrimp is honestly best enjoyed fresh out of the oven, especially for that glorious crispy topping. However, leftovers do happen, and they are still quite delicious! If you find yourself with some, let it cool completely in the baking dish before covering it tightly with plastic wrap or foil. You can store it in the refrigerator for up to 2-3 days. The topping won’t be quite as crispy after refrigeration, but the flavors meld beautifully. When it comes to reheating, I’ve found the best way to get some of that crispiness back is to reheat it in a moderate oven, around 350 degrees Fahrenheit (175 degrees Celsius), for about 15-20 minutes, or until heated through. You can also reheat individual portions in the microwave, but be aware the topping will be softer. If you’re planning ahead and want to freeze portions, I’d recommend baking it and then letting it cool completely. Portion it out into freezer-safe containers. It should keep well in the freezer for up to 1-2 months. Thaw it overnight in the refrigerator before reheating as described above. I usually don’t add the breadcrumb topping if I’m freezing it, and instead, I’ll top it with fresh Panko and butter right before baking it from a chilled state. This gives you a much better chance of recapturing that delightful crunch.
Frequently Asked Questions
Final Thoughts
So there you have it – my go-to baked shrimp recipe! I truly hope you give this one a try. It’s one of those dishes that consistently delivers, impressing everyone who tries it while being so forgiving and easy for the cook. It’s a testament to how simple, quality ingredients can come together to create something truly special. If you loved this recipe and are looking for more easy yet impressive seafood dishes, you might also want to check out my recipe for Garlic Butter baked cod or my quick pan-seared scallops. They’re all in the same vein of deliciousness without the fuss! I can’t wait to hear what you think of this baked shrimp. If you make it, please let me know in the comments below how it turned out, or share your own favorite variations! Happy cooking!
Simple Baked Shrimp
Ingredients
Main Ingredients
- 0.5 kg Shrimp Peeled and deveined
- 4 cloves Garlic Minced
- 0.125 cup Olive oil
- 0.5 tsp Salt
- 0.25 tsp Black pepper
- 0.5 tsp Paprika
- Lemon wedges For serving
- 2 tbsp Fresh parsley Chopped, for garnish
Instructions
Preparation Steps
- Preheat your oven to 200°C (400°F).
- In a large bowl, combine the shrimp, minced garlic, olive oil, salt, black pepper, and paprika.0.5 kg Shrimp
- Spread the shrimp in a single layer on a baking sheet.
- Bake for 12-15 minutes, or until the shrimp are pink and cooked through.
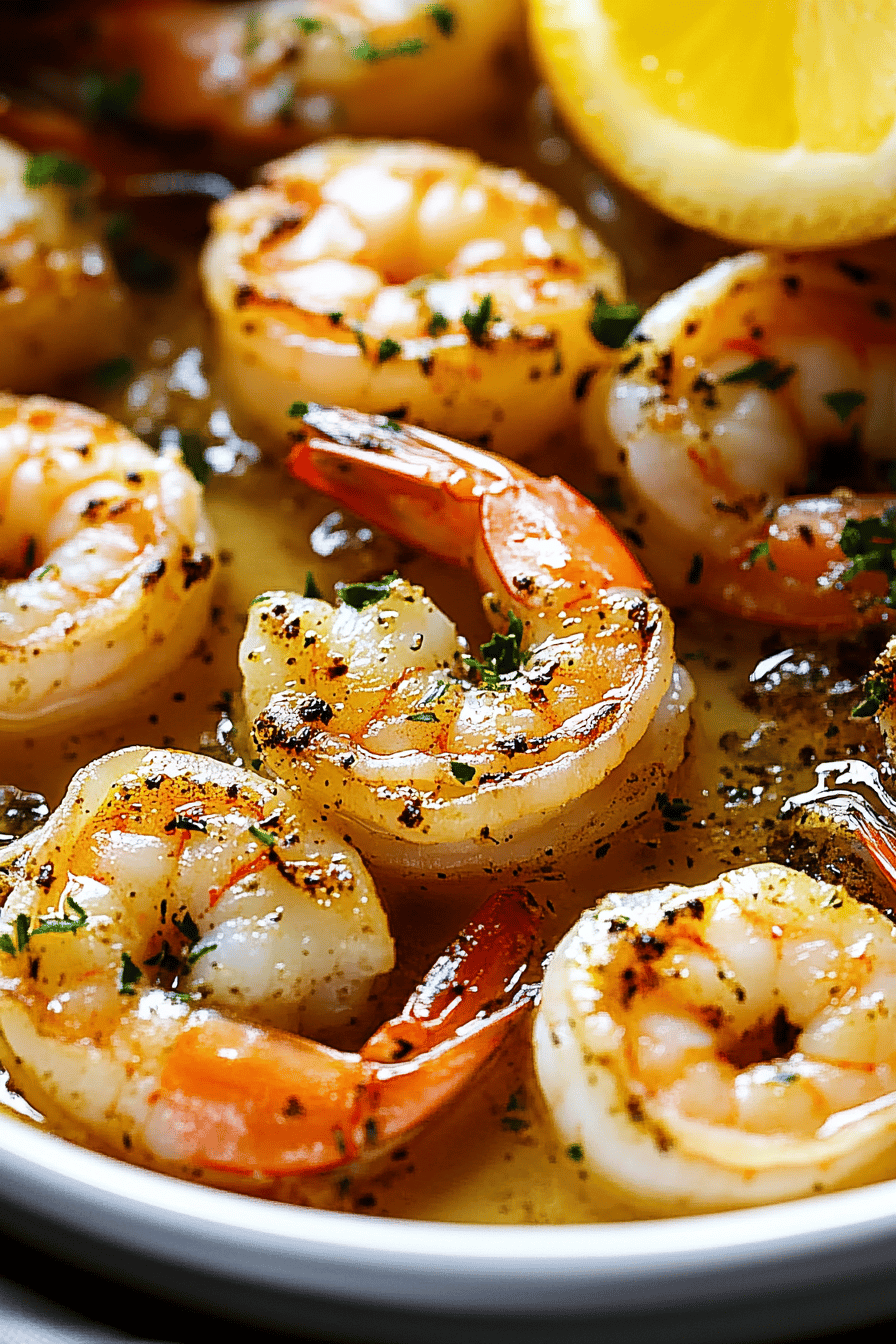
- Garnish with fresh chopped parsley and serve immediately with lemon wedges.0.5 kg Shrimp
Notes
Featured Comments
“Impressed! Clear steps and quick weeknight win results. Perfect for busy nights.”
“New favorite here — absolutely loved. crowd-pleaser was spot on.”
“Super easy and turned out amazing! My family asked for seconds. Saving this one.”
“This sweet treat was absolutely loved — the zingy really stands out. Thanks!”
“Made it tonight and wow — spot on! Will definitely make baked shrimp again.”
“Packed with flavor and so simple. Exactly what I wanted from baked shrimp.”


