


The Best Fluffy Keto Bread Buns You’ll Ever Make
Let’s be real for a second—if you’re following a keto lifestyle, the one thing you probably crave more than anything else is a good, solid piece of bread. I know I definitely did! When I first started cutting carbs, I thought my days of enjoying a proper hamburger or a satisfying deli sandwich were completely over. I tried the lettuce wraps, and sure, they’re fine, but they just don’t hit the spot when you’re desperate for that comforting, carb-heavy bite.
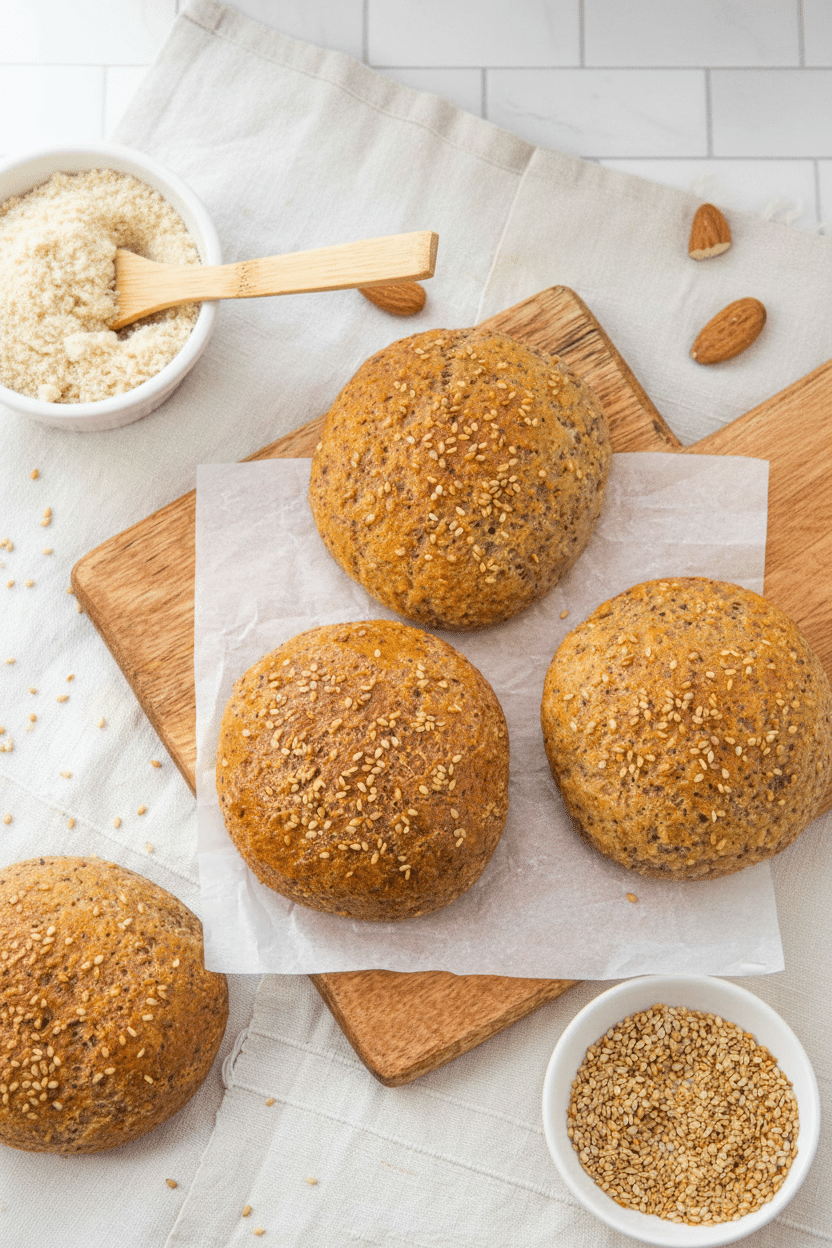
That’s exactly why I spent so much time perfecting these keto bread buns. I wanted something that actually felt like bread, tasted like bread, and could hold up to a juicy burger without crumbling into a sad, soggy mess. And let me tell you, this recipe is an absolute game-changer. You get that classic bakery roll vibe, complete with a golden crust and a soft, chewy center, all for just 3 grams of net carbs per roll. Trust me, once you pull these beauties out of your oven, sticking to your low-carb goals is going to feel infinitely easier and way more delicious!
What Are Keto Bread Buns?
So, what exactly are keto bread buns? If you’ve ever baked traditional bread, you know it relies heavily on wheat flour and yeast to get that towering rise and fluffy interior. Since we’re keeping things low-carb and macro-friendly, we have to get a little creative with our ingredient swaps.
These buns are a brilliant, grain-free alternative made primarily from fine almond flour and psyllium husk. The psyllium husk is the real magic trick here—it acts as a powerful binder, absorbing moisture and giving the dough that stretchy, bread-like structure we all crave. We also add a tiny pinch of dry yeast. Now, the yeast isn’t here to make the dough rise (we rely on baking powder and egg whites for that lift), but it infuses the buns with that incredibly nostalgic, subtle yeasty flavor that makes your brain think, “Yes, this is real bread!” They’re completely gluten-free, keto-approved, and bake up into the perfect round rolls for any meal.
How to Make Keto Bread Buns
Quick Overview
Making these keto bread buns is honestly a breeze, even if you’re totally new to gluten-free baking. The whole process takes just over an hour from start to finish, and most of that is simply hands-off baking time. We start by whisking together our dry ingredients to make sure everything is perfectly blended. Then, we add in our wet ingredients—warm water, egg whites, and a splash of apple cider vinegar—and stir until a dough forms.
The most crucial part of this entire process is the resting phase. You absolutely must let the dough sit for about ten to fifteen minutes. This gives the psyllium husk time to drink up the liquids and firm up the dough so you can actually shape it into beautiful, round buns. After a quick egg wash and a sprinkle of sesame seeds, they’re off to the oven to bake to golden perfection.
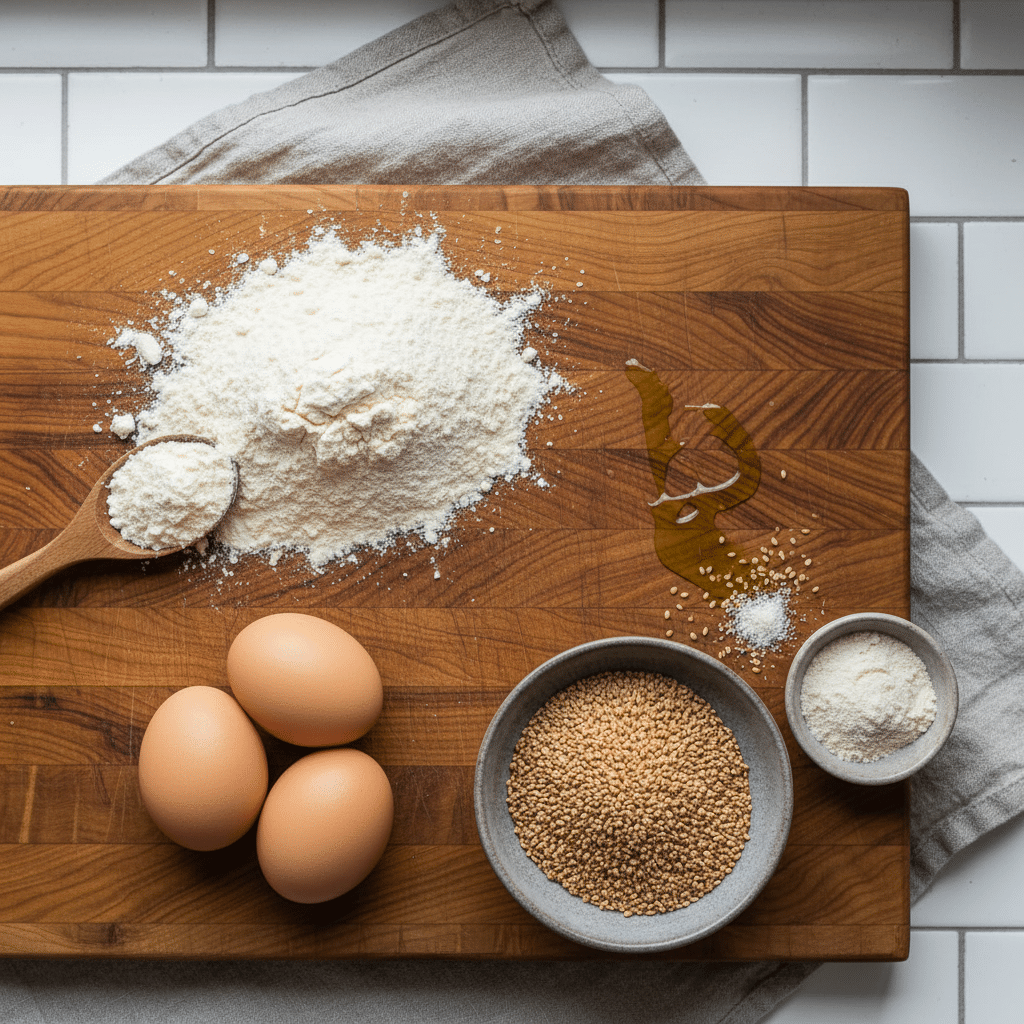
Ingredients
- 1 1/2 cups almond flour: Make sure to use fine almond flour, not almond meal, for the softest texture.
- 4 tablespoons psyllium husk: This is essential for structure and that chewy, bread-like bite.
- 2 teaspoons baking powder: Gives the buns a nice lift so they don’t turn out dense.
- 1/2 teaspoon dry yeast: Just for that classic, comforting bread flavor!
- 3 egg whites: Helps keep the buns light and airy.
- 1/2 cup warm water: Activates the psyllium husk. Make sure it’s lukewarm, not boiling hot.
- 2 teaspoons apple cider vinegar: Reacts with the baking powder for better texture and balances the flavors.
- 1/2 teaspoon salt: Do not skip this, or your bread will taste very bland.
- Sesame seeds: Optional, but they give it that gorgeous “bakery roll” finish.
- 1 egg yolk: For brushing on top to get a glossy, golden-brown crust.
Step-by-Step Instructions
Step 1: Preheat & Prep Pan
Start by preheating your oven to 350°F. Grab a baking sheet and line it with a piece of parchment paper. This ensures your buns won’t stick to the pan and makes cleanup a total breeze.
Step 2: Mix the Dry Ingredients
In a large mixing bowl, combine the fine almond flour, psyllium husk, baking powder, dry yeast, and salt. Give it a really good stir with a spoon or a whisk so that all the ingredients are evenly distributed.
Step 3: Add Wet Ingredients & Knead
Pour in the egg whites, warm water, and apple cider vinegar. Stir everything together until the dough just starts to form. Then, ditch the spoon, get in there with your hands, and knead gently until you have a smooth, uniform ball of dough.
Step 4: Let the Dough Rest
Leave the dough in the bowl and let it rest for 10 to 15 minutes. Please don’t skip this step! The psyllium husk needs this time to fully hydrate, which firms up the dough and gives the buns their proper texture.
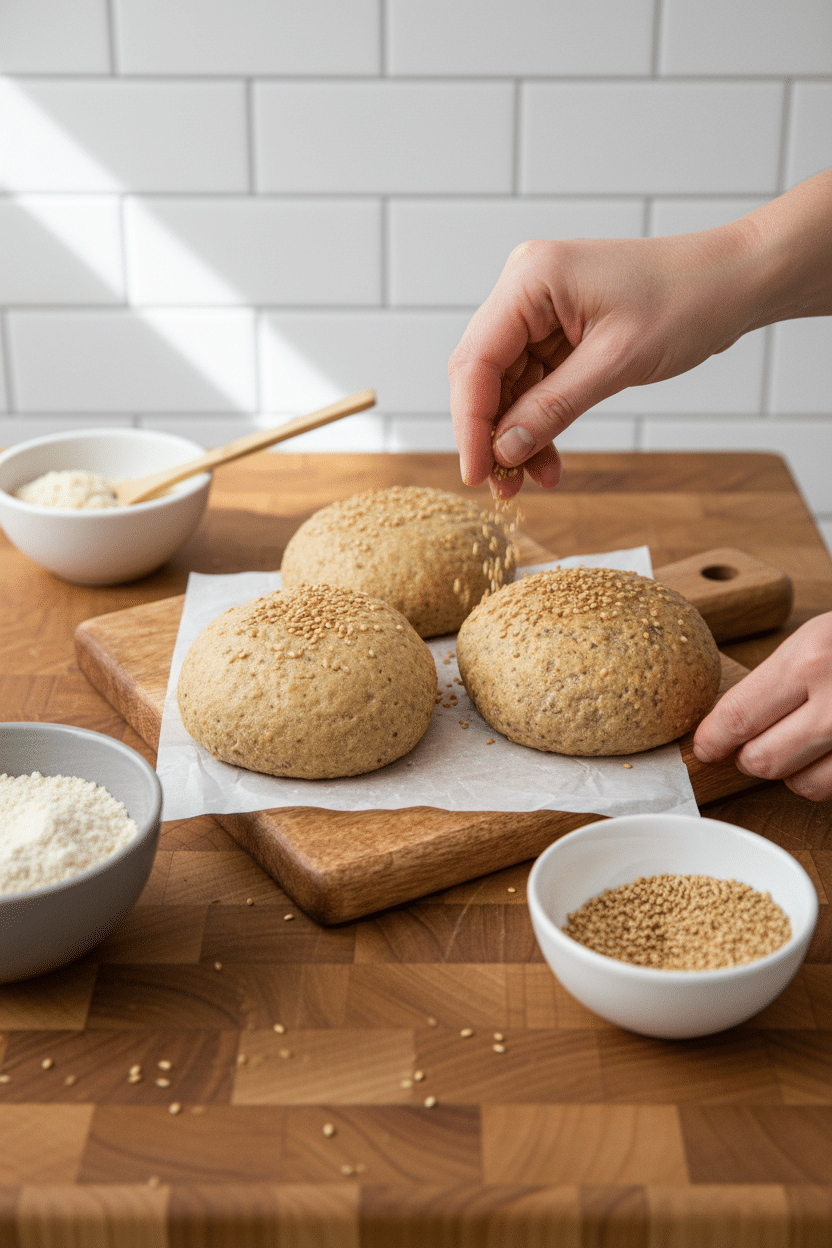
Step 5: Shape & Top the Buns
Once rested, divide the dough evenly into 6 portions. Roll them between your palms to shape them into smooth buns, and place them onto your prepared baking sheet. Lightly brush the tops with the egg yolk, and sprinkle on your sesame seeds.
Step 6: Bake to Golden Perfection
Bake for a total of 40 to 45 minutes. For the absolute best results, bake the first 20 minutes with bottom heat only. Then, switch your oven to top and bottom heat for the remaining 20 to 25 minutes. You’ll know they’re done when they are a deep golden brown and feel firm to the touch.
Step 7: Cool Completely
Remove the buns from the oven and let them cool completely on a wire rack before you try to slice them. Cooling helps the crumb set properly so they don’t turn gummy inside!
What to Serve It With
These keto bread buns are so versatile, you can use them anywhere you’d normally use a traditional roll. My absolute favorite way to enjoy them is as a sturdy hamburger bun. Pile on a juicy beef patty, cheddar cheese, bacon, and some sugar-free ketchup, and you won’t even realize you’re eating a low-carb meal!
They are also fantastic for making deli sandwiches. Think thick slices of roasted turkey, provolone, crisp lettuce, and mayo. If you’re craving a cozy dinner, try serving them warm alongside a big bowl of keto cheeseburger soup or a hearty beef stew. You can even slice one in half, toast it, and slather it with cream cheese or butter for a quick, satisfying morning snack.
Top Tips for Perfecting Your Keto Bread Buns
To make sure your buns turn out perfectly every single time, keep these simple tips in mind:
- Watch your water temperature: The water should be lukewarm, like bathwater. If it’s too hot, it can mess with the texture of the dough, and if it’s too cold, the psyllium won’t hydrate properly.
- Customize the flavor: Want to switch things up? Toss a teaspoon of garlic powder, dried oregano, or thyme into the dry ingredients for an amazing savory herb roll.
- Let them cool: I know it’s incredibly tempting to slice into a warm roll right out of the oven, but gluten-free baking needs time to set. Slicing too early can result in a mushy center. Patience pays off here!
Storing and Reheating Tips
If you have leftovers (which is a big “if” in my house!), you can store these buns in an airtight container at room temperature for up to 3 days. If you want them to last a bit longer, pop them in the fridge where they’ll stay fresh for up to a week.
They also freeze beautifully! Just place them in a freezer-safe bag, and they’ll keep for up to 2 months. When you’re ready to eat one, let it thaw at room temperature. For the absolute best texture, slice it in half and give it a quick toast before serving. Toasting brings the crumb right back to life and makes it taste like it was freshly baked all over again.
Frequently Asked Questions
Final Thoughts
Finding a good bread replacement is usually the hardest part of transitioning to a low-carb diet, but these keto bread buns honestly make it so incredibly easy. They’re soft, sturdy, and pack that nostalgic bread flavor we all know and love, without any of the carb-heavy guilt. Whether you’re using them for a massive backyard burger or just dipping them into your favorite soup, I know they’re going to hit the spot.
If you give this recipe a try, I’d be absolutely thrilled if you left a comment and a star rating below! Hearing how they turned out for you makes my day, and it helps me know what kind of comforting, low-carb recipes you want to see more of in the future. Happy baking, friends!

Keto Bread Buns
Ingredients
Main Ingredients
- 1.5 cups almond flour
- 4 tablespoons psyllium husk
- 2 teaspoons baking powder
- 0.5 teaspoon dry yeast
- 3 egg whites
- 0.5 cup warm water
- 2 teaspoons apple cider vinegar
- 0.5 teaspoon salt
- Sesame seeds for topping
- 1 egg yolk for brushing
Instructions
Preparation Steps
- Preheat the oven to 350°F and line a baking sheet with parchment paper.
- In a large bowl, combine the almond flour, psyllium husk, baking powder, dry yeast, and salt. Give it a good mix with a spoon so everything is evenly distributed.
- Add the egg whites, warm water, and apple cider vinegar. Stir until the dough starts to come together.
- Switch to using your hands and knead gently until you have a uniform dough.
- Let the dough rest for 10–15 minutes so the psyllium husk can fully hydrate and firm everything up. This step helps with texture, so don’t skip it.
- Divide the dough into 6 portions and shape into rolls.
- Place them on the prepared baking sheet. Brush the tops with egg yolk for that golden finish, then sprinkle with sesame seeds if you like.
- Bake for 40–45 minutes total. Bake the first 20 minutes with bottom heat only, then switch to top and bottom heat for the remaining 20–25 minutes, until the rolls are golden brown and firm to the touch.
- Let them cool before slicing or serving. This helps the texture set properly.
Notes
Featured Comments
“Impressed! Clear steps and crowd-pleaser results. Perfect for busy nights.”
“New favorite here — absolutely loved. crowd-pleaser was spot on.”
“Super easy and turned out amazing! My family asked for seconds. Saving this one.”
“This sweet treat was absolutely loved — the light really stands out. Thanks!”
“Made it tonight and wow — crowd-pleaser! Will definitely make Best 7 Secrets for Perfect Gluten-Free Buns: Hamburger Recipes Revealed! again.”
“Packed with flavor and so simple. Exactly what I wanted from Best 7 Secrets for Perfect Gluten-Free Buns: Hamburger Recipes Revealed!.”


