

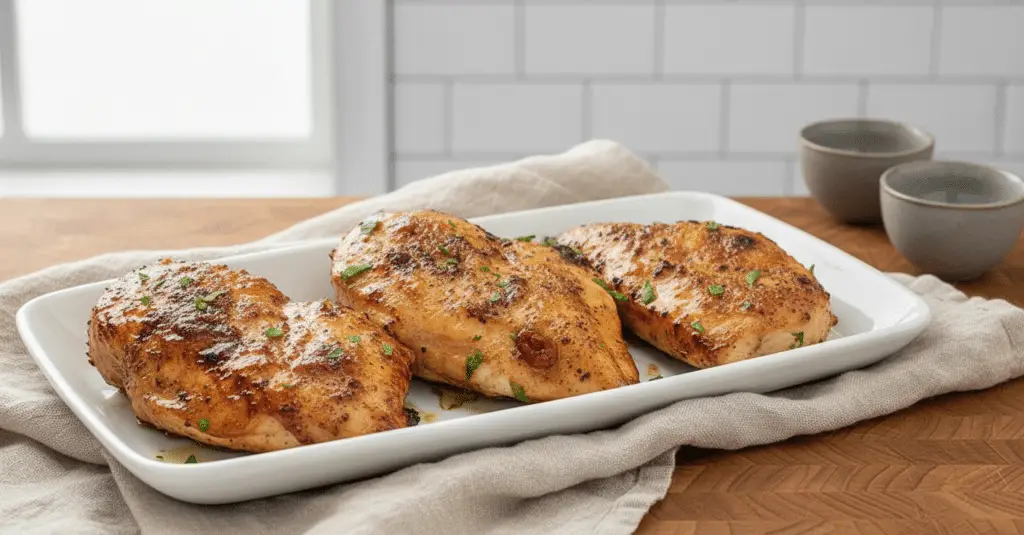
Garlic Brown Sugar Chicken
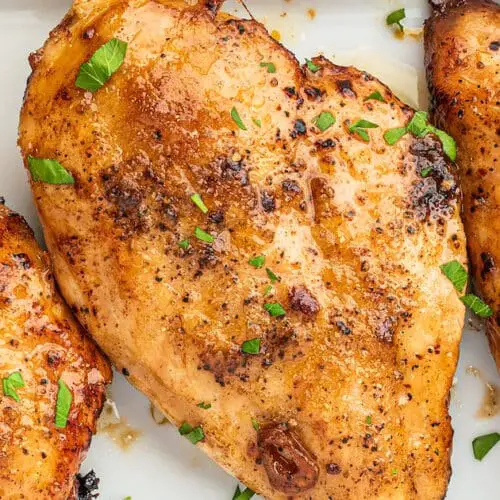
Let’s be real for a second. We all have those evenings where the clock strikes 6:00 PM, the kids are starving, and the thought of spending an hour in the kitchen makes you want to immediately order takeout. That was me last Tuesday. But before you reach for that delivery app, let me introduce you to my absolute lifesaver: this Garlic Brown Sugar Chicken. I stumbled upon this flavor combination when I literally only had four ingredients left in my fridge and pantry, and let me tell you, it was a happy accident that changed our dinner rotation forever. It is juicy, incredibly tender, and has that irresistible sticky-sweet and savory glaze that makes it look and taste like you spent hours marinating and roasting. The best part? You can have this gorgeous meal on the table in under thirty minutes. It is the perfect back-pocket recipe for busy families, exhausted professionals, or anyone who just loves a darn good piece of chicken without the fuss. Grab your skillet, and let’s make your new favorite weeknight dinner!
What Is Garlic Brown Sugar Chicken?
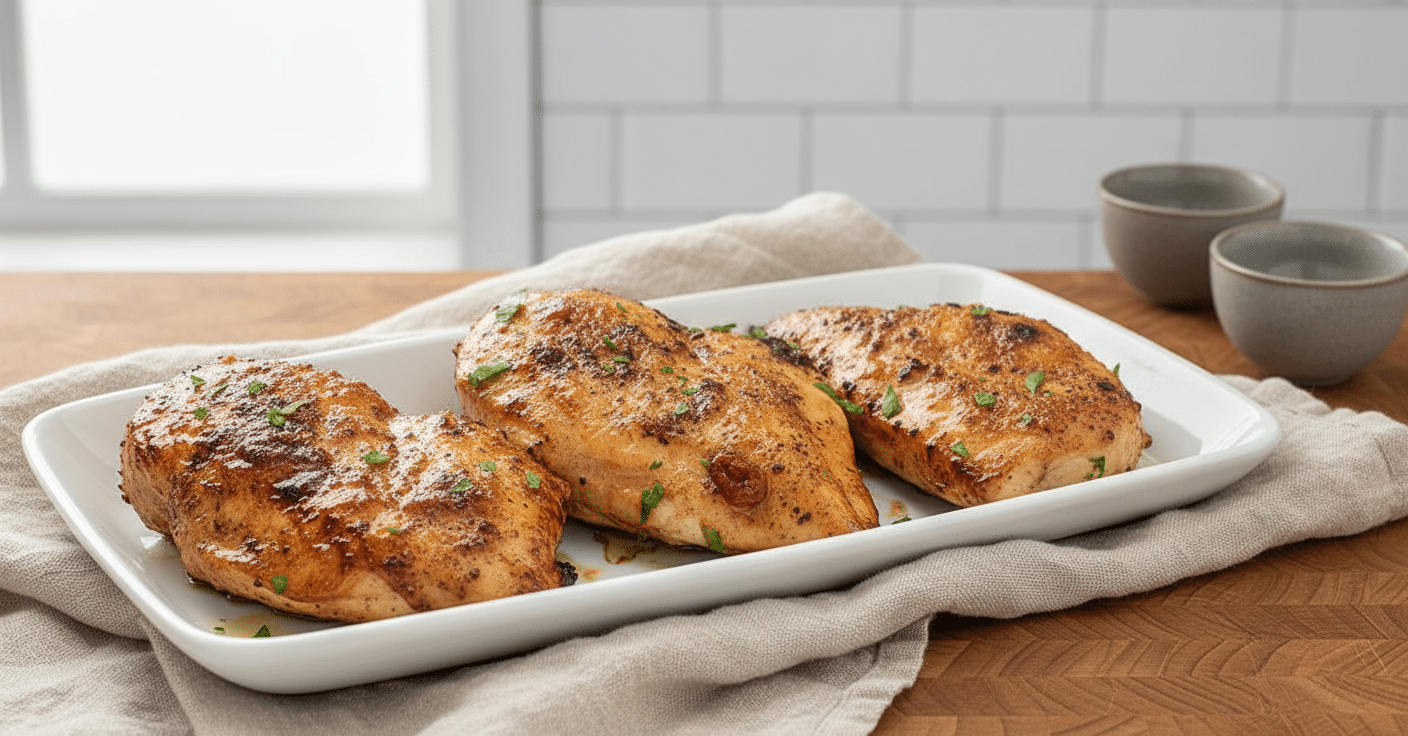
So, what exactly is Garlic Brown Sugar Chicken? If you have never tried mixing sweet and savory flavors in a quick pan-sear, you are in for a massive treat. At its core, this dish is a simple, pan-fried chicken breast recipe that relies on a very short, very punchy list of ingredients to create a mouthwatering glaze. You start by searing beautifully seasoned chicken breasts in rich, melted butter infused with fragrant, freshly sliced garlic. Then, right at the very end of the cooking process, you sprinkle dark brown sugar over the top of the hot chicken. As the pan is covered, the heat transforms that sugar, melting it down into the buttery garlic pan juices to create a sticky, caramelized, sweet-and-savory sauce that coats every single bite. It is not overly sweet like a dessert, nor is it overwhelmingly pungent from the garlic. Instead, the sharp bite of the black pepper and the savory chicken juices balance the brown sugar perfectly. It is a humble, four-ingredient masterpiece that tastes like a complex, slow-cooked restaurant meal, all made right on your stovetop.
How to Make Garlic Brown Sugar Chicken
Quick Overview
Making this Garlic Brown Sugar Chicken is incredibly straightforward, which is exactly why it is my go-to for busy nights. The entire process happens in just one skillet, meaning cleanup is going to be an absolute breeze. You will start by seasoning your chicken and getting that garlic-infused butter bubbling away in your pan. The magic really happens during the covered cooking time, which traps the steam and ensures your chicken breasts stay perfectly juicy and tender inside while getting a gorgeous sear on the outside. Finally, that quick sprinkle of brown sugar at the end melts down into a glossy, irresistible glaze. It is practically foolproof, even if you consider yourself a total beginner in the kitchen!
Ingredients
Here is what you need to grab from your kitchen. Notice the easy rule of fours! It makes memorizing this recipe a breeze.
- Chicken Breasts: 4 boneless, skinless chicken breasts (about 1.5 pounds). You can totally swap these for boneless thighs if you prefer dark meat!
- Butter: 4 tablespoons to give us that rich, golden base for searing.
- Fresh Garlic: 4 cloves, sliced. Slicing rather than mincing gives you a softer, sweeter garlic flavor in every bite without burning too quickly.
- Brown Sugar: 4 tablespoons. I love dark brown sugar for that deeper molasses flavor, but light brown sugar works great too.
- Salt and Pepper: Kosher salt and freshly cracked black pepper to taste. Do not skip the pepper; it balances the sweetness beautifully!

Step-by-Step Instructions
Start by taking your chicken breasts and generously seasoning both sides with kosher salt and freshly cracked black pepper. Set them aside for a moment while you get your pan ready.
Place a large sauté pan over medium-high heat and toss in your butter. Once it is beautifully melted and bubbling, add your sliced garlic. Let it cook for just about 30 seconds until it smells absolutely amazing. Keep an eye on it so it does not burn!
Carefully place your seasoned chicken breasts into the hot, garlicky butter. Cover the pan with a tight-fitting lid and let them cook undisturbed for 12 minutes. This traps the moisture and keeps the chicken incredibly juicy.
Remove the lid, flip the chicken breasts over, and continue cooking until they are completely cooked through. You are looking for an internal temperature of 165 degrees Fahrenheit on your meat thermometer.
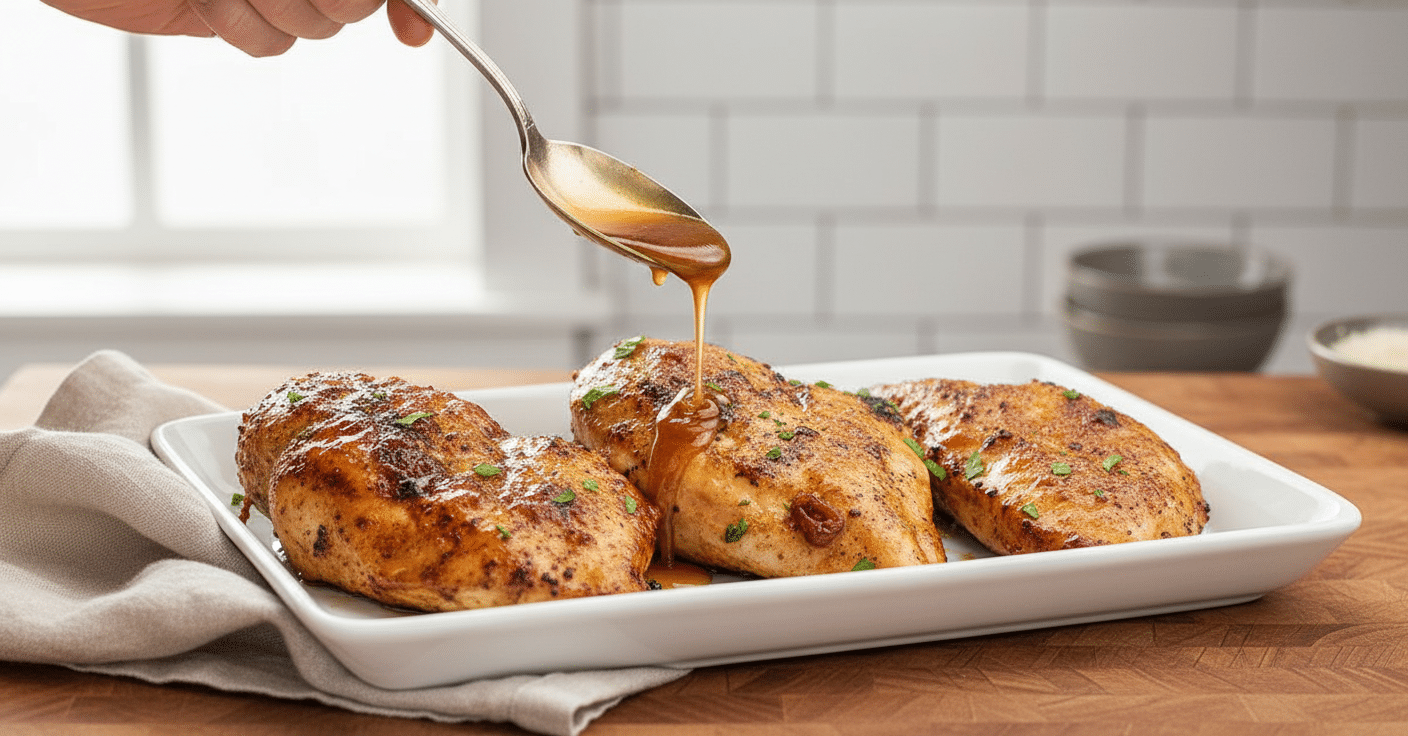
Sprinkle exactly one tablespoon of brown sugar evenly over the top of each chicken breast. Pop the lid back on the pan for another 1 to 2 minutes. The steam will melt the sugar into the buttery pan juices, creating a glorious glaze. Serve immediately and enjoy!
What to Serve It With
Because this Garlic Brown Sugar Chicken is so delightfully flavorful, it pairs beautifully with almost any side dish you can dream up. I always lean towards sides that can soak up that extra buttery, sweet pan sauce!
- Fresh Veggies: Steamed or roasted broccoli is a massive hit in my house. Sautéed green beans or roasted mushrooms also pair wonderfully with the sweet glaze.
- Rice or Quinoa: Serve the chicken over a fluffy bed of white rice, brown rice, or quinoa. Spooning the extra pan drippings over the grains is absolute heaven.
- Potatoes: You cannot go wrong with crispy air fryer potato wedges, creamy garlic mashed potatoes, or simple herb-roasted baby potatoes.
- Pasta: Toss some angel hair or fettuccine in butter and parmesan, then top it with a sliced chicken breast for a hearty, comforting dinner.
Top Tips for Perfecting Your Garlic Brown Sugar Chicken
I want your dinner to turn out flawlessly on the very first try, so here are my favorite chef secrets for this recipe:
- Slice, Do Not Mince: Slicing the garlic cloves instead of mincing them prevents the garlic from burning quickly in the hot butter. Plus, getting a sweet, tender slice of garlic in a bite of chicken is incredibly delicious!
- Use a Meat Thermometer: The biggest mistake you can make with chicken breasts is overcooking them. Invest in an instant-read meat thermometer and pull the chicken right when the thickest part hits 165 degrees Fahrenheit.
- Make It Spicy: If you love a sweet-and-spicy combo, sprinkle in some crushed red pepper flakes or a dash of cayenne pepper when you add the garlic. It adds a beautiful, warming kick.
- Add Fresh Herbs: Toss a sprig or two of fresh rosemary or thyme into the butter along with the garlic. The herbs will infuse the butter and give the chicken a wonderful, earthy aroma.
Storing and Reheating Tips
If you are lucky enough to have leftovers, you will be thrilled to know this chicken stores like an absolute dream.
- In the Fridge: Place the cooled chicken and any leftover pan juices into an airtight container. It will stay fresh and tasty in the refrigerator for up to 5 days.
- In the Freezer: You can absolutely freeze this! Pop the cooked, cooled chicken into a freezer-safe bag or container and store it for up to 3 months. Let it thaw overnight in the fridge before you plan to eat it.
- To Reheat: To keep the chicken moist, sprinkle it with a tiny splash of water (about a teaspoon), cover it loosely, and microwave for 1 to 2 minutes. Alternatively, heat it in a covered skillet on the stove over medium heat with a splash of water for about 8 minutes until warmed through.
Frequently Asked Questions
Final Thoughts
There you have it, my friends! This Garlic Brown Sugar Chicken is truly a testament to the fact that you do not need a million ingredients or hours of free time to put a spectacular, home-cooked meal on the table. It is sweet, it is savory, it is buttery, and it is going to save you on those chaotic weeknights when you just need a win. I really hope this recipe brings as much joy (and stress relief!) to your dinner table as it has to mine over the years. If you give this recipe a try, I would absolutely love to hear how it turned out for you. Did you serve it with broccoli? Did you add a little kick of red pepper flakes? Let me know! Cooking is all about sharing and adapting, and hearing your kitchen success stories totally makes my day. Happy cooking, and enjoy every single sticky, delicious bite!
Garlic Brown Sugar Chicken
Ingredients
Main Ingredients
- 4 chicken breasts about 1.5 pounds
- 4 tablespoons butter
- 4 cloves fresh garlic sliced
- 4 tablespoons brown sugar
- salt and freshly cracked black pepper to taste
Instructions
Preparation Steps
- Salt and pepper both sides of the chicken breasts and set aside.
- In a large sauté pan over medium-high heat, melt butter. Add garlic and cook for 30 seconds, or until fragrant.
- Add chicken, cover pan, and cook for 12 minutes. Flip chicken breasts and continue cooking until the chicken is cooked throughly (once the chicken reaches an internal temp of 165°F on an instant read meat thermometer).
- Sprinkle the tops of each chicken breast with 1 tablespoon of brown sugar. Cover pan with lid once more and let the brown sugar melt, about 1 to 2 minutes. Serve immediately.
Notes
Featured Comments
“Impressed! Clear steps and absolutely loved results. Perfect for busy nights.”
“New favorite here — crowd-pleaser. crowd-pleaser was spot on.”
“Super easy and turned out amazing! My family asked for seconds. Saving this one.”
“This sweet treat was absolutely loved — the fresh really stands out. Thanks!”
“Made it tonight and wow — super easy! Will definitely make brown sugar garlic chicken again.”
“Packed with flavor and so simple. Exactly what I wanted from brown sugar garlic chicken.”


