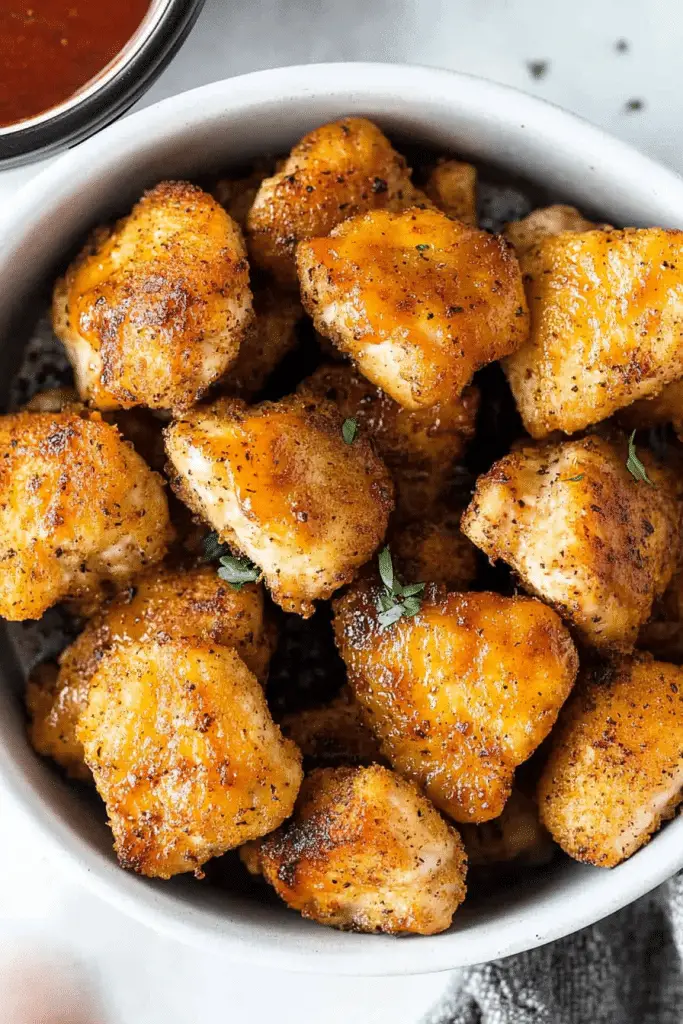
You know those nights, right? The ones where the clock is ticking, everyone’s hungry, and the idea of spending an hour in the kitchen feels like climbing Mount Everest in flip-flops. I’ve been there, believe me. For years, my go-to for a quick and satisfying meal was often pasta or something from the freezer, but then… then the air fryer entered my life, and everything changed. Specifically, this air fryer chicken. Forget everything you think you know about dry, bland chicken. This recipe is a game-changer. It’s unbelievably crispy on the outside, ridiculously juicy on the inside, and takes barely any time at all. It’s the kind of meal that makes my kids actually cheer when they see it on the table, and honestly, that’s a win in my book. It’s become our secret weapon for busy weeknights and even weekend gatherings because, let’s be real, who doesn’t love perfectly cooked chicken that feels a little bit like a treat?
What is an air fry chicken?
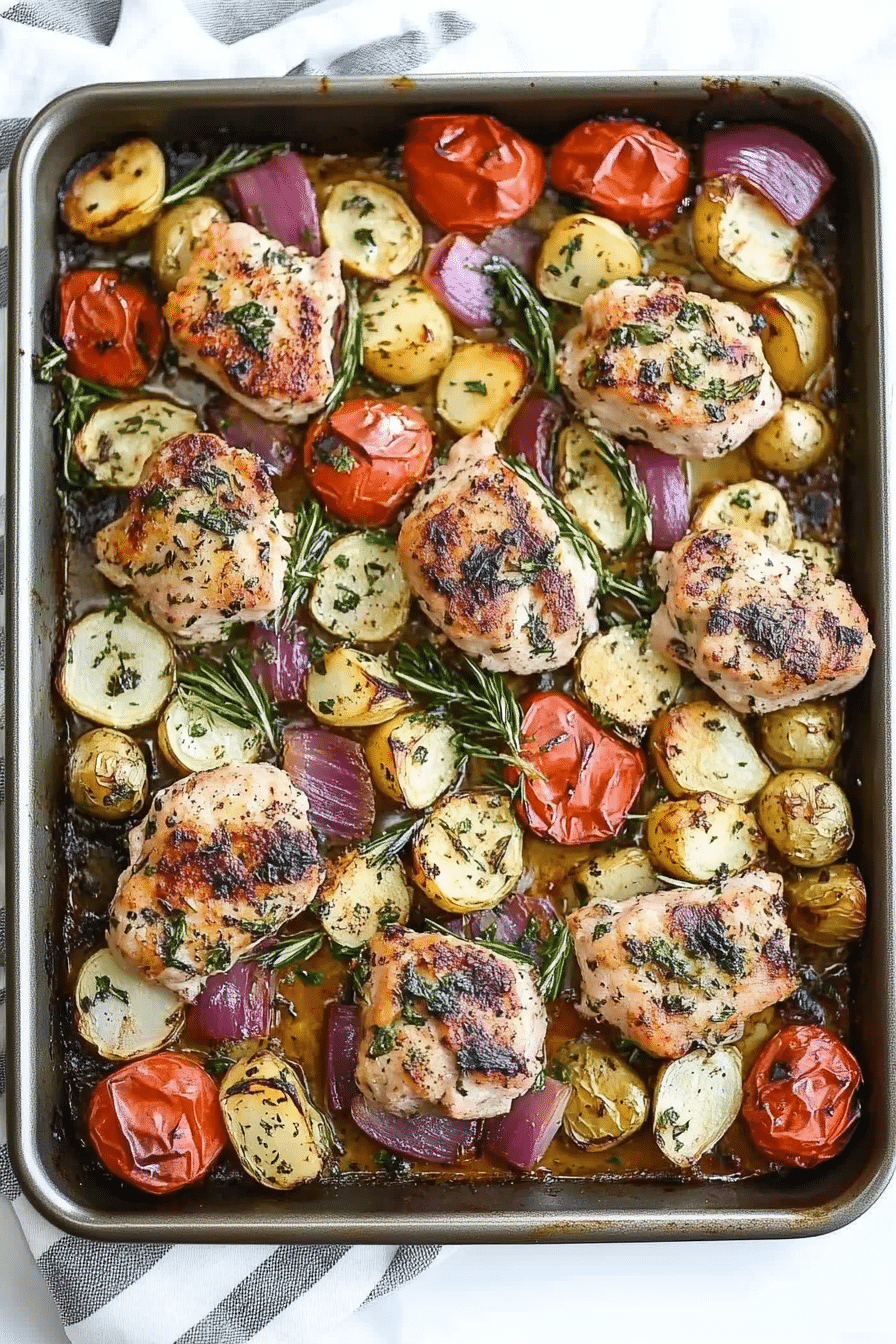
So, what exactly *is* this magical air fryer chicken we’re talking about? Think of it as the ultimate shortcut to delicious, perfectly cooked chicken without all the fuss of deep frying or the long wait for the oven. It’s essentially chicken pieces – usually thighs or breasts – that are seasoned beautifully and then cooked in an air fryer. The air fryer works by circulating hot air around the food at a high speed, mimicking the effect of deep-frying but with a fraction of the oil. This means you get that incredible golden-brown, crispy exterior that we all crave, but the inside stays wonderfully moist and tender. It’s not a complicated dish; it’s more about a smart cooking method that brings out the best in simple ingredients. It’s the answer to those moments when you want something hearty and satisfying without a ton of effort or a greasy mess. It’s humble, yet it feels so special when it’s done right.
How do I make an air fryer chicken?
Quick Overview
The process is wonderfully straightforward. You’ll simply season your chicken pieces, arrange them in a single layer in your air fryer basket, and let the magic happen. The hot air circulation does all the heavy lifting, creating that irresistible crispy skin and tender meat. It’s a method that ensures even cooking and maximum flavor with minimal hands-on time. You’ll be amazed at how quickly this comes together, making it perfect for weeknight dinners or even last-minute entertaining.
Ingredients
For the main chicken: For the main chicken: For the main chicken: For the main chicken: For the main chicken: For the main chicken: For
1.5 lbs boneless, skinless chicken thighs or breasts (thighs are my personal favorite for juiciness, but breasts work too!): Look for pieces that are relatively uniform in size so they cook evenly. If using breasts, you might want to pound them slightly to an even thickness.
2 tablespoons olive oil: This helps the seasonings adhere and promotes crisping. Any neutral oil like avocado or canola will work too.
1 teaspoon paprika: For that beautiful color and a touch of smoky sweetness.
1 teaspoon garlic powder: A staple for savory flavor.
1/2 teaspoon onion powder: Adds another layer of aromatic depth.
1/2 teaspoon dried oregano: For a little herbal brightness.
1/4 teaspoon cayenne pepper (optional): If you like a little kick, this is your friend. I sometimes add it, sometimes skip it depending on who’s eating!
Salt and freshly ground black pepper, to taste: Don’t be shy with the salt; it’s key for flavor development.
For the optional simple marinade (if you have 15 extra minutes!):
1/4 cup plain yogurt or buttermilk: This is my little secret for extra tender chicken, especially if using chicken breasts. It helps to break down the proteins. If you don’t have either, no worries, the olive oil method is still fantastic!
For serving (suggestions!):
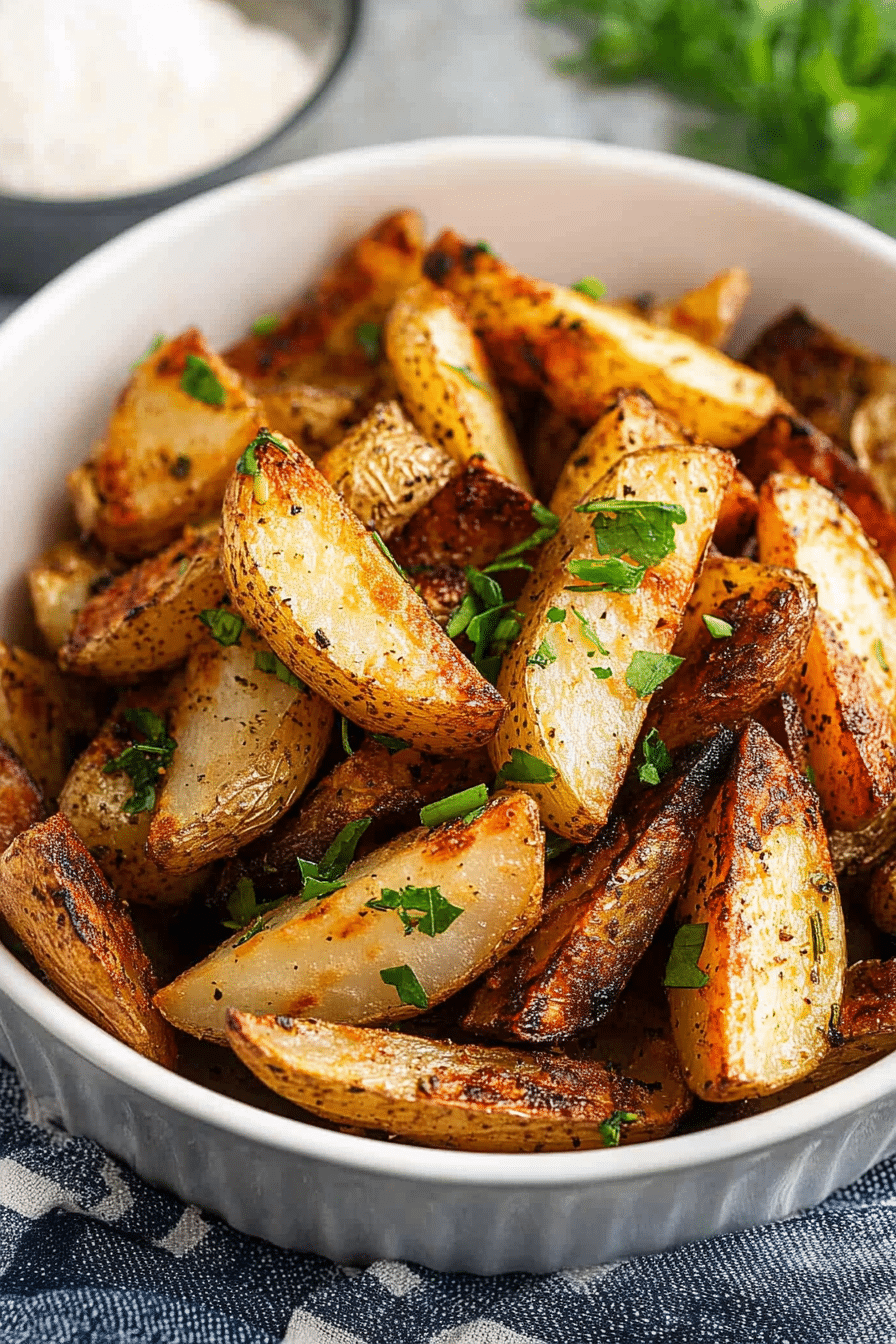
Fresh parsley, chopped: For a pop of color and freshness.
Lemon wedges: A squeeze of fresh lemon juice takes this chicken to another level.
Step-by-Step Instructions
Step 1: Preheat & Prep Chicken
First things first, let’s get that air fryer ready. Most models recommend preheating for about 3-5 minutes at 400°F (200°C). While it’s heating, grab your chicken. If you’re using the yogurt/buttermilk marinade, place your chicken pieces in a bowl, pour the yogurt or buttermilk over them, give them a good toss to coat, and let them sit for at least 15 minutes (or up to an hour in the fridge). If you’re skipping the marinade, pat your chicken pieces completely dry with paper towels. This is a super important step for getting that crispy skin – moisture is the enemy of crispiness! If using chicken breasts, you might want to trim any excess fat and pound them to an even thickness, about 3/4 inch. This helps them cook uniformly.
Step 2: Mix Dry Seasonings
In a small bowl, whisk together the paprika, garlic powder, onion powder, oregano, cayenne pepper (if using), a generous pinch of salt, and a good grinding of black pepper. This simple blend is where a lot of the flavor comes from, so make sure it’s well combined.
Step 3: Season the Chicken
If you marinated your chicken, discard the excess marinade and pat the chicken *gently* dry. Now, drizzle the olive oil over the chicken pieces. Use your hands to rub the oil all over, ensuring every surface is lightly coated. This is what helps the dry seasoning stick. Sprinkle the prepared seasoning blend evenly over all sides of the chicken pieces. Again, use your hands to gently press the seasonings into the chicken. You want a nice, even coating without too much caking.
Step 4: Arrange in Air Fryer
Once the air fryer is preheated and your chicken is seasoned, it’s time to load it up. Arrange the chicken pieces in a single layer in the air fryer basket. Don’t overcrowd the basket! If you have too many pieces, they’ll steam instead of crisp. You might need to cook in batches, depending on the size of your air fryer. Make sure there’s a little bit of space between each piece for the hot air to circulate effectively. This is crucial for achieving that perfect crispy exterior all around.
Step 5: Air Fry Time!
Now for the best part: cooking! Place the basket back into the air fryer. Cook at 400°F (200°C) for about 12-18 minutes, depending on the thickness of your chicken and your air fryer model. For chicken thighs, it’s usually closer to 15-18 minutes. For thinner chicken breasts, it might be closer to 12-15 minutes. About halfway through the cooking time (around the 7-9 minute mark), carefully pull out the basket and flip the chicken pieces over. This ensures both sides get equally golden and crispy. You’ll know it’s done when the internal temperature reaches 165°F (74°C) on an instant-read thermometer, and the juices run clear when pierced.
Step 6: Rest & Serve
Once cooked, carefully remove the chicken from the air fryer basket. Transfer it to a plate or cutting board and let it rest for about 5 minutes. This resting period is really important; it allows the juices to redistribute throughout the meat, resulting in incredibly moist and tender chicken. Don’t skip this step! After resting, you can chop it up, serve it whole, or even shred it if you like. Garnish with fresh chopped parsley and serve with lemon wedges for squeezing over the top. The burst of fresh citrus is just heavenly with the savory chicken.
What to Serve It With
This air fryer chicken is so versatile, it’s almost a blank canvas for whatever you’re craving! For a quick and wholesome breakfast, I love slicing it up and serving it alongside some scrambled eggs and a piece of whole-wheat toast. It adds a fantastic protein boost to start the day. For a more relaxed weekend brunch, it’s absolutely divine served over a bed of fluffy quinoa or with some roasted sweet potato cubes and a dollop of avocado crema. It feels special without being overly complicated. As a delicious, lighter dessert option – yes, chicken for dessert sometimes! – I’ll sometimes serve smaller pieces with a light, refreshing salad, maybe with a honey-mustard vinaigrette. It’s unexpectedly satisfying. And for those ultimate cozy snack moments, especially on a chilly evening, it’s perfect just on its own with a side of that crispy skin, or perhaps with some sweet potato fries and a light dipping sauce like a sriracha mayo or a honey-Dijon. My family also adores it when I shred it up and toss it into tacos or wraps. Honestly, the possibilities are endless, and it always comes out tasting like a winner.
Top Tips for Perfecting Your Air Fryer Chicken
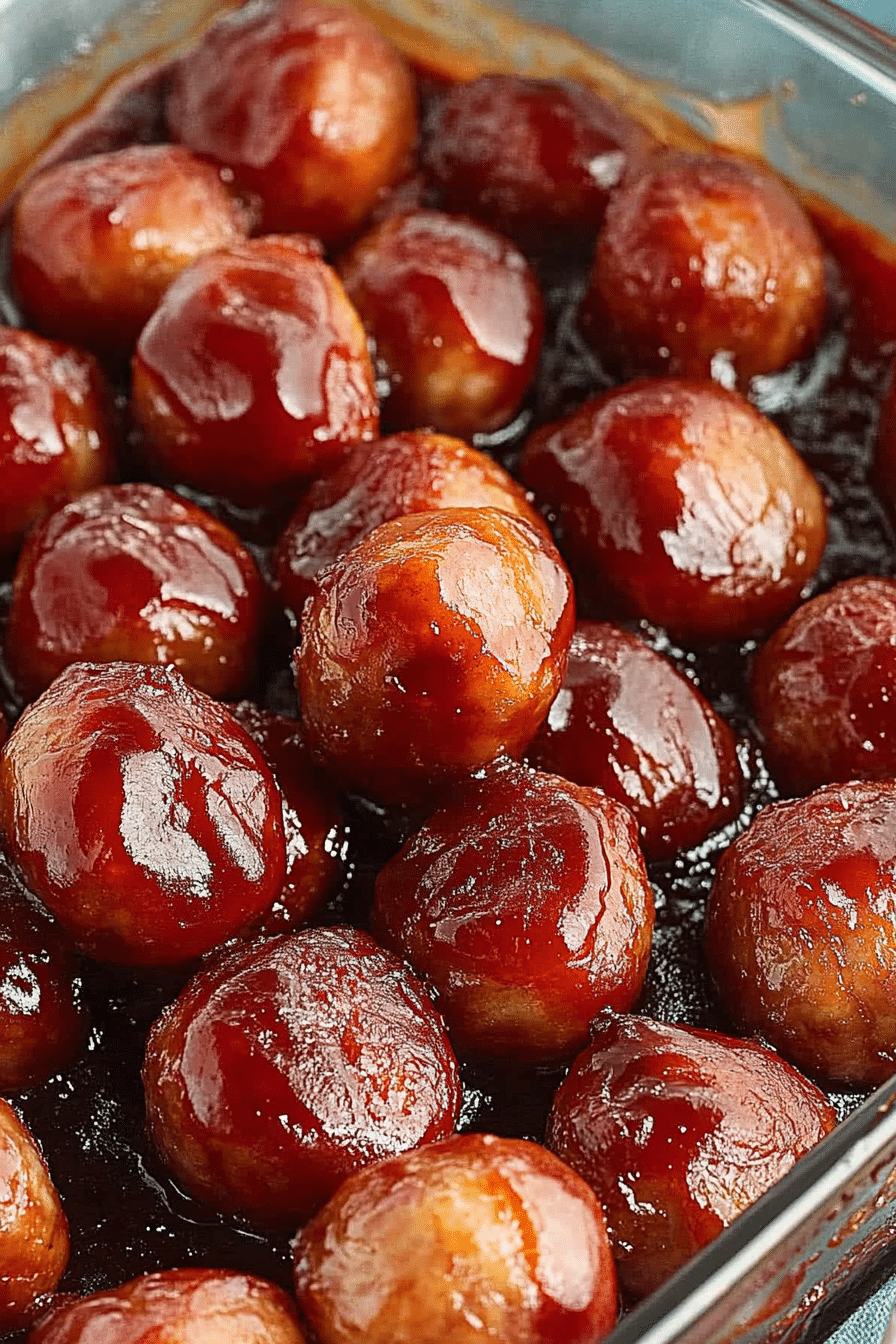
I’ve made this air fryer chicken more times than I can count, and I’ve learned a few little tricks along the way that really make a difference. First, about the chicken prep: if you’re using chicken breasts, pounding them to an even thickness is a game-changer. It prevents those dry, overcooked edges and ensures the whole piece is perfectly cooked. For thighs, trimming any excessive, thick bits of fat can help with even cooking, but don’t remove all the skin if you’re keeping it on, as that’s where the magic happens! When it comes to mixing, the key is ensuring your spices and oil are evenly distributed. I always say to really get your hands in there and coat every nook and cranny. For the air fryer itself, never, ever overcrowd the basket. I know it’s tempting to fit just one more piece, but trust me, it will lead to uneven cooking and less crispiness. It’s better to cook in two batches if needed. I’ve learned this lesson the hard way! For ingredient swaps, if you don’t have paprika, smoked paprika is a fantastic substitute for an even deeper flavor. If you’re out of garlic powder, you can mince a fresh clove or two and mix it with a little oil. And if you’re not a fan of cayenne, just leave it out – the chicken will still be incredibly delicious. Baking tips: always check the internal temperature with a meat thermometer. It’s the most reliable way to ensure your chicken is cooked safely and perfectly. Don’t be afraid to adjust the cooking time slightly based on your specific air fryer and the size of your chicken pieces; they all cook a little differently! Finally, for glaze variations, while this recipe is fantastic as is, I sometimes like to brush on a little honey or BBQ sauce in the last 2-3 minutes of cooking for a sticky, sweet finish. Just watch it closely to prevent burning.
Storing and Reheating Tips
If by some miracle you have any leftover air fryer chicken (which rarely happens in my house!), storing it properly is key to enjoying it later. For room temperature storage, it’s best to let the chicken cool completely before covering it loosely. It shouldn’t sit out for more than two hours. Once cooled, the best way to keep it is in an airtight container in the refrigerator. It will stay delicious for about 3-4 days. The texture might change slightly once refrigerated, especially the crispiness, but it will still be wonderfully flavorful and juicy. If you want to keep it for longer, the freezer is your friend! Wrap the cooled chicken tightly in plastic wrap, then in foil, or place it in a freezer-safe bag. It should last for up to 2-3 months. When it comes to reheating, I have a few favorite methods to bring back that crispiness. The best way is to pop it back into the air fryer at around 350°F (175°C) for about 5-8 minutes, flipping halfway through, until heated through and crispy again. You can also reheat it in a preheated oven at 375°F (190°C) for about 10-15 minutes, or until warmed through. If you’re in a real pinch, a quick 30-60 second blast in the microwave works, but you’ll lose most of the crispiness. For the glaze timing advice, if you’ve glazed your chicken before storing, it’s best to store it as is. If you plan to glaze *after* reheating, you can do that in the last minute or two of reheating, just like you would when cooking it fresh.
Frequently Asked Questions
Final Thoughts
There you have it – my absolute go-to recipe for the most amazing air fryer chicken! I truly hope you give this a try. It’s one of those recipes that has become indispensable in my kitchen because it’s just so reliably delicious, incredibly easy, and always a crowd-pleaser. It’s proof that you don’t need hours in the kitchen to create something truly special. Whether you’re rushing to get dinner on the table on a hectic weeknight or looking for a simpler way to enjoy perfectly cooked chicken, this air fryer method is a winner. It’s the kind of dish that makes you feel like a kitchen superhero, even on your most tired days. If you love this recipe, you might also enjoy my recipe for [Link to another related recipe, e.g., Crispy Air Fryer Salmon] or my guide to [Link to a general guide, e.g., Essential Air Fryer Tips]. I can’t wait to hear what you think once you try it! Please leave a comment below with your thoughts, any variations you tried, or how your family enjoyed it. And if you snap a picture, be sure to share it – I love seeing your creations!

Air Fryer Chicken Nuggets
Ingredients
Main Ingredients
- 1.25 lbs boneless skinless chicken breasts cut into 1-inch pieces
- 1 cup plain breadcrumbs Italian breadcrumbs work too
- 2 tablespoons all-purpose flour
- 1 tablespoon garlic powder
- 1 teaspoon dried thyme
- 0.5 teaspoon paprika
- 0.5 teaspoon salt
- 0.5 teaspoon pepper
- 2 large eggs
- 2 tablespoons olive oil
Instructions
Preparation Steps
- Preheat the air fryer to 400°F and spray the basket with non-stick cooking spray.
- Prepare the chicken breasts by cutting the chicken into 1-inch chicken nugget pieces. Set aside.
- In a large bowl, combine the breadcrumbs, flour, garlic powder, paprika, thyme, salt, and pepper. Stir until well combined.
- In a separate bowl, whisk the eggs until combined.
- Dip each chicken nugget into the whisked eggs, ensuring it's fully coated. Then, transfer the egg-coated nugget to the breadcrumb mixture and coat all sides.
- Place the coated chicken nuggets in a single layer in the air fryer basket. Do not overcrowd the basket; cook in batches if necessary.
- Drizzle the chicken nuggets with olive oil. Cook for 4 minutes at 400°F. Flip the nuggets and cook for an additional 1-3 minutes, or until the internal temperature reaches 165°F.
- Remove the chicken nuggets from the basket. Repeat the cooking process with any remaining batches.
- Serve hot with your favorite dipping sauces like ketchup, honey mustard, or BBQ sauce.
Notes
Featured Comments
“Impressed! Clear steps and turned out amazing results. Perfect for busy nights.”
“New favorite here — comforting. crowd-pleaser was spot on.”
“Super easy and turned out amazing! My family asked for seconds. Saving this one.”
“This sweet treat was absolutely loved — the balanced really stands out. Thanks!”
“Made it tonight and wow — crowd-pleaser! Will definitely make Easy Air Fryer Chicken Bites Recipe again.”
“Packed with flavor and so simple. Exactly what I wanted from Easy Air Fryer Chicken Bites Recipe.”