

There’s just something about pulling a warm, freshly-baked cake out of a cast iron skillet that makes everything feel cozy and special. I remember my grandma baking her famous zucchini bread in her old skillet, and the smell alone would fill the house, drawing everyone to the kitchen like bees to honey. Nowadays, I often reach for my trusty cast iron for quick weekend baking, and this zucchini cake has become a home favorite. It’s incredible how a simple veggie can turn into such a moist, flavorful dessert—plus, it’s crazy easy to make! Honestly, I love how versatile cast iron is; it’s like a baking secret weapon that can handle anything from cornbread to cornettos. This recipe is a game-changer, especially when you want something comforting but don’t want to fuss over a lot of steps. My kids ask for it all the time, and I’ve tested it with different fillings and toppings—trust me, it’s a keeper. Best part? It’s perfect for sneaking some zucchini into the family without anyone noticing. Let’s get started!
What is Zucchini cake?
Think of zucchini cake as the slightly grown-up cousin of your classic muffin or quick bread. It’s essentially a moist, tender cake that incorporates shredded zucchini into the batter—like a secret ingredient that makes everything extra fluffy and juicy. The name might sound fancy, but it’s super approachable. This cake originated from a way to use up summer zucchini, and over the years, it’s evolved into a cozy dessert with a subtle vegetable twist. It’s kind of like carrot cake’s more mellow, sneaky sibling. The best part? You get all that luscious flavor and moistness from the zucchini, and it easily pairs with sweet glazes, cream cheese frosting, or even just a dusting of powdered sugar. Think of it as a perfect, honest treat that’s just a little healthier because of the veg—only you’d never guess from that first bite.
How do you make Zucchini cake in a cast iron skillet?
Quick Overview
This zucchini cake is as straightforward as it gets. You start by shredding your zucchini, mixing together a simple batter in one bowl, then layering that batter into a well-seasoned cast iron skillet. After a quick bake, you’ll have a golden, slightly crispy top with a soft, moist interior—the kind of cake that tastes like it’s been baking in your grandma’s oven for hours, even if you whipped it up in under an hour. What makes this method special is how the cast iron creates a beautifully even crust and keeps the cake super moist inside. Plus, it’s oven-friendly and cleans up like a dream! No fancy equipment needed—just a few pantry staples, some zucchini, and your skillet, and you’re good to go.
Ingredients
For the Main Batter:
– 2 cups shredded zucchini (about 2 small zucchini, grated finely)
– 1 ½ cups all-purpose flour
– ¾ cup sugar
– 1 teaspoon baking powder
– ½ teaspoon baking soda
– ½ teaspoon salt
– 1 teaspoon cinnamon
– 2 large eggs
– ½ cup vegetable oil (or melted coconut oil for extra flavor)
– 1 teaspoon vanilla extract
For the Filling (optional but delicious):
– ½ cup chopped nuts (walnuts, pecans, or almonds)
– ½ cup dried fruit (raisins or cranberries)
– Or a swirl of cream cheese filling if you’re feeling indulgent!
For the Glaze:
– ½ cup powdered sugar
– 1-2 tablespoons milk or cream
– ½ teaspoon vanilla
– Optional: a pinch of lemon zest or a splash of liqueur for extra flavor
Step-by-Step Instructions
Step 1: Preheat & Prep Pan
Preheat your oven to 350°F (175°C). Lightly grease your cast iron skillet with butter or a bit of oil—trust me, this helps develop that rustic, crispy crust. If your skillet is new and unseasoned, don’t skip this step. Let it heat in the oven while you prepare the batter. Once preheated, take it out and set aside. This way, when the batter goes in, it starts sizzling immediately, giving a lovely edge.
Step 2: Mix Dry Ingredients
In a big mixing bowl, whisk together the flour, sugar, baking powder, baking soda, salt, and cinnamon. I always do this first—it ensures everything is evenly distributed, which means no one gets an off-taste or weird clumps. The spices and baking agents will create a tender crumb, and trust me, this is the backbone of your cake’s rise and flavor.
Step 3: Mix Wet Ingredients
In a separate bowl, whisk the eggs, oil, and vanilla until combined. It’s easiest to do this with a fork or a whisk—just some rapid swirling. You can mix in a splash of milk if you want it extra moist, or swap the oil for applesauce for a healthier spin. I’ve even tested it with almond milk, and it made the cake even creamier!
Step 4: Combine
Pour the wet mixture into the bowl with the dry ingredients. Use a spatula or wooden spoon and fold gently until just combined. Be careful not to overmix—this keeps the cake light and fluffy. The batter should be thick but scoopable—think muffin batter consistency. If it’s too runny, add a sprinkle more flour; if too stiff, a splash of milk will help.
Step 5: Prepare Filling
If you’re adding nuts or dried fruit, fold them into the batter now. For a swirl of cream cheese filling, spread a layer in the middle of the batter after pouring it into the skillet, then use a skewer or knife to swirl it around gently for a marbled effect. I love adding chopped walnuts—gives it a lovely crunch and warm aroma.
Step 6: Layer & Swirl
Pour the batter into your hot skillet, smoothing the top with a spatula. If adding filling, dollop or layer it in the center, then swirl to create a marbled look. It’s just like painting—I like to do big circles with the skewer for a rustic, artsy finish. This step makes each slice a bit more interesting visually and flavor-wise.
Step 7: Bake
Pop the skillet into the oven and bake for 30-35 minutes. You’ll know it’s done when the top is golden and a toothpick inserted in the center comes out clean. If it starts browning too quickly, tent with foil. Ovens vary, so keep an eye on it after 25 minutes. I’ve had mine take a few extra minutes here and there—just trust your nose and toothpick test.
Step 8: Cool & Glaze
Let the cake cool in the skillet for about 10 minutes, then transfer to a wire rack or serve straight from the skillet if you’re feeling casual. Meanwhile, mix together your glaze ingredients. The glaze should be runny but not watery—add more milk or powdered sugar to get your perfect drizzling consistency. Pour or brush it over the warm cake, and watch it seep into all the nooks and crannies. It’s irresistible.
Step 9: Slice & Serve
Use a sharp knife to cut into wedges—this cake is soft but holds together well if you’ve baked it properly. Serve it warm or at room temperature, maybe with a dollop of whipped cream or a scoop of vanilla ice cream. You can also sprinkle some powdered sugar on top for a simple finishing touch. Honestly, I love serving mine with a hot cup of coffee or tea—the smell alone makes the morning extra cozy.
What to Serve It With
This zucchini cake is incredibly versatile. For breakfast, pair it with a steaming mug of coffee—trust me, it’s a treat. It’s equally lovely for brunch, served with fresh fruit and some yogurt on the side. When pondering dessert, a generous drizzle of caramel or thick cream cheese frosting takes it over the top. But honestly, it’s fantastic all on its own—the subtle sweetness and moist texture mean you don’t need much else. I also like to keep a batch in the fridge for those lazy afternoons when a warm slice with a glass of milk hits every comfort spot. Sometimes, I add a handful of chopped nuts or a sprinkle of cinnamon sugar right before baking for a little extra flair. It’s a mainstay in my house, and I’ll bet it’ll become one of yours too!
Top Tips for Perfecting Your Zucchini Cake
Having made this recipe dozens of times, I’ve learned a few tricks that really make a difference. For starters, shredding the zucchini does two things: it makes the cake moist and gives it that perfect texture. I always squeeze out excess moisture with a clean kitchen towel—if you leave too much watery zucchini in, your cake might turn out soggy. Trust me on this one. Also, don’t overmix the batter once you combine the wet and dry ingredients; a few lumps are okay. Overmixing can make the cake dense, and nobody wants that!
When swirling in the filling, use a gentle touch—big, messy swirls look lovely but can cause uneven baking. For the filling, I sometimes add a splash of lemon zest or a dash of ginger; it brightens the flavor and keeps it interesting. If you want to swap the sugar for honey or maple syrup, go for it, but reduce the liquids slightly so the batter doesn’t get too runny. Baking times can vary slightly depending on your oven; I always check around the 30-minute mark and use a toothpick as my judge. If it comes out sticky or wet, give it a few more minutes, but don’t overbake or it loses that tender crumb. As for the glaze, I prefer mine thin enough to drizzle, but if you like it thicker, just add a bit more powdered sugar. And finally, once baked, try not to cut into it immediately—let it sit for at least 10 minutes to set. The waiting makes all the difference in enjoying that perfect slice!
Storing and Reheating Tips
This cake is best enjoyed within the first two days, but here’s how to keep it fresh: If you’re eating it the same day, just cover the skillet with foil or a clean kitchen towel and keep it at room temperature. To preserve its moistness, I wrap slices tightly in plastic wrap if storing individually in the fridge. It’ll last about 3 days refrigerated, but I recommend bringing slices back to room temperature or warming them slightly in the microwave—just 10-15 seconds so it’s fluffy and warm again. Want to freeze it? Wrap slices tightly in plastic wrap and store in a zip-top bag. It should be good for about 2 months. When thawing, leave it at room temp for a few hours or gently reheat in the microwave. If you’ve glazed it, wait to add the glaze until just before serving, so it doesn’t get soggy or melt away. Trust me, these little tricks keep the flavor and texture just right, even days later.
Frequently Asked Questions
Final Thoughts
If you’re looking for a cozy, comforting dessert that comes together fast and impresses everyone—this zucchini cake baked in a cast iron skillet is your new best friend. It’s a warm hug on a plate, with enough flexibility to match your mood and ingredients. Whether you serve it plain, topped with glaze, or with a dollop of whipped cream, it’s inevitably a hit. I love how the cast iron skillet gives it that rustic, home-baked charm, and honestly, it’s become my go-to for quick family get-togethers or weekday treats. Give it a try and let me know how yours turns out—trust me, it disappears in minutes at my house! Happy baking! And don’t forget to share your own twists in the comments—I’d love to hear what you add or change to make it your own.
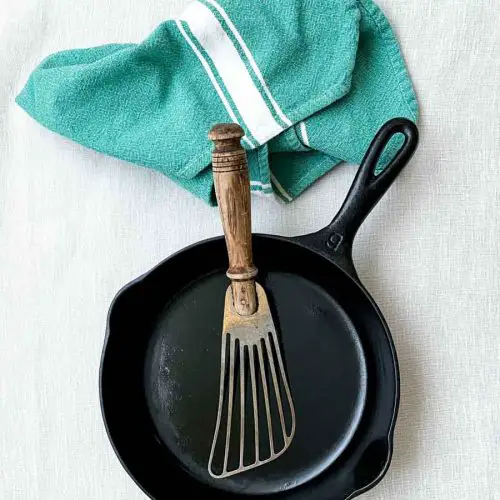
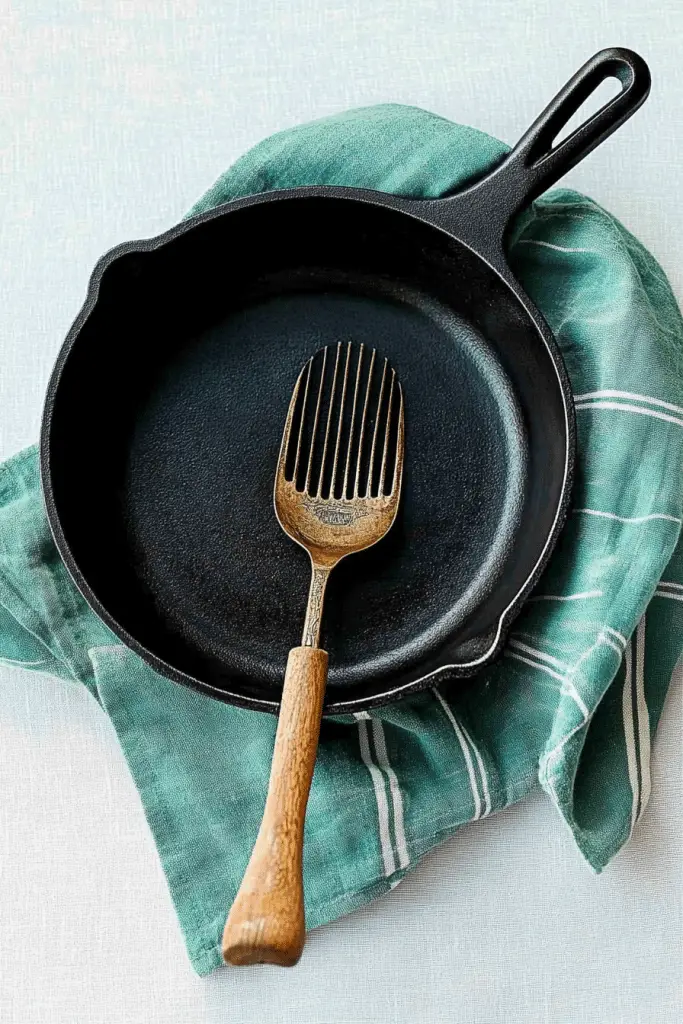
cast iron
Ingredients
Main Ingredients
- 1 piece Cast iron skillet
- 1 cup Vegetable oil
Instructions
Preparation Steps
- Clean your cast iron skillet thoroughly with hot water and a scrubber or steel wool to remove any rust or residue.
- Rinse the skillet well and dry it completely with a towel or paper towels.
- Apply a thin layer of vegetable oil to the entire surface of the skillet, inside and out.
- Preheat your oven to 375°F, then place the skillet upside down inside and bake for 1 hour.
- Turn off the oven and let the skillet cool inside for a few hours before removing.
- Your skillet is now seasoned and ready for use.
Notes
Featured Comments
“Love this — there's nothing quite like that first warm cast iron cake! My grandma used to make banana bread in hers, too.”
“Impressed! Clear steps and so flavorful results. Perfect for busy nights.”
“New favorite here — super easy. crowd-pleaser was spot on.”
“Super easy and turned out amazing! My family asked for seconds. Saving this one.”
“This sweet treat was absolutely loved — the silky really stands out. Thanks!”
“Made it tonight and wow — restaurant-level! Will definitely make Easy Cast Iron Care For Lasting Flavor again.”


Love this — there’s nothing quite like that first warm cast iron cake! My grandma used to make banana bread in hers, too.