

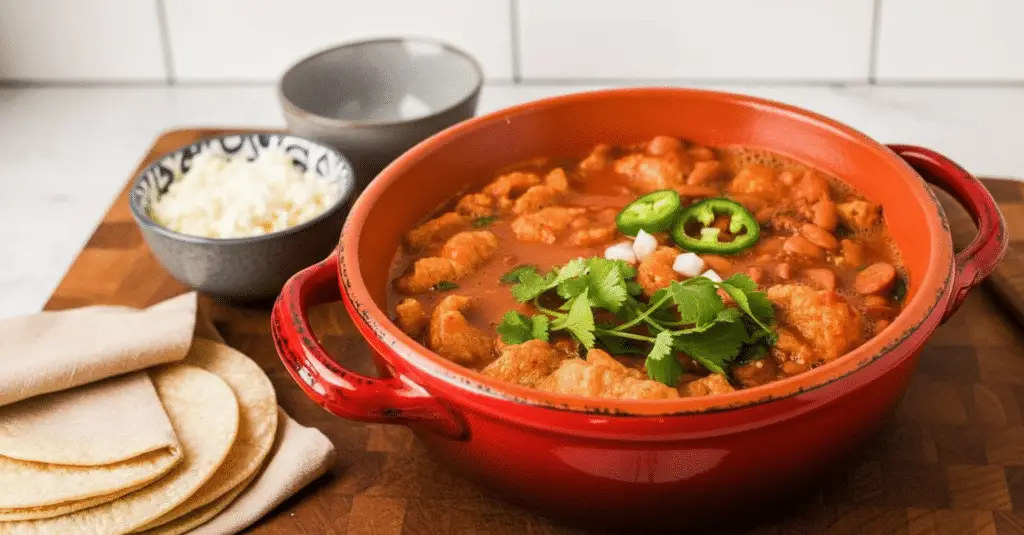
Authentic Frijoles Charros (Mexican Charro Beans)
Have you ever tasted a dish that instantly transports you to a cozy kitchen filled with the rich, smoky aroma of sizzling bacon and simmering spices? That is exactly what happens every single time I make a big, comforting pot of Frijoles Charros. If you haven’t tried these traditional Mexican charro beans yet, you are in for an absolute treat. I remember the first time I had them—it was love at first bite. It is essentially a hearty, soul-warming bean soup loaded with savory meats like chorizo, bacon, and ham.
What started as a clever way for Mexican cowboys to use up leftovers has transformed into one of my family’s all-time favorite meals. Whether you are hosting a weekend taco night or just need something deeply comforting on a chilly Tuesday evening, this recipe is a lifesaver. It looks impressive and tastes like you spent all day hovering over the stove, but it is surprisingly simple to throw together. Grab your favorite soup pot, and let’s get cooking!

What Are Frijoles Charros?
So, what exactly are Frijoles Charros? Translated to “cowboy beans,” this iconic Mexican dish was originally invented by charros—traditional Mexican cowboys who spent their days riding the rugged terrain of the ranch or desert. Because they were constantly on the move and had limited ingredients available to them, they had to get a little creative with their meals. They would toss whatever leftover meats they had on hand into a pot of beans, simmering it all together over an open fire until it became a rich, flavor-packed stew.
Today, Frijoles Charros has evolved into a beloved national dish that you will find at almost every authentic Mexican restaurant or family gathering. At its core, it is a delightfully smoky bean soup. Whole pinto beans are bathed in a savory broth alongside a mouthwatering medley of meats like chorizo, bacon, ham, and hot dogs. Fresh Roma tomatoes, onions, jalapeños, and garlic are simmered down to create a deeply savory base that balances the richness of the meat. Unlike refried beans, which are mashed and cooked in lard, charro beans are served hot, soupy, and meant to be savored by the spoonful.
How to Make Frijoles Charros
Quick Overview
Don’t let the idea of making authentic Mexican cuisine at home intimidate you! Making Frijoles Charros is truly just a matter of layering flavors. We start by rendering down our fatty meats to build a rich base, then we sauté our fresh aromatics until they are tender and fragrant. Next, we stir in the rest of our meats, pour in the pinto beans and their glorious broth, and let the whole thing simmer together until the flavors marry beautifully. It takes about 10 minutes of active prep work and 40 minutes of hands-off simmering. Before you know it, your kitchen will smell like a five-star taqueria, and dinner will be ready to serve!
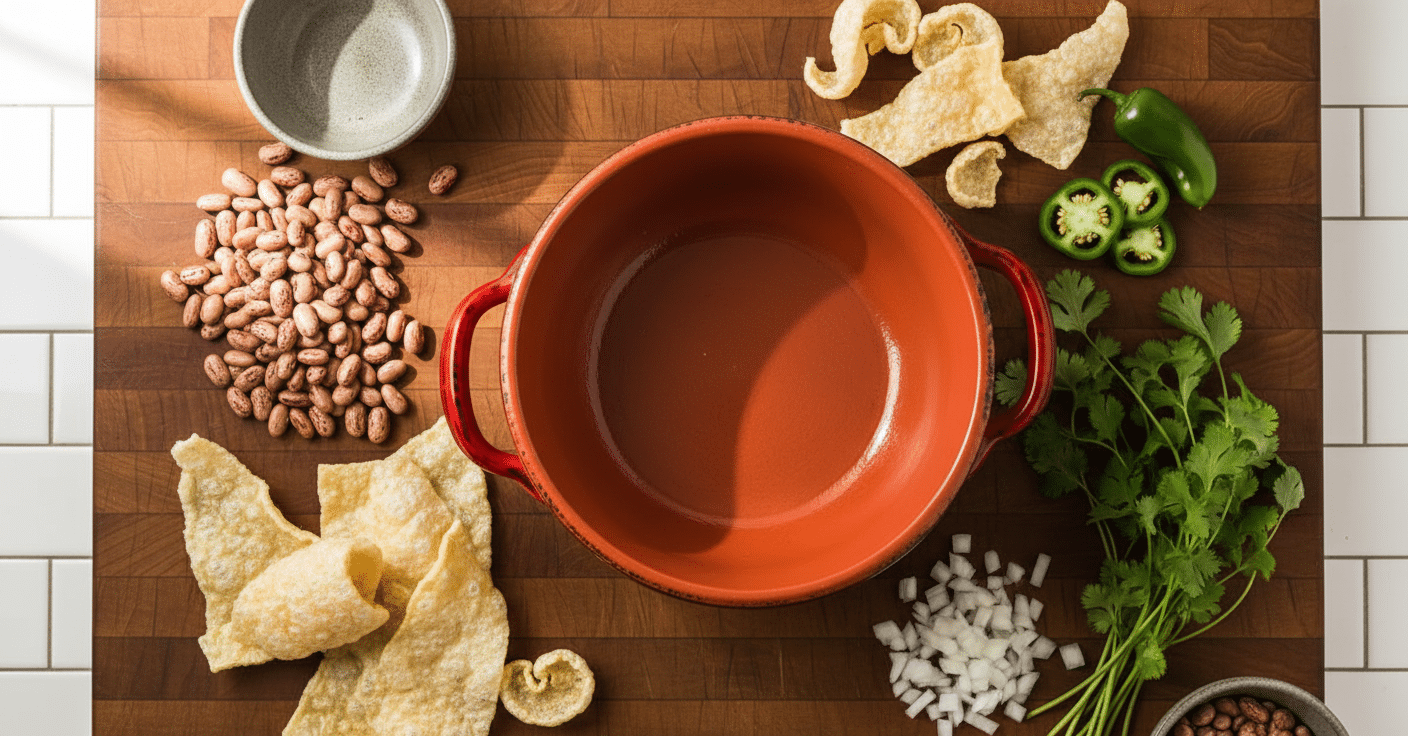
Ingredients
Here is what you will need to grab from the fridge and pantry to make this incredible cowboy bean soup:
- Bacon: 4 slices, cut into 1-inch pieces. Pancetta or pork belly work great too!
- Mexican Chorizo: 8 oz of pork chorizo is best, but beef or turkey versions are also delicious.
- Roma Tomatoes: 3 tomatoes, diced. They add a lovely hint of sweetness.
- Onion & Garlic: 1 medium diced onion (white or yellow) and 1 tablespoon minced garlic for that essential savory base.
- Jalapeños: 2 fresh jalapeños, seeded and sliced, to bring a gentle, warming heat.
- Hot Dogs: 3 hot dogs, sliced into 1/4-inch pieces. Pork, beef, or turkey all work wonderfully.
- Ham: 1/2 cup cubed ham. If you can find smoked ham, it adds incredible depth!
- Pinto Beans & Broth: 4 cups cooked pinto beans plus 3 cups of the bean broth.
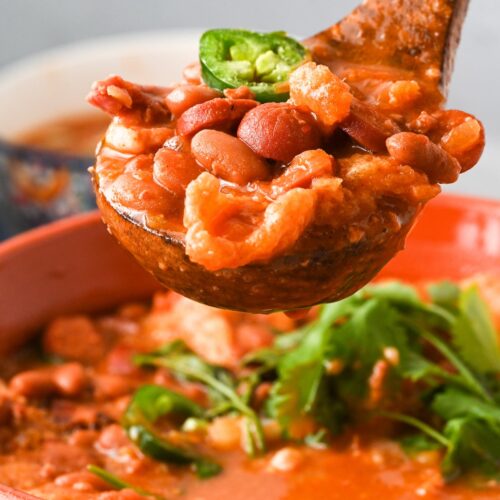
- Chicharrón: 1 cup. This is optional, but I highly recommend it for an authentic touch!
- Salt: 1 teaspoon, or to taste.
Step-by-Step Instructions
Step 1: Render the Bacon
Place your chopped bacon pieces into a large soup pot over medium heat. Let it cook for about 1 to 2 minutes until it just starts rendering out that delicious, smoky fat. This fat is going to flavor our entire dish, so don’t rush this step!
Step 2: Brown the Chorizo
Add your Mexican chorizo right into the pot with the bacon. Let it cook for another 4 to 5 minutes until it turns a beautiful golden brown. Make sure to use a spatula or wooden spoon to break the chorizo apart as it cooks so it doesn’t clump together.
Step 3: Sauté the Aromatics
Next, toss in your diced Roma tomatoes, onion, sliced jalapeños, and minced garlic. Give everything a really good stir to combine. Cook these ingredients for about 3 to 4 minutes. You want the vegetables to get nice and soft, soaking up all those flavorful meat drippings.
Step 4: Simmer with the Meats
Stir in your sliced hot dogs and cubed ham. Mix everything together so the meats are coated in the spices, then turn the heat down to medium-low. Let this mixture cook together for 10 minutes to really build that savory foundation.
Step 5: Add the Beans and Broth
Pour in your cooked pinto beans and the bean broth. Stir well to combine all those gorgeous ingredients, then pop a lid on the pot. Turn the heat back up to medium and let the beans simmer happily for 20 minutes.
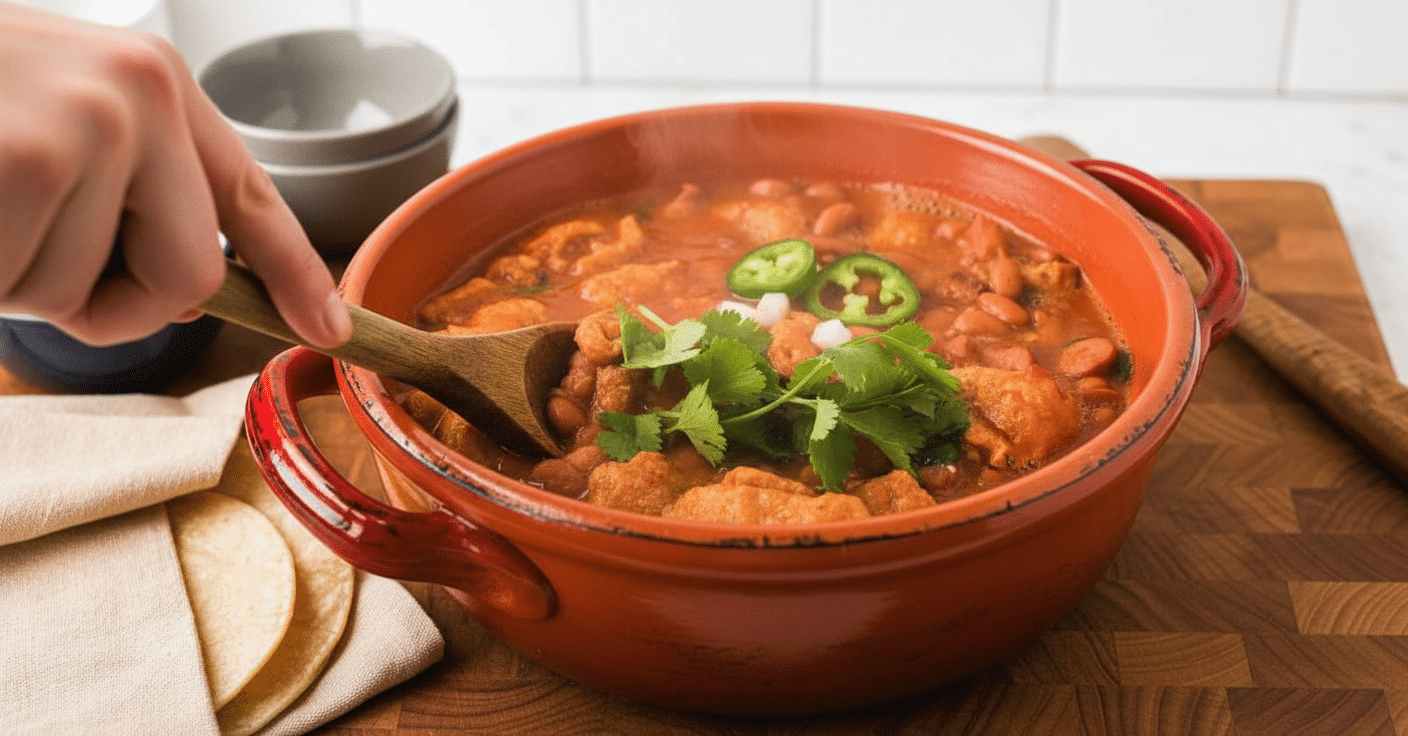
Step 6: The Finishing Touches
If you are using chicharrón, stir it in now and let it cook for just one more minute. Give your broth a taste and add salt if needed. Ladle into bowls, top with fresh cilantro, crumbled queso fresco, and extra jalapeños, and serve piping hot!
What to Serve It With
While a big bowl of Frijoles Charros is absolutely filling enough to be eaten as a main meal, it is traditionally served as a hearty side dish. It pairs phenomenally well with almost any Mexican-inspired dinner you can dream up! I love serving it alongside sizzling carne asada tacos, cheesy beef taquitos, or sheet pan chicken fajitas. Because these beans are quite soupy, they are the perfect companion to dry or grilled meats rather than heavily sauced dishes.
Don’t forget to set out a stack of warm, fresh tortillas (corn or flour both work beautifully) for dipping into that incredible, smoky broth. Add a scoop of homemade guacamole and some fluffy Mexican rice on the side, and you have a restaurant-quality feast right at your own dining table.
Top Tips for Perfecting Your Frijoles Charros
Over the years of making this recipe, I have picked up a few little secrets that guarantee a perfect pot of cowboy beans every single time:
- Cook your beans thoroughly: If you are making your pinto beans from scratch, make absolutely sure they are fully tender before adding them to the charro pot. Nobody likes biting into a hard, undercooked bean!
- Keep the lid on: While the soup is simmering for those 20 minutes, resist the urge to leave the lid off. Keeping the pot covered prevents the flavorful broth from evaporating and ensures everything cooks evenly.
- Customize your meats: This recipe is incredibly forgiving. If you don’t have ham, you can skip it or add ground pork. Leftover shredded beef or pulled pork also make amazing additions!
- Canned beans work too: In a rush? You can absolutely use canned pinto beans! Just be sure to rinse them well, and substitute the 3 cups of bean broth with water or vegetable broth.
Storing and Reheating Tips
If you are lucky enough to have leftovers, you will be thrilled to know that Frijoles Charros taste even better the next day after the flavors have had more time to mingle in the fridge!
To Store: Allow the beans to cool completely to room temperature. Transfer them to an airtight container and store them in the refrigerator for up to 5 days.
To Reheat: For a quick lunch, you can pop a bowl in the microwave for about a minute or two until hot. If you are reheating a larger batch, pour the beans back into a pot and warm them over medium-low heat for 3 to 4 minutes, stirring occasionally, until they are heated all the way through.
Frequently Asked Questions
Final Thoughts
There is just something so incredibly special about a recipe born out of necessity that turns into a beloved cultural classic. Frijoles Charros are the definition of Mexican comfort food—rich, smoky, satisfying, and made with so much love. I really hope this recipe brings as much warmth and joy to your family’s dinner table as it has to mine over the years. Whether you are scooping them up with a warm tortilla or serving them alongside your favorite tacos, I know you are going to fall head over heels for these cowboy beans. Happy cooking, friends!
Frijoles Charros
Ingredients
Main Ingredients
- 4 slices bacon cut into 1” pieces
- 8 oz Mexican chorizo
- 3 Roma tomatoes diced
- 1 medium onion diced
- 2 jalapeños seeded and sliced
- 1 tablespoon minced garlic
- 3 hotdogs sliced into 0.25” pieces
- 0.5 cup cubed ham
- 4 cups cooked pinto beans homemade or canned
- 3 cups bean broth from the cooked beans
- 1 cup chicharron optional
- 1 teaspoon salt to taste
Toppings
- Cilantro
- Queso fresco crumbled
- Onion diced
- Jalapeños sliced
- Tortillas
Instructions
Preparation Steps
- In a large pan, cook the bacon until some of the fat is rendered out. Add the chorizo and cook through, breaking apart the meat as it cooks.
- Next, add the tomatoes, onion, jalapeños, and garlic. Cook for 3 to 4 minutes, until the vegetables are softened.
- Stir in the hotdogs and ham, cook on medium low for 10 minutes.
- Add the pinto beans and bean broth, stirring to combine. Cover with a lid. Set to medium heat and simmer for 20 minutes. Add the chicharron and cook for 1 minutes. Taste and add salt, if needed.
- Serve immediately with desired toppings!
Notes
Featured Comments
“This sounds amazing! I love how comforting and flavorful Mexican charro beans can be. Can't wait to try it!”
“Impressed! Clear steps and perfect for busy nights results. Perfect for busy nights.”
“New favorite here — super easy. crowd-pleaser was spot on.”
“Super easy and turned out amazing! My family asked for seconds. Saving this one.”
“This sweet treat was absolutely loved — the fresh really stands out. Thanks!”
“Made it tonight and wow — creamy! Will definitely make Mexican charro beans again.”


This sounds amazing! I love how comforting and flavorful Mexican charro beans can be. Can’t wait to try it!