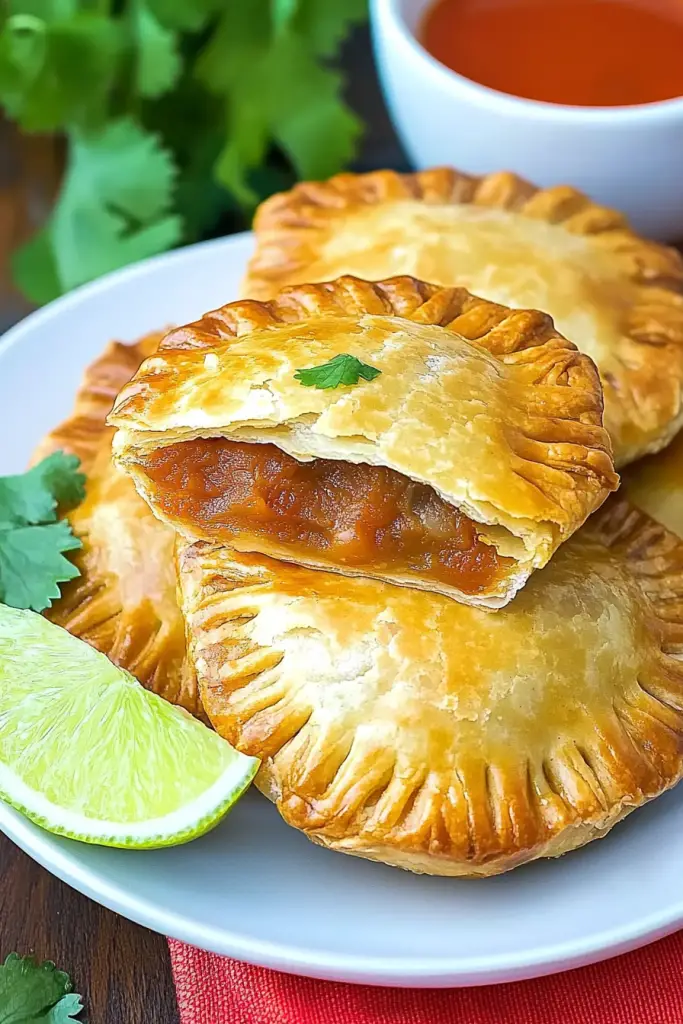
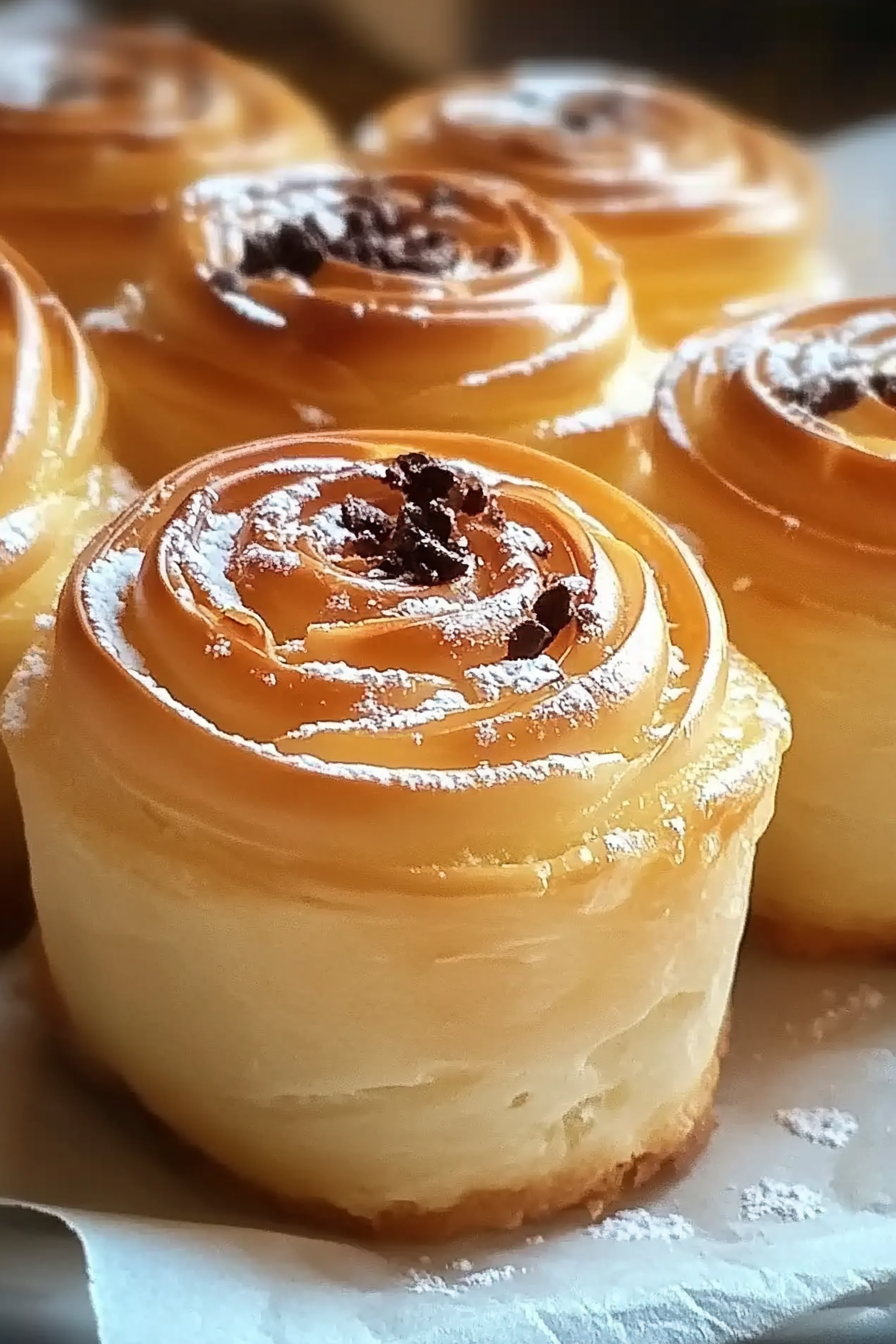
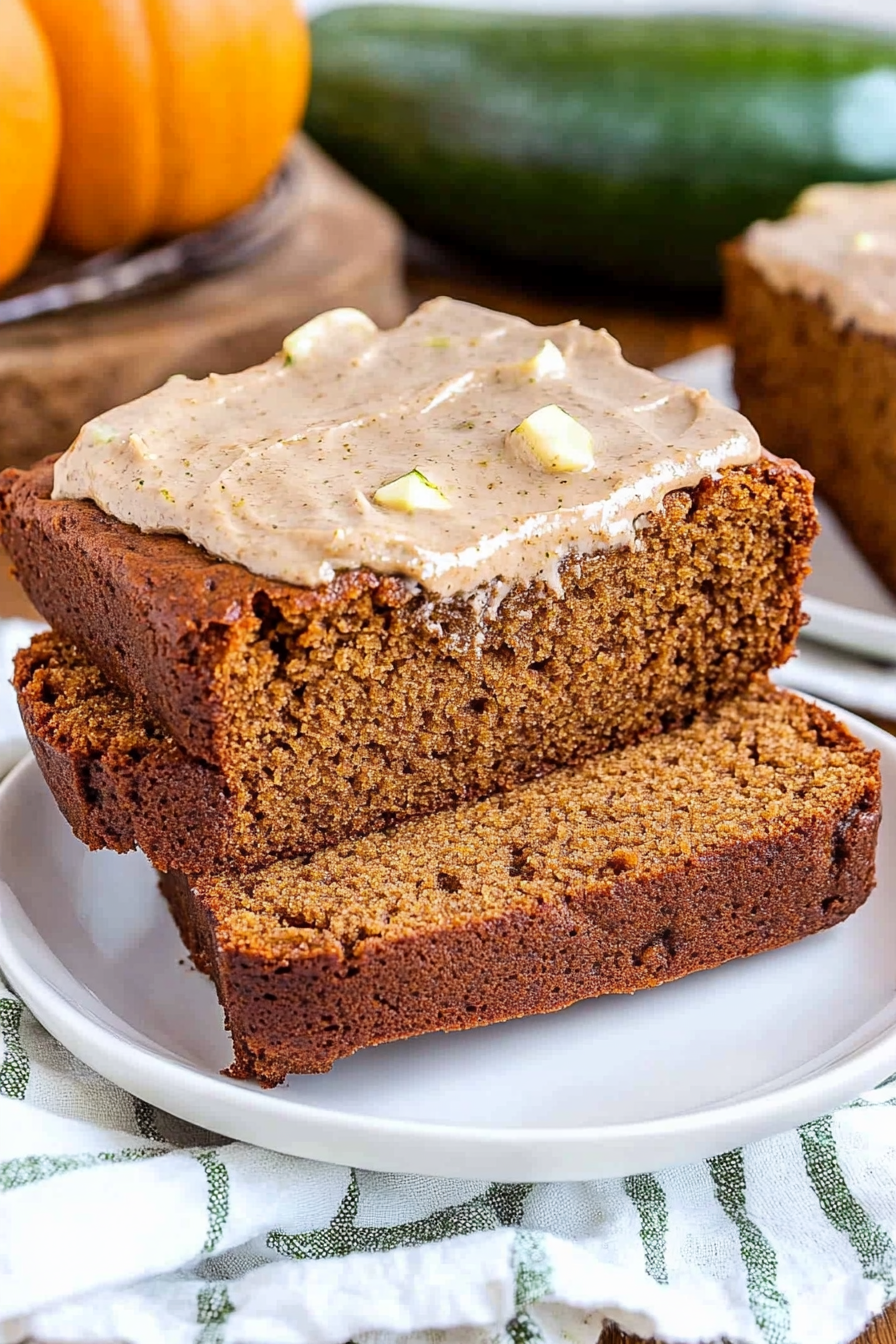
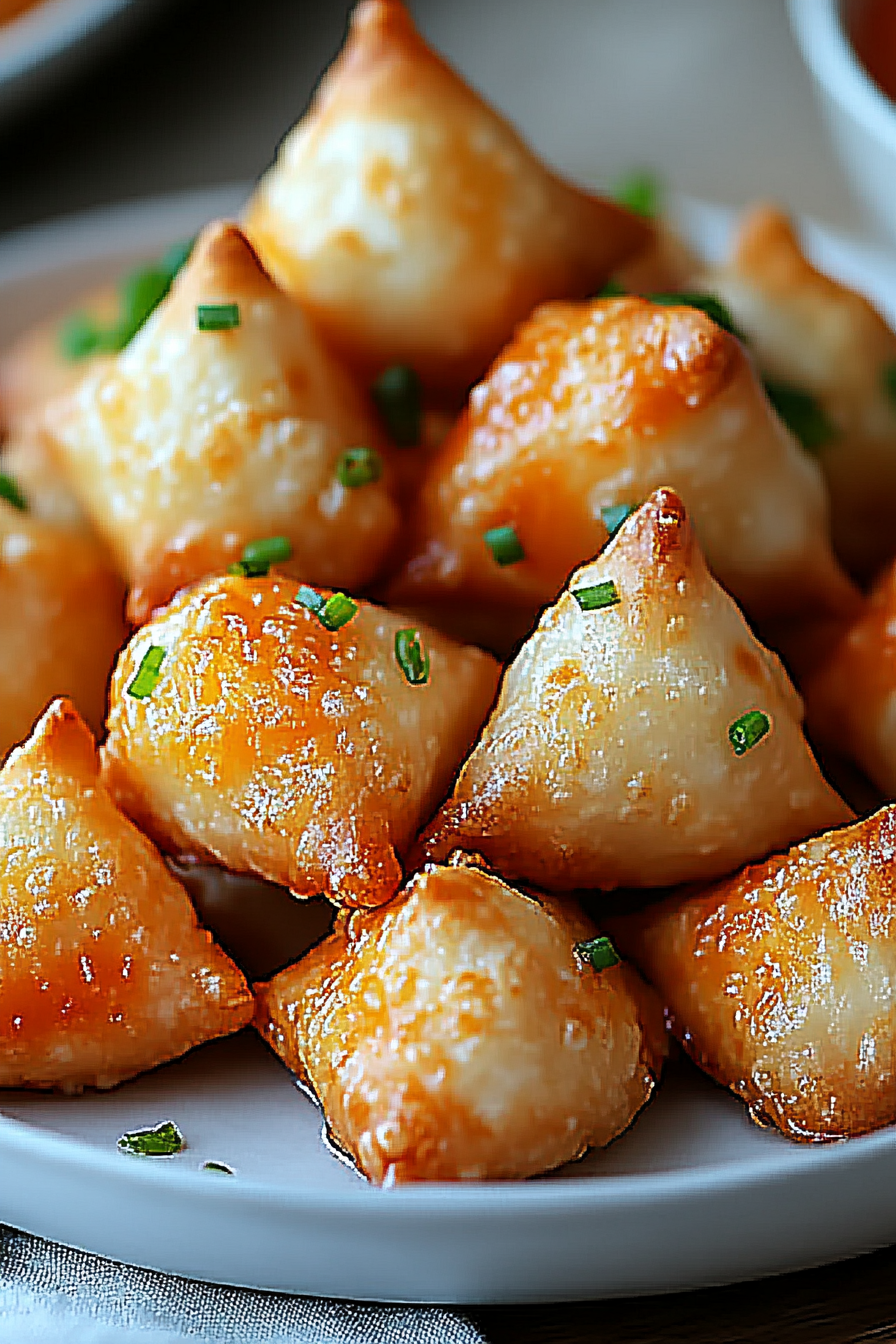
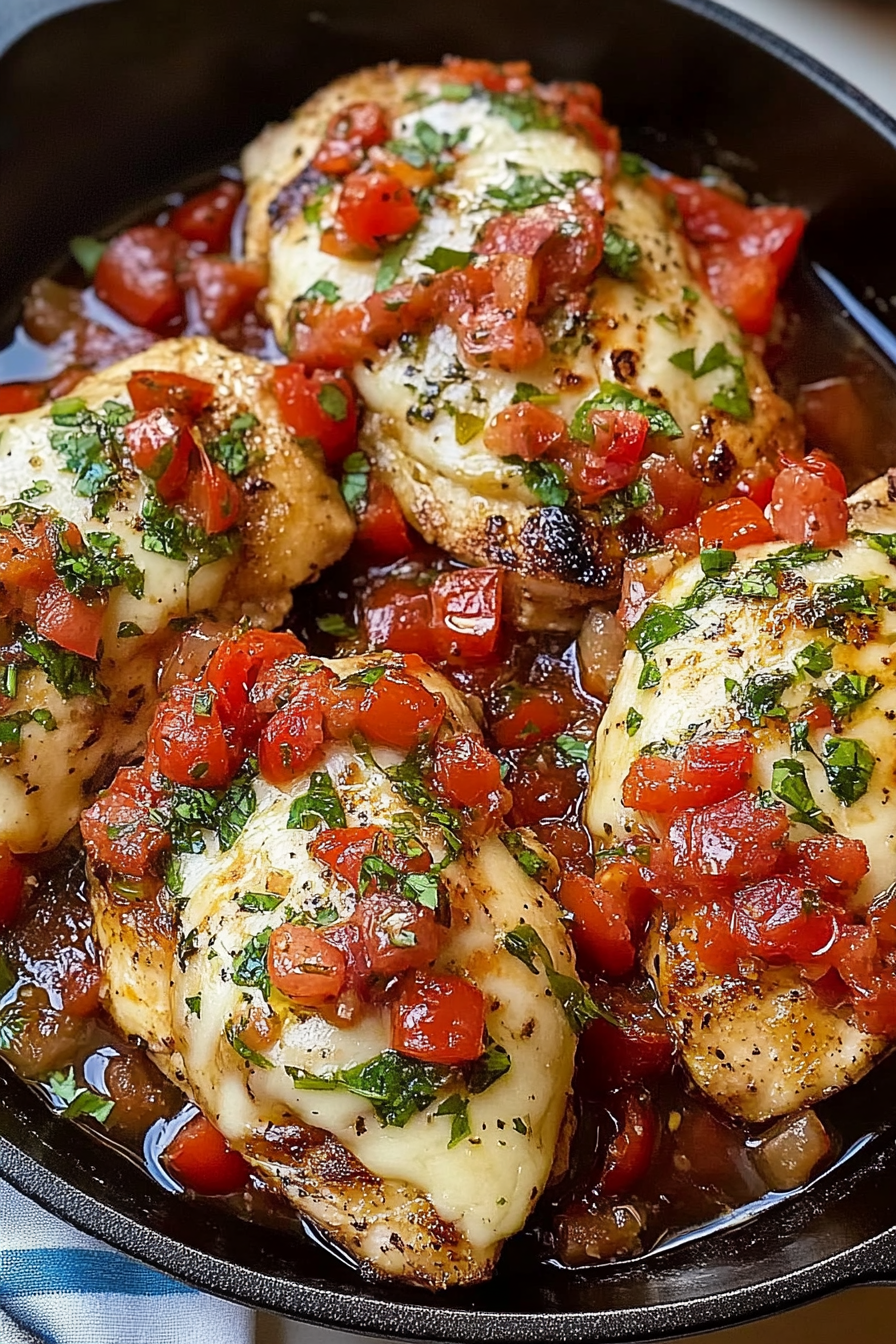
Oh, where do I even begin with these pastelitos? They’re not just a dessert; they’re a little slice of my childhood, a warm hug on a plate. I remember my grandmother making these on Saturday mornings, the whole house filling with the most incredible, sweet, cinnamon-laced aroma. It was pure magic. They’re that perfect sweet treat you can whip up without a fuss, a bit like a muffin but way more delightful and less… well, *muffin-y*. If you’ve ever tried a really good coffee cake or a moist pound cake, imagine that comforting goodness but with a delightful twist that makes these pastelitos utterly irresistible. My kids devour them, my friends beg for the recipe, and honestly, they’re my go-to when I need a little pick-me-up. This pastelitos recipe is truly something special, and I’m so excited to share it with you.
What is Pastelitos?
So, what exactly are these delightful little things called pastelitos? In its simplest form, a pastelito is a sweet pastry or cake, but in my family, and in many Latin American cultures, it often refers to a specific kind of fluffy, often fruit or cheese-filled pastry, usually baked. However, the version I’m sharing today is more of a moist, cake-like confection, often with a beautiful swirl of flavor running through it. Think of it as a very forgiving, incredibly delicious cake that’s perfect for any time of day. It’s got that comforting, homemade feel, with a texture that’s just soft enough to melt in your mouth but sturdy enough to hold its own. The name itself, “pastelito,” literally means “little cake,” and that’s exactly what you get – a miniature masterpiece of sweetness and comfort.
Why you’ll love this recipe?
There are so many reasons why this particular pastelitos recipe has become a staple in my kitchen. For starters, the flavor is just divine. It’s got that perfect balance of sweetness without being cloying, with a tender crumb that’s incredibly satisfying. I adore the subtle notes of vanilla and the hint of warmth from the cinnamon, especially when I add a little swirl. It’s unbelievably simple to make, which is a lifesaver on busy weeknights when I crave something sweet but don’t have hours to spare. You can genuinely whip up the batter in about 15 minutes, and then it’s just a matter of baking. The ingredients are all super budget-friendly too – you probably already have most of them in your pantry right now! What I love most is its versatility. You can have it for breakfast with a cup of coffee, pack it for a delightful mid-afternoon snack, or even serve it as a light dessert. It’s also incredibly forgiving. I’ve accidentally overmixed it once or twice (oops!) and it still turned out wonderfully moist. It’s a no-fail recipe, and that, my friends, is golden. It reminds me a bit of a super moist vanilla cake but with a more rustic charm, and it’s so much easier than making a layered cake from scratch. This pastelitos recipe is truly a winner.
How do I make Pastelitos?
Quick Overview
This recipe is designed for ease and deliciousness. We’ll quickly mix our dry and wet ingredients separately before bringing them together into a wonderfully smooth batter. Then, we’ll prepare a simple, flavourful filling (or swirl), layer it into the batter, and bake it until golden and fragrant. The result is a moist, tender cake with a beautiful visual appeal that tastes even better than it looks. It’s the kind of recipe that makes you feel like a baking pro, even if you’re just starting out.
Ingredients
For the Main Batter:
2 cups all-purpose flour: I always go for unbleached all-purpose flour for the best texture. It gives the pastelitos a nice structure without being tough.
1 ½ teaspoons baking powder: This is crucial for that lovely fluffy lift. Make sure yours is fresh!
½ teaspoon baking soda: Works with the baking powder to give us that perfect rise.
¼ teaspoon salt: Balances out the sweetness and enhances all the flavors.
1 cup granulated sugar: For that classic sweetness. You can reduce it slightly if you prefer, but I find this amount perfect.
½ cup unsalted butter, softened: Using softened butter is key for a smooth, well-emulsified batter. Make sure it’s truly soft, not melted!
2 large eggs: At room temperature, please! They incorporate much better this way.
1 teaspoon Vanilla Extract: Use the good stuff if you can; it really makes a difference.
1 cup milk: Whole milk gives the best richness, but I’ve tested this with 2% and even unsweetened almond milk, and it turned out wonderfully creamy. It’s quite adaptable!
For the Filling:
½ cup fruit preserves (like raspberry, strawberry, or apricot): Choose your favorite! A good quality preserve will give you lovely pockets of flavor.
2 tablespoons granulated sugar
1 teaspoon ground cinnamon: For that warm, comforting spice.
For the Glaze:
1 cup powdered sugar: Sifted is best to avoid lumps.
2-3 tablespoons milk or cream: Start with 2, and add more if needed to reach your desired consistency.
½ teaspoon vanilla extract: A little extra flavor boost.
Step-by-Step Instructions
Step 1: Preheat & Prep Pan
First things first, let’s get our oven fired up to 350°F (175°C). While it’s heating, grab an 8×8 inch baking pan. I like to grease mine generously with butter or non-stick spray, and then give it a light dusting of flour, tapping out any excess. This ensures our beautiful pastelitos will slide right out without any drama. Parchment paper lining the bottom also works wonders if you want extra peace of mind.
Step 2: Mix Dry Ingredients
In a medium-sized bowl, whisk together the all-purpose flour, baking powder, baking soda, and salt. Give it a good whisk to make sure everything is evenly distributed. This is important for a consistent texture in our pastelitos. If you’re not using a whisk, a fork works just fine, but make sure there are no clumps.
Step 3: Mix Wet Ingredients
In a larger bowl, cream together the softened butter and granulated sugar. Beat them together with an electric mixer (or a whisk and some serious arm power!) until light and fluffy. This usually takes about 2-3 minutes. Then, beat in the eggs one at a time, ensuring each is fully incorporated before adding the next. Stir in the vanilla extract. Your mixture should look smooth and well combined.
Step 4: Combine
Now for the magic part! Add about half of the dry ingredients to the wet ingredients and mix on low speed (or stir gently) until just combined. Then, pour in the milk and mix until just combined. Finally, add the remaining dry ingredients and mix until *just* incorporated. Be careful not to overmix here! Overmixing can lead to tough pastelitos, and we definitely don’t want that. A few small lumps are okay; they’ll bake out.
Step 5: Prepare Filling
While the batter is resting for a moment, let’s get our swirl ready. In a small bowl, combine the fruit preserves, granulated sugar, and ground cinnamon. Stir until everything is nicely mixed. This creates a sweet, spiced layer that will weave through the cake, adding bursts of flavor and a gorgeous visual appeal.
Step 6: Layer & Swirl
Pour about half of the batter into your prepared baking pan and spread it evenly. Dollop spoonfuls of the fruit filling over the batter. Now, carefully pour the remaining batter over the filling, spreading it gently to cover. You don’t need to be perfectly neat here; the swirling is part of the charm! Grab a knife or a skewer and gently swirl the filling through the batter. Just a few passes will create a beautiful marbled effect in your finished pastelitos.
Step 7: Bake
Pop the pan into your preheated oven and bake for 30-35 minutes, or until a toothpick inserted into the center comes out clean. The top should be golden brown and the edges should start to pull away slightly from the sides of the pan. Keep an eye on it in the last few minutes, as oven temperatures can vary.
Step 8: Cool & Glaze
Once baked, remove the pastelitos from the oven and let them cool in the pan for about 15-20 minutes. This allows them to set up nicely. While they’re cooling, whisk together the sifted powdered sugar, vanilla extract, and 2 tablespoons of milk or cream for the glaze. Add more milk, a teaspoon at a time, until you reach a drizzly consistency. Once the pastelitos are slightly cooled, drizzle the glaze over the top. It’s okay if some drips down the sides – that’s part of the rustic charm!
Step 9: Slice & Serve
Let the glaze set for another 10-15 minutes before slicing. Using a sharp knife, cut the pastelitos into squares or rectangles. They’re absolutely delicious served warm, but they’re also fantastic at room temperature. The aroma when you cut into them is just heavenly!
What to Serve It With
These pastelitos are truly a chameleon when it comes to pairing. For a simple breakfast, they’re perfect with a strong cup of coffee – the richness of the coffee cuts through the sweetness beautifully. I love serving them warm, with a little steam rising, especially on a chilly morning. For a more festive brunch spread, I’ll cut them into slightly smaller, elegant squares and arrange them on a tiered stand with some fresh berries and maybe a dollop of whipped cream on the side. They look so pretty and feel quite special! As a dessert, they’re a delightful light option after a hearty meal. They pair wonderfully with a scoop of vanilla bean Ice Cream or a glass of dessert wine. And for those cozy evenings when you just need something sweet to curl up with, they are utter perfection. My kids will often have a small piece with a glass of milk after school, and it always brings smiles. I’ve also tried them with a light dusting of powdered sugar instead of glaze for a less sweet option, and it was lovely! Family tradition dictates that the first piece from the pan is always mine, warm from the oven, glaze still a little melty. It’s these little moments that make a recipe truly cherished.
Top Tips for Perfecting Your Pastelitos
Over the years, I’ve learned a few tricks that really make these pastelitos sing. When it comes to the fruit preserves for the swirl, don’t be afraid to experiment. Apricot is amazing, but so is a good quality raspberry or even a spiced apple butter in the fall. If your preserves are very thick, a tiny splash of water or juice can help make them more spreadable for swirling. When mixing the batter, the most important thing is to avoid overmixing once the flour is added. You want to mix until *just* combined. If you see streaks of flour, keep mixing gently, but as soon as it looks mostly uniform, stop. Overmixing develops the gluten too much, which can result in a dense or tough cake. For the swirl, I find that using a knife and making a few figure-eight motions or gentle zigzags works best to distribute the filling without overworking the batter. You want distinct ribbons of flavor, not a uniform mix. For ingredient swaps, if you don’t have whole milk, 2% works fine, and as I mentioned, even unsweetened plant-based milks can do the trick, though the richness might be slightly different. If you find your butter isn’t quite soft enough, you can grate it while cold and then let it sit for a few minutes to soften faster – it makes creaming much easier. Don’t be too intimidated by the glaze; it’s very forgiving. If it’s too thick, add a tiny bit more liquid. If it’s too thin, add a bit more powdered sugar. The goal is a lovely drizzle, not a pour. And remember, ovens vary! My oven tends to run a little hot, so I often check mine a few minutes before the recipe suggests. A toothpick test is your best friend here; it should come out with moist crumbs attached, but no wet batter.
Storing and Reheating Tips
One of the best things about these pastelitos is how well they store, making them perfect for leftovers (if you even have any!). At room temperature, they’ll stay fresh for about 2-3 days, as long as they’re stored in an airtight container. I usually just cover the pan tightly with plastic wrap or transfer any leftovers to a good quality food storage container. If you’ve already glazed them, the glaze helps seal in some moisture. For longer storage, the refrigerator is your friend. They can last up to a week in the fridge, again, in an airtight container. I find they retain their moisture quite well this way. If you want to freeze them, which I highly recommend if you’re making a big batch or want to have them on hand for emergencies, wrap them tightly. You can freeze the whole pan or cut them into individual squares and wrap each one well in plastic wrap, then place them in a freezer-safe bag or container. They’ll keep well for up to 2-3 months. To thaw, I usually let them come to room temperature on the counter for a few hours. If you’ve frozen them with glaze, the glaze might get a little soft upon thawing, but it’s still delicious. For reheating, I rarely bother unless they’ve been refrigerated for a while. A few seconds in the microwave (seriously, like 10-15 seconds!) can warm them up gently if you prefer them slightly warm, but they’re also delicious at room temperature. I tend to add the glaze *after* they’ve cooled completely if I plan on storing them for more than a day, as it holds up better.
Frequently Asked Questions
Final Thoughts
Honestly, this pastelitos recipe is more than just a set of instructions; it’s a ticket to pure comfort and simple joy. It’s the kind of baking that fills your home with incredible aromas and brings people together. Whether you’re looking for a sweet breakfast treat, a delightful afternoon snack, or a light dessert, these pastelitos deliver every single time. They’re proof that deliciousness doesn’t need to be complicated. If you love recipes that are forgiving, budget-friendly, and always a crowd-pleaser, you’ve got to give this one a try. For those who enjoyed this, you might also love my recipe for [link to a similar recipe, e.g., moist Banana Bread] or my easy [link to another related recipe, e.g., blueberry muffins]. I can’t wait to hear how your pastelitos turn out! Please leave a comment below and let me know your favorite fruit filling or any fun variations you tried. Happy baking!
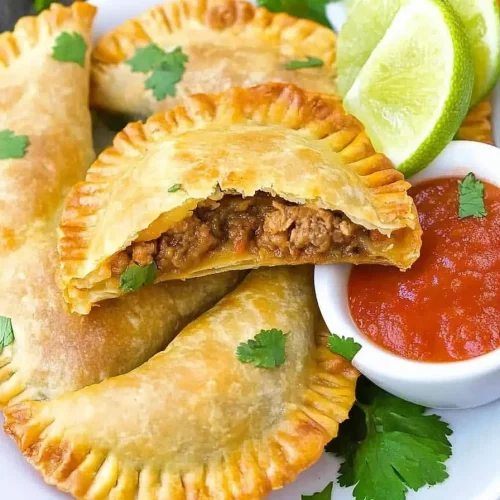
Pastelitos Recipe
Ingredients
Dough
- 2.5 cups all-purpose flour
- 0.5 teaspoon salt
- 0.5 cup vegetable shortening
- 0.25 cup cold water
Filling
- 1 pound ground beef
- 1 medium onion, finely chopped
- 2 cloves garlic, minced
- 0.25 cup tomato sauce
- 0.5 teaspoon ground cumin
- 0.25 teaspoon dried oregano
- 0.25 teaspoon salt
- 0.125 teaspoon black pepper
For Frying
- vegetable oil for frying
Instructions
Dough Preparation
- In a large bowl, whisk together the flour and salt.
- Cut in the vegetable shortening with a pastry blender or your fingertips until the mixture resembles coarse crumbs.
- Gradually add the cold water, mixing until the dough just comes together. Do not overmix.
- Shape the dough into a disc, wrap in plastic wrap, and refrigerate for at least 30 minutes.
Filling Preparation
- In a skillet over medium heat, brown the ground beef. Drain off any excess grease.
- Add the chopped onion and minced garlic to the skillet and cook until softened, about 5 minutes.
- Stir in the tomato sauce, cumin, oregano, salt, and pepper. Simmer for 10 minutes, allowing the flavors to meld.
- Remove from heat and let the filling cool completely.
Assembly and Frying
- On a lightly floured surface, roll out the dough to about 1/8-inch thickness.
- Cut out circles of dough, about 4-5 inches in diameter.
- Place about 2 tablespoons of the cooled filling onto one half of each dough circle.
- Moisten the edges of the dough with water and fold the other half over to create a semi-circle. Press the edges firmly to seal, and crimp with a fork.
- Heat about 2 inches of vegetable oil in a deep skillet or pot to 350°F (175°C).
- Carefully fry the pastelitos in batches until golden brown and cooked through, about 3-4 minutes per side.
- Remove from the oil and drain on paper towels.
Notes
Featured Comments
“Impressed! Clear steps and crowd-pleaser results. Perfect for busy nights.”
“New favorite here — quick weeknight win. crowd-pleaser was spot on.”
“Super easy and turned out amazing! My family asked for seconds. Saving this one.”
“This sweet treat was absolutely loved — the hearty really stands out. Thanks!”
“Made it tonight and wow — turned out amazing! Will definitely make Pastelitos recipe again.”
“Packed with flavor and so simple. Exactly what I wanted from Pastelitos recipe.”


