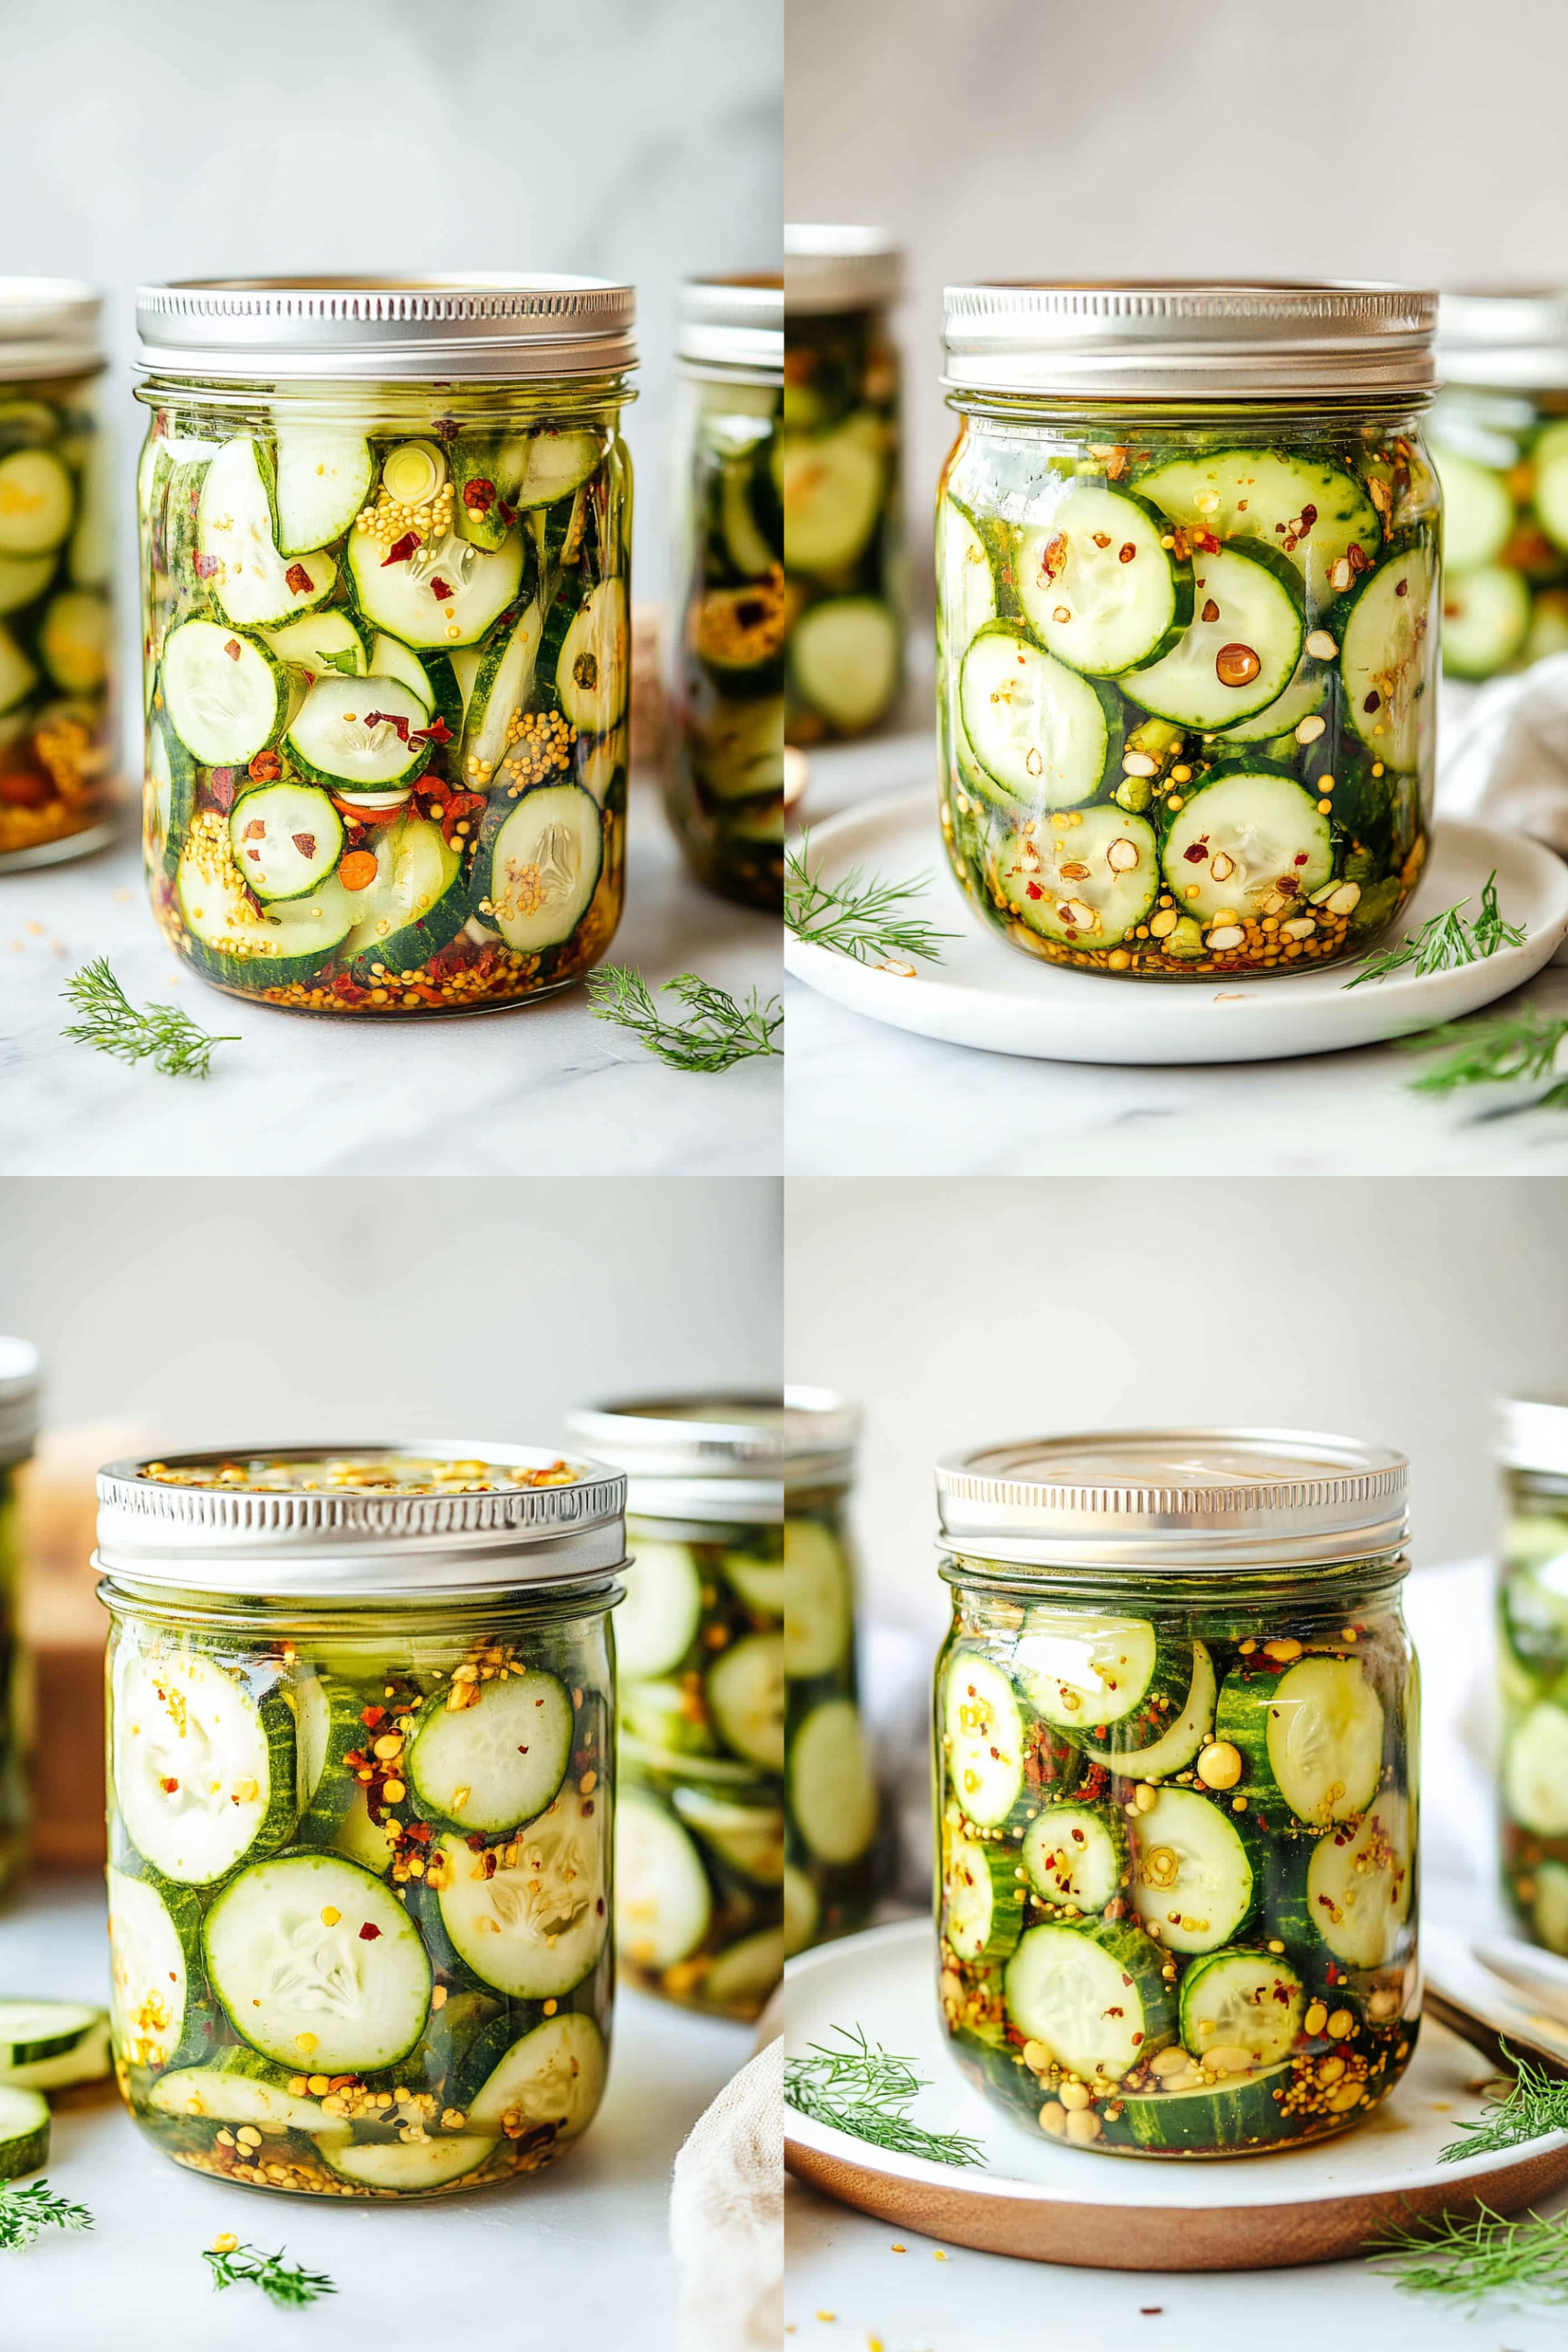
There are few things more satisfying than a crisp, tangy bite on a hot day, and for me, nothing hits the spot quite like homemade refrigerator pickles. I remember my grandma’s pantry, always stocked with jars of these vibrant green beauties, lined up like little soldiers ready to be deployed onto sandwiches or served as a refreshing snack. She’d pull one out on a sweltering afternoon, and the sound of the lid popping open was like a little promise of relief. Honestly, compared to store-bought versions, these homemade refrigerator pickles are in a league of their own. They’re not just a condiment; they’re a little jar of sunshine, and so ridiculously easy to whip up, you’ll wonder why you haven’t been making them all along. This recipe has been a lifesaver for me, especially when unexpected guests pop over or when I just need a quick, healthy crunch to brighten up a meal.
What are refrigerator pickles?
So, what exactly are these magical little guys? Think of refrigerator pickles as your quick-and-easy shortcut to all the amazing flavors of a traditional dill pickle, but without the canning fuss. They’re cucumbers (or other veggies!) that are submerged in a brine, usually a mix of vinegar, water, salt, and spices, and then stored in the fridge. Because they’re not processed through a water bath canner, they keep their fantastic crispness and vibrant color. It’s essentially a rapid pickle, designed for immediate enjoyment and storage in your cold box. The name “refrigerator pickles” is pretty straightforward – they live in your fridge! It’s a brilliant way to preserve fresh produce and have a zesty, flavorful addition ready whenever the craving strikes. No special equipment, no long waiting periods; just pure, delicious, pickled goodness.
How do I make refrigerator pickles?
Quick Overview
Making these refrigerator pickles is unbelievably straightforward. You’ll essentially be making a quick brine, packing jars with fresh cucumbers and aromatics, pouring the hot brine over them, and letting them chill in the fridge. The magic happens as they sit, allowing the flavors to meld and the cucumbers to soften just enough while staying wonderfully crisp. It’s a no-fuss approach that yields incredible results, perfect for both seasoned cooks and kitchen newbies. You’ll have a vibrant, tangy treat ready to enjoy in no time!
Ingredients
For the main pickles:
2 pounds Kirby cucumbers or other pickling cucumbers (about 8-10 medium), washed and trimmed
2-3 cloves garlic, thinly sliced
1-2 sprigs fresh dill (or 1 tablespoon dried dill)
1/2 teaspoon mustard seeds
1/4 teaspoon peppercorns
Optional: 1/4 teaspoon Red Pepper flakes for a little heat
For the Brine:
2 cups white vinegar (5% acidity)
1 cup water
2 tablespoons granulated sugar
1 tablespoon kosher salt (or 2 teaspoons table salt)
Step-by-Step Instructions
Step 1: Prepare Your Jars and Cucumbers
First things first, grab a couple of clean jars. Pint or quart-sized Mason jars work perfectly. I usually use two pint jars for this recipe. Make sure they’re super clean, and give them a quick rinse with hot water. Next, prep your cucumbers. Wash them well under cold water, giving them a good scrub to remove any dirt. Trim off the blossom end – this is important because it contains enzymes that can make your pickles soft. I usually slice my cucumbers into rounds about 1/4 inch thick, but spears work beautifully too! If you’re going for spears, cut them lengthwise into quarters or even eighths depending on how thick you want them.
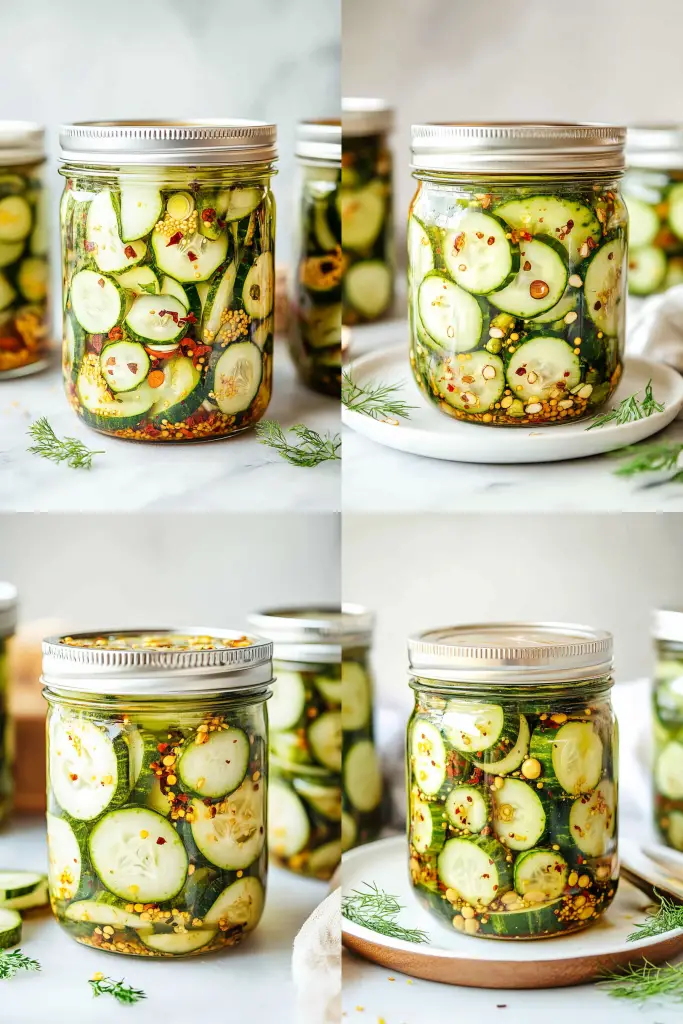
Step 2: Pack the Jars with Flavor
Now for the fun part! Start layering your cucumber slices or spears into the clean jars. Don’t pack them in too tightly, but you want to get as many as you can in there. In between the cucumber layers, tuck in your aromatics. Add the thinly sliced garlic – I usually aim for about half the garlic per jar. Pop in a sprig of fresh dill or sprinkle in some dried dill. Then, sprinkle in your mustard seeds, peppercorns, and if you like a little warmth, the red pepper flakes. Seeing all those vibrant spices and herbs nestled amongst the cucumbers is just so satisfying!
Step 3: Make the Speedy Brine
Time to whip up the brine! In a medium saucepan, combine the white vinegar, water, granulated sugar, and kosher salt. Place the saucepan over medium-high heat. Stir everything together until the sugar and salt are completely dissolved. You’ll want to bring this mixture to a rolling boil. Let it boil for just about a minute to ensure everything is well combined and heated through. This hot brine is what helps to quickly infuse the flavors into the cucumbers and start the pickling process.
Step 4: Pour the Hot Brine Over
Carefully remove the saucepan from the heat. Using a ladle or a steady hand, pour the hot brine over the cucumbers and spices in your jars. Make sure to fill the jars all the way to the top, leaving about 1/2 inch of headspace. Gently tap the jars on the counter a few times to release any air bubbles that might be trapped. You can use a chopstick or a skewer to gently poke down into the jar and help dislodge stubborn bubbles. Top off with a little more brine if needed to ensure all the cucumbers are submerged.
Step 5: Cool and Chill
Once the jars are filled, let them sit on your counter at room temperature for about 30-60 minutes. This initial cooling period allows the jars to cool down a bit before they go into the fridge, and it also gives the flavors a head start on mingling. After they’ve cooled down a bit, screw on the lids tightly and place the jars in the refrigerator. That’s it! You’re done with the active cooking part.
Step 6: Let the Magic Happen
Now comes the hardest part: waiting! For the best flavor, I recommend letting your refrigerator pickles chill in the fridge for at least 24 hours before you dig in. The longer they sit, the more the flavors will develop and penetrate those cucumbers, giving them that perfect tangy, briny bite. They’ll continue to get more delicious for the first few days. I find they are absolutely perfect around day 2 or 3!
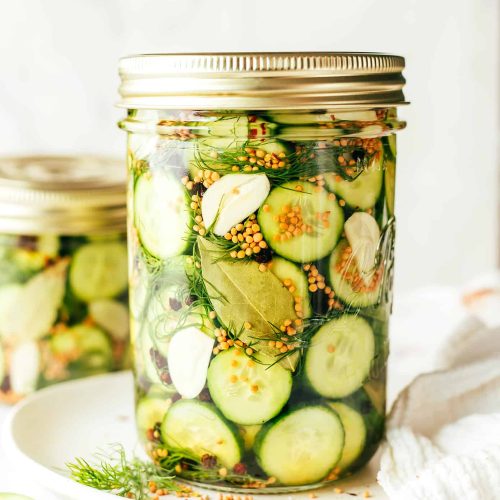
Step 7: Slice and Serve!
After at least 24 hours, your homemade refrigerator pickles are ready to be enjoyed! Open up a jar and admire those beautiful, crisp pickles. Slice them up for burgers, chop them for sandwiches, or just grab a fork and enjoy them as a refreshing snack. The sound of that crisp crunch is music to my ears!
What to Serve It With
These refrigerator pickles are incredibly versatile, truly the chameleon of the condiment world! For breakfast, I love adding a few slices to a breakfast sandwich or alongside some scrambled eggs for a little zing. They cut through the richness beautifully. For brunch, imagine a platter with mini quiches, smoked salmon, and a side of these tangy pickles – it’s elegant and surprising. They’re also fantastic chopped up and mixed into deviled eggs or tuna salad to give them a little punch. As a dessert, though not a sweet dessert, they can be a palate cleanser alongside richer dishes. Think of serving them as a refreshing counterpoint to a hearty steak or a rich lasagna. And for those cozy, lazy snack times, they are pure gold. They’re absolutely perfect alongside a cheese and charcuterie board, or just enjoyed straight from the jar while you’re curled up with a good book and a cup of tea. My kids, believe it or not, love them on their PB&J sandwiches – don’t knock it ’til you try it! They add a surprising, delicious tang that contrasts the sweet Peanut Butter and jelly wonderfully.
Top Tips for Perfecting Your Refrigerator Pickles
I’ve made a batch (or maybe a dozen!) of these refrigerator pickles over the years, and I’ve picked up a few tricks that I think really elevate them. For the cucumbers themselves, choosing the right kind is key. Kirby cucumbers are my absolute favorite because they have thin skins and are nice and firm, which means they stay super crisp. If you can’t find Kirbys, any small pickling cucumber will work. Just make sure they are fresh and firm to the touch. When you’re slicing them, aim for a consistent thickness – about 1/4 inch is ideal. This ensures they pickle evenly. If you’re making spears, try to make them all roughly the same size so they brine uniformly. For the brine, I always use white vinegar with at least 5% acidity. This is crucial for both flavor and safety. Don’t try to substitute it with Apple Cider vinegar or anything else unless you’re experienced with pickling adjustments, as it can affect the taste and preservation. I also learned early on that using kosher salt is best for brining because it dissolves cleanly and doesn’t have any anti-caking agents that can make your brine cloudy. If you only have table salt, just be sure to measure it carefully, as it’s more potent. For the aromatics, feel free to play around! I love adding a bay leaf or a few cloves of coriander for extra depth, but the dill and garlic combo is truly classic. And if you’re sensitive to heat, definitely skip the red pepper flakes, but if you like a little kick, they’re a wonderful addition. Don’t overpack the jars; give the brine room to circulate. And remember that tapping to release air bubbles? It sounds small, but it really helps ensure the cucumbers are fully submerged and pickle evenly. Lastly, be patient! The 24-hour wait is tough, I know, but it’s truly worth it for the best flavor development.
Storing and Reheating Tips
Storing these beauties is a breeze, which is part of their charm! Because they’re refrigerator pickles and not canned, they need to stay cold. Once your jars have cooled down from the initial room temperature period and are placed in the fridge, they’re good to go. I always keep them tucked away in the main part of the fridge, not the door, where the temperature is more consistent. Properly stored, these refrigerator pickles will stay delicious and crisp for about 2 to 3 weeks. After that, they might start to get a little softer, though they’ll still be perfectly edible for a while longer. The key is to always ensure they remain submerged in their brine. If the brine level drops below the cucumbers, you can always top it off with a little extra brine made with the same ratios (vinegar, water, salt, sugar). You don’t reheat these pickles, of course! They are meant to be enjoyed cold, straight from the fridge. They are essentially ready-to-eat as soon as they’ve had time to chill and meld. If you find you have a ton of them, you can also freeze them! While the texture might change slightly (they can become a bit softer after thawing), they’re still great for using in recipes like potato salad or anywhere where texture isn’t paramount. Just make sure to pack them into freezer-safe containers or bags, leaving a little headspace for expansion, and they’ll last for a few months.
Frequently Asked Questions
Final Thoughts
So there you have it – my absolute favorite way to make refrigerator pickles! It’s such a simple recipe, but the payoff is huge. You get that satisfying crunch, that perfect tang, and a burst of flavor that can seriously elevate any meal. Whether you’re topping a juicy burger, adding a zesty bite to your sandwich, or just craving something cool and crisp, these pickles deliver every single time. They’re proof that you don’t need fancy equipment or hours in the kitchen to create something truly delicious. If you’re a fan of pickles, or even if you’re just curious about making your own, I really hope you’ll give this a try. You might just find yourself making batch after batch! I’d love to hear what you think, or if you have any special spice additions you like to use. Let me know in the comments below how your pickles turn out! Happy pickling!
Quick Refrigerator Dill Pickles
Ingredients
For the Pickles
- 2 pounds cucumbers Kirby or Persian cucumbers recommended, sliced 0.25-inch thick
- 1 medium onion thinly sliced
- 2 cloves garlic smashed
- 1 tablespoon fresh dill chopped, or 1 teaspoon dried dill
- 0.5 teaspoon red pepper flakes optional
For the Brine
- 2 cups water
- 1 cup white vinegar 5% acidity
- 2 tablespoons kosher salt
- 1 tablespoon granulated sugar
Instructions
Preparation Steps
- Wash and thinly slice the cucumbers and onion. Smash the garlic cloves.
- In a medium saucepan, combine the water, white vinegar, kosher salt, and granulated sugar. Bring to a boil over medium-high heat, stirring until the salt and sugar are dissolved.
- While the brine is heating, layer the sliced cucumbers, onion, garlic, dill, and red pepper flakes (if using) into clean jars. You can use mason jars or any other airtight container.
- Carefully pour the hot brine over the ingredients in the jars, making sure to cover everything completely. Leave about 0.5-inch of headspace at the top.
- Seal the jars tightly with lids. Let them cool to room temperature, then transfer to the refrigerator. The pickles will be ready to eat in at least 24 hours, but are best after 2-3 days.
Notes
Featured Comments
“Impressed! Clear steps and super easy results. Perfect for busy nights.”
“New favorite here — comforting. crowd-pleaser was spot on.”
“Super easy and turned out amazing! My family asked for seconds. Saving this one.”
“This sweet treat was absolutely loved — the silky really stands out. Thanks!”
“Made it tonight and wow — super easy! Will definitely make refrigerator pickles again.”
“Packed with flavor and so simple. Exactly what I wanted from refrigerator pickles.”