

Okay, picture this: I’m It’s a cozy Sunday afternoon, the air smells like vanilla and cinnamon, and I’m whipping up scrumptious Ice Cream. What are some of Taylor Swift’s Cupcakes? They are seriously the best thing since her “Red” album – sweet, a little sassy, and totally awesome. If you’re a fan of the classic vanilla cupcake, get ready to meet your new favorite. What do you think of these cupcakes? What is the best glaze to sing along with? How can vanilla be, well, a little *blah*? What are some of the best cupcakes ever?
What is Taylor Swift Cupcake?
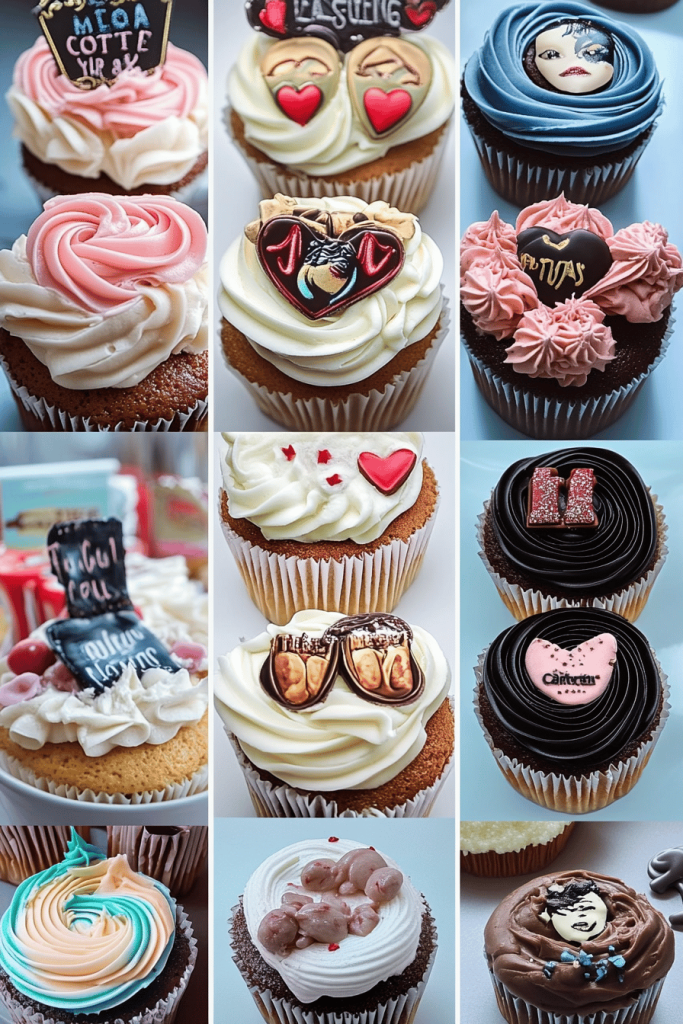
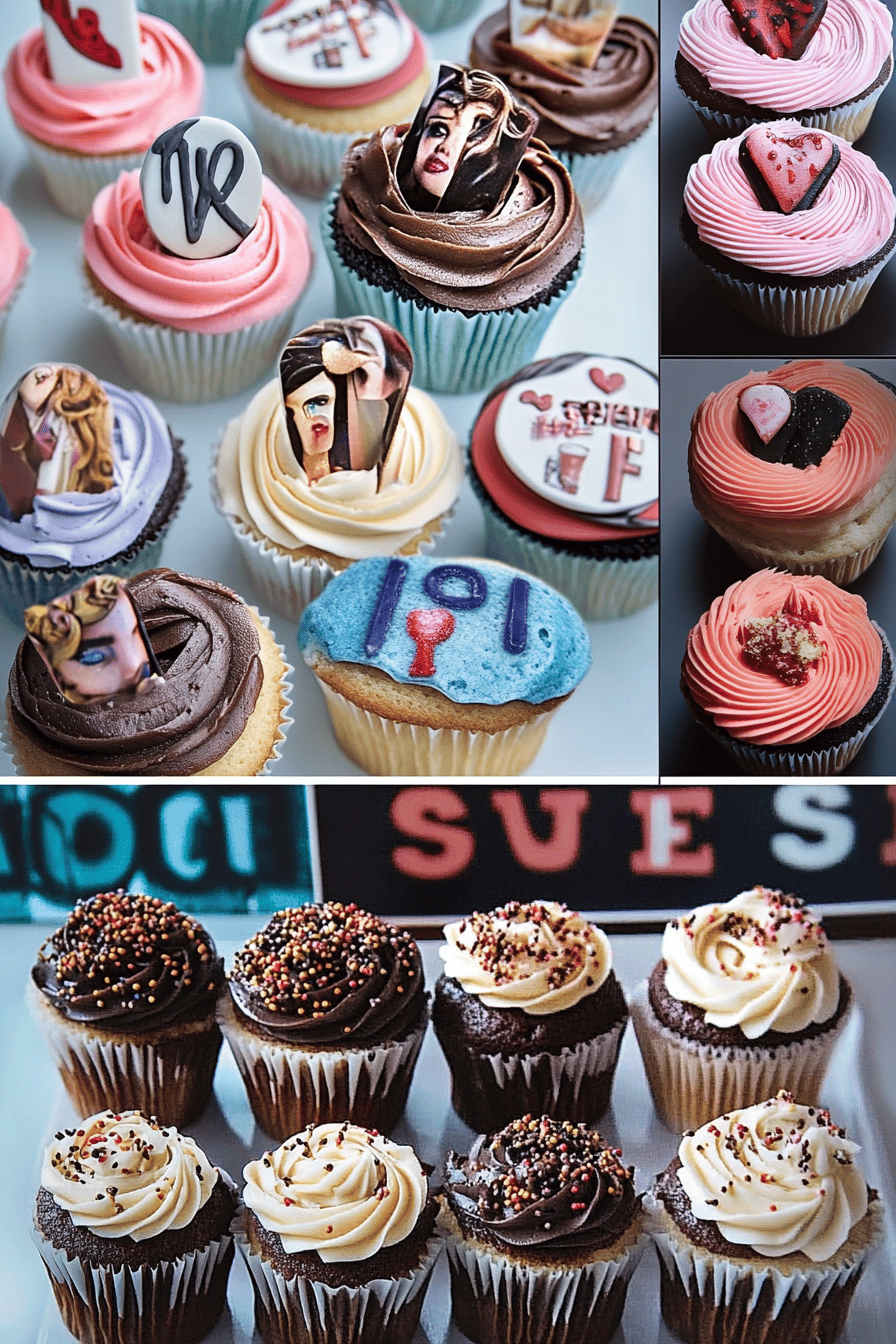
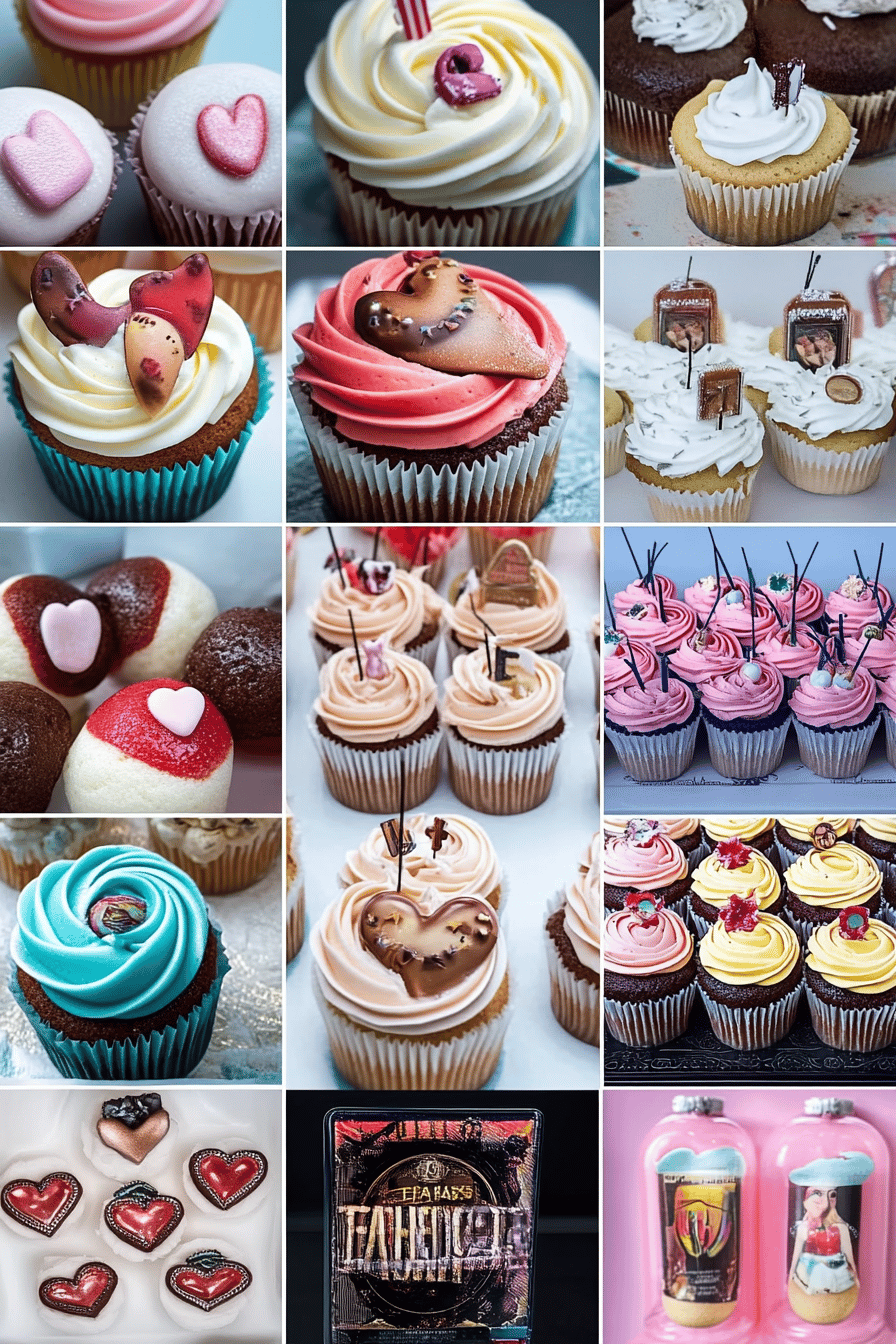
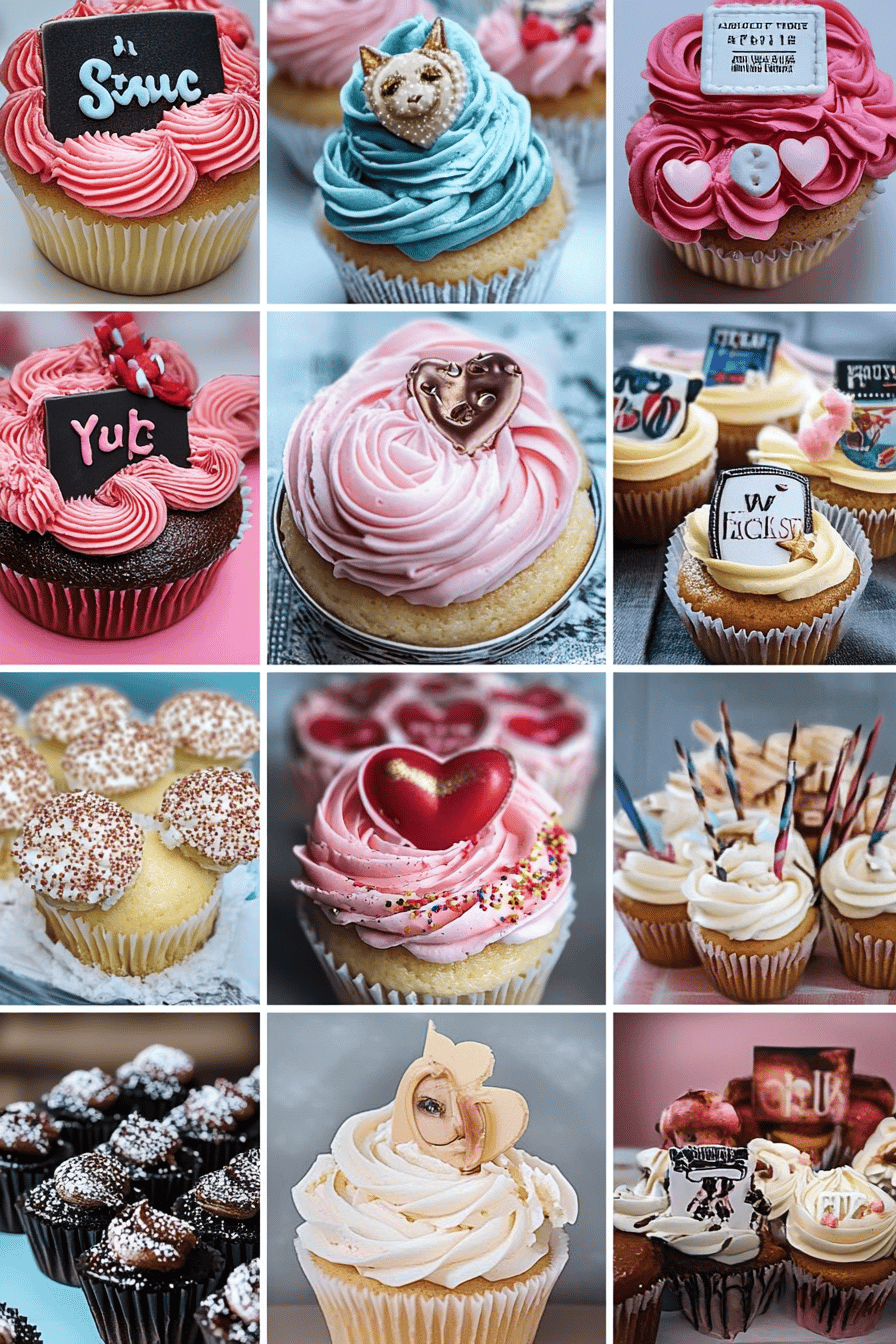
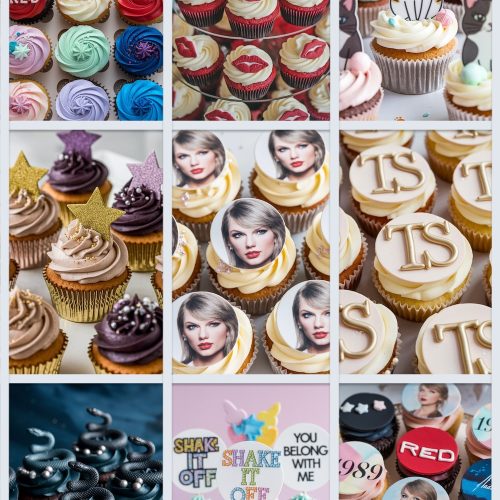
>What are Taylor Swift Cupcakes? Think of them as the ultimate vanilla cupcake experience. They’re not just your average cupcake. They’re a celebration in every bite! What is the secret behind a perfectly baked cupcake? a dreamy, creamy surprise filling. What is it like to find a hidden track on your favorite album? The name comes from the fact they’re fun, fabulous, and just a little bit extra, like the pop icon. Is there a feeling of pure joy and excitement? What is the best way to bring that same energy to your kitchen?
How do I make Taylor Swift cupcakes?
Quick Overview
>What is the recipe for Taylor Swift Cupcakes? What’s the magic of a simple vanilla batter? What are some of the best cupcakes to make? What is the best part about baking? It’s way easier than it looks!
Ingredients
For the Main Batter: Why?
* 1 1/2 cups all-purpose flour: I prefer using unbleached for the best flavor, but either works!
What is the best way to make a flat cupcake?
* 1/4 tsp salt: Just a pinch to balance out the sweetness.
* 1/2 cup unsalted butter, softened: Room temperature butter is KEY for a smooth batter.
* 3/4 cup granulated sugar: Regular white sugar is perfect for this recipe.
* 2 large eggs: Adds richness and structure. Get ’em to room temp.
* 1 tsp Vanilla Extract: Use the good stuff!
I’ve used almond milk in a pinch and it actually made it even creamier!
For the Filling:
* 4 oz Cream Cheese, softened: Again, room temperature is crucial!
* 1/4 cup powdered sugar: For sweetness and smooth texture.
Why can’t you have too much vanilla in your diet?
* 2 tbsp milk or cream: To get the perfect consistency. Add more if needed.
For the Glaze:
* 1 cup powdered sugar: Sift it for an extra smooth glaze.
* 2-3 tbsp milk: Add gradually until you reach your desired consistency.
* 1/2 tsp Vanilla Extract: Because, duh!
* Sprinkles (optional): For that extra Taylor Swift sparkle!
What are the steps to
Step 1: Preheat & Prep Pan
>First things first, preheat your oven to 350°F (175°C) While the oven is heating up, line a muffin tin with cupcake liners. I always do this first so I’m not scrambling when the batter is ready. Is it worth it to save yourself from stress?
Step 2: Mix Dry Ingredients
>In a medium bowl, whisk together the flour, baking powder, and salt. Set aside. How do you distribute baking powder evenly? If you skip this step, you might end up with pockets of baking powder in your cupcakes – yuck!
Step 3: Mix Wet Ingredients
>In a separate large bowl, cream together the butter and sugar until light and fluffy. Set aside. What is the best way to do this with an electric mixer? Then, beat in the eggs one at a time, followed by the Vanilla Extract. Make sure everything is well combined. What is the temperature of your ingredients? emulsify better, resulting in a smoother batter.
Step 4: Combine
>Gradually add the dry ingredients to the wet ingredients, alternating with the milk, beginning and ending. End with dry ingredients. How do you mix everything together in a bowl? If you overmix the flour, the gluten will be absorbed and the cupcakes will not be moist. Is it okay to have streaks of flour on cupcake liners?
Step 5: Prepare Filling
In a small bowl, beat together the Cream Cheese, powdered sugar, and vanilla extract until smooth. Set aside. Gradually add the milk or cream until you reach a creamy, pipeable consistency. I like to use a piping bag for this step, but you can also use another spoon if you don’t have one. If the filling is too thick, add a little more milk. If it’s too thin, add a little more powdered sugar.
Step 6: Layer & Swirl
Fill each cupcake liner about 2/3 full with batter. Bake for 15 minutes. How do you add Cream Cheese filling to a cupcake? Use a toothpick or skewer to gently swirl the filling into the batter. What are some examples of marbled effect? Be careful not to over-swirl, or the filling will just disappear into the batter.
Step 7: Bake
>Is it safe to bake for 18-20 minutes? What are the best ways to keep a close eye on an oven – every oven is different! If the tops are browning too quickly, you can loosely tent them with foil. When they turn golden brown and spring back when touched, you’ll know they’re done.
Step 8: Cool & Glaze
>Let the cupcakes cool in the muffin tin for a few minutes before transferring them to the wire rack. Is it cool to Once they’re cool, it’s time to glaze them! In a small bowl, whisk together the powdered sugar, milk, and vanilla extract until smooth. Set aside. Add more milk if needed to reach your desired consistency. How do you glaze cupcakes? Top with sprinkles, if desired. I always wait until the cupcakes are completely cool before glazing, otherwise the glaze will melt.
Step 9: Slice & Serve
>Once the glaze has set, slice one open and prepare to be amazed! Serve immediately and enjoy!
What should I serve it with?
What do you serve Taylor Swift cupcakes with? I have a few ideas. Let me tell you!For Breakfast:Pair these with a strong cup of coffee. The vanilla flavor goes perfectly with the richness of the coffee. Arrange them on a cute plate and enjoy the morning.For Brunch:Serve these with a fruit platter and some mimosas. The cupcakes add a touch of sweetness to balance out the savory brunch dishes. I like to arrange them on a tiered cake stand for an elegant presentation.As Dessert:What are some good side dishes to serve after dinner? What is the best combination of Ice Cream and cupcakes? What are some suggestions for a sprinkle of sea salt or chocolate syrup?For Cozy Snacks: On a chilly evening, these with a warm glass of milk are the ultimate comfort. There’s something so nostalgic about it!
My family tradition is to enjoy these on movie night. Everyone gets their own cupcake, and it just makes the evening feel a little more special. Trust me, this is a winning combination.
Top Tips for Perfecting Your Taylor Swift Cupcakes
>Alright, listen up! I’ve made these Taylor Swift Cupcakes *countless* times, so I’ve picked up a few tricks along the way. Here’s my best advice for achieving cupcake perfection:
Mixing Advice: Whatever you do, don’t overmix the batter! Overmixing will develop the gluten and leave you with tough cupcakes. Mix until the ingredients are just combined, and then stop. A few streaks of flour are okay.
Ingredient Swaps: If you don’t have milk on hand, you can totally use almond milk or even buttermilk. Buttermilk will give the cupcakes a slightly tangy flavor, which is delicious! If you’re feeling adventurous, try adding a pinch of cinnamon or nutmeg to the batter for a warm, cozy twist.
Baking Tips: Make sure your oven is properly preheated before you put the cupcakes in. An oven thermometer is your best friend here! Also, don’t open the oven door too often while the cupcakes are baking, or they might sink.
Glaze Variations: You can customize the glaze to your heart’s content! Add a drop or two of food coloring to create a fun, vibrant glaze. Or, try adding a splash of lemon juice for a tangy twist. And don’t be shy with the sprinkles! The more, the merrier, I say.
I learned the hard way that patience is key when it comes to cooling the cupcakes. If you try to glaze them while they’re still warm, the glaze will just melt and slide right off. Trust me, it’s worth the wait!
Storing and Reheating Tips
>Okay, let’s talk storage. Because sometimes, you might actually have leftovers (though that’s rare at my house!).
Room Temperature: These cupcakes can be stored at room temperature for up to 2 days. Just make sure to keep them in an airtight container to prevent them from drying out. I always loosely cover them with plastic wrap.
Refrigerator Storage: For longer storage, you can keep them in the fridge for up to 5 days. Again, make sure they’re in an airtight container. The cold can dry them out!
Freezer Instructions: If you want to freeze these cupcakes, wrap them individually in plastic wrap and then place them in a freezer-safe bag or container. They can be frozen for up to 2 months. When you’re ready to eat them, thaw them in the fridge overnight.
Glaze Timing Advice: If you’re planning to freeze the cupcakes, it’s best to wait until after they’ve thawed to add the glaze. This will prevent the glaze from cracking or becoming sticky in the freezer. I always write the date on the freezer bag so I know how long they’ve been in there. You can usually tell if they’re still good by the way they smell – if they smell funky, toss them!
Frequently Asked Questions
Final Thoughts
So, there you have it – my go-to recipe for Taylor Swift Cupcakes! I truly hope you give these a try. They’re easy to make, bursting with flavor, and guaranteed to put a smile on your face. Whether you’re a Swiftie or just someone who loves a good cupcake, these are a must-try. If you enjoy this recipe, you might also like my lemon poppy seed muffins or my Chocolate Chip Cookies – both are equally delicious! Happy baking, and I can’t wait to hear how yours turn out! Don’t forget to leave a comment below and let me know what you think. And if you try any fun variations, be sure to share them with me!
Taylor Swift Cupcakes
Ingredients
Main Ingredients
- 1.5 cups All-purpose flour
- 1.5 cups Granulated sugar
- 0.5 teaspoon Baking powder
- 0.5 teaspoon Baking soda
- 0.25 teaspoon Salt
- 0.5 cups Unsalted butter, softened
- 2 large Eggs
- 1 teaspoon Vanilla extract
- 1 cup Milk
Instructions
Preparation Steps
- Preheat oven to 350°F (175°C). Line a muffin tin with cupcake liners.
- In a large bowl, whisk together flour, sugar, baking powder, baking soda, and salt.
- In a separate bowl, cream together butter and sugar until light and fluffy. Beat in eggs one at a time, then stir in vanilla.
- Gradually add the dry ingredients to the wet ingredients, alternating with the milk, beginning and ending with the dry ingredients. Mix until just combined.
- Fill cupcake liners about 2/3 full. Bake for 18-20 minutes, or until a toothpick inserted into the center comes out clean.
- Let cupcakes cool in the tin for a few minutes before transferring to a wire rack to cool completely.
- Frost and decorate as desired.
Notes
Featured Comments
“Impressed! Clear steps and absolutely loved results. Perfect for busy nights.”
“New favorite here — crowd-pleaser. crowd-pleaser was spot on.”
“Super easy and turned out amazing! My family asked for seconds. Saving this one.”
“This sweet treat was absolutely loved — the light really stands out. Thanks!”
“Made it tonight and wow — perfect for busy nights! Will definitely make Taylor Swift Cupcakes again.”
“Packed with flavor and so simple. Exactly what I wanted from Taylor Swift Cupcakes.”


