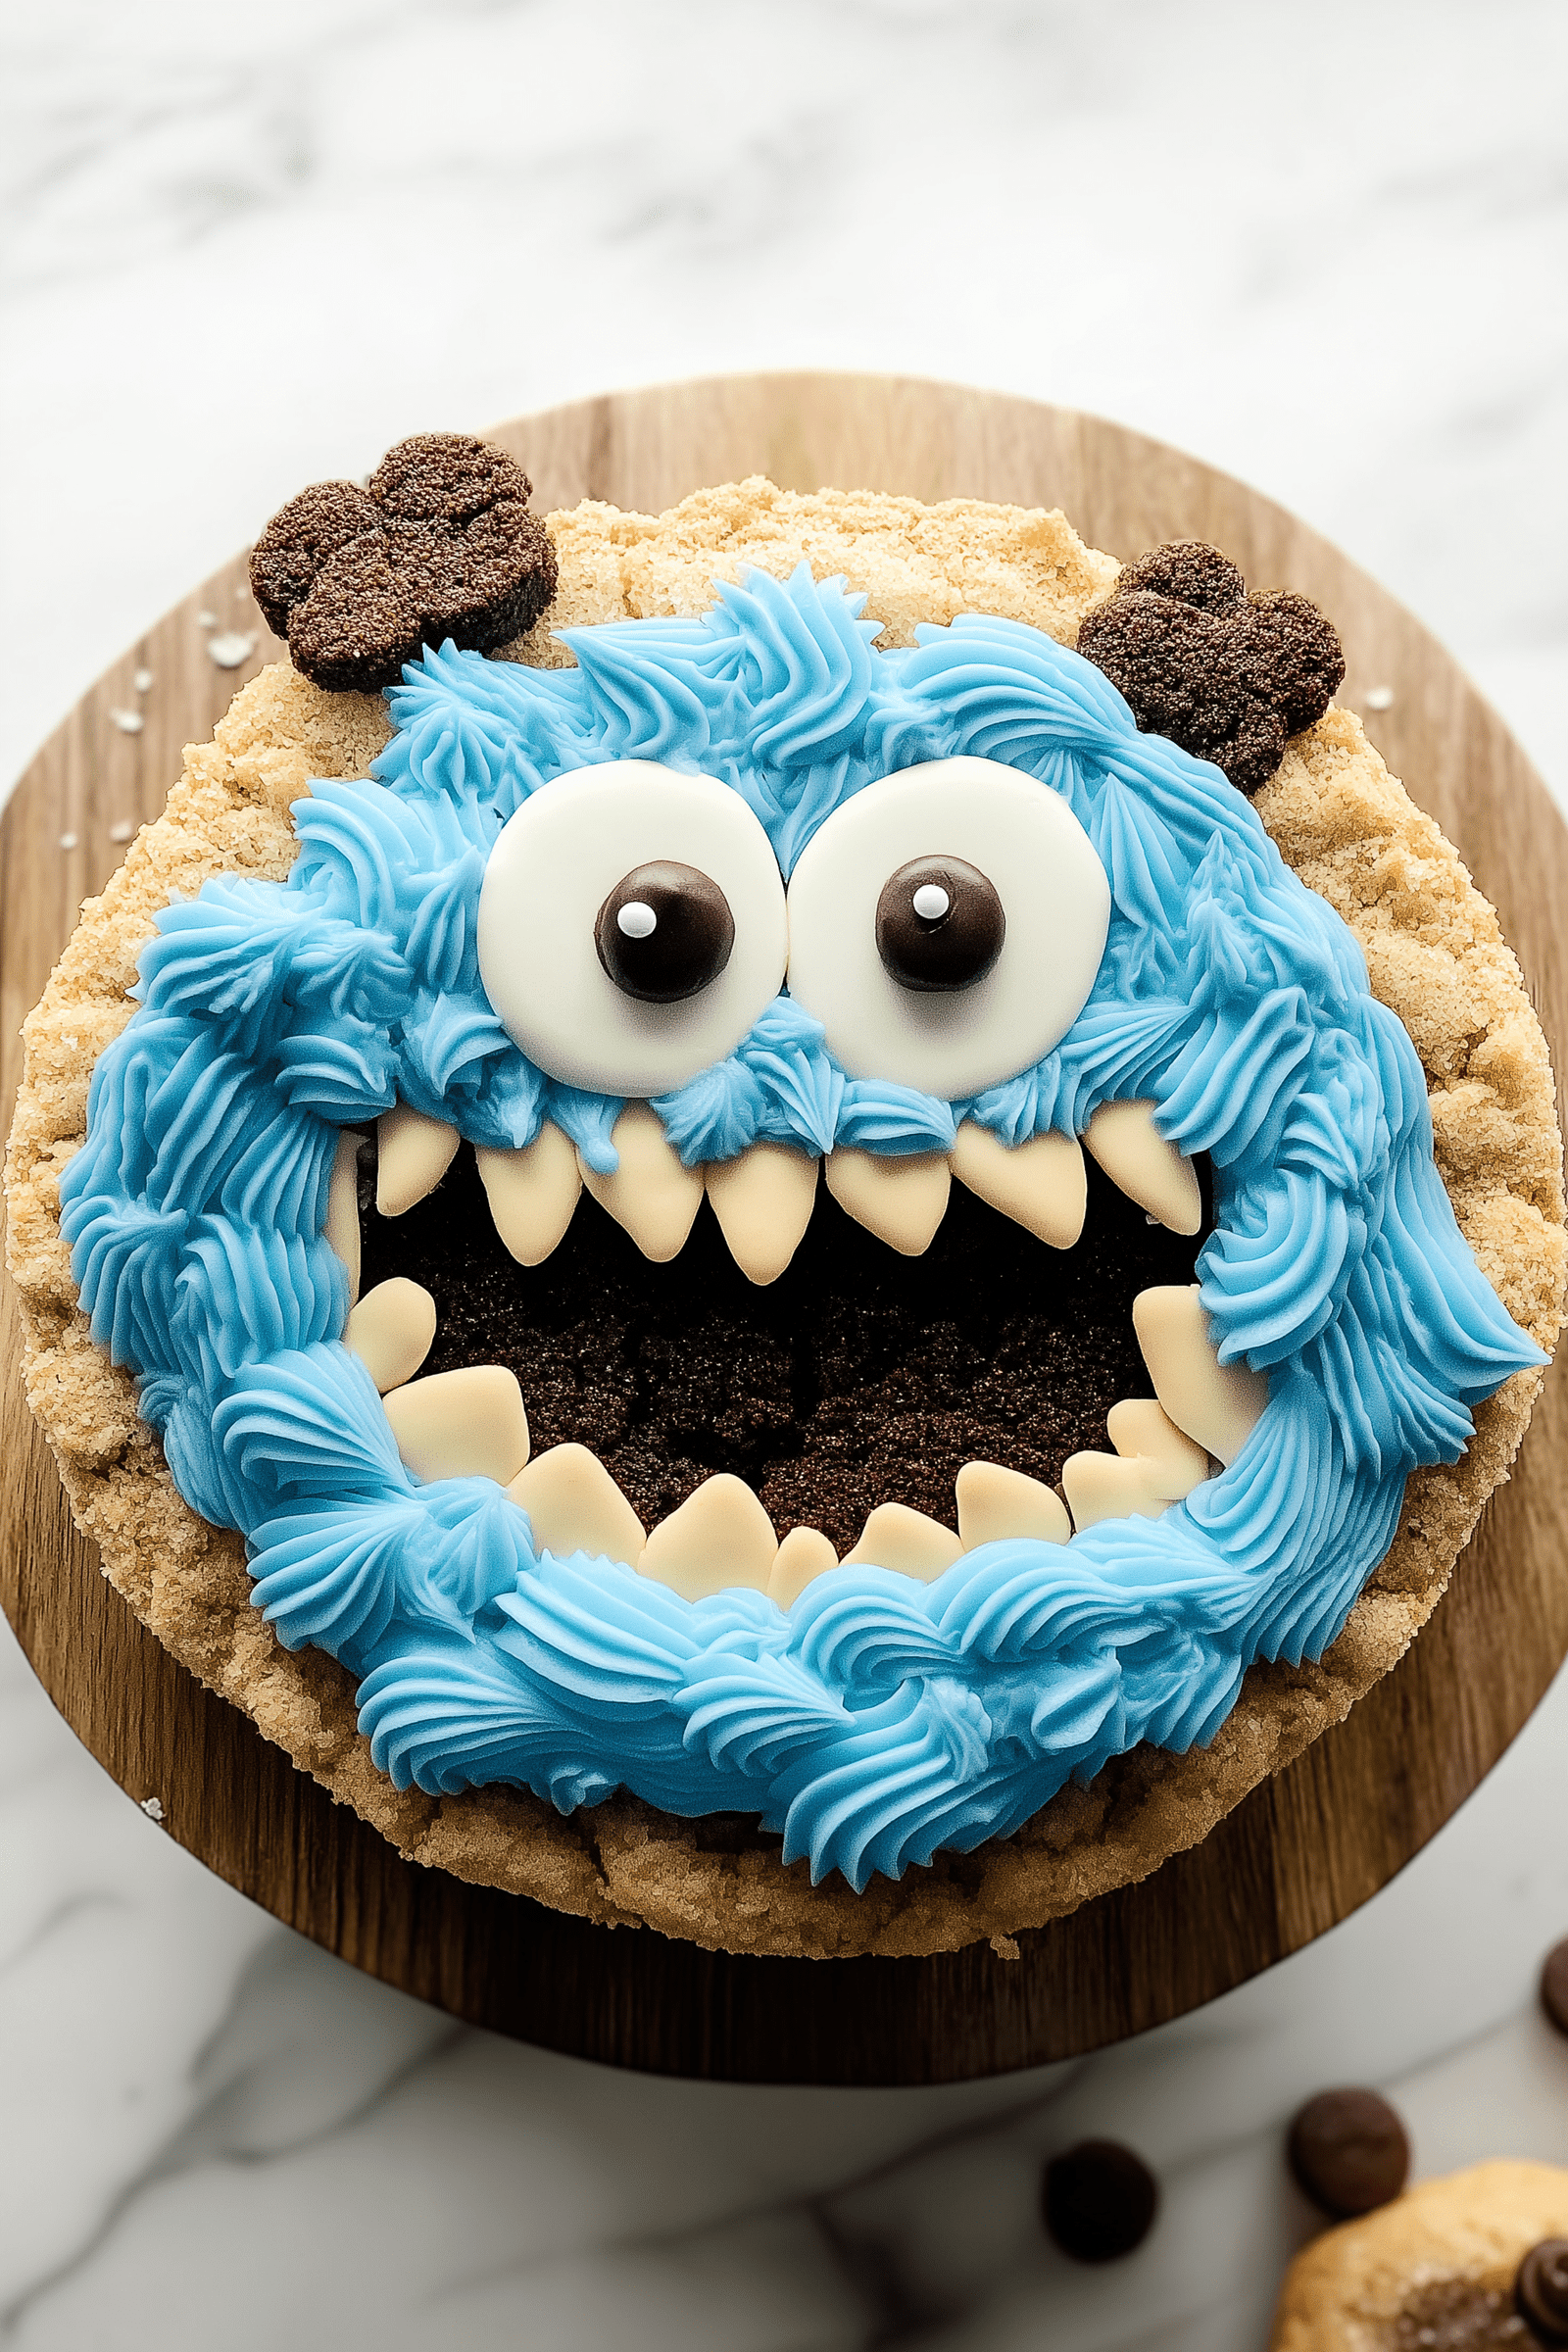
A cookie monster cake adds a fun touch to any party. It’s a hit with Sesame Street fans, thanks to its bright blue frosting and chocolate details. Both kids and adults love it.
This cake can feed about 12 people, but you can make it stretch to nearly 20 with thinner slices. You’ll need 2 and 1/2 cups of cake flour, five egg whites, and a batch of buttercream thickened with confectioners’ sugar. A special piping tip makes it easy to get the cake’s fuzzy look, perfect for both beginners and experts.
Some bakers add mini chocolate chips for a crunchy touch. Others prefer to pair it with whipped cream. For more tips, check out the instructions on cupcake recipes to find the best filling for your cookie monster cake.
Key Takeaways
- This fun dessert appeals to Sesame Street fans of any age.
- You can use mini chocolate chips or chocolate chip cookies for extra texture.
- Thin slicing makes the cookie monster cake serve more guests.
- Choose from whipped cream or chocolate buttercream for the filling.
- A special piping tip ensures the signature fuzzy style.
What Is Cookie Monster Cake?
This cake looks like Cookie Monster’s fur and has a big mouth for cookies. It’s inspired by the Sesame Street character who loves cookies. Bakers make it in 8-inch sizes, stacking it in two or three tiers.
Origins of Cookie Monster Cake
People who love Sesame Street have been dreaming of this cake for years. It’s a fun blue creature that makes kids excited for cookies. You can see how it’s made in a tutorial online.
Popularity in Birthday Parties
At birthday parties, this cake brings joy and laughter. Kids love the big eyes and cookie mouth. It’s a hit for making any party unforgettable.
Characteristics of the Cake
The cake needs blue icing, made with food coloring. It gets its eyes with Oreos or cake scraps. The mouth is a cookie, adding to the fun.
| Layers | Main Eye Option | Mouth Detail |
|---|---|---|
| 2-Layer | Oreos | Black Frosting |
| 3-Layer | Chocolate-Dipped Cake Scraps | Cookie Slit at the Top |
Ingredients for Cookie Monster Cake
This delightful treat needs a few key ingredients for a tasty base. The right mix of ingredients creates a monster themed cake. Some bakers get creative with cotton candy cake ideas for decorating.
Essential Ingredients
Flour, sugar, and butter are the basics. Whole milk or sour cream add moisture. Eggs help hold everything together.
A vibrant blue color comes from gel coloring. Chocolate chips or M&Ms add fun eyes and flavor. Peanut butter adds a nutty twist in some layers.
Optional Add-Ins
Try crushed cookies or mini chocolate chips for extra fun. You can also adjust the mix for a chewier texture. Tiny candies and extra sprinkles add color and texture.
Tools You’ll Need
Piping bags and a grass tip make the cake look fuzzy. An offset spatula and cake turntable help with frosting. A serrated knife keeps edges clean, and circle cutters make fun shapes.
These tools help make your cake look great and feel festive.
Step-by-Step Recipe for Cookie Monster Cake
Making a fun treat for any event is easy with a few steps. This guide shows how to make a fluffy cake perfect for a kids birthday cake. Some bakers even use leftover scraps for eyes or small cookie accents. Follow each step and let your creativity shine.
Preparing the Cake Batter
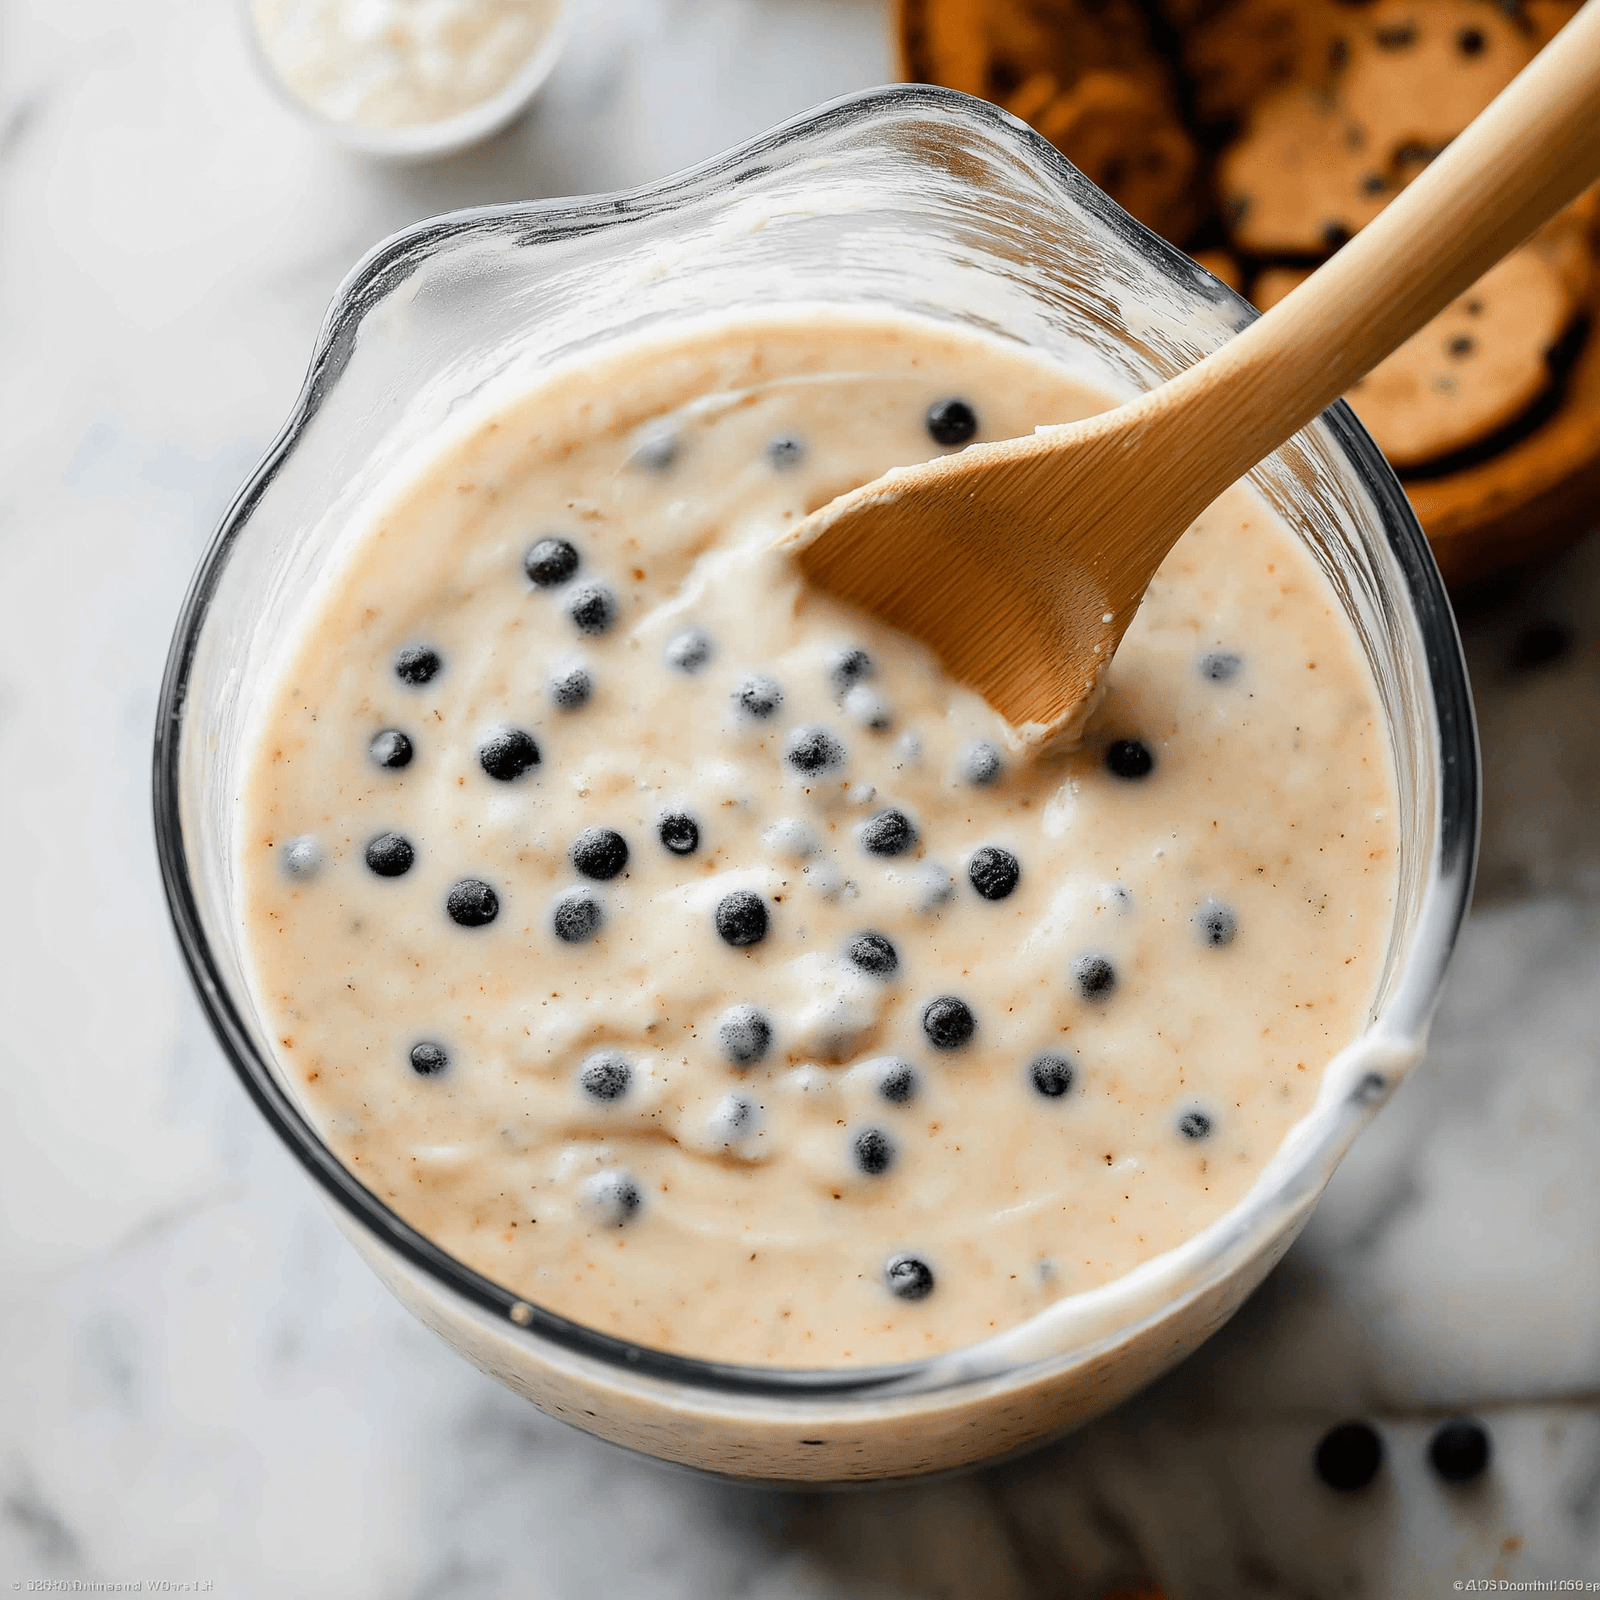
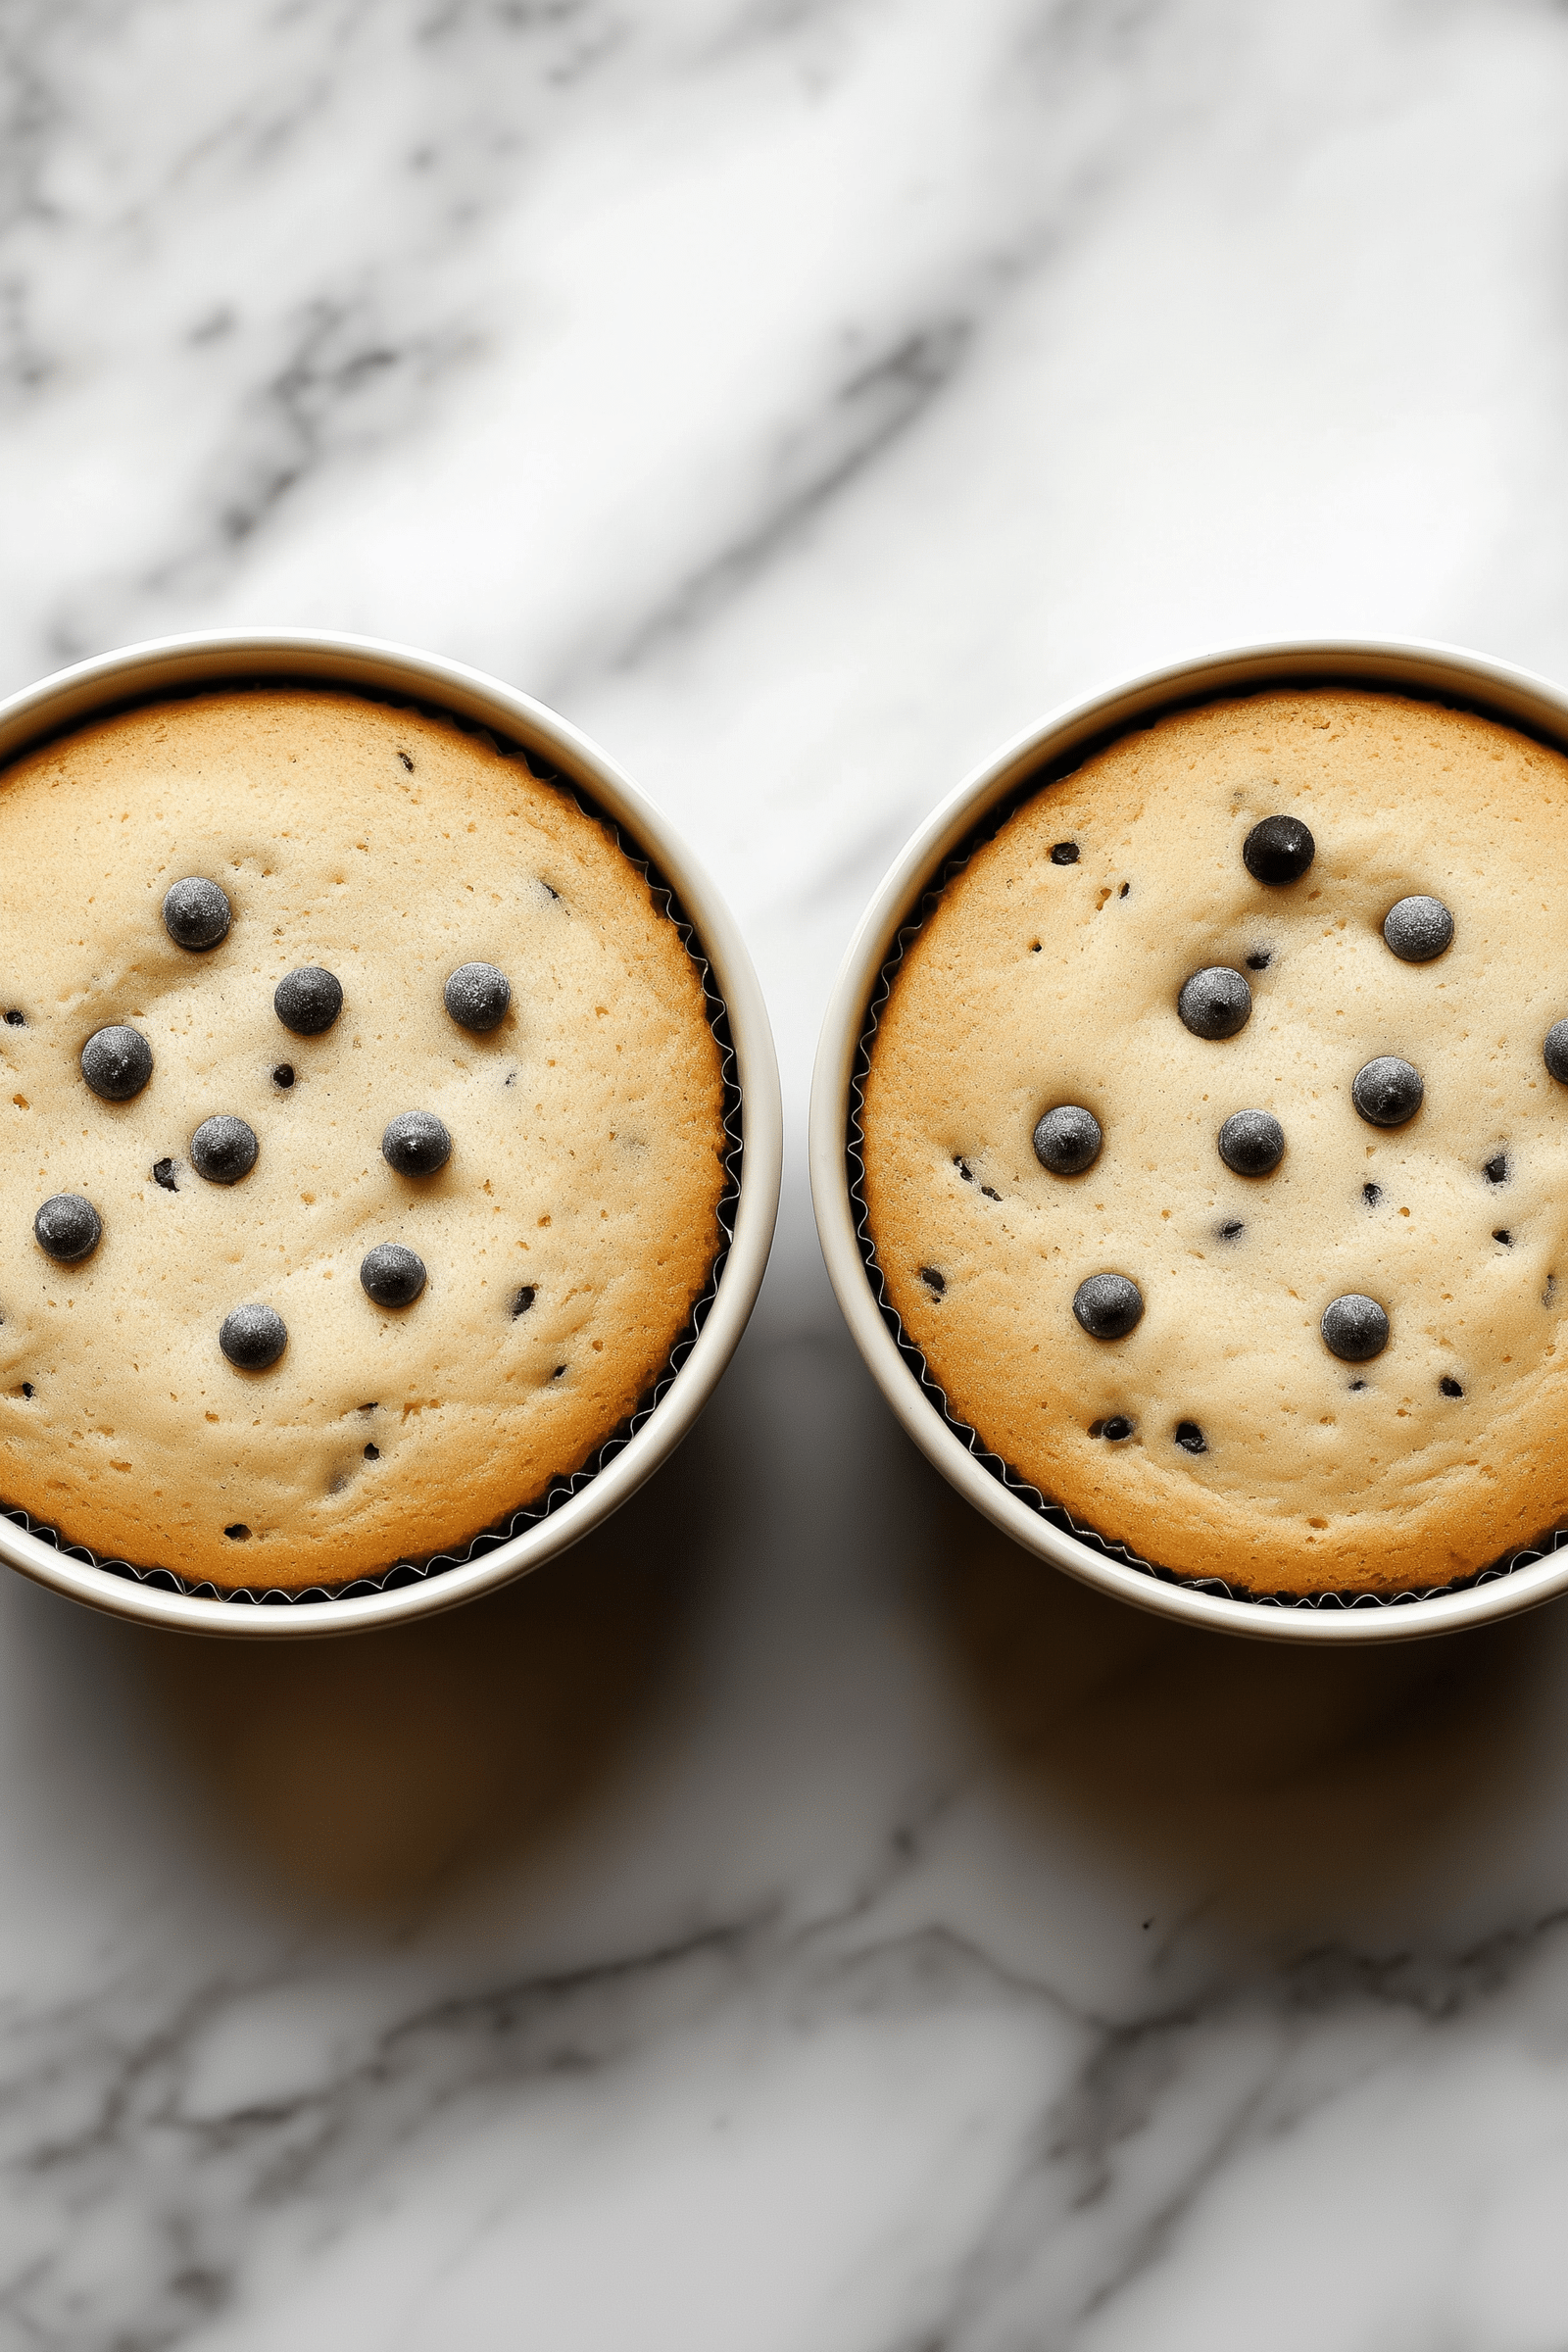
Start by measuring dry ingredients carefully before sifting them together. Coat chocolate chips in a bit of flour to keep them from sinking. Whisk wet ingredients in another bowl, then mix wet and dry together until smooth. Don’t overmix to keep it light.
Baking the Cake
Pour the batter into greased pans. Bake in a 350°F oven for 25–30 minutes. Check the cakes by inserting a toothpick in the center. If it comes out mostly clean, they’re done. Let them cool on a wire rack for at least 10 minutes before removing.
Cooling and Leveling
Let each layer cool completely on a rack. Use a serrated knife to trim the domed tops for a stable base. Neat edges make stacking and decorating easier, which is key for your kids birthday cake masterpiece.
| Step | Approx. Time |
|---|---|
| Prep | 30 minutes |
| Cook | 40 minutes |
| Cooling & Decorating | 60 minutes |
| Total | ~2 hours 10 minutes |
Tips for Making Perfect Cake Layers
Great layers make your cute character cake look amazing. They give it a beautiful shape and a stable base. To get neat edges, use the right tools and keep your hands steady.
Choosing the Right Pan Size
Using uniform pans is key for symmetrical layers. Two or three 9-inch round pans lined with parchment are a good choice. This way, each layer bakes evenly and stacks smoothly.
Ensuring Even Baking
Make sure each pan gets the same amount of batter. Tap the pans before baking to release air. Then, rotate them halfway through at 350°F (180°C) for even browning.
Let the layers cool on racks. This prevents cracks and lets the cake firm up for assembly.
Slicing Cake Layers
A sharp serrated knife or leveler is best for flat surfaces. Trim the top dome for more stability when filling with frosting. Slicing each cake in half adds extra height to your cute character cake.
| Pan Size | Temperature | Approx. Baking Time |
|---|---|---|
| 9-inch Round | 350°F (180°C) | 18-22 minutes |
How to Make Cookie Monster Frosting
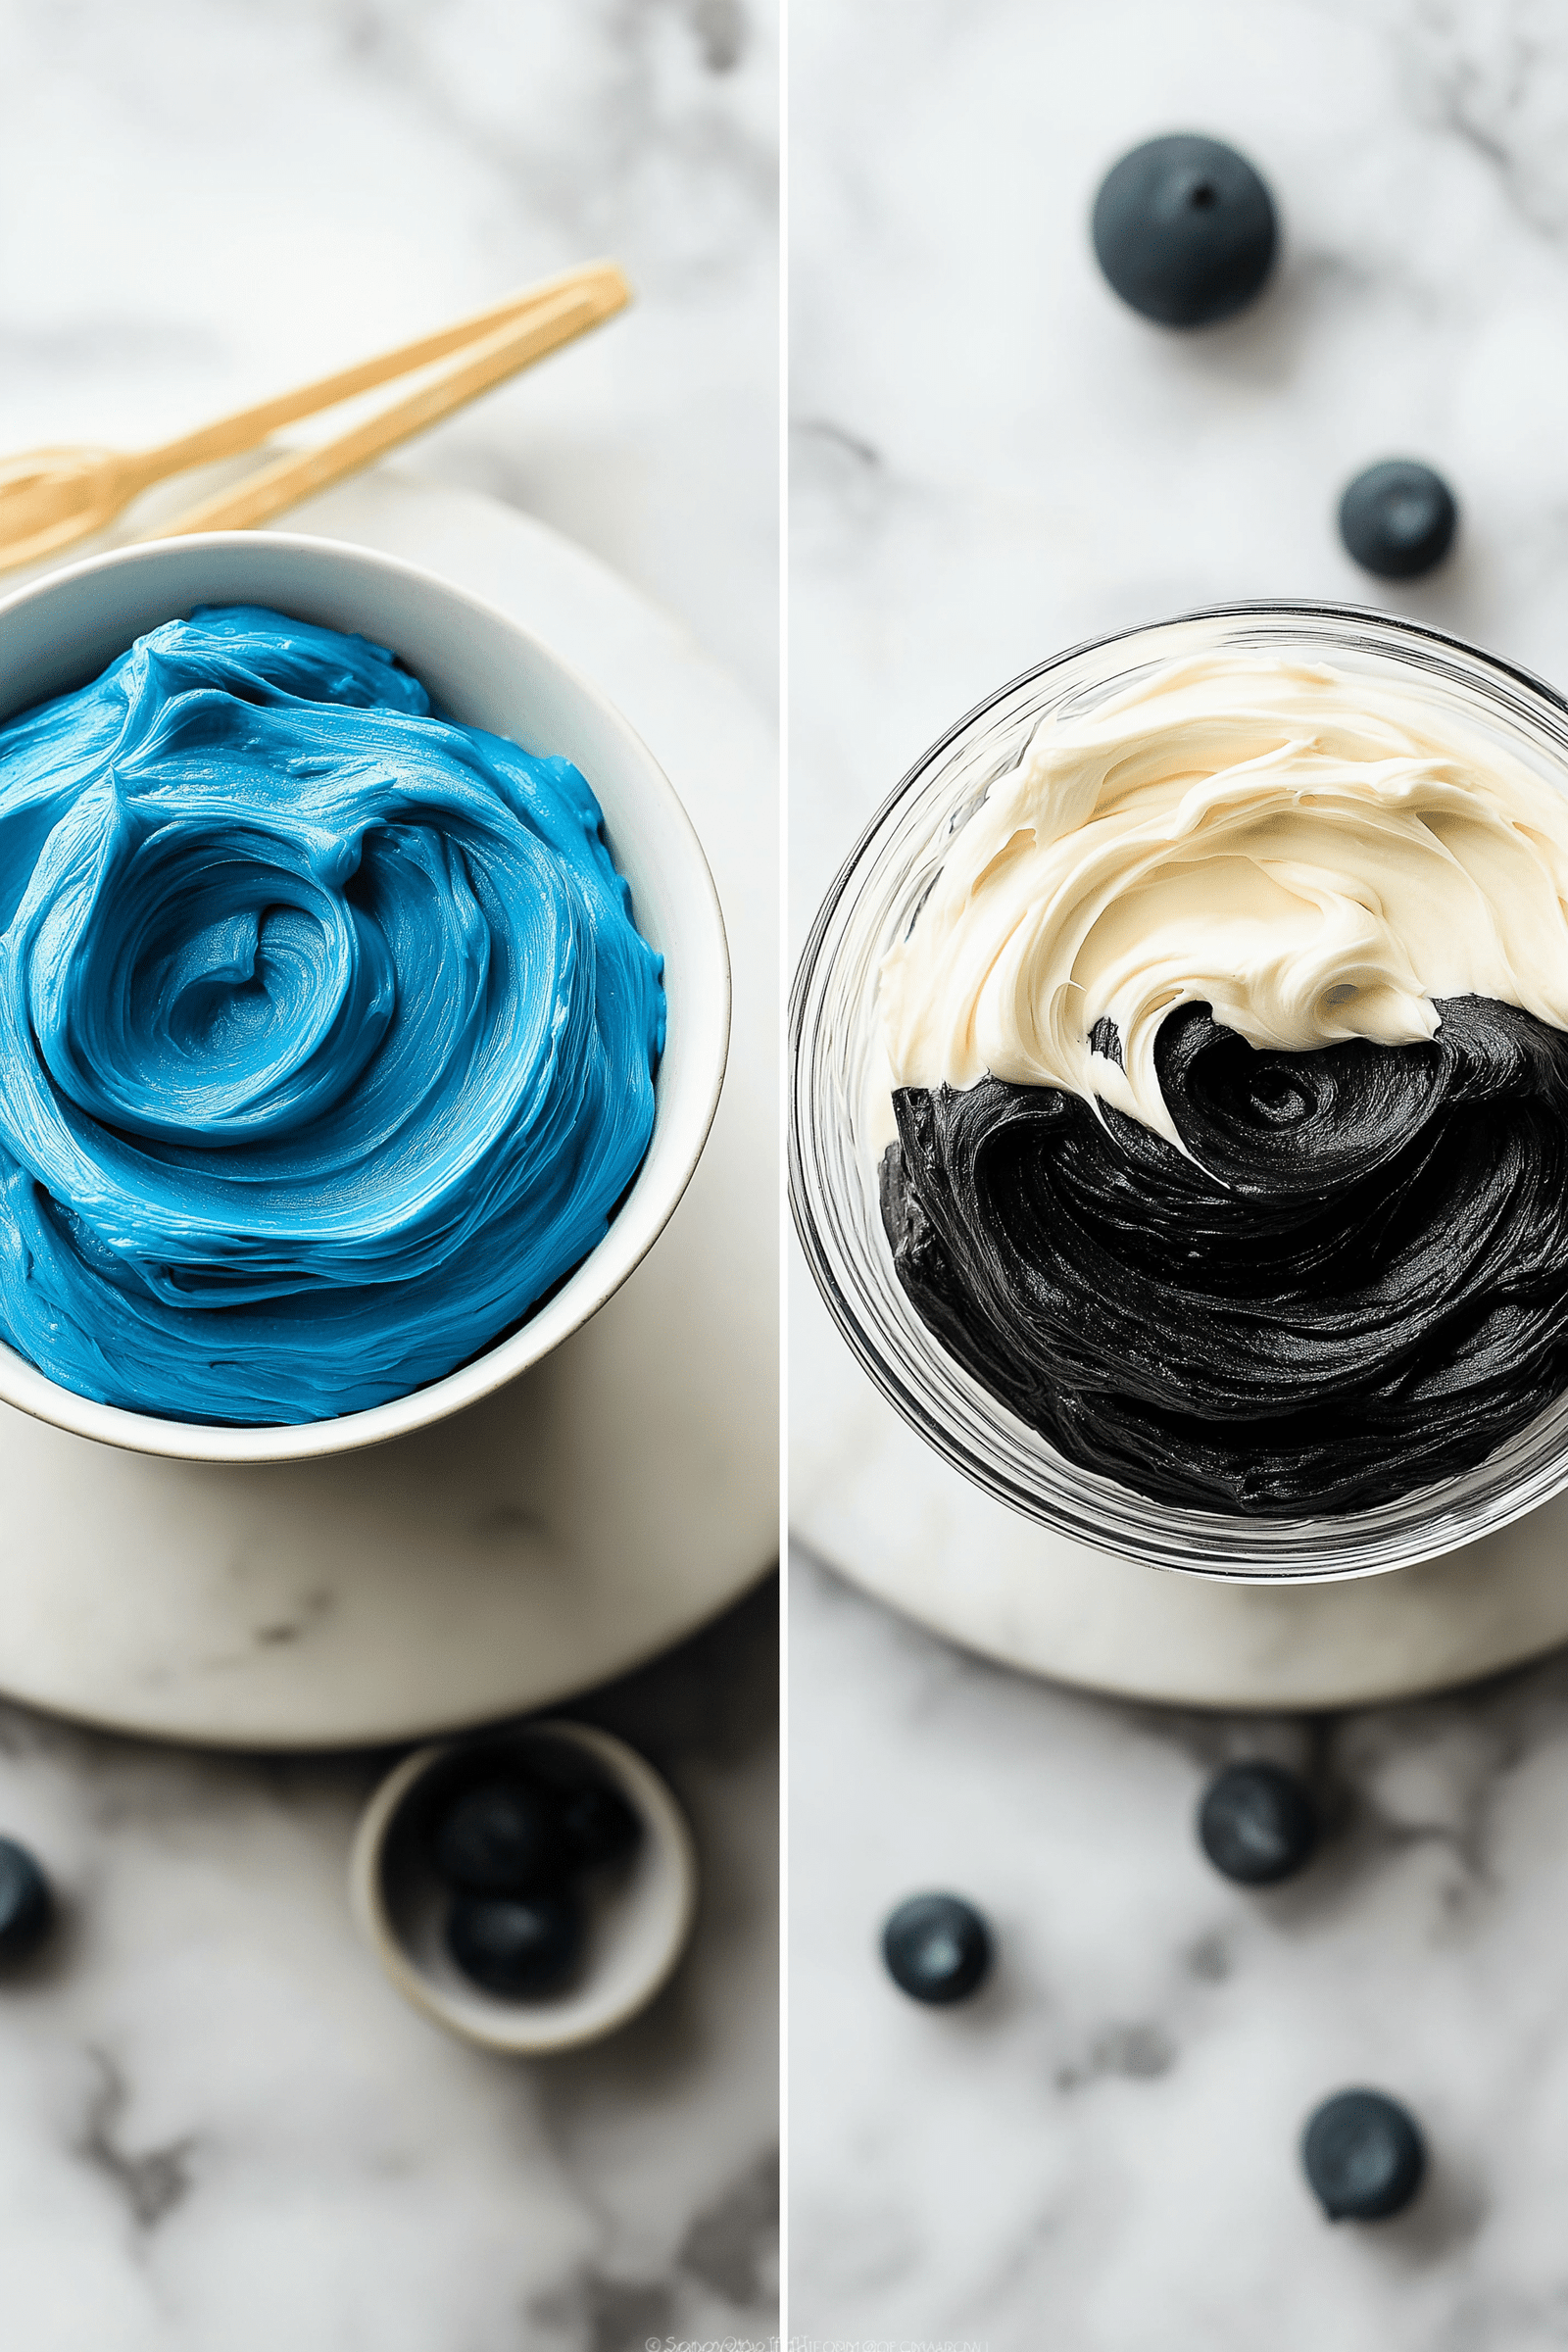
This layer of sweet, fluffy goodness can turn your birthday party dessert into a playful treat. A smooth buttercream base makes the bright color pop. It also keeps the fur-like texture intact. A bold hue brings Cookie Monster to life, and a small portion of frosting can even be tinted black or white for fun details. For more creative ideas, discover the baseball cake that showcases a festive flair.
Ingredients for the Frosting
Gather items that create a stable finish. A standard recipe may include:
- 8 oz (1 cup) cold unsalted butter
- 12 oz (3 cups) powdered sugar
- 2 tsp milk
- 2 tsp vanilla extract
- 1–2 tsp blue gel food coloring (Americolor or similar brand)
Techniques for Mixing
Soften butter to ensure thorough blending. Beat it for about 5–7 minutes at medium speed until airy. Add the powdered sugar a cup at a time, mixing 1–2 minutes between each addition. Milk and vanilla go in once the sugar is incorporated. A final 3-minute whip infuses extra volume.
Achieving the Right Consistency
A thick texture is key for piping fur. The Wilton #233 tip is a popular choice for that fuzzy finish. Start with about ½ teaspoon of gel color, then adjust until you reach the shade you like. Let it rest briefly, since color deepens as it sets. This approach results in a memorable birthday party dessert with a playful Cookie Monster style. Reserve some frosting in separate bowls for added details on eyes or mouth if desired.
Decorating Your Cookie Monster Cake
Start by smoothing out the cake with frosting to lock in crumbs. Then, chill it until it’s firm. This makes the final frosting coat stick better.
Creating the Cookie Monster Face
Use a grass piping tip, like Wilton 234, for the fur. Pipe short strokes from the bottom up for a fluffy look. Make sure to leave space for the mouth.
For the mouth, use black frosting to draw a shape. Then, place a broken cookie inside to look like Cookie Monster is eating.
Adding Eyeballs and Cookies
Make eyes from leftover cake or dip cookies in white chocolate. Add black dots for pupils. Place extra cookies around the base for a fun border.
A cookie by the jawline adds a goofy grin. This makes the cake look even more like Cookie Monster.
Using Sprinkles for Extra Fun
Top your cake with sprinkles for extra fun. You can also add confetti or chocolate chips. This adds to the theme without taking away from the design.
Now, you have a cake that looks just like Cookie Monster. It’s perfect for any Cookie Monster fan.
Fun Variations of Cookie Monster Cake
Try new things to make this dessert your own. Add thick cookie dough or extra chocolate for a bold taste. Some people like to make it like a donut cake at this sweet link for a fun twist.
Chocolate Chip Cookie Variation
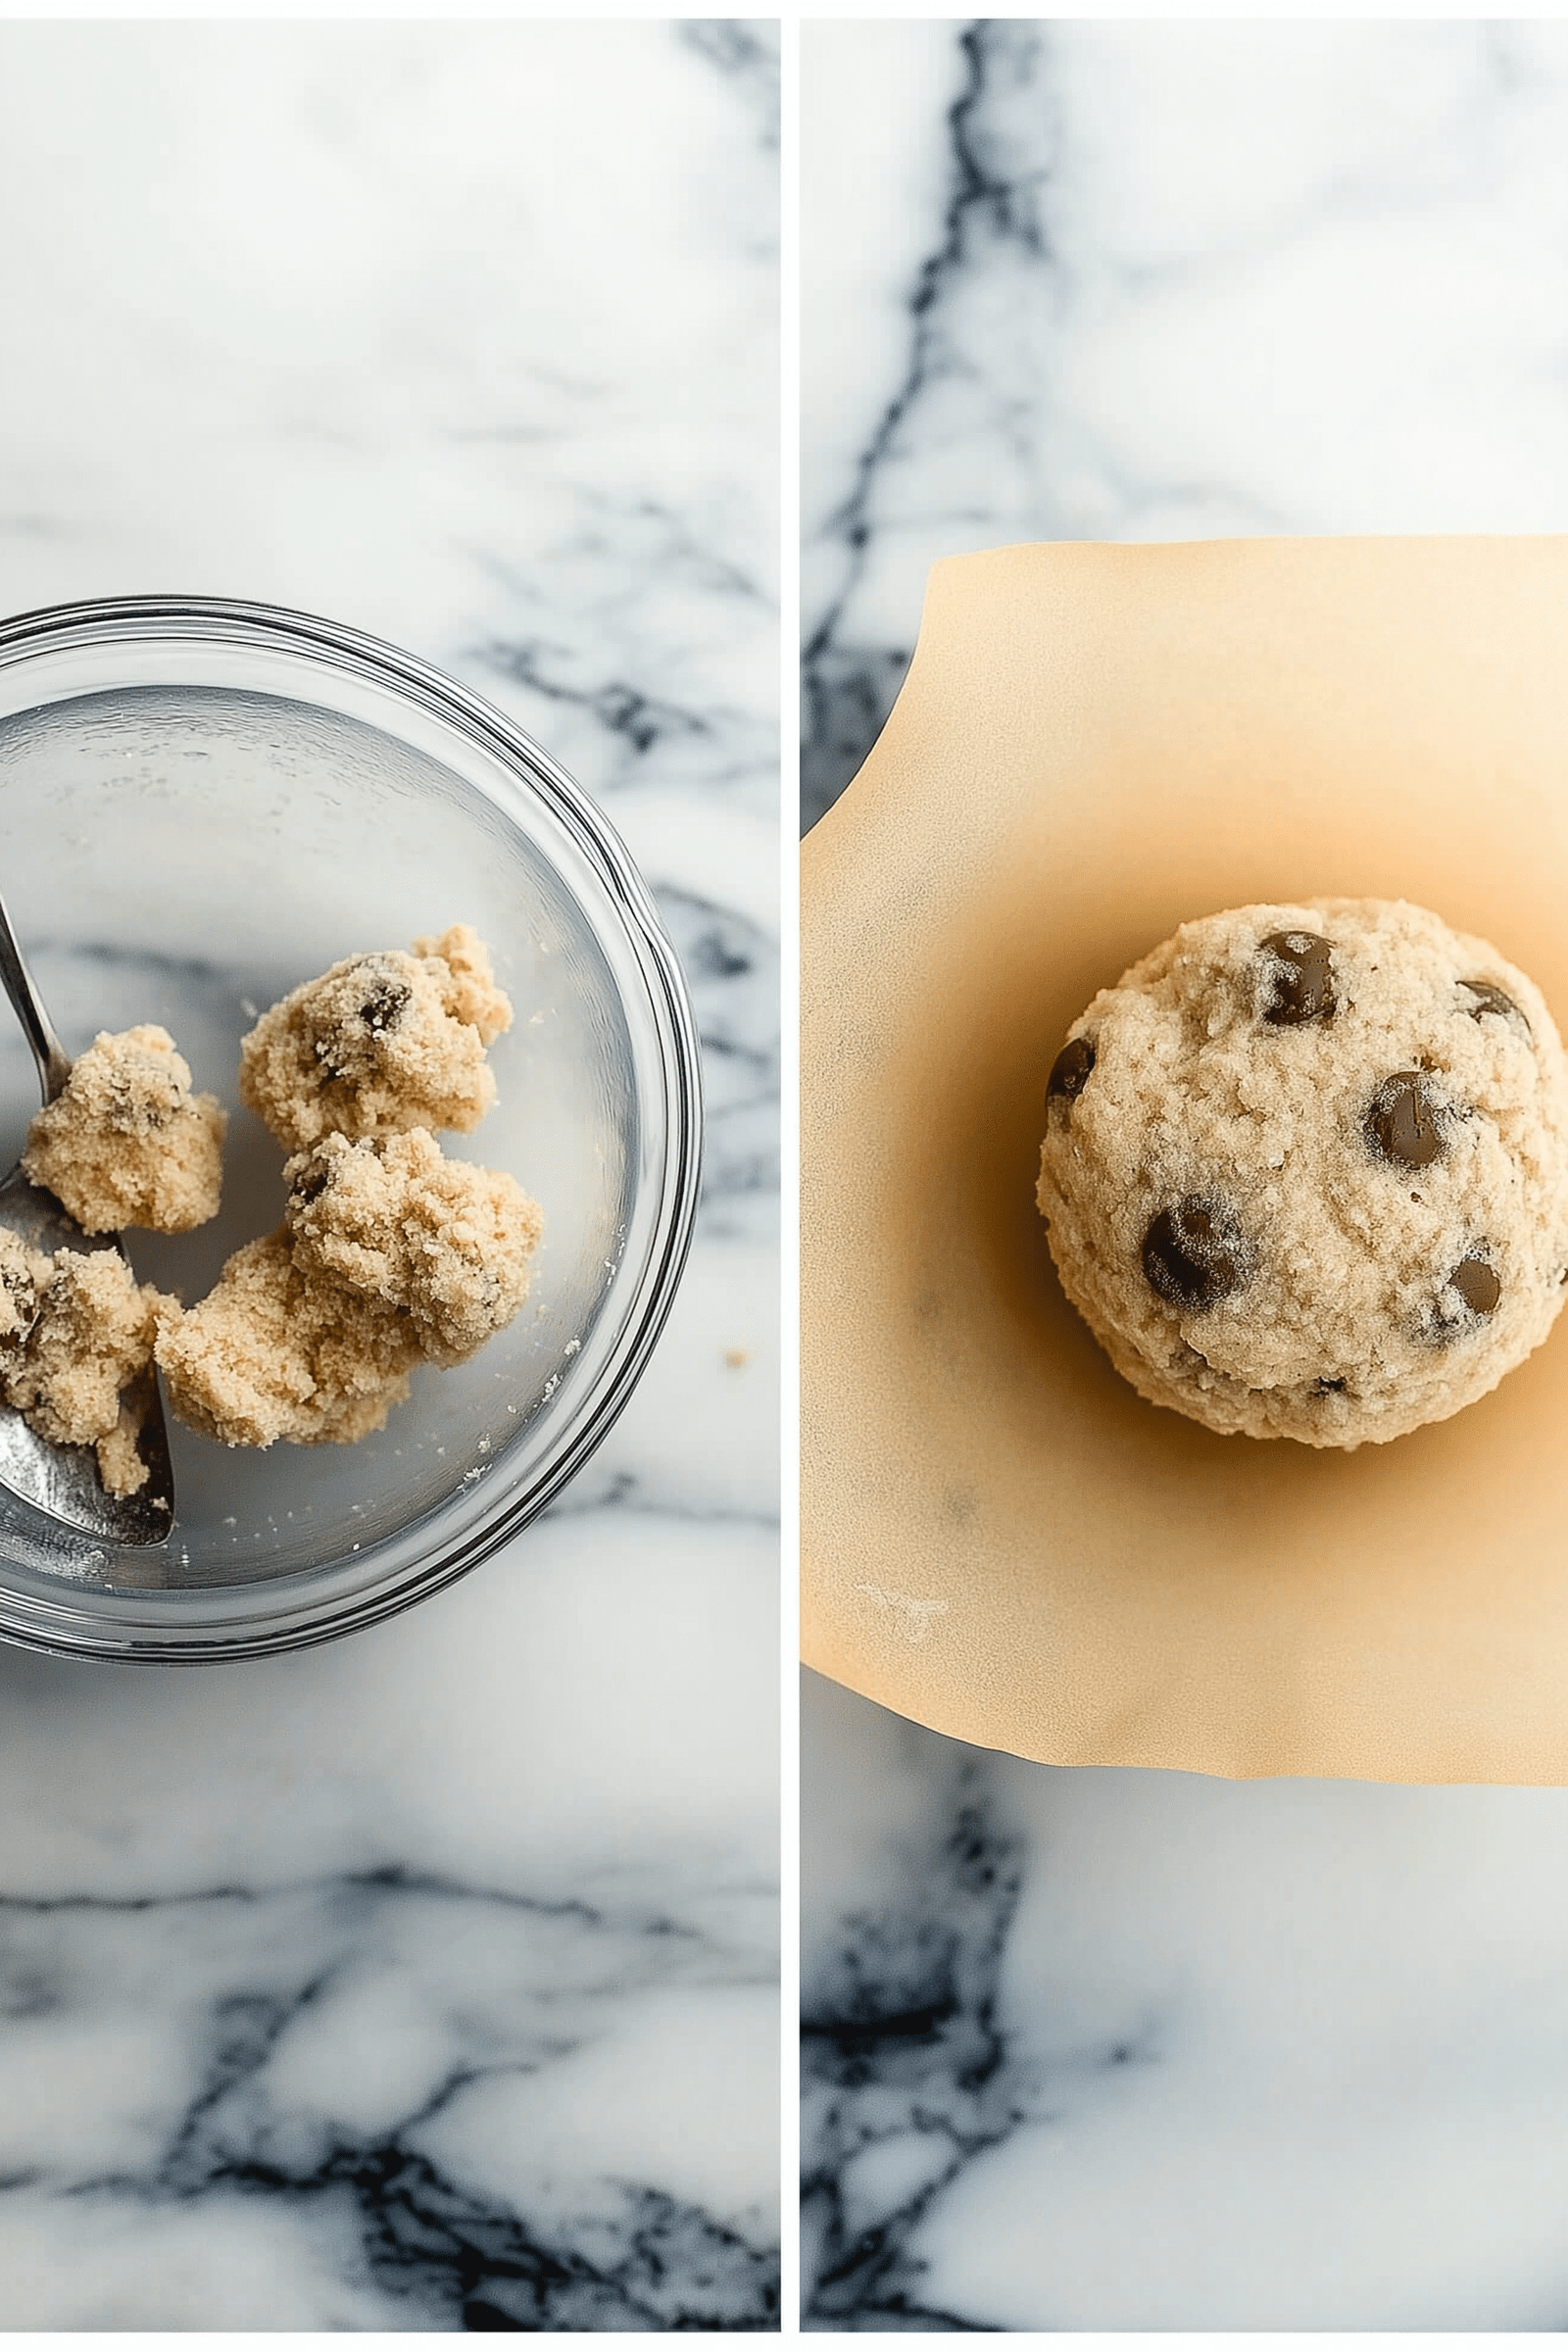
Adding a chocolate chip cookie layer makes it richer. Mix in cookie dough chunks or place a cookie dough sheet between layers. It combines soft cake with chewy cookie bits for a delicious mix.
Gluten-Free Options
Use a 1-to-1 flour blend for a gluten-free treat. Replace regular cookies with gluten-free ones for the same taste. Always check the packaging to ensure it’s safe for allergies.
Cupcake Version
Mini cakes are fun and simple to serve. Fill 24 liners with about three tablespoons of batter. Bake at 400°F for five minutes, then at 350°F for 13 minutes. It takes about an hour and 18 minutes to make, with each cupcake around 389 calories.
Top each with blue icing and a half cookie. For decorating ideas, check out this picture tutorial for inspiration.
Serving Suggestions for Cookie Monster Cake
This sweet treat is a hit with both kids and adults. Its rich crumb makes every bite a delight. Enjoying a slice can be very satisfying, so here are some tips to make the most of it.
Ideal Pairings for the Cake
A glass of cold milk is a perfect match. Some prefer a hot cup of coffee to balance the cake’s sweetness. Adding a scoop of vanilla ice cream makes it even creamier.
For a touch of nostalgia, check out vintage confections for more dessert ideas.
Unconventional Serving Ideas
Edible cookie-dough bites add a fun crunch. Setting up a cookie-dipping station can make it even more exciting. A themed dessert station lets everyone add their favorite toppings.
Portion Control Tips
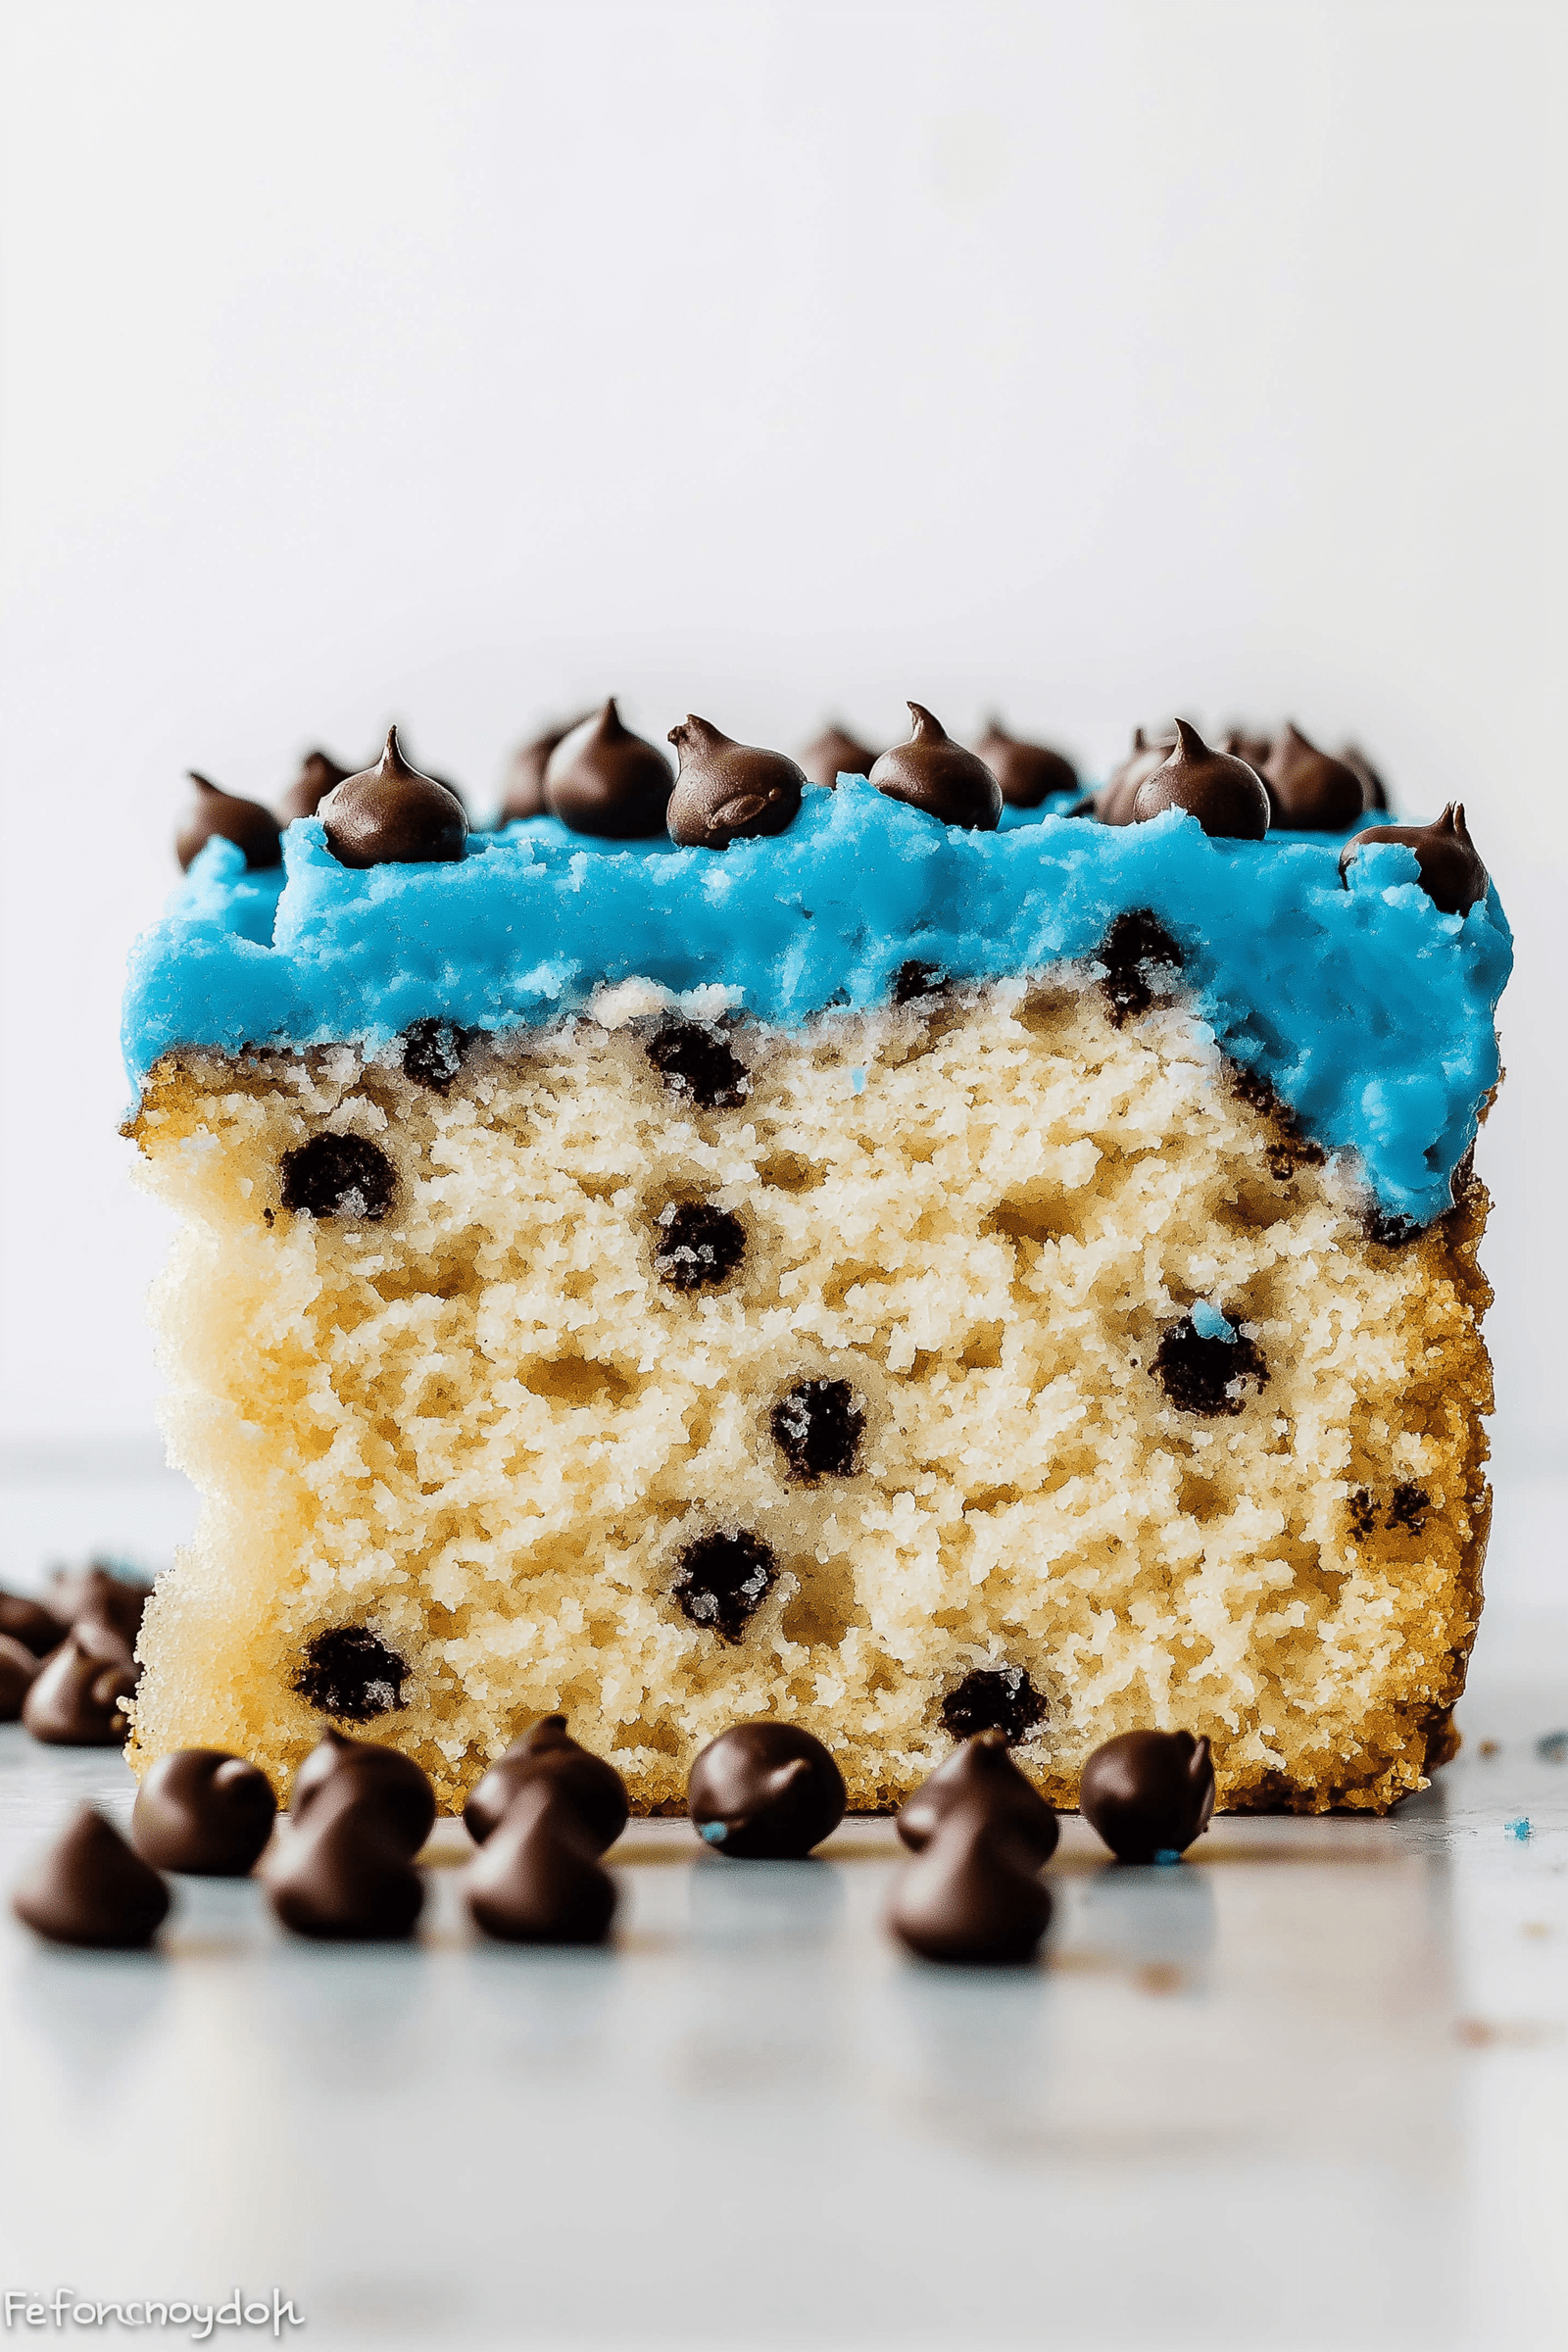
This dessert serves 12, but thinner slices can feed up to 20. A smaller slice keeps the flavors balanced. This way, everyone enjoys a delightful treat without feeling too full.
Storing Leftover Cookie Monster Cake
Leftover cake slices stay fresh and colorful if stored right. Just seal them in a strong container to keep moisture in. This way, the cake’s blue color and frosting stay perfect.
Best Storage Practices
Keep the cake fresh in the fridge for up to five days. Use a dome cover for a whole cake. For slices, wrap each in plastic wrap. Check out this casserole recipe for similar storage tips.
Freezing for Later Use
Freeze cake slices for up to two or three months. Wrap each slice in plastic and foil to keep it moist. Even the white chocolate details, like the eyes, stay good in the freezer.
Reheating Tips
Reheat frosted desserts at room temperature. Let them sit for 30 minutes to soften the frosting. This way, the cake’s texture comes back. Avoid heating the black frosting too much to keep it looking great.
Common Mistakes to Avoid
Some bakers struggle with a Cookie Monster Cake, especially with frosting that’s too runny or a dense cake. Paying close attention to each step is key. This ensures the cake is light and the decorations are firm.
Baking Failures
Overmixing can make the cake dry by adding too much air or gluten. If you measure flour wrong, you might add 25% more than needed. This makes the cake dense. Using room-temperature ingredients helps them blend better, avoiding clumps or curdling.
Frosting Issues
Frosting that’s too runny can’t hold its shape, causing the “fur” to droop. Using gel color from AmeriColor or Wilton keeps the frosting thick and vibrant. Liquid dye, on the other hand, can make it too watery. Chilling the cake before decorating helps the design stay stable and look neat.
Decorating Pitfalls
Not doing a crumb coat can let cake crumbs show through. Stacking layers without leveling can make them wobble. It’s wise to practice with a piping tip, like a Wilton grass tip, on a plate first. Spending time perfecting your technique will make your Cookie Monster Cake look fun and professional.
Frequently Asked Questions
Creating a special Cookie Monster Cake can lead to many questions. This overview covers common concerns for a smooth baking experience.
How to Adjust for Altitude?
At higher elevations, batter can puff up faster. A small increase in oven temperature or an extra tablespoon of flour can help. Keep an eye on bake time to avoid dryness.
Can I Make This Cake Ahead of Time?
Yes, baking your layers a day or two in advance saves time. Store them chilled or freeze them. Decorate when ready. Some bakers freeze leftover slices for up to three months.
What If I’m Allergic to Certain Ingredients?
There are many options for dairy-free, egg-free, or gluten-free baking. Plant-based butter and egg replacers work well in frosting for Cookie Monster Cake. It’s wise to review cookie labels for hidden allergens. For more details, visit this FAQ page from PDX Cookie Co.
Conclusion: Enjoying Your Cookie Monster Cake
This fun dessert is perfect for birthday parties and adds a pop of color to any table. It’s quick to make, baking in just 25 minutes. You’ll get 16 fun-sized servings.
Importance of Personalizing Your Cake
There’s no one right way to make it memorable. Some like chocolate chip cookies in a cookie mouth. Others add sprinkles or candy eyes for extra fun.
Chilling the cake in the fridge helps it stay sturdy for decorating. Letting it sit 15 to 20 minutes before serving makes the frosting soft and ready to enjoy.
Encouraging Creativity in Decor
Use blue frosting and add mini cookies or a bit of sparkle. This cake is great for Sesame Street-themed parties, especially with Elmo Cake or matching cupcakes. For a gluten-free version, just swap the flour and adjust the baking time.
With 422 calories per slice, it’s a treat to enjoy after a brisk walk. This way, you can fully appreciate every bite.
Sharing Your Cookie Monster Cake Experience
Sharing photos and stories can inspire others to bake. This cake is easy for beginners, so your creativity can really shine. Remember, C is for Cookie—and also for Cake!
FAQ
Can I make a Cookie Monster cake for a kids birthday party, even if I’m new to baking?
How can I adapt a Cookie Monster cake to create a monster themed cake for older kids?
What types of cookies work best for decorating a Sesame Street cake?
Does the frosting have to be bright blue to maintain authenticity?
How do I ensure my Cookie Monster cake stays moist?
Can I make a smaller cake or cupcakes instead of a full-sized Cookie Monster cake?
What’s the best way to store leftover Cookie Monster slices?

cookie monster cake
Equipment
- 2 (8-inch) round cake pans
- Electric mixer
- Mixing bowls –
- Piping bag with grass/fur tip (Wilton #233)
- Offset spatula
- Cooling rack
Ingredients
For the Cake:
- 2 ½ cups all-purpose flour
- 2 ½ teaspoons baking powder
- ½ teaspoon salt
- 1 cup unsalted butter softened
- 1 ¾ cups sugar
- 4 large eggs room temperature
- 1 tablespoon vanilla extract
- 1 cup whole milk
- ½ cup sour cream
For the Blue Frosting:
- 2 cups unsalted butter softened
- 6 cups powdered sugar
- 2 teaspoons vanilla extract
- 3-4 tablespoons heavy cream or milk
- Blue gel food coloring for vibrant color
For Decoration:
- 2 large white chocolate discs or fondant circles for eyes
- 2 small chocolate chips for pupils
- Chocolate chip cookies whole and crumbled
- Black fondant optional, for mouth
Instructions
Step 1: Bake the Cake Layers
- Preheat oven to 350°F (175°C). Grease and line two 8-inch cake pans.
- In a bowl, whisk together flour, baking powder, and salt. Set aside.
- In a large mixing bowl, beat butter and sugar until fluffy (about 2 minutes).
- Add eggs one at a time, mixing well after each addition. Stir in vanilla extract.
- Alternate adding dry ingredients and milk, mixing until smooth. Stir in sour cream.
- Divide batter evenly between the cake pans.
- Bake for 30-35 minutes, or until a toothpick inserted in the center comes out clean.
- Let cakes cool in the pans for 10 minutes, then transfer to a wire rack to cool completely.
Step 2: Make the Blue Frosting
- Beat butter until creamy. Gradually add powdered sugar and continue mixing.
- Add vanilla extract and heavy cream, then beat until fluffy.
- Mix in blue gel food coloring until you achieve a deep Cookie Monster blue.
Step 3: Assemble & Decorate
- Level the cakes if necessary, then stack them with a layer of frosting in between.
- Apply a crumb coat (thin frosting layer) and chill for 30 minutes.
- Pipe fur texture using a grass/fur piping tip (Wilton #233), covering the entire cake.
- Add eyes: Place white chocolate discs (or fondant circles) on the cake and attach chocolate chips as pupils.
- Make the mouth: Use black fondant or pipe a black frosting mouth.
- Decorate with cookies: Place whole and crumbled chocolate chip cookies around the cake and into the mouth.
Step 4: Serve & Enjoy!
- Store leftovers in the fridge for up to 3 days in an airtight container.
- Let the cake sit at room temperature for 30 minutes before serving.
Notes
- Flavor Options: Swap vanilla cake for chocolate or cookies & cream flavor.
- Frosting Alternative: Use whipped cream cheese frosting for a tangy twist.
- Easy Version: Use a box cake mix and premade blue frosting for a quicker method.
