

The Most Adorable Heart Shaped Cake (No Special Pan Needed!)
Have you ever wanted to bake something that literally screams “I love you” from the moment it hits the table? That is exactly how I feel about this gorgeous heart shaped cake. I remember the first time I tried making one for my husband’s birthday. I was absolutely convinced I needed to go out and buy a fancy, single-use baking pan that would inevitably just gather dust in the back of my cabinet. But guess what? You really don’t!
This recipe is my absolute favorite baking hack of all time. We are taking a classic, incredibly moist vanilla cake and using a simple trick with a square and a round pan to create the perfect heart shape. It is so much fun, wonderfully rustic, and honestly, the crumb on this cake is out of this world. Whether you are whipping this up for Valentine’s Day, a special anniversary, or just a random Tuesday because your kids need a smile, this heart shaped cake is guaranteed to win everyone over. Grab your favorite mixing bowl, and let’s make some magic happen in the kitchen!
What Is A Heart Shaped Cake?
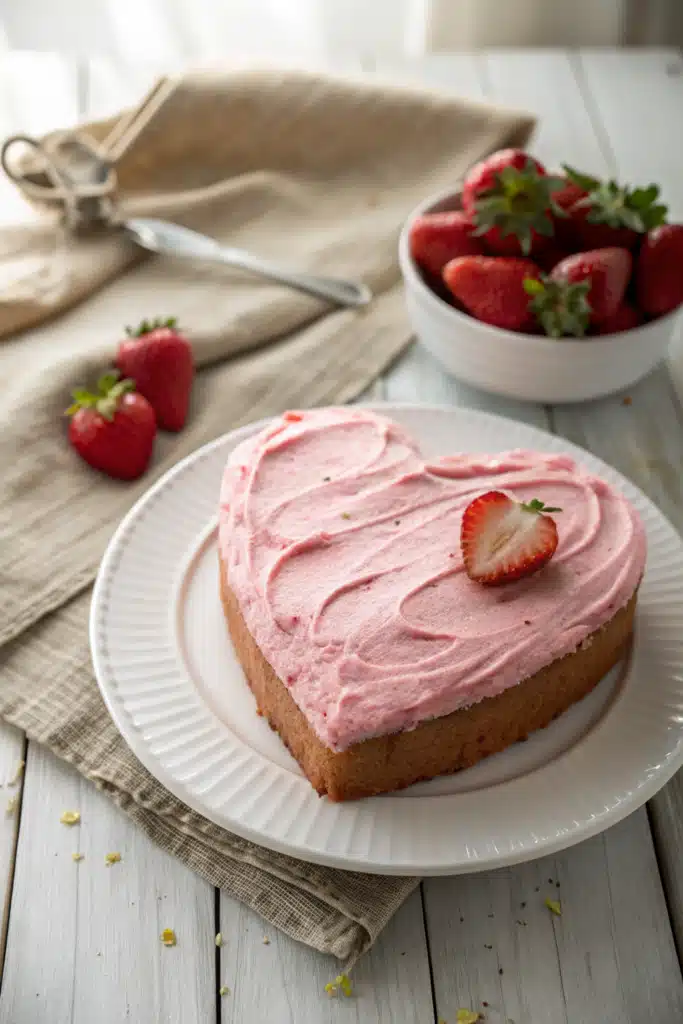
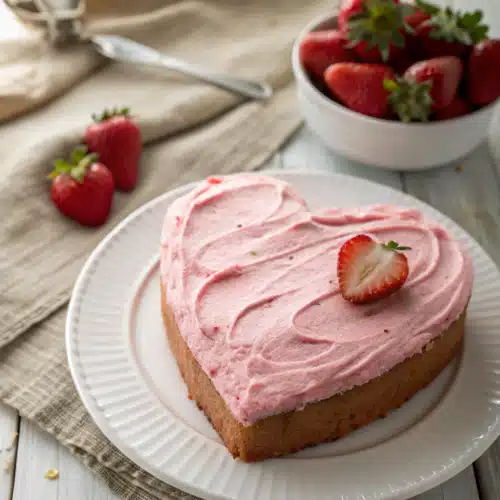
At its core, this heart shaped cake is a deeply tender, buttery vanilla sponge that has been cleverly assembled to form a beautiful heart. Instead of relying on a specialty novelty pan, we bake the batter in two standard pans you probably already have sitting in your kitchen: one 8-inch square pan and one 8-inch round pan. Once baked and cooled, you simply cut the round cake in half and attach the flat edges to two adjacent sides of the square cake. Boom—instant heart!
But it is not just about the clever shape. A true heart shaped cake needs to taste every bit as good as it looks. The recipe I am sharing with you today is a heavily tested, beloved family favorite. It yields a soft, melt-in-your-mouth texture with a rich vanilla bean flavor that pairs perfectly with a swoop of fluffy pink buttercream frosting. It is nostalgic, it is romantic, and it is completely foolproof. You get the visual wow-factor of a high-end bakery centerpiece, but with the comforting, undeniable taste of a homemade classic.
How to Make This Heart Shaped Cake
Quick Overview
Don’t let the unique, bakery-style shape intimidate you! This heart shaped cake takes about 20 minutes of active prep time and 35 minutes in the oven. You will mix up a simple wet ingredient base, gently fold in your dry ingredients, and divide the batter evenly between your round and square pans. After baking and cooling, a quick assembly—literally just cutting the round cake in half and placing it next to the square one—and a generous layer of frosting bring it all together. It is a fun, stress-free weekend project that looks like it took hours of painstaking carving. You can even get the kids involved in the decorating process!
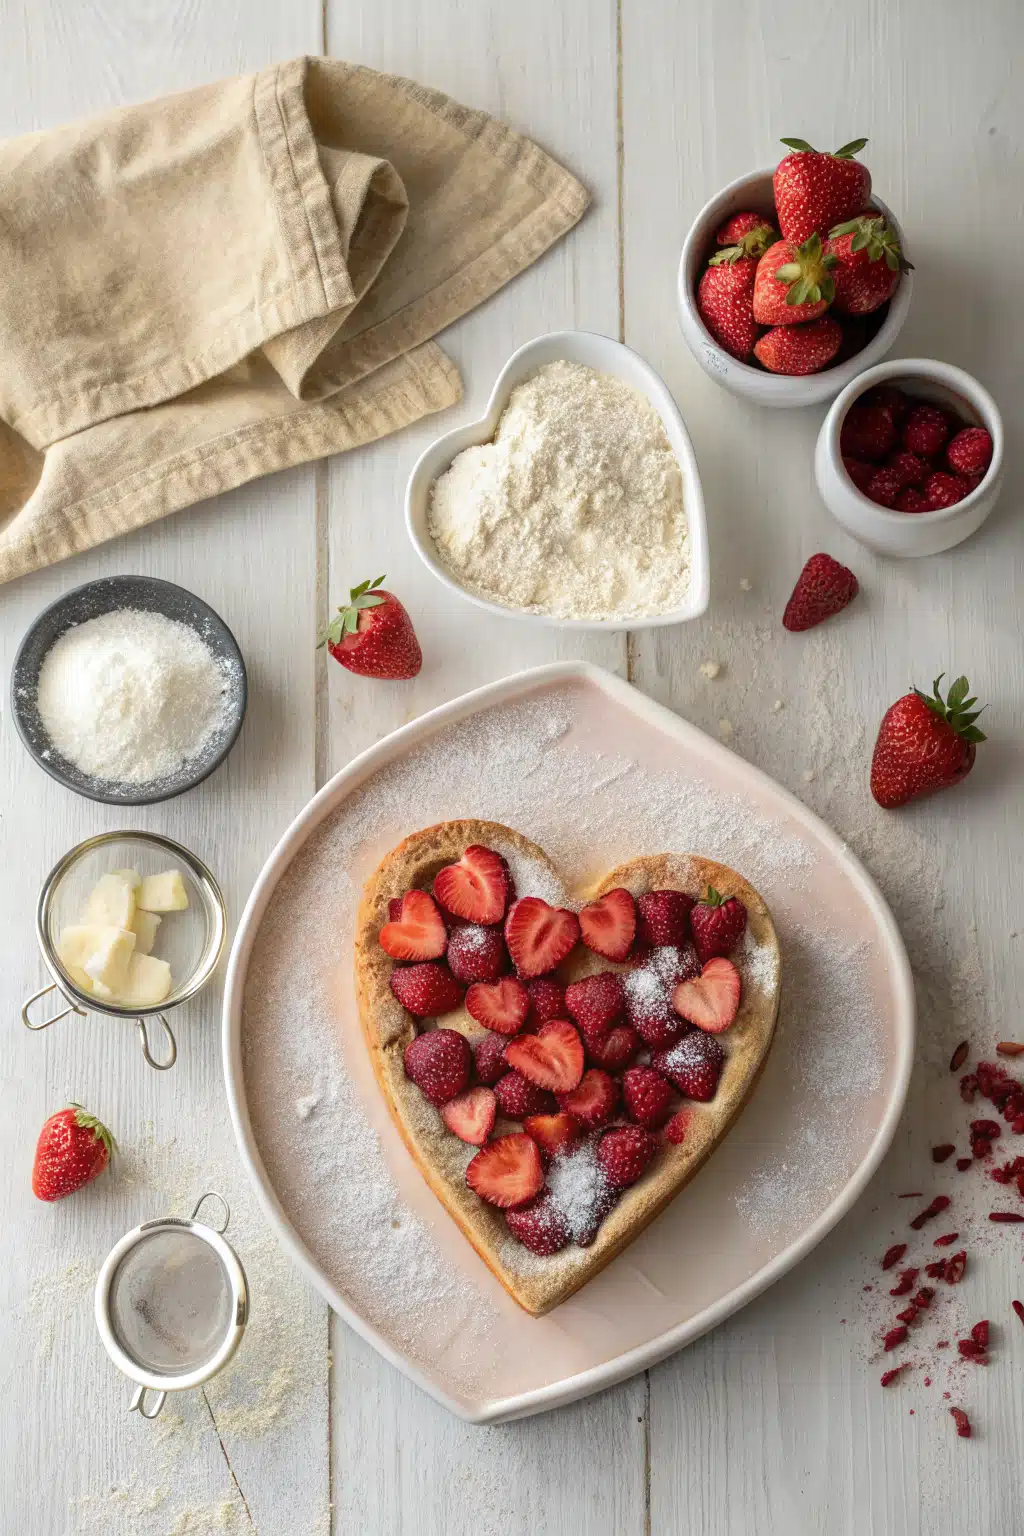
Ingredients
- All-purpose flour: 2 and 1/2 cups, spooned and leveled so your cake doesn’t get dense.
- Granulated sugar: 2 cups for the perfect amount of sweetness.
- Baking powder and baking soda: 1 teaspoon of each to give our cake a beautiful, fluffy rise.
- Salt: 1/2 teaspoon to balance out the sweetness.
- Unsalted butter: 1/2 cup (1 stick), melted and slightly cooled.
- Vegetable oil: 1/2 cup. This is my secret weapon for a super moist crumb!
- Buttermilk: 1 and 1/2 cups, at room temperature.
- Large eggs: 4 eggs, room temperature.
- Vanilla extract: 1 tablespoon. Yes, a whole tablespoon for maximum flavor!
- Your favorite frosting: About 3 cups to generously cover the assembled heart.
Step-by-Step Instructions
Step 1: Preheat and Prep Pans
Preheat your oven to 350°F (175°C). Generously grease one 8-inch square baking pan and one 8-inch round baking pan. Line the bottoms with parchment paper. This step is crucial because you need the cakes to come out perfectly intact for the shape to work!
Step 2: Whisk the Dry Ingredients
In a large mixing bowl, whisk together the all-purpose flour, granulated sugar, baking powder, baking soda, and salt. Make a little well in the center of the bowl.
Step 3: Add the Wet Ingredients
Pour the melted butter, vegetable oil, buttermilk, eggs, and vanilla extract into the well. Using a hand mixer on low speed or a sturdy whisk, beat the ingredients together just until combined. Be careful not to overmix—a few small lumps are totally fine!
Step 4: Bake the Cakes
Divide the batter evenly between your prepared square and round pans. Bake for 30 to 35 minutes, or until a toothpick inserted into the center comes out clean. Let the cakes cool in the pans for 10 minutes before turning them out onto wire racks to cool completely.
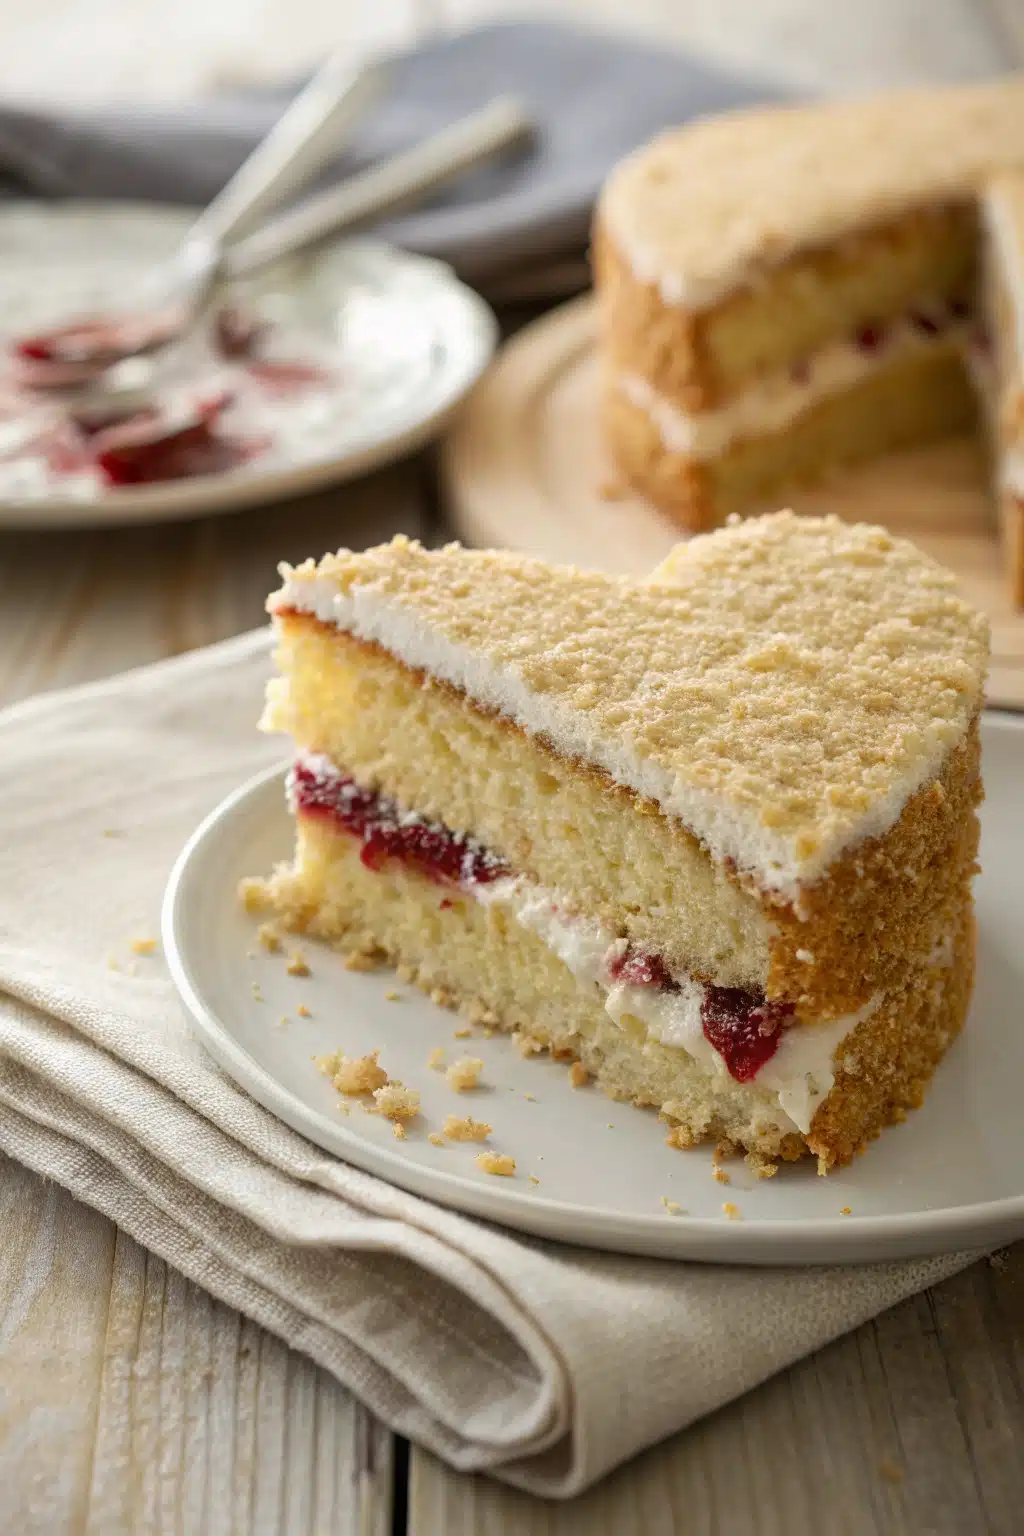
Step 5: Assemble the Heart
Once the cakes are completely cool, place the square cake on your serving platter in a diamond shape. Cut the round cake exactly in half. Place the cut, flat edge of one half against the top left side of the diamond, and the other half against the top right side. You now have a heart!
Step 6: Frost and Decorate
Apply a thin crumb coat of your favorite frosting to lock the three pieces together. Chill in the fridge for 20 minutes, then apply your final, thick layer of frosting. Add sprinkles, piped rosettes, or fresh berries!
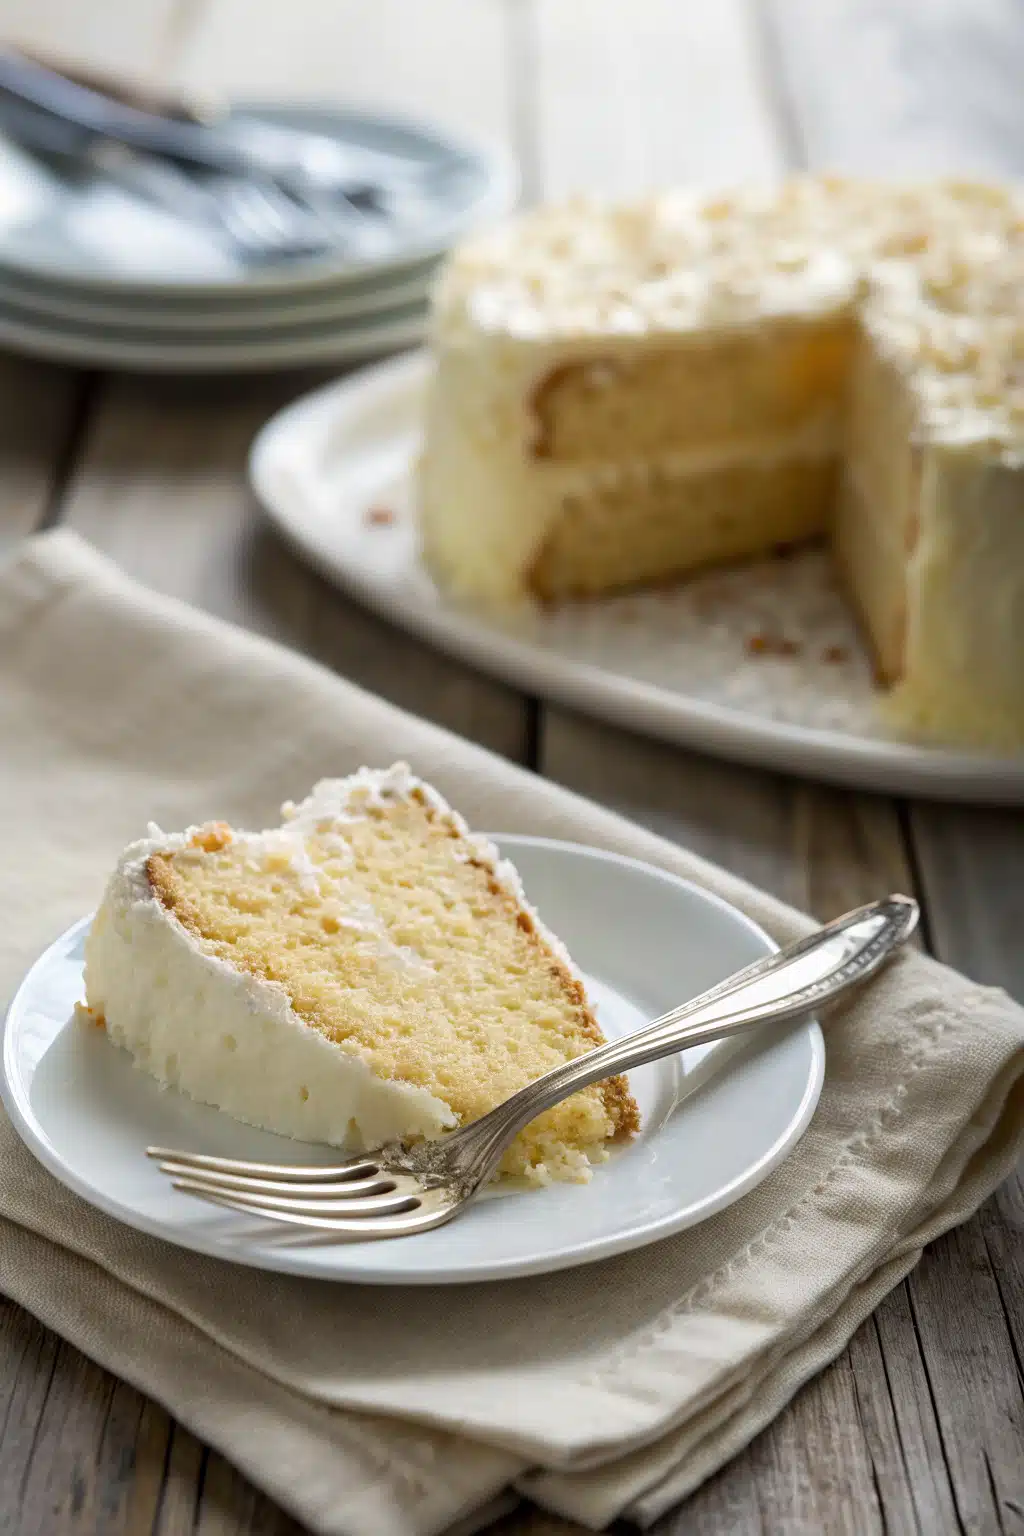
What to Serve It With
This heart shaped cake is an absolute star on its own, but pairing it with the right sides can elevate the entire dessert experience. I love serving generous slices with a big scoop of vanilla bean or strawberry ice cream. The cold, creamy ice cream melting into the soft, buttery cake is simply irresistible.
If you want to keep things light and fresh, a bowl of macerated berries is a fantastic option. Just toss some sliced strawberries and raspberries with a pinch of sugar and a squeeze of lemon juice, let them sit for ten minutes, and spoon them right over the cake. The tartness of the berries cuts through the sweet buttercream beautifully. And of course, you can never go wrong with a piping hot cup of coffee or a tall glass of ice-cold milk!
Top Tips for Perfecting Your Heart Shaped Cake
Over the years, I’ve made a few mistakes so you don’t have to! Here are my best secrets for nailing this recipe every single time:
- Measure your pans: Make sure your square and round pans are truly exactly the same size (8-inch is standard). If the round pan is slightly larger or smaller, the edges won’t line up perfectly.
- Level your cakes: If your cakes dome in the oven, use a serrated knife to carefully slice off the tops so they are completely flat. This ensures your heart sits evenly on the platter.
- Don’t skip the crumb coat: Because you are joining three pieces of cake together, there will be seams. A thin “crumb coat” of frosting chilled for 20 minutes acts like glue and keeps crumbs from ruining your final beautiful layer of frosting.
- Room temperature ingredients: I cannot stress this enough! Make sure your eggs and buttermilk are at room temperature. This helps the batter emulsify properly, resulting in a much lighter, fluffier cake.
Storing and Reheating Tips
If you somehow end up with leftovers (which rarely happens in my house!), you will be happy to know this cake stores beautifully. Keep the frosted cake in an airtight container at room temperature for up to 3 days. The frosting actually acts as a protective seal, keeping the cake perfectly moist.
If you need to store it longer, you can pop it in the fridge for up to a week. Just be sure to let the slices sit out on the counter for about 30 minutes before eating, as cold cake tends to taste a bit dense and the buttercream really needs to soften up to taste its best.
Want to freeze it? You absolutely can! I recommend slicing the leftover cake, wrapping each slice tightly in plastic wrap, and storing them in a freezer-safe bag for up to 3 months. When you are craving a sweet treat, just unwrap a slice and let it thaw at room temperature for an hour.
Frequently Asked Questions
Final Thoughts
There is just something so magical about pulling off a baking project that looks incredibly impressive but was secretly so easy to put together. This heart shaped cake is proof that you don’t need a kitchen full of expensive, specialized equipment to create beautiful, memorable desserts for the people you love.
Whether you are making it for an anniversary, Valentine’s Day, or just a cozy weekend at home, I hope this recipe brings as much joy to your kitchen as it does to mine. Don’t stress about making the frosting perfectly smooth—a few rustic swirls just add to the homemade charm! Happy baking, friends, and please let me know how yours turns out!
Heart Shaped Cake
Ingredients
Cake Ingredients
- 1 box chocolate cake mix
- 3 large eggs
- 1 cup water
- 0.33 cup vegetable oil
Frosting Ingredients
- 0.5 cup unsalted butter softened
- 4 cup powdered sugar
- 2 tablespoon heavy cream
- 1 teaspoon vanilla extract
Instructions
Preparation Steps
- Preheat oven to 350°F (175°C). Grease one 8-inch square cake pan and one 8-inch round cake pan.
- In a large bowl, mix the cake mix, eggs, water, and vegetable oil until well combined.
- Divide the batter evenly between the prepared square and round cake pans.
- Bake for 25 to 30 minutes, or until a toothpick inserted into the center comes out clean. Let the cakes cool completely.
- To assemble the heart shape, cut the round cake in half to create two half-circles.
- Place the square cake on a serving platter oriented like a diamond. Place the flat edges of the two half-circles against the top two adjacent sides of the square to form a heart.
- In a mixer, beat the softened butter until fluffy. Gradually add powdered sugar, heavy cream, and vanilla extract, beating until smooth to make the frosting.
- Frost the entire assembled heart cake evenly and decorate as desired.
Notes
Featured Comments
“Love this idea! I'm definitely trying the heart shape for my sister's birthday—so simple and adorable.”
“Impressed! Clear steps and crowd-pleaser results. Perfect for busy nights.”
“New favorite here — comforting. crowd-pleaser was spot on.”
“Super easy and turned out amazing! My family asked for seconds. Saving this one.”
“This sweet treat was absolutely loved — the buttery really stands out. Thanks!”
“Made it tonight and wow — crowd-pleaser! Will definitely make Easy Recipe: Heart-Shaped Cake for Any Occasion again.”


Love this idea! I’m definitely trying the heart shape for my sister’s birthday—so simple and adorable.