

The Ultimate Easy Cake Slice: A Nostalgic Bake
Have you ever had one of those days where you just really, really need a piece of cake, but the thought of layering, stacking, and meticulously frosting a three-tier masterpiece makes you want to take a nap instead? Trust me, I get it. That’s exactly how this easy cake slice recipe was born in my kitchen. I wanted all the comfort of a classic bakery-style treat without the all-day commitment and the sink full of dishes.
This isn’t just any cake; it is that tender, buttery, melt-in-your-mouth magic that takes you straight back to childhood afternoons. You know the ones—where a simple slice of cake and a cold glass of milk could fix just about anything. Over the years, I have tweaked and tested this recipe until it became completely foolproof. Whether you are baking for a last-minute school bake sale, a casual Sunday family dinner, or just because it’s Tuesday and you deserve a treat, this easy cake slice is going to become your new best friend. Grab your favorite mixing bowl, and let’s get baking!
What Is an Easy Cake Slice?
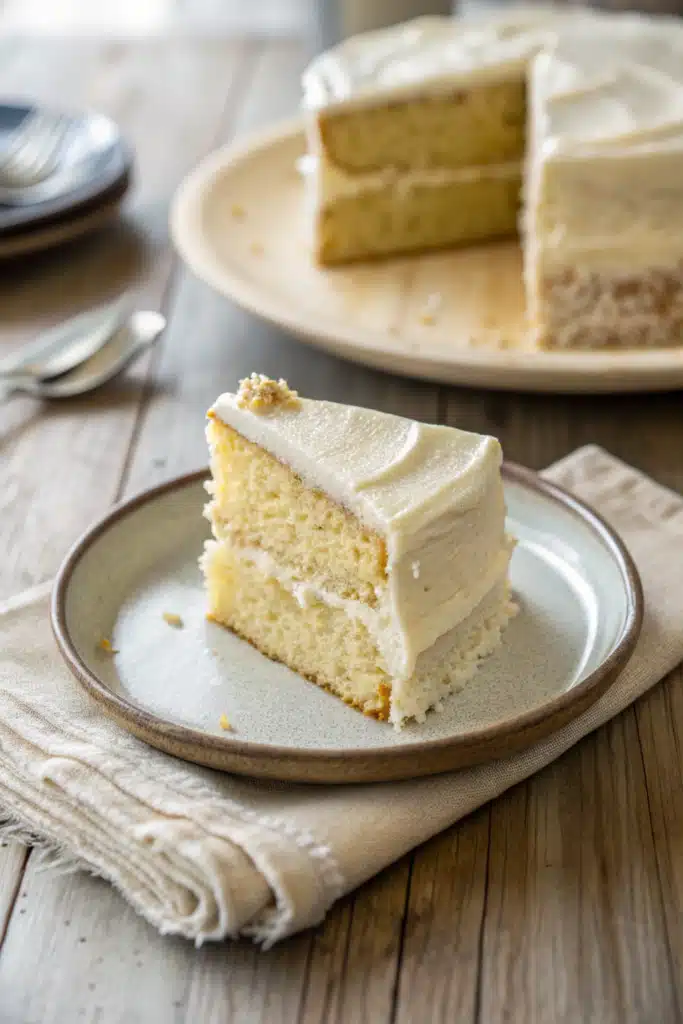
So, what exactly do I mean when I say “easy cake slice”? Well, it is exactly what it sounds like, but somehow even better. At its core, an easy cake slice is a no-fuss, single-layer sheet cake or snack cake that is baked in a standard rectangular pan. Instead of worrying about perfectly smooth sides, leveling domes, or intricate piping, the beauty of this dessert lies in its absolute simplicity.
You literally just bake it, let it cool right in the pan, slather on a generous layer of luscious, creamy frosting, and cut it into thick, rustic squares. This particular recipe yields a crumb that is incredibly soft and moist, somewhere between a rich pound cake and a fluffy sponge. It is sturdy enough to hold up to a thick layer of buttercream, yet delicate enough to melt on your tongue. Think of the legendary Texas sheet cake, but reimagined in a versatile vanilla flavor profile that you can customize to your heart’s content. It is the kind of unassuming, humble bake that ends up stealing the show at potlucks because it just tastes like pure, unadulterated comfort.
How to Make an Easy Cake Slice
Quick Overview
Making this easy cake slice is a total breeze, even if you are a complete beginner in the kitchen. The process comes together in about 15 minutes of active prep time. We will start by whisking together our dry ingredients to ensure everything is light and airy. Then, we cream the butter and sugar until it’s beautifully pale and fluffy—this is the secret to that gorgeous, bakery-style lift! After mixing in the eggs and vanilla, we alternate adding our dry ingredients with our wet ingredients to keep the batter perfectly smooth. Once it is poured into the pan, the oven does all the heavy lifting. While it cools, you can whip up a quick buttercream, slather it on, and you are ready to slice!
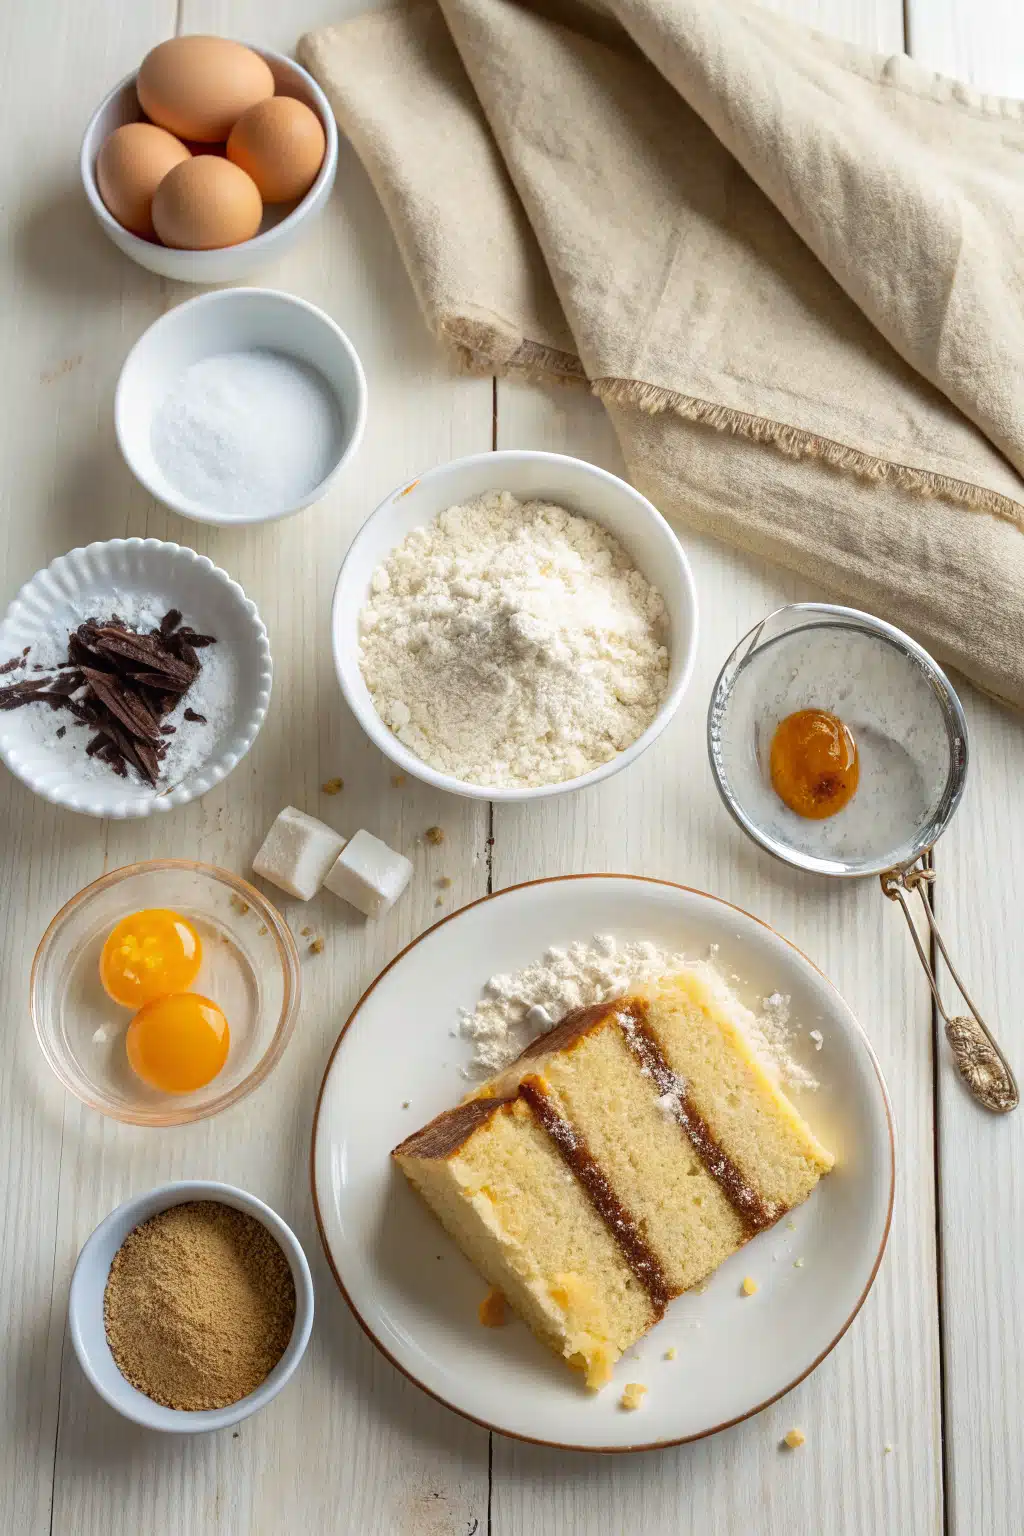
Ingredients
- All-purpose flour: 2 cups (spooned and leveled, please!)
- Granulated sugar: 1 and 1/2 cups for the perfect amount of sweetness
- Baking powder & baking soda: 1 teaspoon each to give our cake that beautiful rise
- Salt: 1/2 teaspoon to balance the flavors
- Unsalted butter: 1/2 cup (1 stick), softened to room temperature
- Eggs: 3 large eggs, also at room temperature
- Vanilla extract: 1 tablespoon (measure with your heart, I won’t tell!)
- Whole milk: 1/2 cup, room temperature
- Sour cream: 1/2 cup (full fat is definitely best for moisture)
Step-by-Step Instructions
Step 1: Preheat & Prep Pan
Start by preheating your oven to 350°F (175°C). Grab your trusty 9×13 inch baking pan and grease it lightly with butter or non-stick spray. For super easy removal and slicing later, I like to line the bottom with a piece of parchment paper, leaving a little overhang on the sides to act as handles.
Step 2: Whisk the Dry Ingredients
In a medium-sized mixing bowl, combine your all-purpose flour, baking powder, baking soda, and salt. Give it a good whisk so the leavening agents are evenly distributed. Set this bowl aside for a moment.
Step 3: Cream Butter and Sugar
In a large bowl (or the bowl of a stand mixer), beat the softened butter and granulated sugar together on medium-high speed. You want to do this for about 3 to 4 minutes until the mixture turns pale yellow and looks incredibly light and fluffy. Do not rush this step; it is crucial for a soft cake!
Step 4: Add Eggs and Vanilla
Turn your mixer down to medium speed and add the eggs one at a time, mixing well after each addition. Scrape down the sides of the bowl with a rubber spatula, then pour in that glorious vanilla extract.
Step 5: Alternate Wet and Dry
With the mixer on low, add a third of your flour mixture, followed by the milk. Add another third of the flour, followed by the sour cream. Finish with the last of the flour. Mix just until the streaks of flour disappear—overmixing leads to a tough, dense crumb!
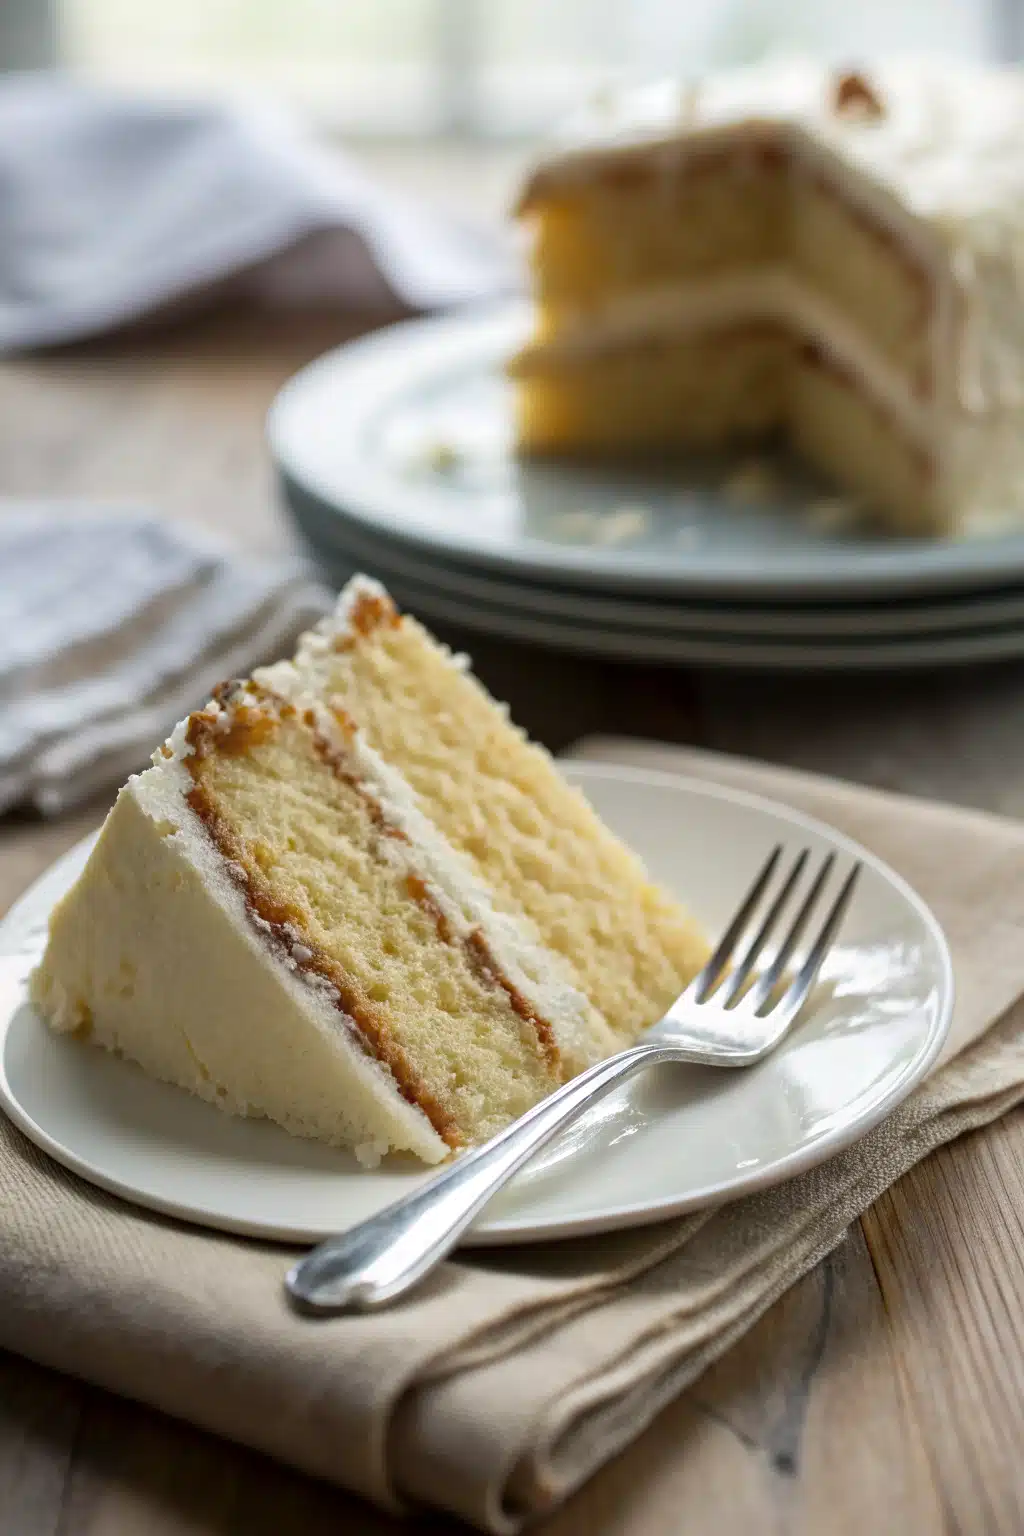
Step 6: Bake to Perfection
Pour the batter into your prepared pan and smooth the top with your spatula. Bake for 28 to 32 minutes. You will know it is done when the edges are golden brown and a toothpick inserted into the center comes out clean. Let it cool completely in the pan before frosting and cutting into your easy cake slice squares.
What to Serve It With
While this easy cake slice is phenomenal all on its own, pairing it with the right accompaniments can elevate it to a restaurant-quality dessert. If you are serving this during the summer, you absolutely cannot go wrong with a massive scoop of vanilla bean ice cream and a drizzle of homemade strawberry compote. The cold, creamy ice cream melting against the soft cake crumb is pure bliss.
For a cozy afternoon treat, I highly recommend serving a slice alongside a steaming mug of dark roast coffee or a hot cup of Earl Grey tea. The slight bitterness of the coffee perfectly cuts through the sweetness of the buttercream frosting. If you are hosting a party, try setting up a “slice bar” where guests can top their own squares with hot fudge, caramel sauce, fresh berries, or crushed cookies!
Top Tips for Perfecting Your Easy Cake Slice
Even the easiest recipes have a few little secrets for success. Here is what you need to know to make sure your cake turns out perfectly every single time:
- Room temperature ingredients are non-negotiable: Make sure your butter, eggs, milk, and sour cream are all at room temperature before you begin. This allows the batter to emulsify properly, trapping air and resulting in a much lighter cake.
- Measure flour correctly: Never scoop your measuring cup directly into the flour bag! This packs the flour down and will make your cake dry and heavy. Instead, spoon the flour into your cup and level it off with a butter knife.
- Don’t overmix: Once you add the flour, mix only until you can no longer see dry white streaks. Overmixing develops the gluten and can make your easy cake slice tough and rubbery.
- Cool completely before frosting: I know it is so tempting to slather that buttercream on immediately, but if the cake is even slightly warm, your frosting will melt right off the top. Patience is key!
Storing and Reheating Tips
One of the best things about this easy cake slice recipe is how beautifully it keeps. If you happen to have leftovers (which is a very rare occurrence in my house!), store the slices in an airtight container at room temperature for up to 3 days. The sour cream in the batter helps lock in the moisture, so it won’t dry out quickly.
If you need to keep it longer, you can pop the container into the fridge for up to a week. Just be sure to let the slices sit out on the counter for about 20 minutes before eating, as cold cake tends to feel a bit dense and the butter needs to soften up again.
Want to freeze it? You absolutely can! Wrap individual slices tightly in plastic wrap, then place them in a zip-top freezer bag. They will stay fresh in the freezer for up to 3 months. When that cake craving hits, just unwrap a slice and let it thaw at room temperature for an hour or two.
Frequently Asked Questions
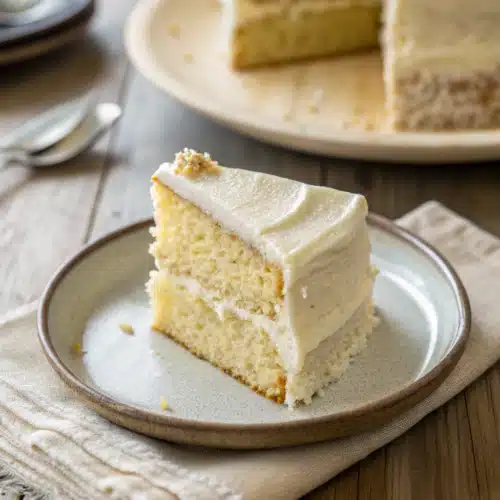
Final Thoughts

There you have it, friends—my absolute favorite, tried-and-true easy cake slice recipe. It really goes to show that you don’t need to spend hours in the kitchen or use complicated techniques to create a dessert that is incredibly delicious and memorable. Some of the best memories are made over a simple, humble square of homemade cake.
I hope this recipe brings as much joy to your kitchen as it has to mine over the years. If you end up baking this, please let me know how it turned out! I always love hearing about the little tweaks and frosting flavors you all come up with. Happy baking, and enjoy every single bite!
Easy Cake Slice
Ingredients
Main Ingredients
- 2 cup self-raising flour
- 1 cup caster sugar
- 0.5 cup unsalted butter softened
- 2 large eggs
- 0.5 cup whole milk
- 1 tsp vanilla extract
- 1.5 cup icing sugar
- 2 tbsp boiling water
- 1 tbsp sprinkles
Instructions
Preparation Steps
- Preheat your oven to 350°F (180°C) and line a rectangular baking tin with parchment paper.
- In a large bowl, cream the softened butter and caster sugar together until light and fluffy.
- Add the eggs one at a time, beating well after each addition, then stir in the vanilla extract.
- Gently fold in the self-raising flour alternately with the milk until a smooth batter forms.
- Pour the batter into the prepared baking tin and smooth the top with a spatula.
- Bake for 25-30 minutes, or until a skewer inserted into the center comes out clean. Allow to cool completely in the tin.
- To make the icing, sift the icing sugar into a bowl and gradually stir in the boiling water until you reach a spreadable consistency.
- Spread the icing evenly over the cooled cake and scatter with sprinkles. Cut into 12 even slices to serve.
Notes
Featured Comments
“I love how this post makes baking seem so simple and fun! The salted caramel flavor sounds amazing—any tips for making a homemade version?”
“Impressed! Clear steps and perfect for busy nights results. Perfect for busy nights.”
“New favorite here — quick weeknight win. crowd-pleaser was spot on.”
“Super easy and turned out amazing! My family asked for seconds. Saving this one.”
“This sweet treat was absolutely loved — the bright really stands out. Thanks!”
“Made it tonight and wow — crowd-pleaser! Will definitely make Enjoy the Perfect Cake Slice: Easy Recipes and Serving Tips again.”


I love how this post makes baking seem so simple and fun! The salted caramel flavor sounds amazing—any tips for making a homemade version?