

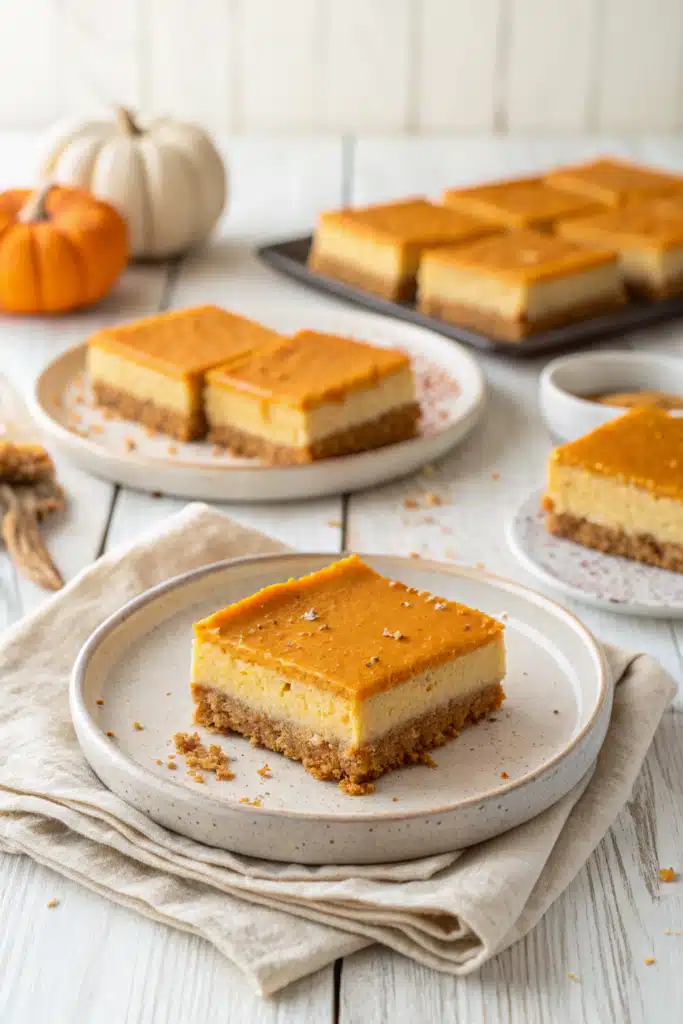
The Ultimate Easy Pumpkin Cheesecake Bars
Let’s talk about fall baking. Every year, the minute the leaves start turning that gorgeous shade of burnt orange, my brain immediately goes to pumpkin spice everything. But as much as I adore a traditional pie, sometimes you just want something a little different, right? Something that feels a bit fancy but doesn’t require you to stress over a perfectly crimped pie crust or a terrifying hot water bath. Enter these absolutely foolproof, incredibly easy pumpkin cheesecake bars.
I’ve been making these for my family’s autumn get-togethers for years, and let me tell you, they disappear faster than I can even set the platter down. You get that buttery, crumbly graham cracker base, a rich and tangy vanilla cheesecake layer, and a perfectly spiced pumpkin layer all swirled together into one beautiful bite. It’s like the absolute best parts of autumn wrapped up in a single, shareable dessert. Grab your coziest sweater, brew a strong cup of coffee, and let’s get baking. You’re going to fall head over heels for this recipe!
What Are Easy Pumpkin Cheesecake Bars?
If you’ve never had the pleasure of tasting one of these, you are in for a serious treat. Think of easy pumpkin cheesecake bars as the glorious, decadent love child of a classic New York-style cheesecake and a traditional Thanksgiving pumpkin pie.
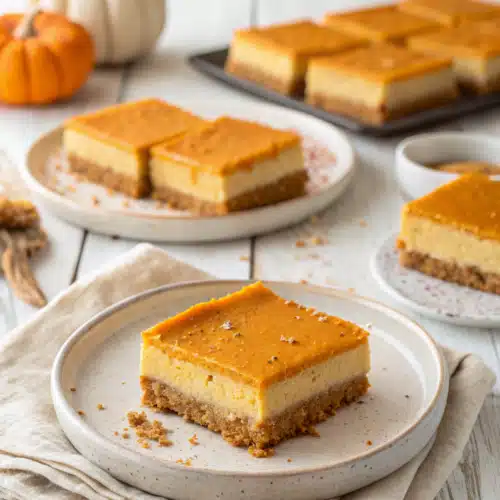
We start the whole thing off with a thick, buttery graham cracker crust that gets perfectly toasted in the oven. On top of that sits a luscious, velvety cream cheese filling. But here is where the real magic happens: we take a portion of that cheesecake batter, blend it with rich pumpkin puree and a hefty dash of warming fall spices—think cinnamon, nutmeg, ginger, and cloves—and swirl it right back into the vanilla base.
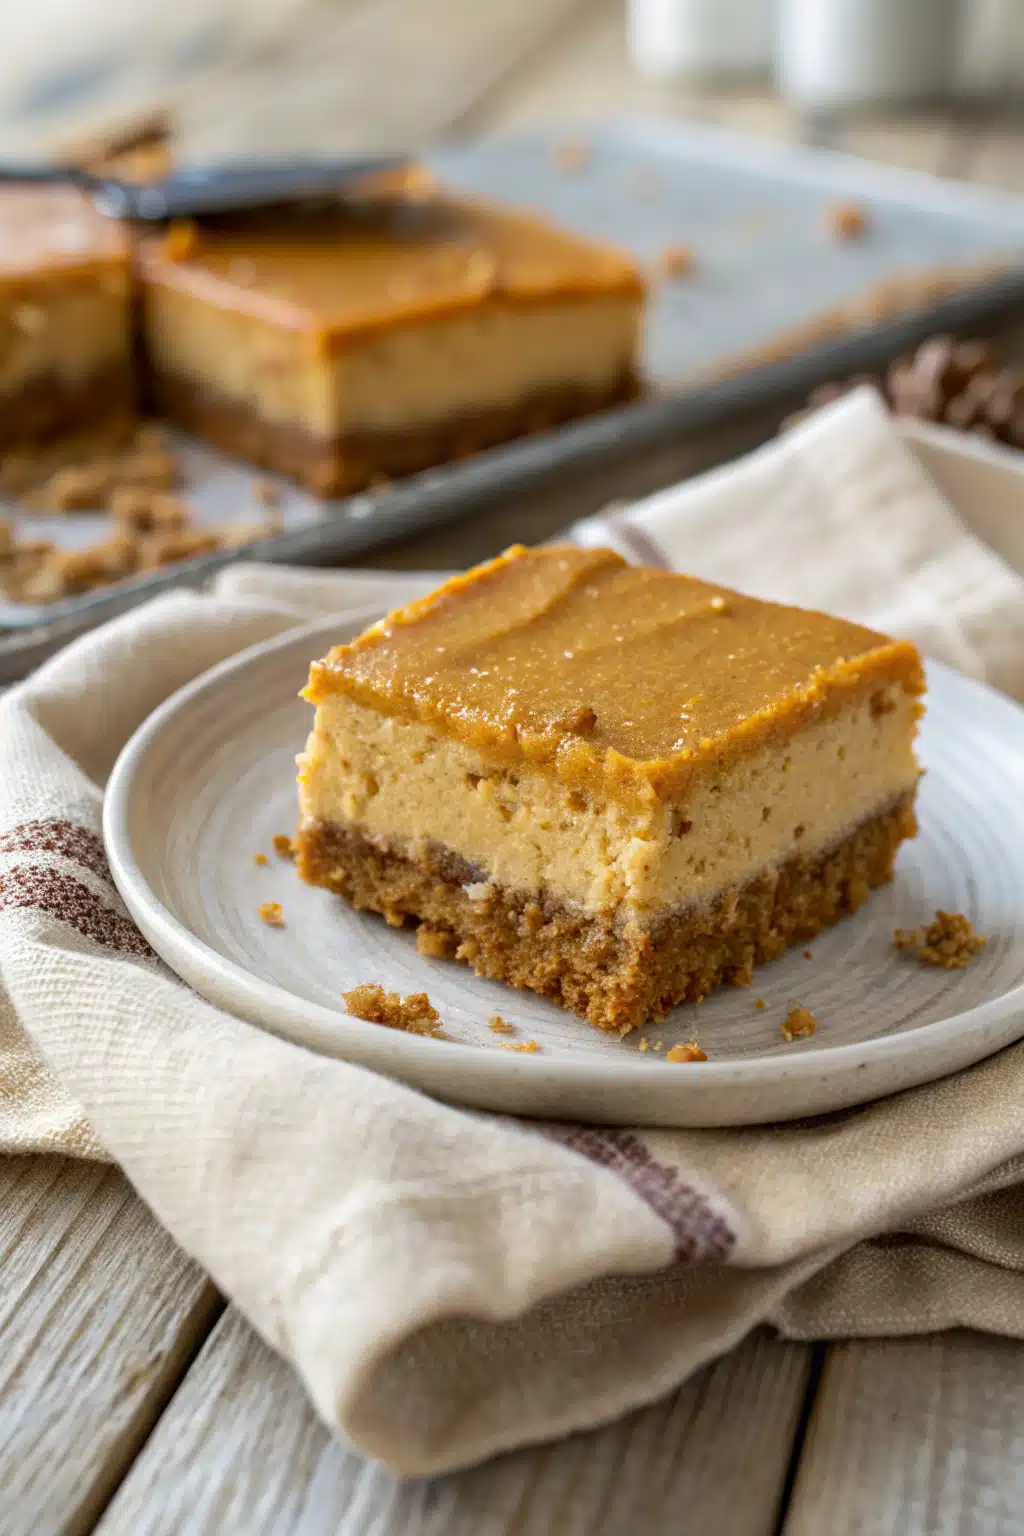
The result? A stunning marbled effect that looks like it came straight from a high-end bakery, but takes a fraction of the effort. They are baked in a standard rectangular baking pan, which means they are meant for sharing. No slicing delicate pie wedges here; just cut them into neat little squares and watch your friends and family swoon.
How to Make Easy Pumpkin Cheesecake Bars
Quick Overview
Making these bars really boils down to three simple phases. First, you’ll mix up your graham cracker crumbs with some melted butter and press them into your pan to create the crust. Give that a quick pre-bake so it sets up nice and crunchy. Second, you’ll whip up the base cheesecake filling with cream cheese, sugar, eggs, and vanilla. Finally, you’ll divide that batter, adding pumpkin puree and spices to one half. Then, just alternate dollops of both batters over your crust before swirling them together with a knife. Pop it in the oven, let it chill, and you’re done! It looks complex, but I promise the actual hands-on time is wonderfully short.
Ingredients
- Graham Cracker Crumbs: About two cups. You can crush them yourself in a food processor or buy the pre-crushed box to save time!
- Unsalted Butter: Melted, to hold our crust together.
- Cream Cheese: You’ll need three 8-ounce blocks. Make sure they are full-fat and completely at room temperature!
- Granulated Sugar: To sweeten things up perfectly.
- Eggs: Four large eggs, also at room temperature, to give the cheesecake its structure.
- Vanilla Extract: A good splash for that classic bakery flavor.
- Pumpkin Puree: Make sure it’s 100% pure pumpkin, NOT canned pumpkin pie filling!
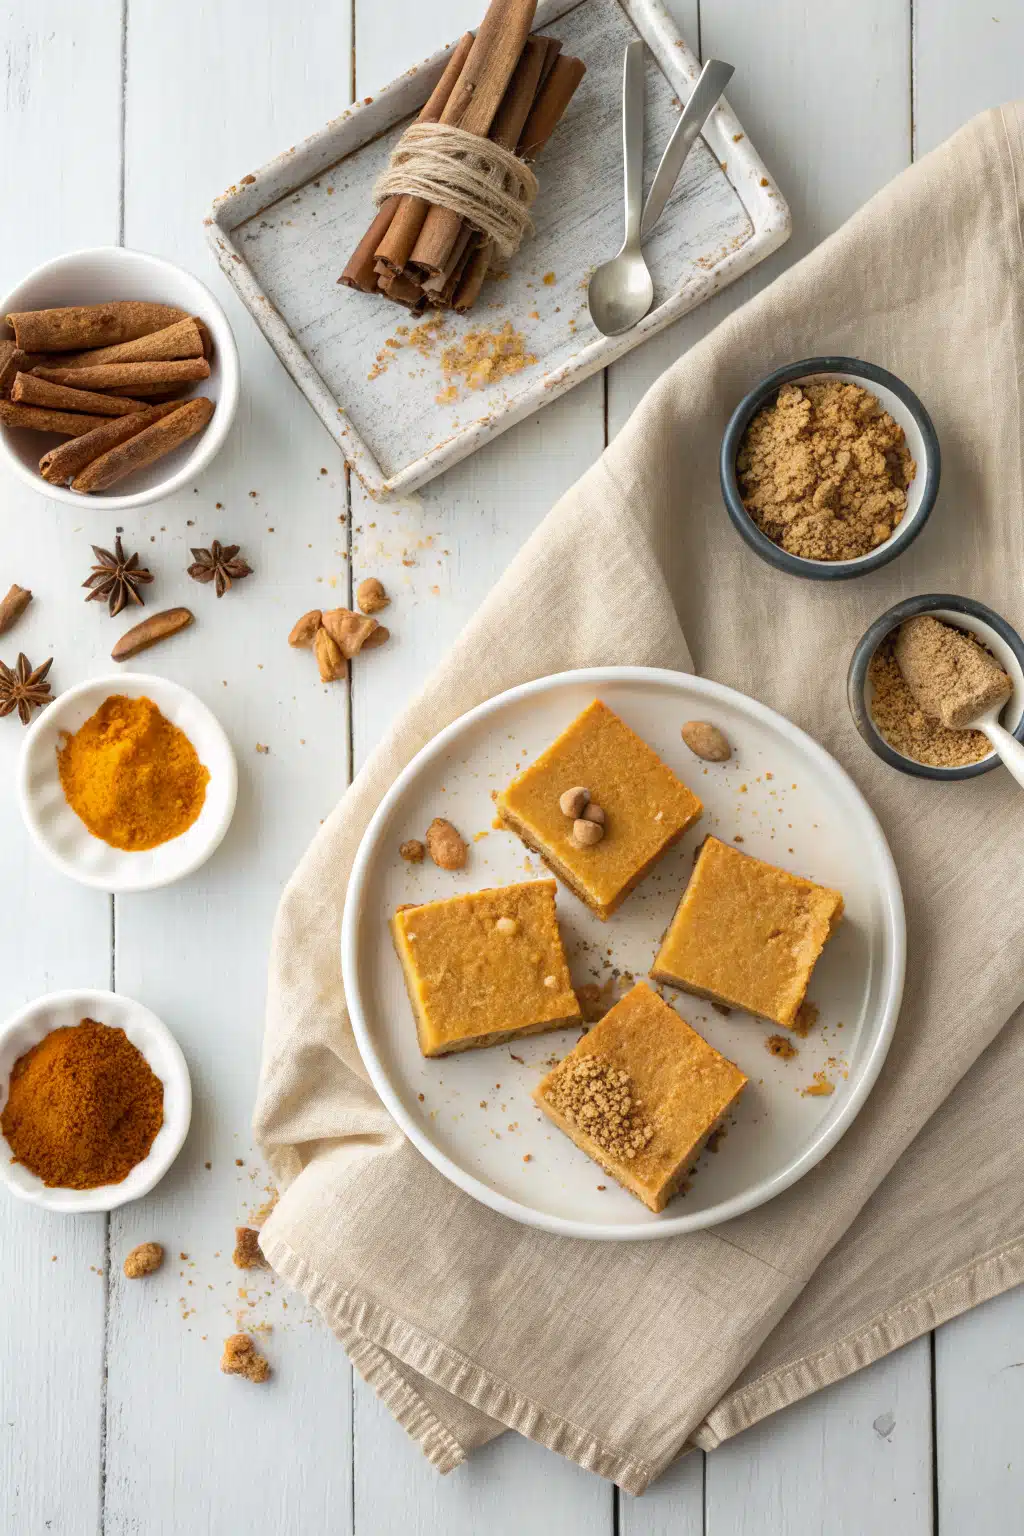
- Spices: Cinnamon, nutmeg, ginger, and a pinch of cloves (or you can just substitute two teaspoons of pre-mixed pumpkin pie spice).
Step-by-Step Instructions
First things first, preheat your oven to 325°F (160°C). Line a 9×13 inch baking pan with parchment paper, leaving a little overhang on the sides. This is my absolute favorite baking trick because it lets you lift the entire chilled cheesecake right out of the pan later for super clean, effortless slicing.
In a medium bowl, toss your graham cracker crumbs, a couple tablespoons of sugar, and your melted butter until it looks like wet sand. Dump this mixture into your prepared pan and press it down firmly into an even layer. Bake for about 10 minutes until it’s fragrant and golden, then set it aside to cool while you make the filling.
In a large bowl (or a stand mixer), beat your room temperature cream cheese until it is completely smooth and creamy. Don’t rush this—nobody wants lumpy cheesecake! Gradually add the sugar and vanilla, beating until combined. Add the eggs one at a time, mixing on low speed just until the yellow yolk disappears. Over-mixing adds air, which causes cracks, so take it easy here.
Scoop out about two cups of your plain cheesecake batter and place it into a separate bowl. To this bowl, whisk in your pumpkin puree and all those cozy fall spices until you have a beautiful, vibrant orange batter.
Now for the fun part! Alternate dropping large spoonfuls of the plain vanilla batter and the spiced pumpkin batter over your cooled crust. It doesn’t have to be neat at all. Once all the batter is in the pan, take a butter knife or a wooden skewer and gently drag it through the dollops in a figure-eight motion. Don’t over-swirl, or the colors will just muddy together into a pale orange blob.
Bake for 40 to 45 minutes. You’ll know it’s done when the edges are set but the center still has a slight jiggle to it. Let it cool completely at room temperature for an hour, then pop it in the fridge for at least 4 hours (overnight is even better!) before slicing into bars.
What to Serve It With
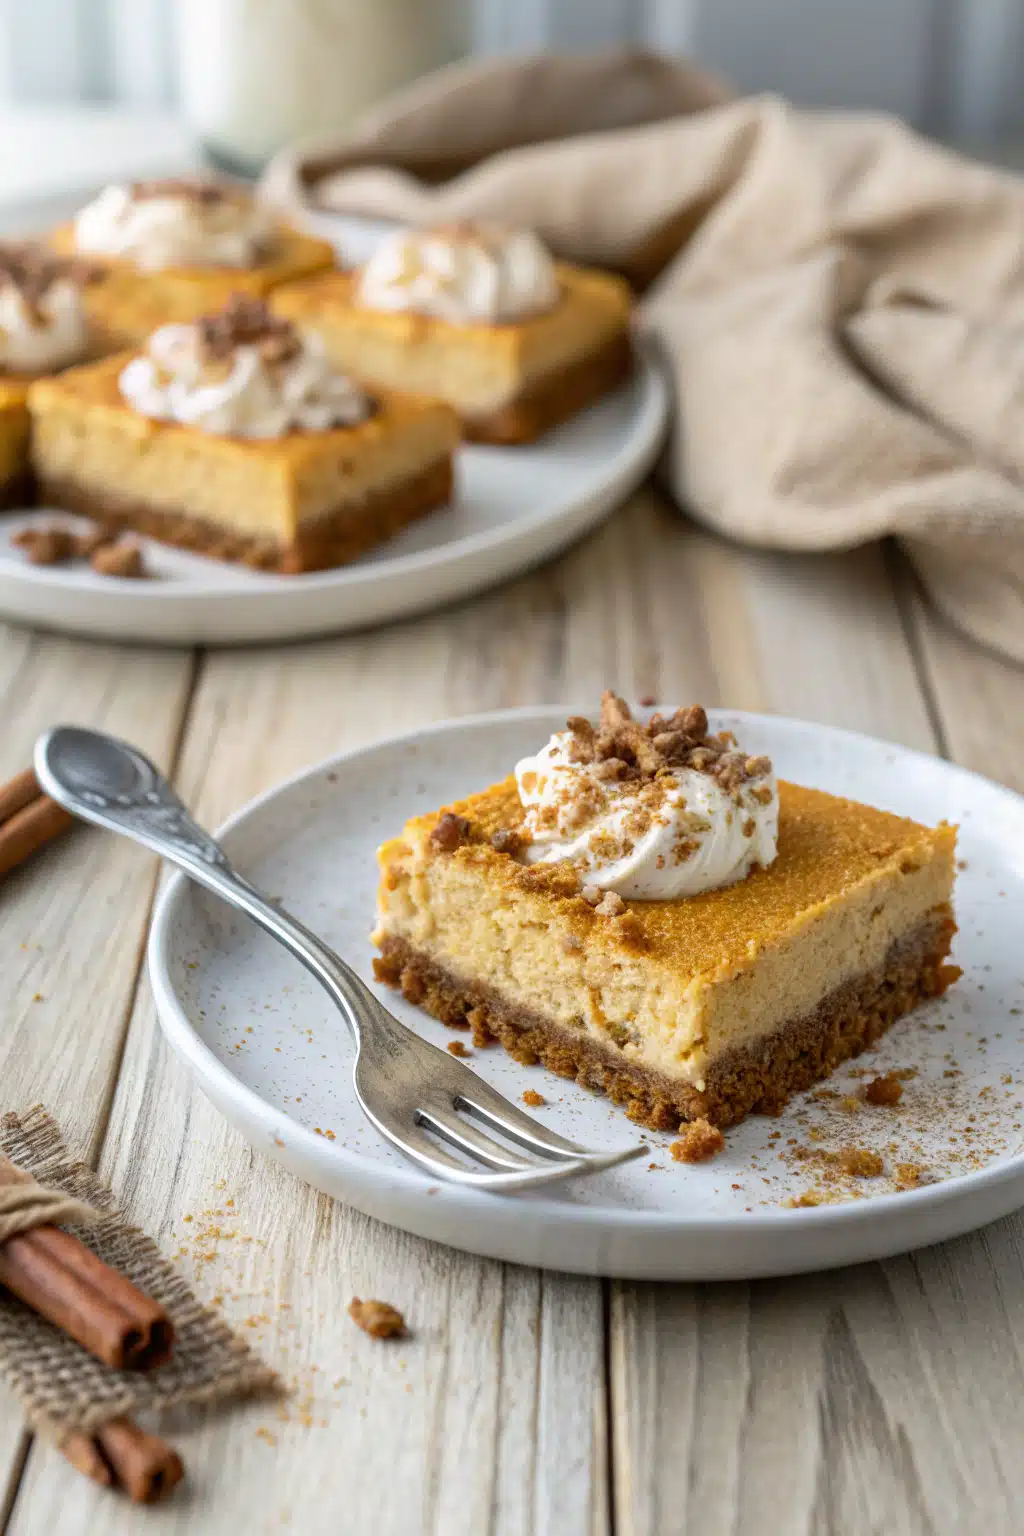
These easy pumpkin cheesecake bars are honestly a showstopper all on their own, but if you want to take things over the top for a special occasion, I highly recommend a big dollop of freshly whipped cream. You can even add a splash of maple syrup or bourbon to your heavy cream before whipping it for an extra autumnal touch.
If you have a serious sweet tooth, a generous drizzle of warm salted caramel sauce right before serving is absolutely heaven. The saltiness cuts through the richness of the cheesecake beautifully. And of course, you really can’t go wrong pairing a square of this with a hot cup of dark roast coffee or a steaming mug of apple cider.
Top Tips for Perfecting Your Easy Pumpkin Cheesecake Bars
Over the years, I’ve made every mistake in the book so you don’t have to. Here are my non-negotiable tips for getting the best bars ever:
- Room Temperature Ingredients are Non-Negotiable: I cannot stress this enough. If your cream cheese or eggs are cold, your batter will be lumpy. Leave them out on the counter for at least two hours before you start baking. Trust me on this one!
- Don’t Over-mix the Eggs: Once you add the eggs, keep your mixer on the lowest speed possible. Beating too much air into the batter is the number one cause of cheesecake cracks.
- The Jiggle Test: When you check your bars at the 40-minute mark, gently shake the pan. The outer two inches should be completely set, but the center should still wobble a bit like Jell-O. It will continue to cook from residual heat and firm up as it cools!
- Patience is a Virtue: Please, please don’t try to slice these while they are warm. They need that long chill in the fridge to set up properly so you get those gorgeous, clean layers.
Storing and Reheating Tips
Because these are heavy on the dairy, you definitely need to keep them refrigerated. Store your sliced easy pumpkin cheesecake bars in an airtight container in the fridge for up to 5 days. I actually think they taste best on day two or three, once the spices have really had time to meld and develop!
Want to freeze them? You absolutely can! These freeze beautifully. Wrap individual squares tightly in plastic wrap, then place them in a freezer-safe zip-top bag. They will keep for up to 3 months. When you’re ready for a treat, just let a square thaw in the fridge overnight. I wouldn’t recommend reheating them in the microwave or oven, as cheesecake is meant to be enjoyed wonderfully chilled!
Frequently Asked Questions
Final Thoughts
I really hope these easy pumpkin cheesecake bars bring as much joy to your kitchen as they do to mine. There is just something so incredibly special about filling the house with the scent of cinnamon, nutmeg, and baking something from scratch for the people you love. Whether you’re making these for a big Thanksgiving feast, bringing them to an office potluck, or just whipping them up for a cozy Sunday afternoon treat, they are guaranteed to be a massive hit.
If you give this recipe a try, I would absolutely love to hear how it turned out for you! Grab a fork, pour yourself something warm to drink, and enjoy every single creamy, spiced bite. Happy fall baking, my friends!
Easy Pumpkin Cheesecake Bars
Ingredients
Crust
- 1.5 cups graham cracker crumbs
- 0.25 cup granulated sugar
- 0.5 cup unsalted butter melted
Cheesecake Filling
- 16 oz cream cheese softened
- 0.5 cup granulated sugar
- 2 large eggs
- 1 tsp vanilla extract
- 1 cup pumpkin puree
- 1 tsp pumpkin pie spice
Instructions
Preparation Steps
- Preheat your oven to 350°F (175°C). Line an 8x8-inch baking pan with parchment paper, leaving an overhang for easy removal.
- In a medium bowl, combine the graham cracker crumbs, 0.25 cup granulated sugar, and melted butter. Press the mixture firmly into the bottom of the prepared pan. Bake for 10 minutes, then remove and let cool slightly.
- In a large mixing bowl, beat the softened cream cheese and 0.5 cup granulated sugar until smooth and creamy. Add the eggs one at a time, mixing well after each addition, then stir in the vanilla extract.
- Divide the cheesecake batter in half. To one half, add the pumpkin puree and pumpkin pie spice, whisking until completely combined.
- Pour the plain cheesecake batter over the cooled crust. Spoon dollops of the pumpkin cheesecake batter on top, then use a butter knife to gently swirl the two batters together to create a marbled effect.
- Bake for 35-40 minutes, or until the edges are set and the center is just slightly jiggly. Let the bars cool completely at room temperature, then refrigerate for at least 2 hours before slicing and serving.
Notes
Featured Comments
“Impressed! Clear steps and comforting results. Perfect for busy nights.”
“New favorite here — absolutely loved. crowd-pleaser was spot on.”
“Super easy and turned out amazing! My family asked for seconds. Saving this one.”
“This sweet treat was absolutely loved — the rich really stands out. Thanks!”
“Made it tonight and wow — super easy! Will definitely make Autumnal Cheesecake Bars How Easy! again.”
“Packed with flavor and so simple. Exactly what I wanted from Autumnal Cheesecake Bars How Easy!.”


