

The Ultimate Homemade Banana Pudding Ice Cream
Have you ever had one of those days where you just can’t decide between two of your absolute favorite desserts? For me, that usually comes down to a toss-up between a big, comforting bowl of classic Southern banana pudding and a massive scoop of rich, creamy ice cream. One hot summer afternoon, while staring into my pantry, I realized I didn’t actually have to choose. I could just mash them together.
I’m so incredibly excited to share this Banana Pudding Ice Cream recipe with you today. It is honestly everything you love about the iconic potluck dessert, but frozen into a luscious, scoopable treat that will absolutely blow your mind. Best of all? You don’t need a fancy ice cream maker to pull this off. It’s a simple, no-churn dream that comes together so fast you’ll wonder why you haven’t been making it your entire life. Grab your mixing bowls, because we are about to make some serious magic happen in your kitchen.
What Is Banana Pudding Ice Cream?
If you grew up anywhere near the South, you already know the magic of traditional banana pudding. It’s that beautiful, layered masterpiece of vanilla custard, sliced fresh bananas, and vanilla wafers that magically turn soft and cake-like as they sit in the fridge.
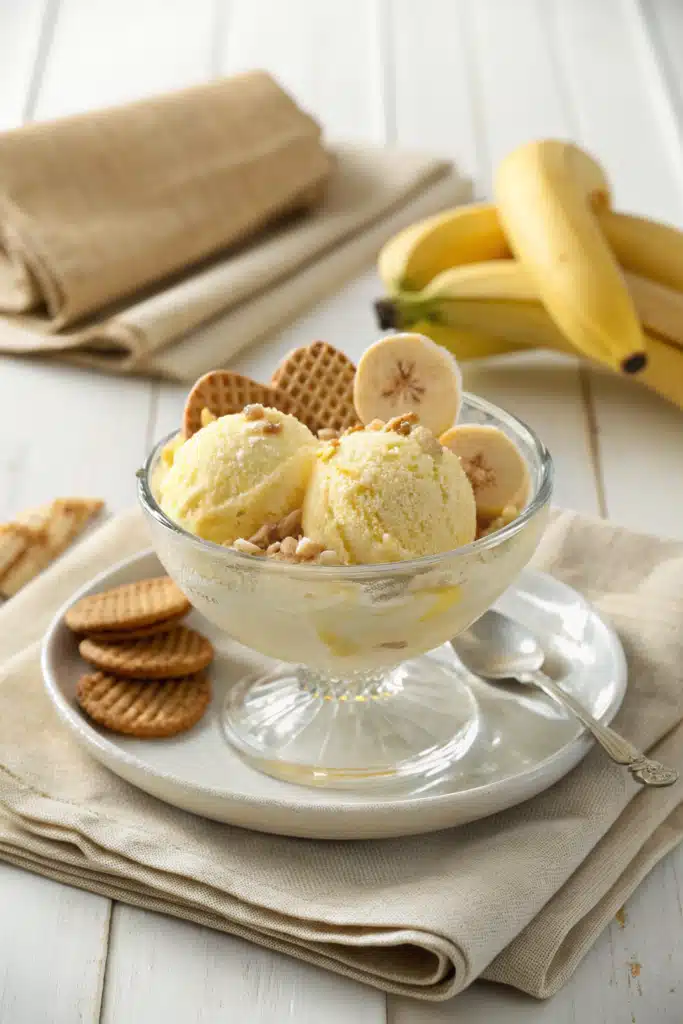
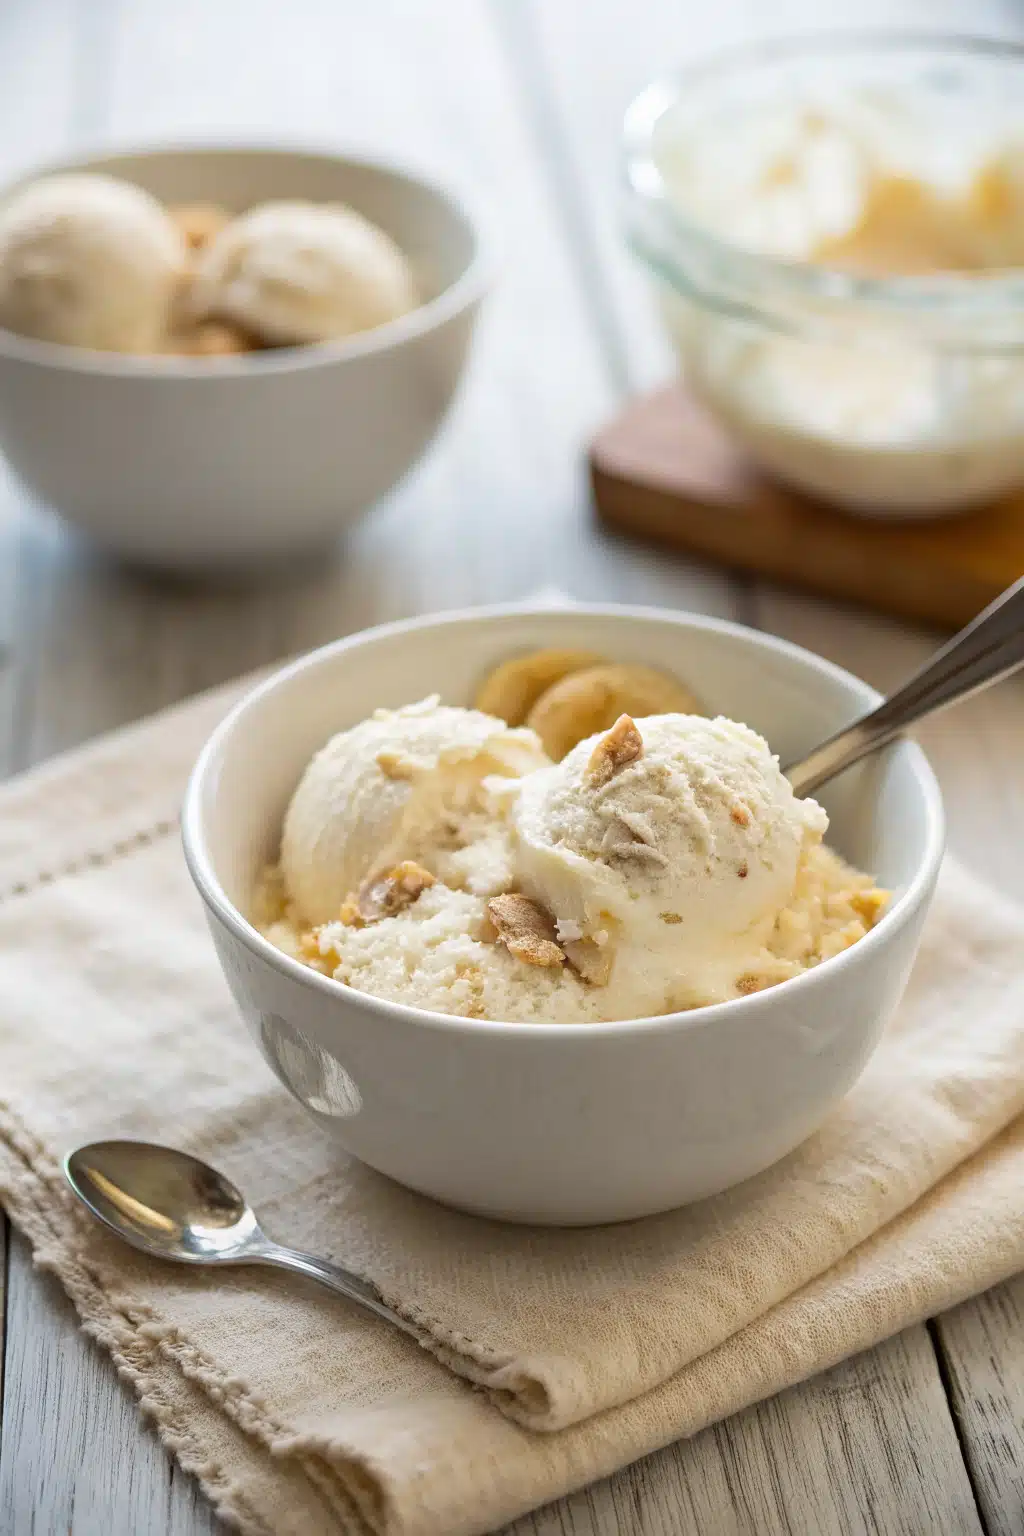
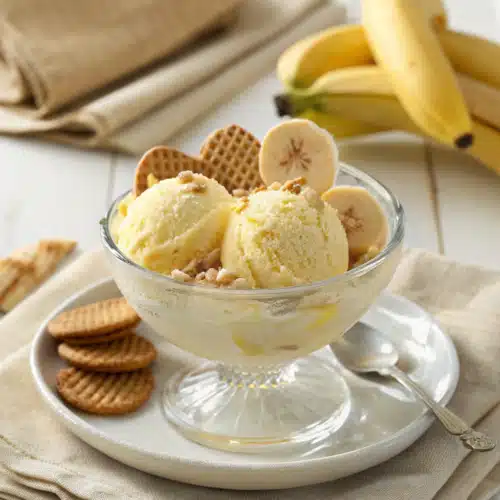
So, what exactly is Banana Pudding Ice Cream? Think of it as the frozen cousin of that beloved classic. We take a rich, velvety sweet cream base and infuse it with real banana flavor. Then, we fold in generous handfuls of crushed vanilla wafers and chunks of ripe bananas. As the ice cream freezes, those wafer cookies soften up just enough to mimic the texture of a traditional pudding, while the sweet cream base acts as the ultimate vanilla custard. It is a brilliant mashup of textures and flavors. Every single bite gives you that nostalgic, comforting taste, but with the refreshing chill of premium ice cream. It’s basically a hug in a bowl.
How to Make Banana Pudding Ice Cream
Quick Overview
Making this ice cream is shockingly easy. We are using a classic no-churn base, which means you only need a hand mixer or a stand mixer to whip some heavy cream. After whipping the cream to stiff peaks, you’ll gently fold in sweetened condensed milk, a little bit of instant banana pudding mix for that signature flavor, and your mix-ins. The whole process takes about 15 minutes of hands-on time. The hardest part is honestly just waiting for it to freeze! You’ll want to give it at least 6 hours in the freezer, but overnight is even better for the perfect scoopable consistency.
Ingredients
Here is what you’ll need to grab from the store to make this frozen delight:
- Heavy whipping cream: Make sure it’s very cold! You’ll need 2 cups.
- Sweetened condensed milk: One standard 14-ounce can. This is the secret to a soft, scoopable texture.
- Instant banana cream pudding mix: Just half of a 3.4-ounce box. You can use vanilla if you prefer a milder flavor.
- Vanilla extract: 1 teaspoon to enhance all those bakery flavors.
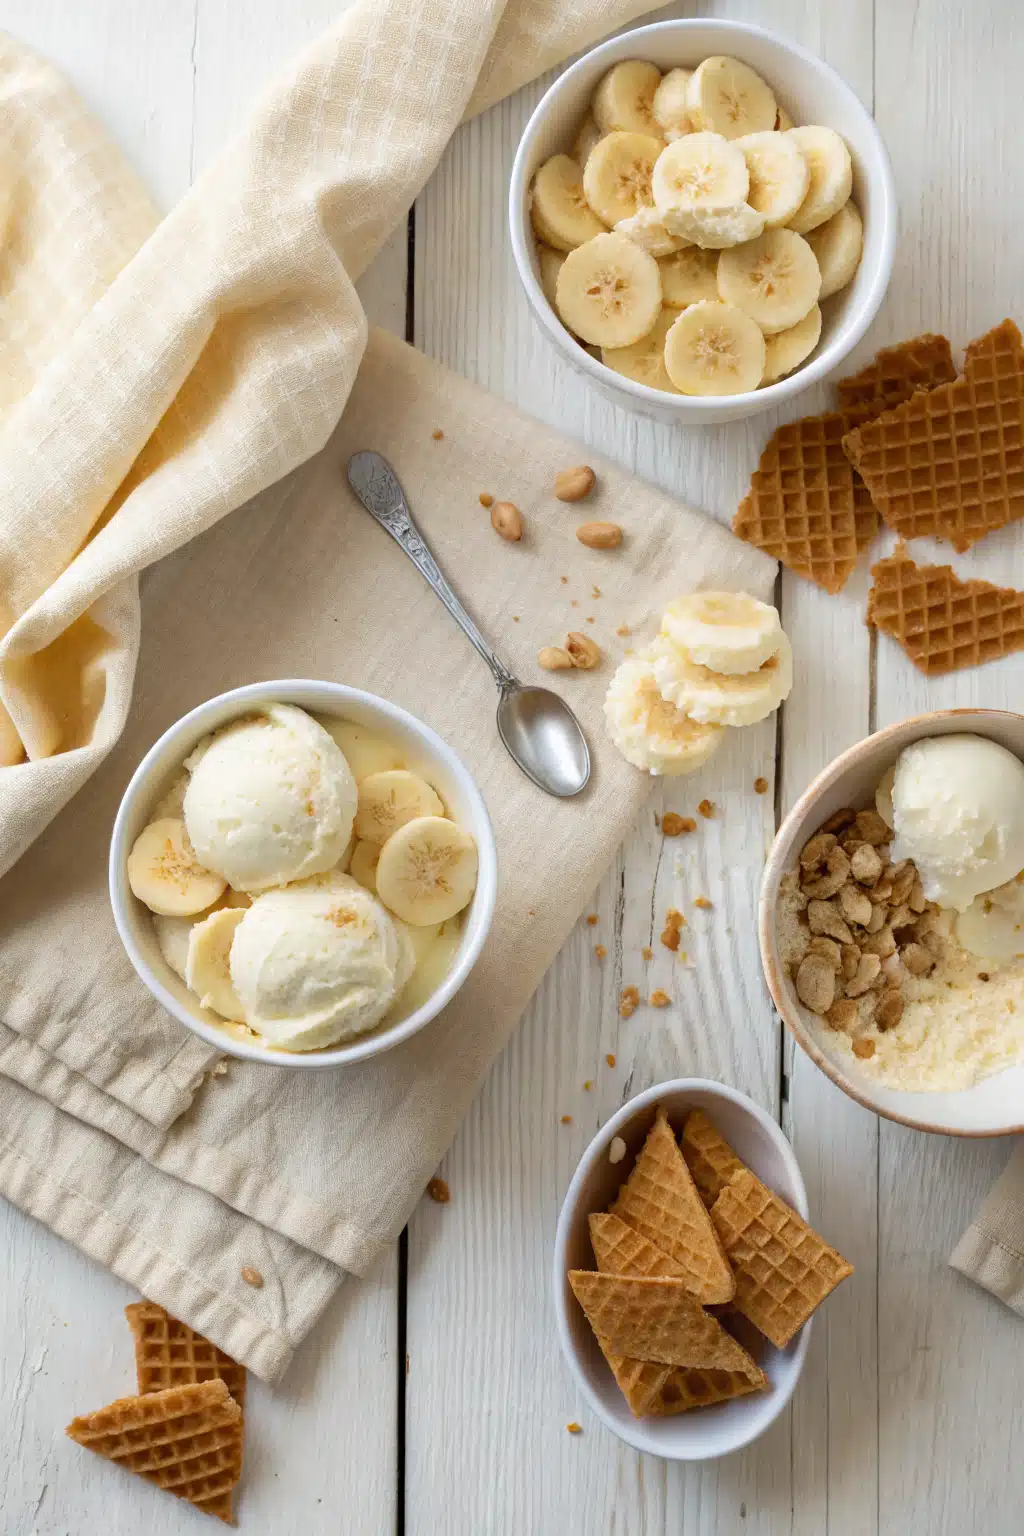
- Ripe bananas: 2 medium bananas, diced. You want them spotty and sweet!
- Vanilla wafers: About 2 cups, roughly chopped or crushed. Keep a few whole ones for garnishing the top.
Step-by-Step Instructions
Step 1: Prep Your Pan & Chill Your Bowl
While you aren’t preheating an oven today, you do need to prep your freezing vessel! Grab a standard 9×5 inch metal loaf pan and pop it in the freezer. A cold pan helps the ice cream freeze faster and prevents ice crystals. I also highly recommend putting your mixing bowl and beaters in the freezer for about 10 minutes. Cold equipment makes heavy cream whip up much faster and fluffier.
Step 2: Whip the Heavy Cream
Pour your cold heavy whipping cream into your chilled mixing bowl. Using a hand mixer or a stand mixer fitted with the whisk attachment, beat the cream on medium-high speed until stiff peaks form. You want it to look like thick whipped cream, but be careful not to over-beat it, or you’ll end up with butter!
Step 3: Combine the Base Ingredients
In a separate large bowl, pour in the sweetened condensed milk, the vanilla extract, and the dry instant pudding mix. Whisk these together until they are completely smooth and well combined. The mixture will be quite thick, and that is exactly what you want.
Step 4: Fold it All Together
Take a large scoop of your whipped cream and stir it gently into the condensed milk mixture to lighten it up. Then, gently fold the rest of the whipped cream into the bowl using a rubber spatula. Use a light sweeping motion so you don’t deflate the air you just whipped into the cream. This air is what makes the ice cream fluffy!
Step 5: Add the Mix-Ins
Once your base is smooth and fluffy, gently fold in your diced bananas and crushed vanilla wafers. Save a small handful of the wafers to sprinkle on top later.
Step 6: Freeze and Wait
Transfer your ice cream mixture into your chilled loaf pan. Smooth the top with your spatula, then press your reserved vanilla wafers into the top for a pretty presentation. Cover the pan tightly with plastic wrap, making sure the wrap actually touches the surface of the ice cream to prevent freezer burn. Freeze for at least 6 hours, or until completely firm.
What to Serve It With
This ice cream is incredibly rich and satisfying all on its own, but if you want to take things over the top, I have a few favorite pairings. A warm drizzle of salted caramel sauce over a couple of scoops is absolute heaven—the saltiness cuts right through the sweetness of the bananas.
If you’re hosting a dinner party, try serving a scoop of this alongside a slice of warm, buttery pound cake or a blondie. The temperature contrast between the warm cake and the cold, creamy ice cream is phenomenal. You can also top your bowls with an extra dollop of fresh whipped cream and a sprinkle of toasted pecans for a little extra crunch!
Top Tips for Perfecting Your Banana Pudding Ice Cream
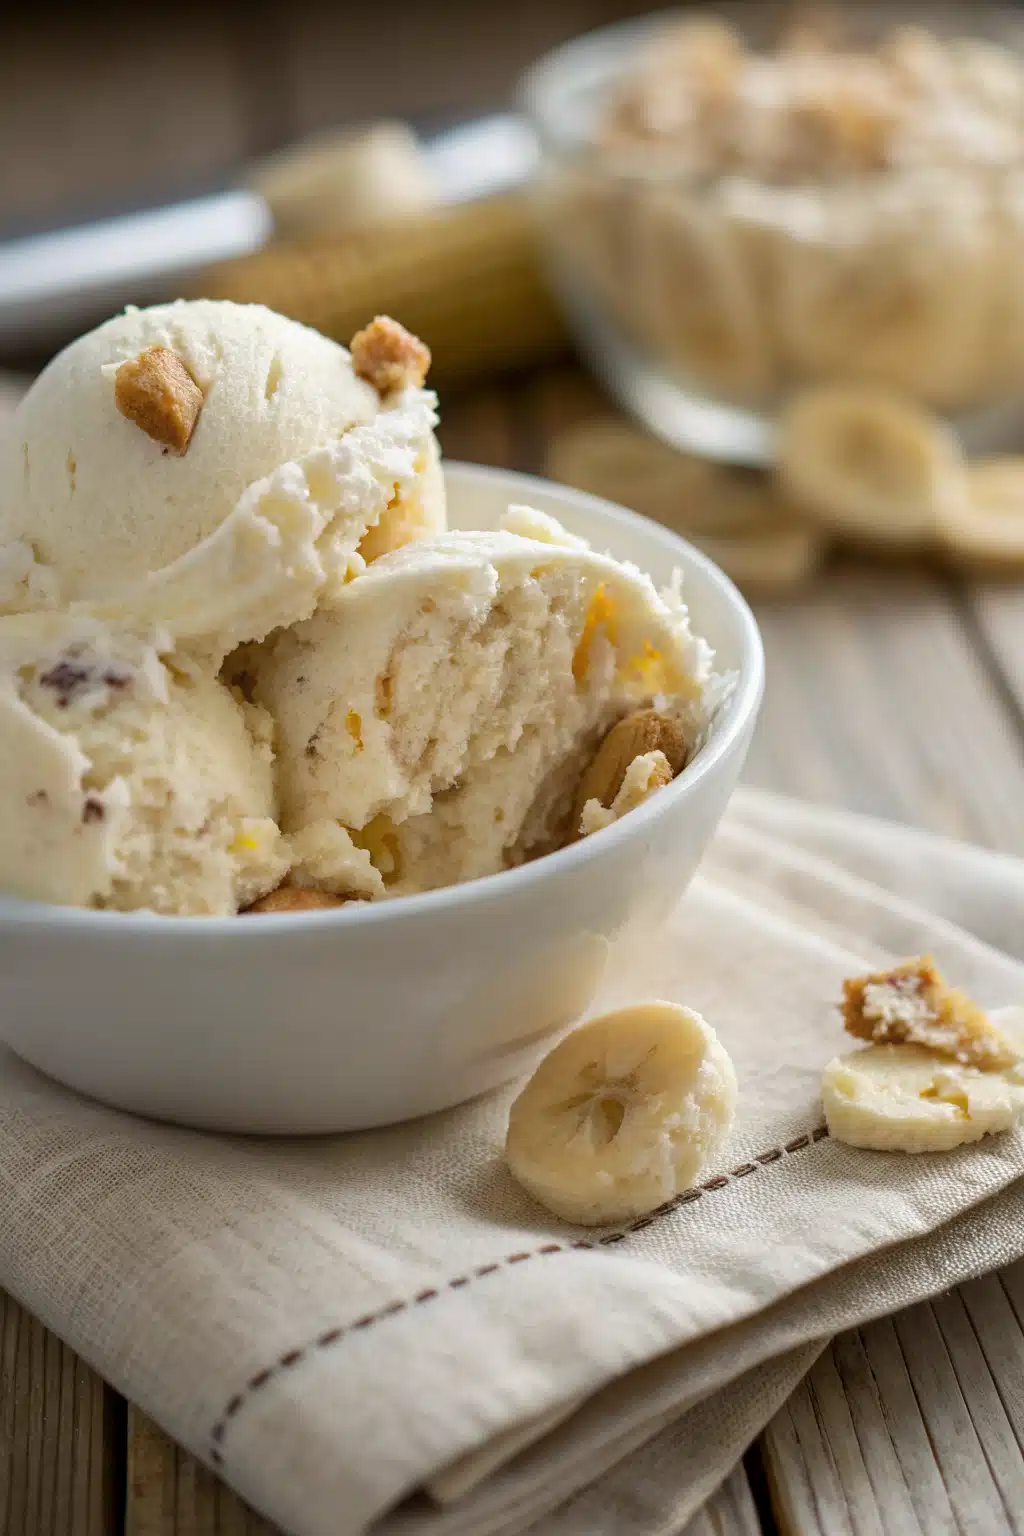
Use the right bananas: Just like making banana bread, the ripeness of your bananas matters here. You want bananas that have plenty of brown spots on the peel. They are sweeter, softer, and have a much more pronounced banana flavor than perfectly yellow ones.
Don’t crush the wafers to dust: When prepping your vanilla wafers, put them in a zip-top bag and gently crush them with a rolling pin. You want varied sizes—some larger chunks and some crumbs. If you turn them entirely into dust, your ice cream will have a gritty texture instead of those lovely, chewy cookie bites.
Let it rest before scooping: Because homemade ice cream doesn’t have the commercial stabilizers found in store-bought brands, it freezes quite firm. Let your loaf pan sit on the counter for about 5 to 10 minutes before you try to scoop it. Your wrists will thank you, and you’ll get those beautiful, round, picture-perfect scoops.
Storing and Reheating Tips
Okay, obviously we aren’t reheating ice cream! Please keep this far away from your microwave or oven. But when it comes to storing, you want to be a little careful to maintain that perfect creamy texture.
Keep the ice cream in the back of your freezer, where the temperature is the most consistent. Avoid keeping it in the freezer door, as the constant opening and closing can cause the ice cream to slightly melt and refreeze, leading to an icy texture. Always keep a piece of plastic wrap or parchment paper pressed directly against the surface of the ice cream, then cover the container with an airtight lid or tight foil. Stored properly, this will keep beautifully for up to two weeks—though in my house, it rarely survives past day three!
Frequently Asked Questions
Final Thoughts
There is just something so incredibly special about making your own ice cream at home. It feels like a labor of love, even when the recipe is as ridiculously easy as this one. This Banana Pudding Ice Cream bridges the gap between classic Southern comfort food and the ultimate summertime treat. It’s rich, creamy, packed with nostalgia, and guaranteed to put a huge smile on the face of anyone you share it with.
I really hope you give this recipe a try the next time you have a couple of ripe bananas sitting on your counter. It’s become a staple in my household, and I have a feeling it’s going to become one in yours, too. Grab a spoon, dig in, and enjoy every single creamy, cookie-filled bite. Happy making, friends!
Banana Pudding Ice Cream
Ingredients
Main Ingredients
- 2 cups heavy whipping cream cold
- 14 oz sweetened condensed milk 1 can
- 3.4 oz instant banana pudding mix 1 box
- 1 tsp pure vanilla extract
- 2 ripe bananas mashed or thinly sliced
- 1.5 cups vanilla wafers crushed
Instructions
Preparation Steps
- In a large mixing bowl, use an electric mixer to beat the heavy whipping cream until stiff peaks form.
- In a separate bowl, whisk together the sweetened condensed milk, instant banana pudding mix, and vanilla extract until smooth.
- Gently fold the whipped cream into the condensed milk mixture using a rubber spatula until no streaks remain.
- Fold in the mashed or sliced bananas and the crushed vanilla wafers.
- Pour the ice cream base into a 9x5-inch loaf pan or freezer-safe container. Smooth the top and garnish with additional vanilla wafers.
- Cover tightly and freeze for at least 8 hours, or overnight, until firm.
- Let sit at room temperature for 5-10 minutes before scooping. Serve and enjoy with your favorite recipe twists!
Notes
Featured Comments
“Just made this and it’s incredible—so creamy and flavorful! Definitely a new favorite for dessert nights.”
“Impressed! Clear steps and quick weeknight win results. Perfect for busy nights.”
“New favorite here — turned out amazing. crowd-pleaser was spot on.”
“Super easy and turned out amazing! My family asked for seconds. Saving this one.”
“This sweet treat was absolutely loved — the silky really stands out. Thanks!”
“Made it tonight and wow — family favorite! Will definitely make Banana Pudding Ice Cream: 7 Must-Try Recipe Twists! again.”


Just made this and it’s incredible—so creamy and flavorful! Definitely a new favorite for dessert nights.