

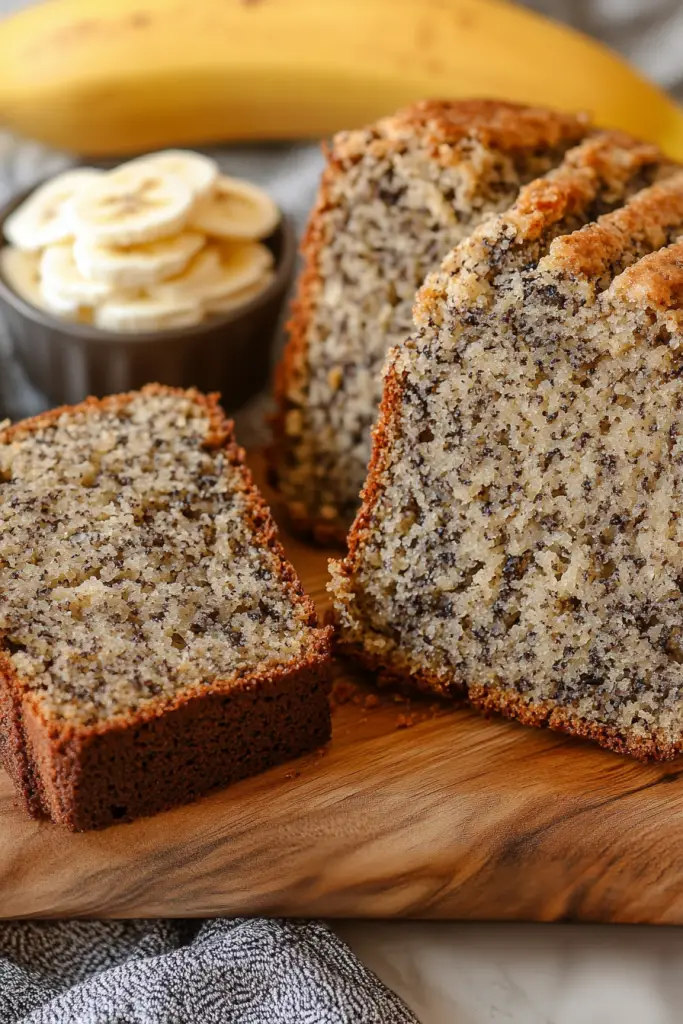
On busy weeknights, I reach for this beer Bread Recipe—the kind that comes together in one bowl, bakes in under an hour, and fills the kitchen with warm, malty aromas. Think of it as a cousin to soda bread, but richer and moister thanks to a little beer magic. The fizz lightens the crumb, and the beer flavor deepens as it bakes. I learned this trick from my grandmother: whisk the dry ingredients, then pour in a cold beer and stir just until combined. The result is rustic, comforting, and incredibly forgiving.
I remember my kids asking for seconds, eyes wide as the crust crackles and butter melts into every warm slice. This beer bread recipe has become our weeknight savior, a plus-one for potlucks, and a cozy fallback when I want something homemade without a long list of steps. You can swirl in cheddar or herbs, or glaze the top for a glossy finish that feels a little fancy. It’s magical how such simple pantry items turn into something that tastes like a hug in bread form. I always stock a pale ale in the fridge for this, but a stout or amber works beautifully too—it just shifts the aroma and depth a bit. Serve it warm with butter, and you’ll see what I mean in minutes.
What is beer bread?
Beer bread, at its core, is a quick bread that uses beer as the leavening and flavoring agent. There’s no yeast to worry about, no kneading, no long rising. Think of it as a celebratory, no-fuss loaf that gets its lift from baking powder and fizz from the beer. The name isn’t fancy, but the result feels almost gourmet—soft inside, with a gently crisp crust, and that yeasty beer aroma lifting every bite. This beer bread recipe is essentially a cozy hug you can bake in a single pan, perfect for weeknights, weekend brunches, or any moment you crave something comforting but quick. It’s a charming cousin to cheddar biscuits and a cousin-plus to soda bread—all the warm, crumbly goodness, zero intimidation.
How to Make Beer Bread
Quick Overview
In a single bowl, whisk together the dry ingredients, then pour in beer and melted butter. Stir just until you’ve got a cohesive batter—don’t overmix, or the crumb will be tougher. If you’re feeling fancy, you can tuck a cheese-and-herb filling into the center and swirl the batter to create marble pockets. Pour into a loaf pan, bake until the top is golden and a toothpick comes out clean, then glaze while it’s warm if you want that glossy finish. The entire process took me from pantry to table in about an hour, and that includes cooling time. The aroma alone is enough to draw everyone to the kitchen, so you’ll want to slice and share while it’s still warm.
Ingredients
For the Main Batter:
- 3 cups (360 g) all-purpose flour
- 3 teaspoons baking powder
- 1 teaspoon fine salt
- 2 tablespoons granulated sugar
- 12 ounces (355 ml) beer, room temperature (a pale ale or lager keeps it bright; a stout deepens the flavor)
- 2 tablespoons unsalted butter, melted and cooled slightly
For the Filling:
- 1 cup shredded sharp cheddar cheese (optional, but delightful)
- 2 ounces cream cheese, softened
- 2 tablespoons chopped chives or green onions
- 1/4 teaspoon garlic powder (optional)
For the Glaze:
- 1/2 cup powdered sugar
- 1–2 tablespoons beer or milk
- Pinch of salt
- Optional: 1/4 teaspoon vanilla extract
Step-by-Step Instructions
Step 1: Preheat & Prep Pan
Heat the oven to 375°F (190°C). Lightly grease a 9×5-inch loaf pan and line the bottom with parchment if you like extra easy removal. While the oven warms, pull together your ingredients so everything’s at hand—this is a “one-bowl, quick bread” moment, not a science lab.
Step 2: Mix Dry Ingredients
In a large bowl, whisk together the flour, baking powder, salt, and sugar. This is where the magic starts—the baking powder gives lift, while the salt and sugar balance the beer’s sweetness and bitterness. I always whisk until there aren’t any pockets of flour left; it keeps the crumb light and even.
Step 3: Mix Wet Ingredients
In a separate bowl, whisk the beer with the melted butter. The beer should be at room temperature so it blends smoothly; the butter helps to keep the crumb tender. A quick stir until the mixture is just combined is plenty—overmixing at this stage can make the bread dense.
Step 4: Combine
Pour the wet ingredients into the dry and stir with a gentle folding motion. A few lumps are totally normal. If you overwork the batter, you’ll end up with a tougher texture. You’re aiming for a shaggy, just-wet batter that holds its shape when spooned into the pan.
Step 5: Prepare Filling
In a small bowl, combine the cheddar, Cream Cheese, chives, and garlic powder (if using). You want this filling to be soft and spreadable. If you skip the filling, you can still swirl a bit of extra cheese into the batter for pockets of melty goodness.
Step 6: Layer & Swirl
Pour half the batter into the loaf pan, then dollop the filling in a few spoonfuls, and top with the remaining batter. Use a butter knife to swirl the filling through the batter, creating ribbons rather than a perfect marble. The goal is pretty streaks of cheese peeking through the crust—looks festive, tastes amazing.
Step 7: Bake
Bake for 40–45 minutes, until the top is golden and a toothpick inserted into the center comes out with just a few moist crumbs. If your loaf is browning too quickly, tent it with a bit of foil for the last 5–10 minutes. Oven temperatures vary, so start checking a bit early if yours runs hot.
Step 8: Cool & Glaze
Let the loaf rest in the pan for about 10 minutes, then transfer to a wire rack to cool completely or at least 15 minutes if you’re in a rush. For a glaze, whisk the powdered sugar with beer or milk, a pinch of salt, and vanilla if using. Drizzle over the warm loaf a few minutes before slicing to let it set into a thin, glossy layer.
Step 9: Slice & Serve
Slice with a serrated knife—thin slices (about 1/2 inch) are perfect for soaking up butter. This beer bread tastes amazing warm, but it also holds up for several days if kept wrapped at room temperature. It pairs beautifully with soups, chili, or a simple green salad. If you’re serving it at a brunch, a smear of herbed cream cheese makes a delicious contrast with the crusty exterior.
What to Serve It With
This beer bread is a utility player in your kitchen. It’s fabulous on its own, but with a few thoughtful pairings, it becomes a centerpiece.
For Breakfast: Warm slices with butter and jam, a mug of strong coffee, and perhaps a fried egg on the side for a cheeky, comforting start to the day.
For Brunch: A dollop of herbed cream cheese, smoked salmon, and a tiny green salad; add a sparkling beverage and you’ve got a laid-back, satisfying spread.
As Dessert: A light dusting of cinnamon-sugar and a scoop of vanilla ice cream if you’re feeling indulgent. The glaze also adds a sweet finish that makes this feel almost bakery-worthy.
For Cozy Snacks: Pair with a bowl of chowder or a mug of tomato soup; the bread doubles as edible spoons for dunking and dipping. My family loves this with a simple bowl of chili in winter—the scent alone signals supper’s almost ready.
Top Tips for Perfecting Your Beer Bread Recipe
These little tweaks keep the bread delicious and consistent, even on your busiest nights.
Cheese & Filling Prep: Let the cheese come to room temperature so it melts smoothly into the bread without clumping. If you’re using cream cheese, soften it fully and whisk it briefly with the cheddar so the filling distributes evenly.
Mixing Advice: The goal is a light, shaggy batter. Overmixing develops gluten and yields a tougher slice. If you can’t resist the urge to beat it, try mixing by hand with a spatula and only until the flour disappears.
Swirl Customization: Fancy swirl patterns are fun, but you can also simply drop spoonfuls of filling across the batter and swirl with a skewer. The result looks rustic and tastes equally delicious.
Ingredient Swaps: For a gluten-free version, use a 1:1 gluten-free flour blend plus an extra teaspoon of baking powder to compensate. You can swap pale ales for lagers of similar malt character; darker beers will yield a deeper, caramelized crust. If you’re avoiding dairy, skip the filling or substitute a dairy-free cheese and use olive oil instead of butter in the batter.
Baking Tips: Place the loaf on a middle rack for even browning. If your oven has hot spots, rotate the pan halfway through. A digital thermometer inserted into the center should read around 200–205°F (93–96°C) when it’s done. If you prefer a crisper crust, bake a few minutes longer, watching closely to prevent burning.
Glaze Variations: The glaze is optional but fun. Add orange zest for brightness, a little lemon juice for tang, or swap in maple syrup for a more dessert-like finish. If you want a drippier glaze, add a teaspoon of water or milk at a time until you hit the desired consistency.
I’ve learned these tricks after countless tests—from early-morning breakfasts to late-night snack runs when we needed something comforting fast. The best part is the adjustments are gentle, so you can tailor this beer bread recipe to your family’s tastes without losing that cozy, familiar feel.
Storing and Reheating Tips
To keep your beer bread tasting as fresh as possible, a few simple storage tricks go a long way.
Room Temperature: Wrap tightly in foil or place in an airtight container. It’s best eaten within 2–3 days for peak softness, though it’ll still be tasty beyond that if kept airtight.
Refrigerator Storage: If you’re not finishing it within a couple days, refrigerate to slow stale. Bring slices back to room temperature before serving to restore softness.
Freezer Instructions: Slice before freezing for easy toast-and-serve portions. Wrap tightly in plastic, then in foil or a freezer bag. It will keep well for up to 2–3 months. Thaw at room temperature and reheat gently in a 350°F (175°C) oven for 8–10 minutes to refresh the crust.
Glaze Timing Advice: If you’re freezing the loaf, wait to glaze until after you thaw and reheat. A glaze on frozen bread can crack and look uneven, so I usually glaze fresh or rewarm and glaze just before serving.
These guidelines keep the bread tasting great across several days and even after freezing. It’s remarkable how forgiving beer bread remains, forgiving enough that you can still enjoy it even when life gets busy again tomorrow.
Frequently Asked Questions
Final Thoughts
This beer bread recipe is the kind of comforting dish I turn to when I want something warm and satisfying without spending hours at the stove. It’s the texture of a good bread with the ease of a quick-bread weekend treat. The best part is how many ways you can tailor it to your mood—savory with a cheese swirl, herby for a garden dinner, or lightly glazed for a touch of sweetness. If you try one variation, tell me how it went in the comments below. I’ve found that Saturday mornings with a slice smeared in butter and a hot cup of coffee feel a little like a hug in bread form. Happy baking, and I can’t wait to hear your own twists on this beer bread recipe!
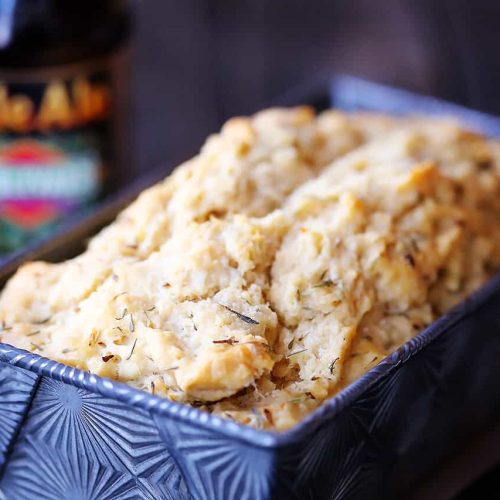
Whole Wheat Garlic & Herb Beer Bread
Ingredients
Main Ingredients
- 3 cup white whole wheat flour
- 4 cloves garlic, minced
- 3 Tbsp. sugar
- 1 Tbsp. baking powder
- 1 tsp. salt
- 1 tsp. dried rosemary
- 1 tsp. dried thyme
- 1 tsp. dried oregano
- 1 bottle (12 ounces) beer
- 4 Tbsp. butter, melted (half stick)
Instructions
Preparation Steps
- Preheat the oven to 350 degrees F. Grease a 9x5x3-inch loaf pan.
- In a medium bowl, whisk together the flour, garlic, sugar, baking powder, salt, rosemary, thyme and oregano. Gently stir the beer into the dry ingredients until just mixed.
- Pour half the melted butter into the loaf pan, using a spoon to be sure that it evenly coats the bottom of the pan. Then transfer the bread batter to the pan and use a spoon to spread it out even. Pour the rest of the butter on top of the batter, using a pastry brush or spoon to spread it around evenly on top.
- Bake for 50 to 60 minutes, until top is golden brown and a toothpick/knife inserted in the middle comes out clean. Serve immediately.
Notes
Featured Comments
“Impressed! Clear steps and perfect for busy nights results. Perfect for busy nights.”
“New favorite here — crowd-pleaser. crowd-pleaser was spot on.”
“Super easy and turned out amazing! My family asked for seconds. Saving this one.”
“This sweet treat was absolutely loved — the cozy really stands out. Thanks!”
“Made it tonight and wow — perfect for busy nights! Will definitely make beer bread recipe again.”
“Packed with flavor and so simple. Exactly what I wanted from beer bread recipe.”


