

The Ultimate Easy Beer Bread Recipe (No Yeast Required!)
There’s something undeniably magical about the smell of fresh bread baking in the oven. But let’s be totally honest with each other—most of the time, the idea of proofing yeast, kneading dough, and waiting hours for it to rise is enough to make me just grab a store-bought loaf instead. That was exactly my mindset until this incredibly easy beer bread entered my life. I remember the first time I made it; it was a chilly Sunday afternoon, I had a big pot of chili simmering on the stove, and I desperately needed something warm and carby to go with it.
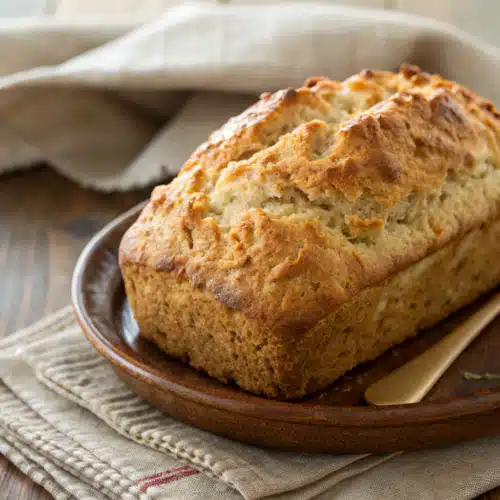
I threw these ingredients together in under five minutes, popped the pan in the oven, and hoped for the best. The result? A perfectly golden, buttery, crusty loaf that tasted like I’d spent all day in the kitchen. Since then, it’s become my ultimate secret weapon for last-minute dinners, potlucks, and cozy nights in. You don’t need any fancy equipment, you don’t need yeast, and you certainly don’t need the patience of a saint. If you can stir a bowl, you can make this bread. Trust me, you’re going to love it.
What Is Easy Beer Bread?
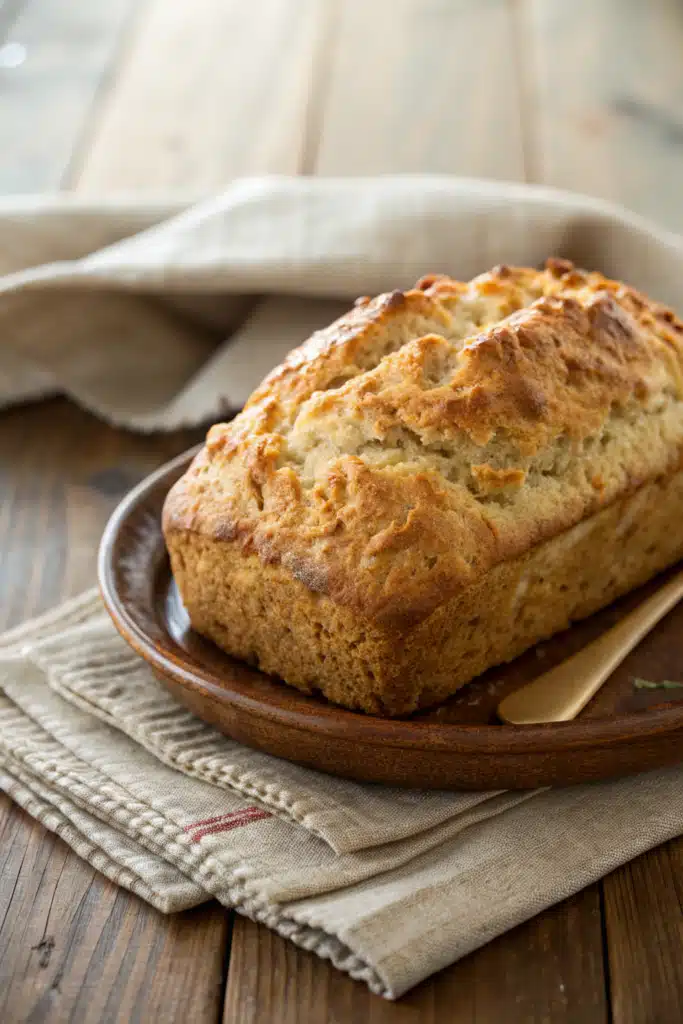
If you’ve never experienced the absolute joy of making easy beer bread, you’re in for a serious treat. At its core, it’s a type of quick bread. That means it relies on baking powder rather than traditional yeast to get that beautiful, fluffy rise. But here’s the brilliant part: the beer itself actually does double duty in this recipe.
The natural carbonation left in the beer reacts with the baking powder, giving the bread an incredible texture without any of the waiting or kneading required by standard yeast breads. It’s baking science at its most delicious and convenient! Beyond the science, it’s a rustic, hearty loaf with a slightly dense, chewy crumb and a deeply flavorful crust. The flavor profile changes entirely depending on the type of beverage you choose to pour into the batter. A light lager gives you a mild, classic bread flavor, while a dark stout yields a rich, robust loaf with hints of molasses. It’s completely customizable, wildly forgiving, and genuinely foolproof.
How to Make Easy Beer Bread
Quick Overview
Making this easy beer bread is genuinely as simple as whipping up a batch of weekend pancakes. You’re essentially just mixing your dry ingredients, gently folding in your wet ingredients, and baking it. The most important thing to remember is that quick breads don’t like to be overmixed. If you stir the batter too aggressively, the gluten in the flour will overdevelop, leaving you with a tough, dense loaf instead of a tender one. You want to mix just until the flour disappears—a few lumps are totally fine! Grab your favorite mixing bowl, a sturdy wooden spoon, and let’s get baking.
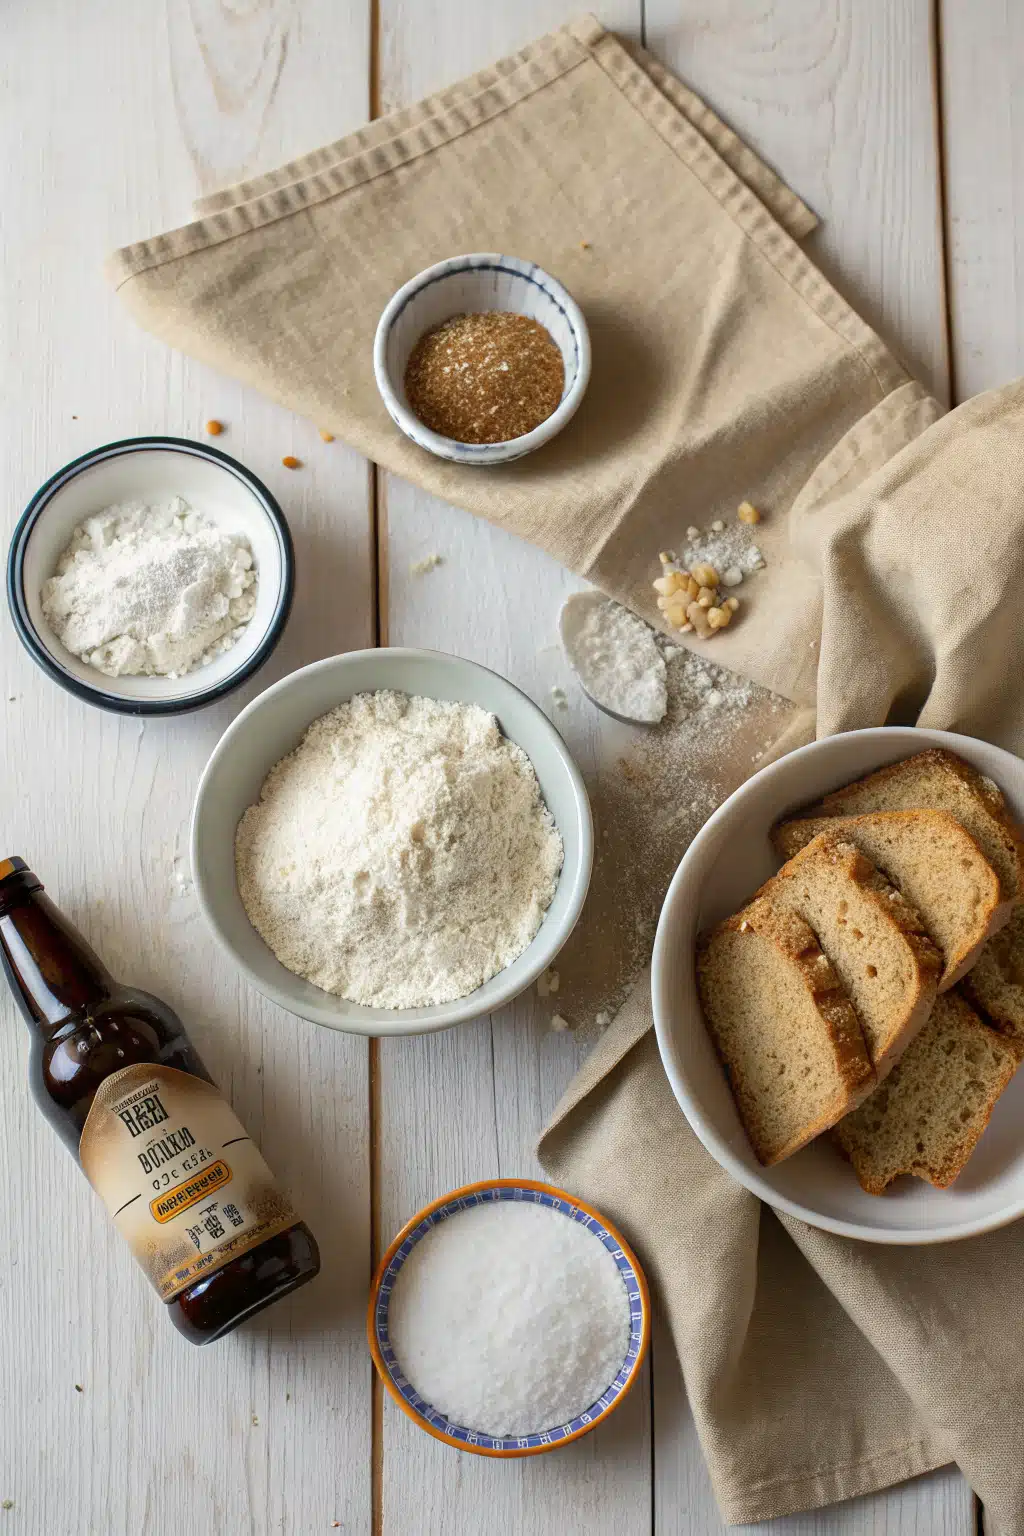
Ingredients
- All-Purpose Flour: 3 cups. You can also substitute half with whole wheat flour for a nuttier flavor and heartier texture.
- Baking Powder: 1 tablespoon. Make sure your baking powder is fresh for the best possible rise!
- Salt: 1 teaspoon of fine sea salt to balance the flavors.
- Honey or Sugar: 1/4 cup. This balances the slight bitterness of the hops in the beer. I personally love the floral hint honey adds.
- Beer: 1 standard 12-ounce can or bottle. Use whatever you enjoy drinking!
- Butter: 1/4 cup (half a stick), melted. This creates that magical, crispy crust we talked about.
Step-by-Step Instructions
Step 1: Preheat & Prep Pan
Start by preheating your oven to 375 degrees Fahrenheit (190 degrees Celsius). Generously grease a standard 9×5 inch loaf pan with butter or non-stick cooking spray. If you want to be extra safe, you can line it with a sling of parchment paper for incredibly easy removal later.
Step 2: Whisk the Dry Ingredients
In a large mixing bowl, combine your flour, baking powder, and salt. Give it a good whisk to ensure the baking powder is evenly distributed throughout the flour. This prevents any weird bitter pockets in your baked bread.
Step 3: Add the Wet Ingredients
Pour in your honey (or sugar) and the entire can of beer. It will foam up quite a bit, which is exactly what you want! Using a wooden spoon or a rubber spatula, gently fold the mixture together just until the dry ingredients are moistened. Remember, do not overmix!
Step 4: The Butter Pour
Scrape the thick, shaggy batter into your prepared loaf pan, spreading it out as evenly as you can. Now for the best part: pour the melted butter evenly over the top of the batter. It might look like too much butter, but trust the process. It’s going to bake into the most incredible crust.
Step 5: Bake to Perfection
Bake on the middle rack of your oven for 45 to 55 minutes. You’ll know it’s done when the top is a deep golden brown and a toothpick inserted into the center comes out clean. Let it cool in the pan for about 10 minutes before transferring it to a wire rack.
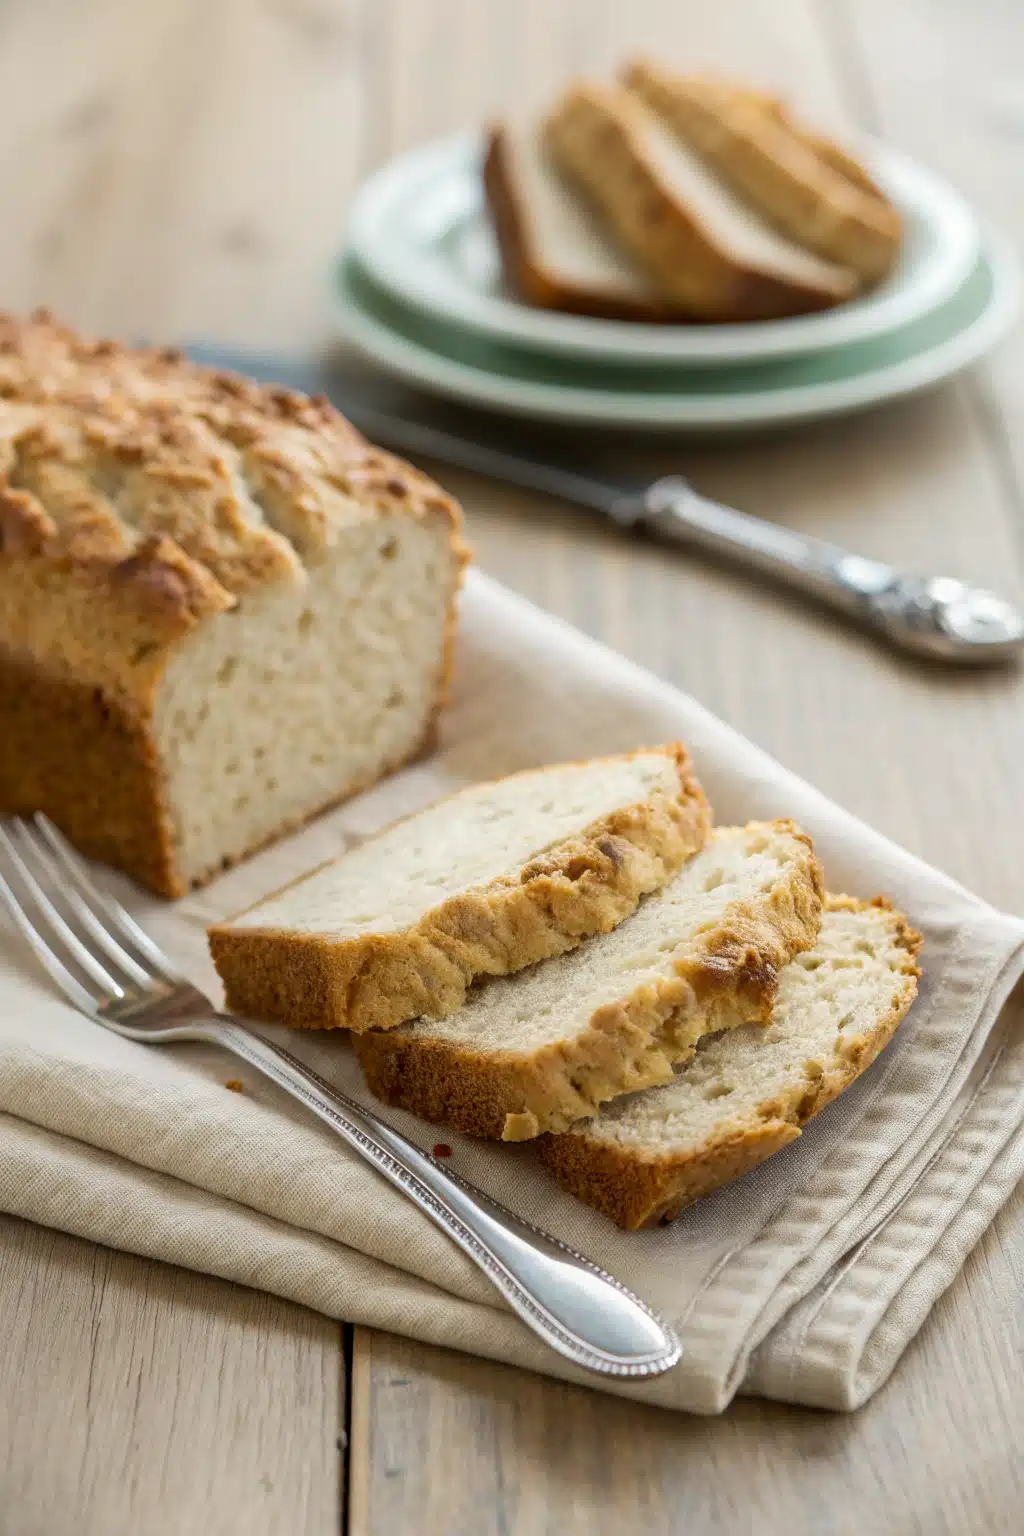
What to Serve It With
This easy beer bread is a total chameleon that pairs beautifully with almost anything. My absolute favorite way to serve it is warm, straight from the oven, alongside a massive bowl of hearty chili, beef stew, or creamy potato soup. The sturdy texture is practically begging to be dunked into rich broths.
It’s also a fantastic addition to a charcuterie or cheese board. Slice it thin, toast it slightly, and serve it with sharp aged cheddars, cured meats, and a good grainy mustard. If you have a sweet tooth, try serving a warm slice smothered in homemade honey butter or your favorite fruit preserves. Because the bread itself isn’t overly sweet, it balances beautifully with sugary toppings. Honestly, it’s so good that I often find myself eating it plain, standing right at the kitchen counter!
Top Tips for Perfecting Your Easy Beer Bread
Even though this recipe is incredibly forgiving, I’ve picked up a few tricks over the years to make sure it comes out flawlessly every single time:
- Choose the right brew: The flavor of your loaf will heavily depend on what you pour into the bowl. A light pilsner or blonde ale will give you a mild, universally appealing flavor. IPAs can make the bread quite bitter (which some people love!), while brown ales or stouts add a rich, deep, almost molasses-like flavor.
- Measure flour correctly: Spoon your flour into the measuring cup and level it off with a knife. Scooping directly from the bag packs the flour down, which can result in a dry, heavy, and dense loaf.
- Don’t skip the butter: Pouring melted butter over the top of the batter might seem a bit excessive, but it’s the secret to the iconic, crunchy, golden crust. It essentially fries the top of the bread as it bakes.
- Let it cool: As tempting as it is to slice into it immediately, let the bread cool in the pan for 10 minutes, then transfer it to a wire rack to cool for another 20 minutes. Cutting it too soon while it’s piping hot can make the inside gummy.
Storing and Reheating Tips
If you somehow manage to have leftovers (which is a rare occurrence in my house!), this easy beer bread stores wonderfully. Keep it in an airtight container or wrapped tightly in aluminum foil at room temperature for up to three days. I don’t recommend storing it in the refrigerator, as the cold air will dry out the crumb much faster and ruin that lovely texture.
To freeze, let the loaf cool completely, wrap it tightly in plastic wrap, and then place it in a freezer-safe bag. It will keep beautifully for up to three months. When you’re ready to eat it, let it thaw at room temperature. To get that crispy crust back, I highly recommend toasting individual slices in a skillet with a little bit of butter. It tastes just as good as the day you baked it!
Frequently Asked Questions
Absolutely! If you prefer not to use alcohol, you can easily substitute the beer with an equal amount (12 ounces) of any carbonated beverage. Club soda, sparkling water, or even a light ginger ale work wonderfully to provide that necessary lift and bubbly texture.
The most common culprit for dense bread is overmixing the batter. You want to stir just until the wet and dry ingredients are combined. Another reason could be expired baking powder. Always check the expiration date on your leavening agents before baking!
You sure can! Divide the batter evenly into a greased standard 12-cup muffin tin. You’ll want to reduce the baking time significantly—check them around the 18 to 20-minute mark. They are perfect for grabbing on the go!
Final Thoughts
There you have it—my absolute favorite, tried-and-true recipe for easy beer bread. It’s one of those rare, unicorn recipes that delivers maximum comfort and flavor with truly minimal effort. Whether you’re baking it for a holiday gathering, a chilly weeknight dinner, or just because you’re craving some warm carbs on a Sunday afternoon, I know this loaf is going to bring so much joy to your kitchen.
I really hope you give this one a try, and when you do, please let me know how it turns out! I love hearing about the different types of beverages you use and the creative mix-ins you add. Grab a bowl, crack open a cold one, and happy baking, my friends!
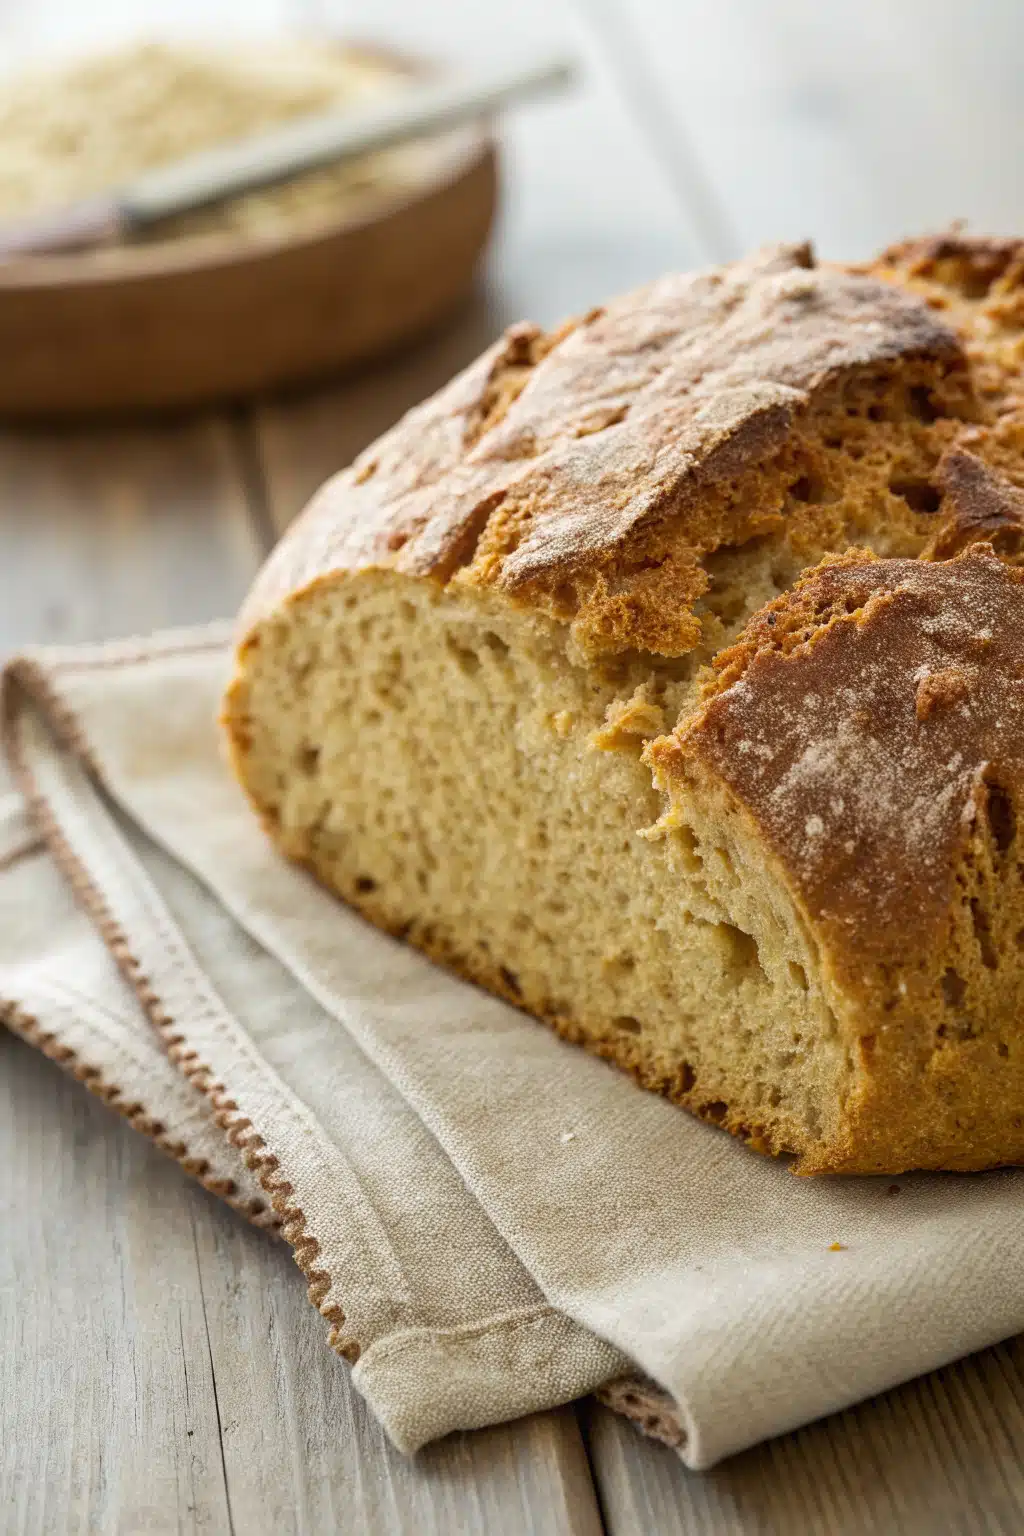
Whole Wheat Beer Bread
Ingredients
Main Ingredients
- 3 cups whole wheat pastry flour
- 3 tablespoons granulated sugar
- 1.5 tablespoons baking powder
- 0.5 tablespoon salt
- 1.5 cups beer
Instructions
Preparation Steps
- Preheat the oven to 350°F. Grease a loaf pan with nonstick cooking spray.
- In a large mixing bowl, whisk together the flour, sugar, baking powder, and salt. Pour in the beer and fold to combine. The dough/batter will be lumpy but very moist.
- Spoon the mixture into the prepared baking pan and bake for one hour or until golden and cooked through. The bread should shrink away from the sides of the pan. Remove to a rack to cool. Serve with butter.
Notes
Featured Comments
“Impressed! Clear steps and quick weeknight win results. Perfect for busy nights.”
“New favorite here — creamy. crowd-pleaser was spot on.”
“Super easy and turned out amazing! My family asked for seconds. Saving this one.”
“This sweet treat was absolutely loved — the zingy really stands out. Thanks!”
“Made it tonight and wow — spot on! Will definitely make whole wheat beer bread again.”
“Packed with flavor and so simple. Exactly what I wanted from whole wheat beer bread.”


