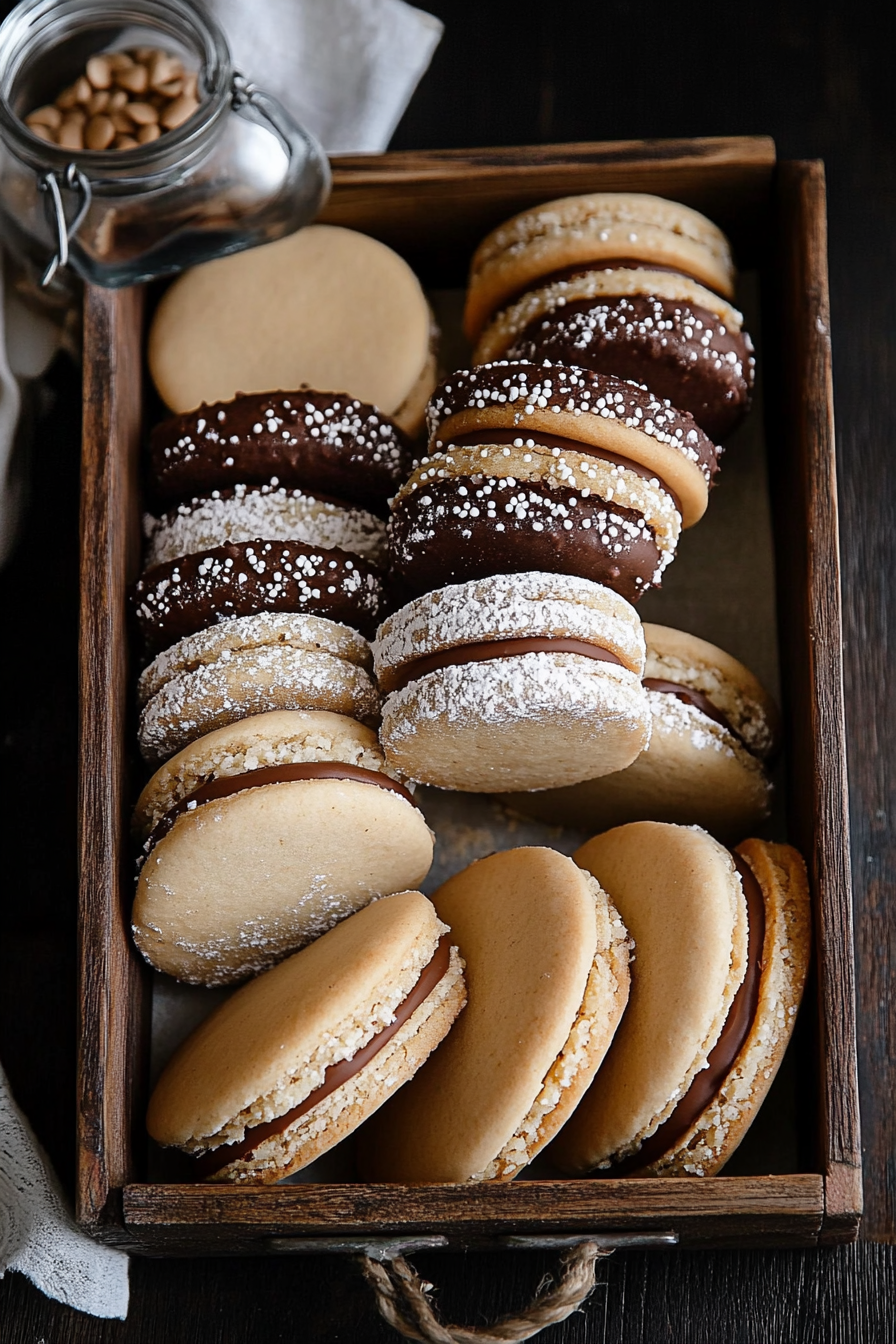
Oh, the mere mention of bomboloni brings back such vivid memories. It was always a special occasion when my Nonna would whip these up. The kitchen would transform into a cloud of flour and the sweet, comforting aroma of frying dough. She’d let me help, of course, usually with the dusting of powdered sugar, which I’d inevitably get all over my nose and cheeks. These aren’t just doughnuts; they’re little pockets of joy, soft and pillowy on the inside with a delicate crisp on the outside, then bursting with whatever delicious filling you choose. If you’ve ever had a really good Italian pastry, you know the magic I’m talking about. They’re like a hug for your taste buds, much more refined than your average American doughnut, and I can honestly say, my homemade bomboloni Italian doughnuts are something I’m incredibly proud of. They’re a little bit of European sunshine you can whip up right in your own kitchen!
What are Bomboloni Italian Doughnuts?
So, what exactly are bomboloni Italian doughnuts? Think of them as the elegant Italian cousin to the doughnuts you might be familiar with. The name “bomboloni” itself means “bombs” in Italian, which gives you a hint about their wonderfully plump, round shape! They’re essentially a leavened, fried dough pastry, but what sets them apart is their incredible lightness and tenderness. They aren’t dense or heavy at all. Instead, they have this delicate, almost cloud-like texture that just melts in your mouth. Traditionally, they’re often filled with pastry cream (crema pasticcera) or jam, and then generously dusted with powdered sugar. But honestly, the beauty of bomboloni is their versatility – they’re a blank canvas for all sorts of delicious fillings and toppings! They’re a staple in Italian bakeries and cafés, a perfect sweet treat any time of day, really.
Why you’ll love this recipe?
Honestly, there are so many reasons why this bomboloni Italian doughnuts recipe has become a go-to in my kitchen. First off, let’s talk about that incredible flavor. When they’re fresh out of the fryer, still warm, they have this irresistible combination of a slightly crispy exterior and an unbelievably soft, airy interior. It’s pure heaven. And the fillings! Whether you go for a classic vanilla bean custard, a bright raspberry jam, or even something a bit more adventurous like a Nutella swirl, each bite is a delightful surprise. But what really seals the deal for me is how surprisingly simple they are to make. I know frying might sound intimidating to some, but I promise, with a few tips, it’s totally manageable and incredibly rewarding. The ingredients are all pantry staples, which is a huge win for a baker like me who loves a good budget-friendly treat. And talk about versatile! You can customize the fillings and glazes to suit any craving or occasion. I’ve made these for everything from casual weekend breakfasts to fancy holiday brunches, and they’re always a huge hit. They’re also far more impressive-looking than they are difficult to achieve, making them perfect for when you want to wow your guests without spending hours in the kitchen. Seriously, the smell alone as they fry will have everyone gathering in the kitchen, begging for one!
How do you make Bomboloni Italian Doughnuts?
Quick Overview
Making these delightful bomboloni Italian doughnuts is a straightforward process involving a simple enriched dough, a gentle rise, a quick fry, and then the fun part – filling and finishing! We’ll mix a soft dough, let it puff up, cut out our rounds, let them proof a little more, then fry them to a perfect golden brown. Once cooled slightly, they get their delicious filling and a dusting of powdered sugar. It’s a labor of love, but the payoff is absolutely worth it for these incredibly soft, delicious doughnuts.
Ingredients
For the Main Batter:
You’ll need about 3 cups of all-purpose flour, plus more for dusting. I always sift my flour; it just seems to make the dough that much lighter. A quarter cup of granulated sugar adds just a touch of sweetness to the dough itself. Then, we need our yeast! 2 and a quarter teaspoons of active dry yeast is standard, make sure it’s fresh. A teaspoon of salt is crucial for flavor balance. For richness and tenderness, we’re going to add two large eggs, at room temperature – this really helps them incorporate smoothly. Half a cup of whole milk, warmed just enough to be lukewarm (think baby bathwater temperature, not hot!), helps activate the yeast and makes the dough soft. And finally, a quarter cup of unsalted butter, softened, adds that lovely richness and pliability. If your butter is too cold, it won’t mix in properly, so let it sit out for a bit.
For the Filling:
This is where you can really play! My absolute favorite is a classic pastry cream (crema pasticcera). To make it, you’ll need about 2 cups of whole milk, a little more sugar (around half a cup), 4 large egg yolks, a quarter cup of cornstarch for thickening, and a teaspoon of Vanilla Extract. Sometimes, I add a vanilla bean for an extra special flavor! Alternatively, a good quality fruit jam, like raspberry or apricot, works wonderfully. Just warm it slightly before filling so it’s easier to pipe. For a more decadent option, melted chocolate or a good hazelnut spread are also divine!
For the Glaze:
The classic finish is a simple dusting of powdered sugar. You’ll need about 1 cup. For a slightly richer glaze, you can whisk together 1 cup of powdered sugar with 2-3 tablespoons of milk or cream and about half a teaspoon of vanilla extract until smooth and pourable. You can also add a pinch of cinnamon to the powdered sugar for an extra kick!
Step-by-Step Instructions
Step 1: Preheat & Prep Pan
Alright, before we even start mixing, let’s get organized. This recipe involves frying, so it’s good to have everything ready. I like to line a baking sheet with parchment paper and have it nearby. This is where our cut doughnuts will go to rest. We’re not preheating an oven yet, but we will be heating up our oil for frying soon. Make sure you have a large, heavy-bottomed pot or Dutch oven ready for frying. You’ll also want a slotted spoon or spider strainer for safely removing the doughnuts from the hot oil.
Step 2: Mix Dry Ingredients
In a large mixing bowl – I usually use my stand mixer with the dough hook attachment, but a regular bowl and a wooden spoon works too – combine your 3 cups of sifted all-purpose flour, the quarter cup of granulated sugar, your active dry yeast, and the teaspoon of salt. Give it a quick whisk to make sure everything is evenly distributed. This ensures that the yeast is spread throughout and will get to work making our dough light and airy!
Step 3: Mix Wet Ingredients
In a separate, smaller bowl or a jug, whisk together your two large eggs and the half cup of lukewarm milk. I always test the milk temp with my finger – it should feel comfortably warm, not hot, or you’ll kill the yeast. Whisk until the eggs and milk are well combined. This liquid mixture is what’s going to bring our dry ingredients to life and create that beautiful, soft dough.
Step 4: Combine
Now, pour the wet ingredients into the bowl with the dry ingredients. If you’re using a stand mixer, start mixing on low speed. If you’re doing it by hand, start stirring with a wooden spoon until a shaggy dough starts to form. Gradually add your softened butter, a tablespoon at a time, while the mixer is still on low (or while you’re stirring). Keep mixing until the dough is smooth and elastic. It should pull away from the sides of the bowl. This usually takes about 5-7 minutes on medium speed in a stand mixer, or a good 10-12 minutes of kneading by hand. The dough should be soft and slightly sticky, but not overly so. If it’s too wet, add a tablespoon of flour at a time. If it’s too dry, a tiny bit of milk.
Step 5: Prepare Filling
While the dough is rising, this is the perfect time to get your filling ready. For the pastry cream: In a bowl, whisk the egg yolks, sugar, and cornstarch together until pale and thick. In a saucepan, heat the milk and vanilla bean (if using) until just simmering. Gradually whisk about half of the hot milk into the egg yolk mixture to temper it, then pour the tempered egg mixture back into the saucepan with the remaining milk. Cook over medium heat, whisking constantly, until the pastry cream thickens to a pudding-like consistency. Remove from heat, stir in vanilla extract, and pour into a clean bowl. Press plastic wrap directly onto the surface to prevent a skin from forming, and let it cool completely. For jam, just warm it gently in a small saucepan or microwave. If using chocolate or hazelnut spread, have it ready in a piping bag.
Step 6: Layer & Swirl
This isn’t applicable for bomboloni; we’re not layering or swirling the dough itself in this recipe. The “swirl” comes from the filling we’ll add later!
Step 7: Bake
Bomboloni Italian doughnuts are fried, not baked! So, heat about 2-3 inches of neutral oil (like vegetable, canola, or sunflower oil) in your heavy-bottomed pot over medium heat until it reaches 350°F (175°C). It’s really important to get the temperature right. Too low and they’ll be greasy, too high and they’ll burn before cooking through. Carefully drop 2-3 doughnuts at a time into the hot oil, being careful not to overcrowd the pot. Fry for about 2-3 minutes per side, or until they’re beautifully golden brown and puffed up. Use your spider strainer to gently flip them and remove them from the oil. Place them on the prepared baking sheet lined with paper towels to drain any excess oil. Repeat with the remaining doughnuts.
Step 8: Cool & Glaze
Once all your bomboloni Italian doughnuts are fried, let them cool on the paper towel-lined baking sheet for about 10-15 minutes. They should still be warm, but not hot, when you fill them. If you’re dusting with powdered sugar, do it while they’re still a little warm – it helps the sugar stick. If you’re using a glaze, let them cool a bit more until they’re just barely warm or at room temperature. For the powdered sugar dusting, place it in a fine-mesh sieve and generously dust over the warm doughnuts. For a poured glaze, dip the top half of each doughnut into the glaze or drizzle it over.
Step 9: Slice & Serve
Now for the grand finale! Once your bomboloni Italian doughnuts have cooled enough to handle comfortably (but are still wonderfully warm), you can fill them. I find the easiest way is to use a piping bag fitted with a long, narrow tip. Gently insert the tip into the side of the doughnut and pipe in your filling until you feel it start to plump up. Don’t overfill, or it’ll just ooze out! A little goes a long way. For serving, I like to present them on a beautiful platter, some dusted, some glazed, maybe a few with a different filling peeking out. They are best enjoyed fresh, ideally within a few hours of making them, when they are at their absolute softest and most delicious.
What to Serve It With
Bomboloni Italian doughnuts are truly stars on their own, but they also play wonderfully with other things! For a perfect breakfast, I always pair them with a rich, dark roast coffee. The slight bitterness of the coffee cuts through the sweetness of the doughnut beautifully. A simple caffè latte or a creamy cappuccino also works wonders. For brunch, I love to present them on a tiered stand alongside fresh Fruit Salad – the vibrant colors are so appealing! A mimosa or a glass of Prosecco makes it feel extra special. As a dessert, they are phenomenal served with a scoop of gelato, especially a complementary flavor like pistachio or hazelnut. Or, simply with a drizzle of chocolate sauce! For those cozy, late-night cravings, sometimes all you need is a warm bomboloni and a glass of milk. My kids absolutely love them as an after-school treat, usually with a glass of whole milk, and they rarely last long once they start picking at them!
Top Tips for Perfecting Your Bomboloni Italian Doughnuts
Over the years, I’ve learned a few tricks that really make a difference when I’m whipping up these bomboloni Italian doughnuts. First, when it comes to the dough, don’t be afraid to get your hands in there! While a stand mixer is convenient, kneading by hand helps you really feel the dough’s texture, knowing when it’s just right – soft, elastic, and slightly tacky, but not sticky. This tactile connection is something I really value. Also, when you’re proofing the dough, make sure it’s in a warm, draft-free spot. I often just turn my oven off and let it sit inside; it’s the perfect little cozy environment for the yeast to do its magic. For the frying part, temperature is key! I’ve learned the hard way that oil that’s too hot will burn the outside before the inside is cooked, and oil that’s too cool will result in greasy doughnuts. Investing in a good kitchen thermometer was a game-changer for me. And speaking of frying, don’t overcrowd the pot! Give them space to puff up and cook evenly. I usually only fry 2-3 at a time, no matter how tempting it is to speed things up. When it comes to filling, using a piping bag with a long, thin nozzle really helps create a neat, even distribution of filling without making a mess. I used to try a spoon and it was always a disaster! For the glaze, consistency is everything. If it’s too thin, it’ll run off; too thick, and it’ll be clunky. You can always adjust with a splash more liquid or a bit more powdered sugar. And my biggest tip? Have fun with it! Don’t stress if they aren’t perfectly round or if one splits a little. The slightly imperfect ones often taste the best, and that’s part of the charm of homemade treats!
Storing and Reheating Tips
Bomboloni Italian doughnuts are undeniably at their best on the day they’re made – that pillowy softness is just unbeatable when fresh. However, if you happen to have any leftovers (which is rare in my house!), here’s how to keep them delicious. For storing at room temperature, I usually keep them in an airtight container, but I try to eat them within 24 hours. They’ll lose some of their crispness, but they’ll still be wonderfully soft. If you plan to store them for longer, the refrigerator is your best bet. Place them in a single layer in an airtight container to prevent them from getting squashed. They should hold up well for about 2-3 days, though they might become a little firmer. When it comes to reheating, I find a gentle approach is best. If they’re plain or just dusted with sugar, you can pop them in a 300°F (150°C) oven for just a few minutes to warm through and regain a little of that original tenderness. Be careful not to overheat them, or they can become tough. If they’re filled with pastry cream, it’s best to eat them cold or at room temperature, as reheating might affect the cream’s texture. Glazed bomboloni are generally best eaten at room temperature or slightly chilled. If you’re freezing them, it’s best to do so before filling or glazing. Wrap them tightly in plastic wrap and then in foil, and they should keep well for about a month. To thaw, let them come to room temperature, then you can warm them gently as described above. I always try to fill them after thawing and warming for the best texture!
Frequently Asked Questions
Final Thoughts
There you have it – my heart and soul poured into these bomboloni Italian doughnuts! I truly believe this recipe brings a little bit of that authentic Italian sweetness right into your kitchen. The satisfaction of pulling these golden, puffy delights from the fryer, filling them with something delicious, and sharing them with loved ones is just immense. They’re more than just a pastry; they’re a memory, a tradition, and a whole lot of pure joy. If you’re looking for another delightful Italian-inspired treat that’s a bit more cake-like but still utterly charming, you might also enjoy my Torta della Nonna recipe. But for that irresistible fried dough perfection, these bomboloni are hard to beat! I can’t wait for you to try them and experience that melt-in-your-mouth magic for yourself. Please, if you make these, let me know how they turn out in the comments below! I’d love to hear about your favorite fillings and any special twists you try. Happy baking, my friends!

Bomboloni Italian Doughnuts
Ingredients
Dough
- 4.5 cups all-purpose flour
- 0.25 cups granulated sugar
- 2.25 teaspoons instant yeast
- 0.5 teaspoons salt
- 0.75 cup milk lukewarm
- 0.25 cup unsalted butter melted
For Frying and Coating
- 4 cups vegetable oil or other neutral frying oil
- 0.5 cup granulated sugar for coating
- 1 teaspoon ground cinnamon optional, for coating
Optional Filling
- 1 cup pastry cream
Instructions
Preparation Steps
- In a large bowl, whisk together flour, sugar, yeast, and salt.
- In a separate bowl, whisk together eggs and milk. Pour into the dry ingredients.
- Mix until a shaggy dough forms. Add the melted butter and knead for 8-10 minutes until the dough is smooth and elastic. You can use a stand mixer with a dough hook.
- Place the dough in a lightly oiled bowl, cover with plastic wrap, and let it rise in a warm place for 1-1.5 hours, or until doubled in size.
- Punch down the dough and divide it into 12 equal pieces. Roll each piece into a ball.
- Place the dough balls on a lightly floured surface, cover, and let them rest for another 30 minutes.
- Heat the vegetable oil in a deep pot or Dutch oven over medium heat to 350°F (175°C).
- Carefully fry the dough balls in batches for 2-3 minutes per side, until golden brown.
- Remove the doughnuts with a slotted spoon and drain on paper towels.
- In a shallow dish, combine sugar and cinnamon (if using). Toss the warm doughnuts in the sugar mixture until coated.
- If filling, let the doughnuts cool slightly, then use a piping bag to inject pastry cream into the center.
Notes
Featured Comments
“Impressed! Clear steps and family favorite results. Perfect for busy nights.”
“New favorite here — comforting. crowd-pleaser was spot on.”
“Super easy and turned out amazing! My family asked for seconds. Saving this one.”
“This sweet treat was absolutely loved — the rich really stands out. Thanks!”
“Made it tonight and wow — super easy! Will definitely make Bomboloni Italian Doughnuts again.”
“Packed with flavor and so simple. Exactly what I wanted from Bomboloni Italian Doughnuts.”


