

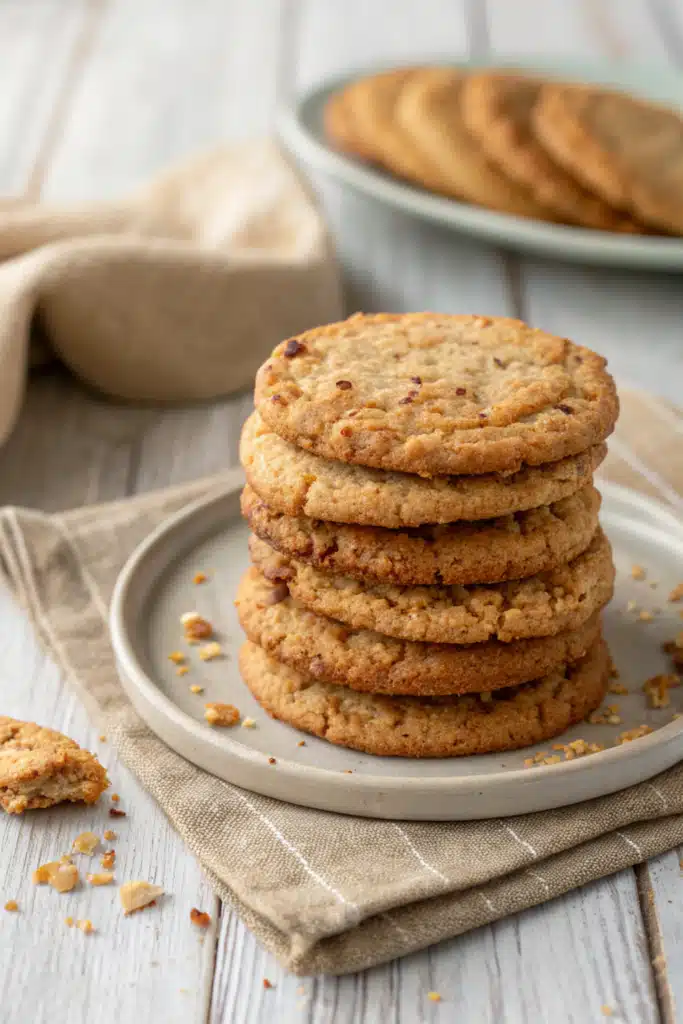
The Absolute Best Brown Butter Cookies You’ll Ever Bake
Let’s be completely honest with each other for a second. If there is one single aroma that instantly transforms a kitchen from a simple cooking space into a warm, inviting haven, it is the smell of butter browning gently on the stove. I still remember the very first time I attempted to make the best brown butter cookies. I was hovering over my stove, totally terrified I was going to burn the butter to a crisp, watching it foam and sputter like a wild science experiment. But then, right when I was about to panic, that magical transformation happened. The scent of toasted nuts and rich caramel hit the air, and I knew my baking life would never be the same.
These aren’t just your standard, run-of-the-mill chocolate chip cookies. They are a massive, gourmet upgrade. The incredible depth of flavor you get from taking just five extra minutes to toast your butter is honestly mind-blowing. It adds this rich, butterscotch-like undercurrent that balances out perfectly with massive pools of gooey, melted chocolate and a generous sprinkle of flaky sea salt on top. If you’ve been tirelessly searching for a signature cookie recipe to bring to family gatherings, or just to devour on your couch on a rainy Tuesday night, your search officially ends right here. Grab your favorite mixing bowl, because we are about to bake some absolute magic together.
What Are Best Brown Butter Cookies?
If you have never experimented with brown butter before, you are in for a serious treat. In the culinary world, it is known as beurre noisette, which is just a very fancy French way of saying hazelnut butter. It gets that name from its intoxicating, nutty aroma and deeply golden, amber color. But please don’t let the fancy terminology intimidate you! Making it is incredibly simple.
All you are really doing is melting standard butter over medium heat until the milk solids begin to toast and caramelize at the bottom of your pan. By swapping out regular softened butter for this liquid gold, we are building a cookie dough with an incredibly complex flavor profile. Instead of just tasting flat and sweet, the best brown butter cookies have a savory, toffee-like backbone. When you combine that toasted richness with dark brown sugar, hearty chunks of semi-sweet chocolate, and a little hit of vanilla extract, you create a cookie that tastes like it came straight from a high-end bakery downtown. It is the kind of treat that makes people stop after their first bite and ask what your secret ingredient is.
How to Make Best Brown Butter Cookies
Quick Overview
Making these beauties is a straightforward process that yields incredibly rewarding results. First, we will toast our butter on the stove until it is golden and fragrant, then let it cool slightly so it doesn’t scramble our eggs. Next, we whisk the browned butter together with our sugars until smooth, followed by the eggs and a generous splash of vanilla. After gently folding in our dry ingredients like flour, baking soda, and salt, we will fold in a mountain of chocolate chips. The hardest part is the chill time, but resting the dough is crucial for developing that amazing flavor and perfect thickness. Finally, we bake them until the edges are set but the centers are still delightfully soft.
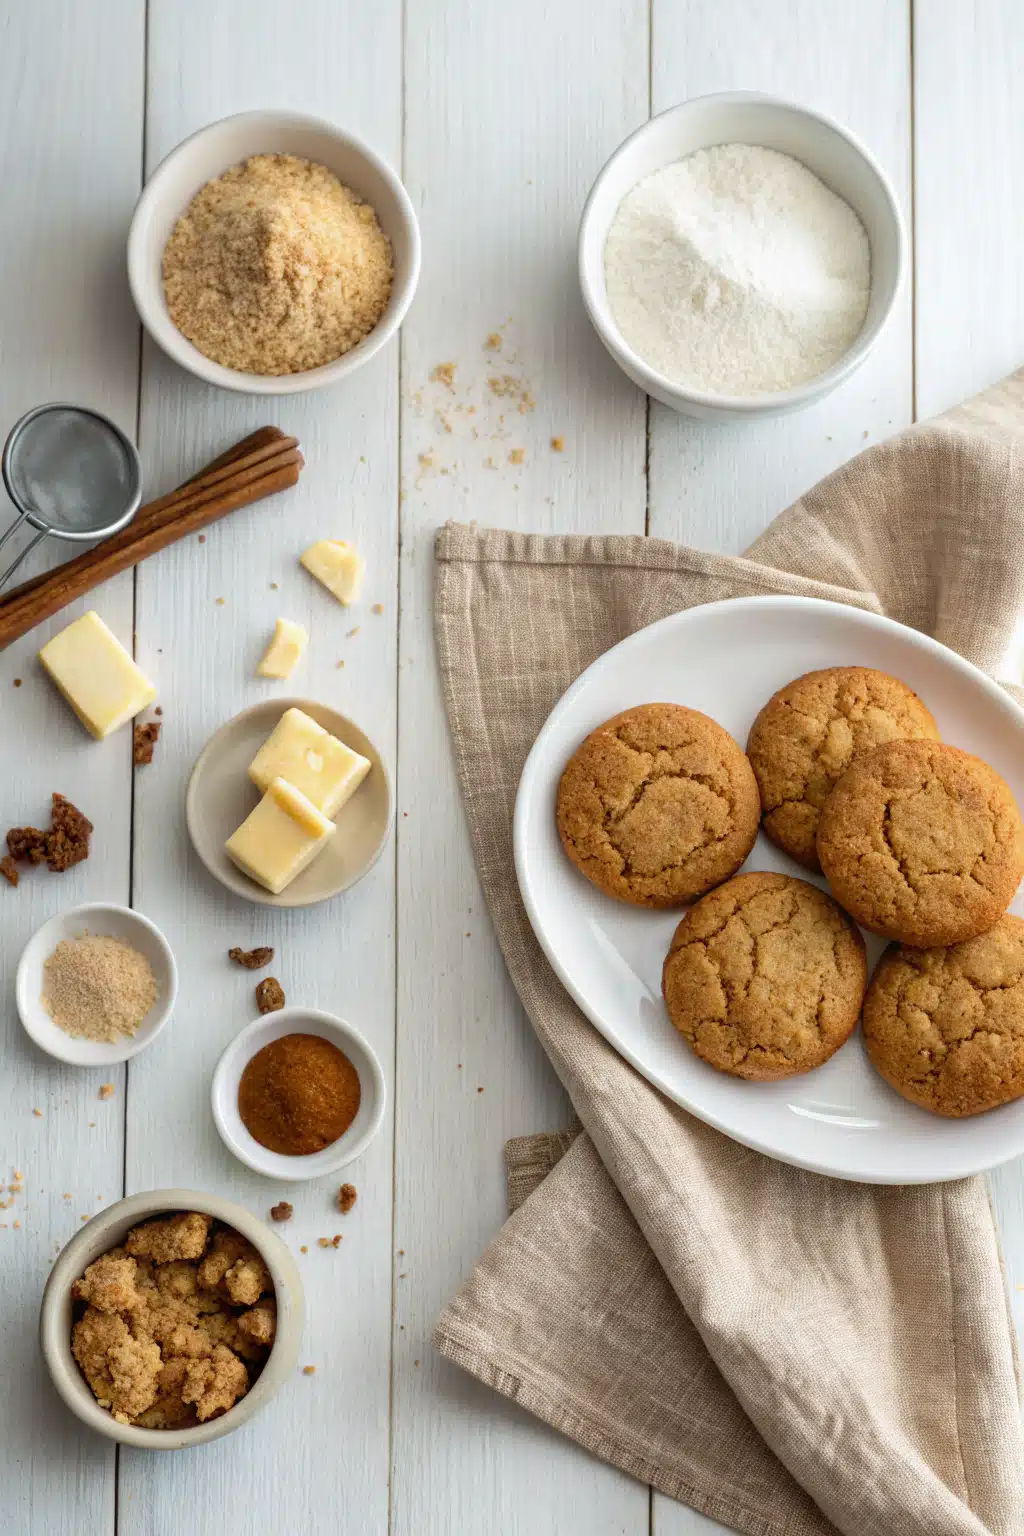
Ingredients
Here is everything you need to grab from your pantry and fridge to make these incredible cookies:
- Unsalted Butter: We use unsalted so we can control the sodium. You will need two sticks.
- Brown Sugar: Dark brown sugar is my favorite here for extra molasses flavor, but light brown works beautifully too!
- Granulated Sugar: Just a bit to give the cookies those perfectly crisp edges.
- Eggs: One whole large egg plus one extra egg yolk. That extra yolk is the secret to a super chewy center.
- Vanilla Extract: Don’t skimp here! A tablespoon of pure vanilla extract pairs beautifully with the toasted butter.
- All-Purpose Flour: The structure of our cookies. Be sure to spoon and level your flour so they don’t get too dense.
- Baking Soda & Salt: For lift and flavor balance.
- Chocolate: A mix of semi-sweet chocolate chips and chopped dark chocolate chunks gives you the best pools of melty goodness.
- Flaky Sea Salt: For sprinkling on top right when they come out of the oven.
Step-by-Step Instructions
Step 1: Brown the Butter
Place your butter in a medium saucepan over medium heat. Let it melt completely, then start whisking constantly. It will bubble and foam up wildly—this is totally normal! Keep whisking until you see little brown specks forming at the bottom of the pan and it smells like toasted nuts. Immediately remove it from the heat and pour it into a large heat-proof mixing bowl to stop the cooking process. Let it cool for about 15 minutes.
Step 2: Whisk the Wet Ingredients
Once the butter has cooled slightly, add your brown sugar and granulated sugar to the bowl. Whisk vigorously for about a minute until it is well combined. Add the whole egg, the extra egg yolk, and the vanilla extract. Whisk again until the mixture is smooth, glossy, and slightly lightened in color.
Step 3: Fold in the Dry Ingredients
Sprinkle the all-purpose flour, baking soda, and salt directly over the wet ingredients. Switch to a rubber spatula and gently fold the mixture together. Stop mixing right when you see the last few streaks of flour—overmixing will make the cookies tough!
Step 4: Add the Chocolate and Chill
Pour in your chocolate chips and chunks, folding them in gently. Cover the bowl with plastic wrap and pop the dough into the fridge for at least 30 minutes. This chill time is absolutely non-negotiable! It solidifies the butter and hydrates the flour, ensuring your cookies bake up thick and chewy instead of flat and greasy.
Step 5: Scoop and Bake
Preheat your oven to 350 degrees Fahrenheit and line a baking sheet with parchment paper. Scoop the chilled dough into large, two-tablespoon-sized balls and space them about two inches apart on the pan. Bake for 10 to 12 minutes, or until the edges are golden brown but the centers still look a little underdone. Sprinkle with flaky sea salt immediately, let them cool on the pan for 5 minutes, and then transfer to a wire rack.
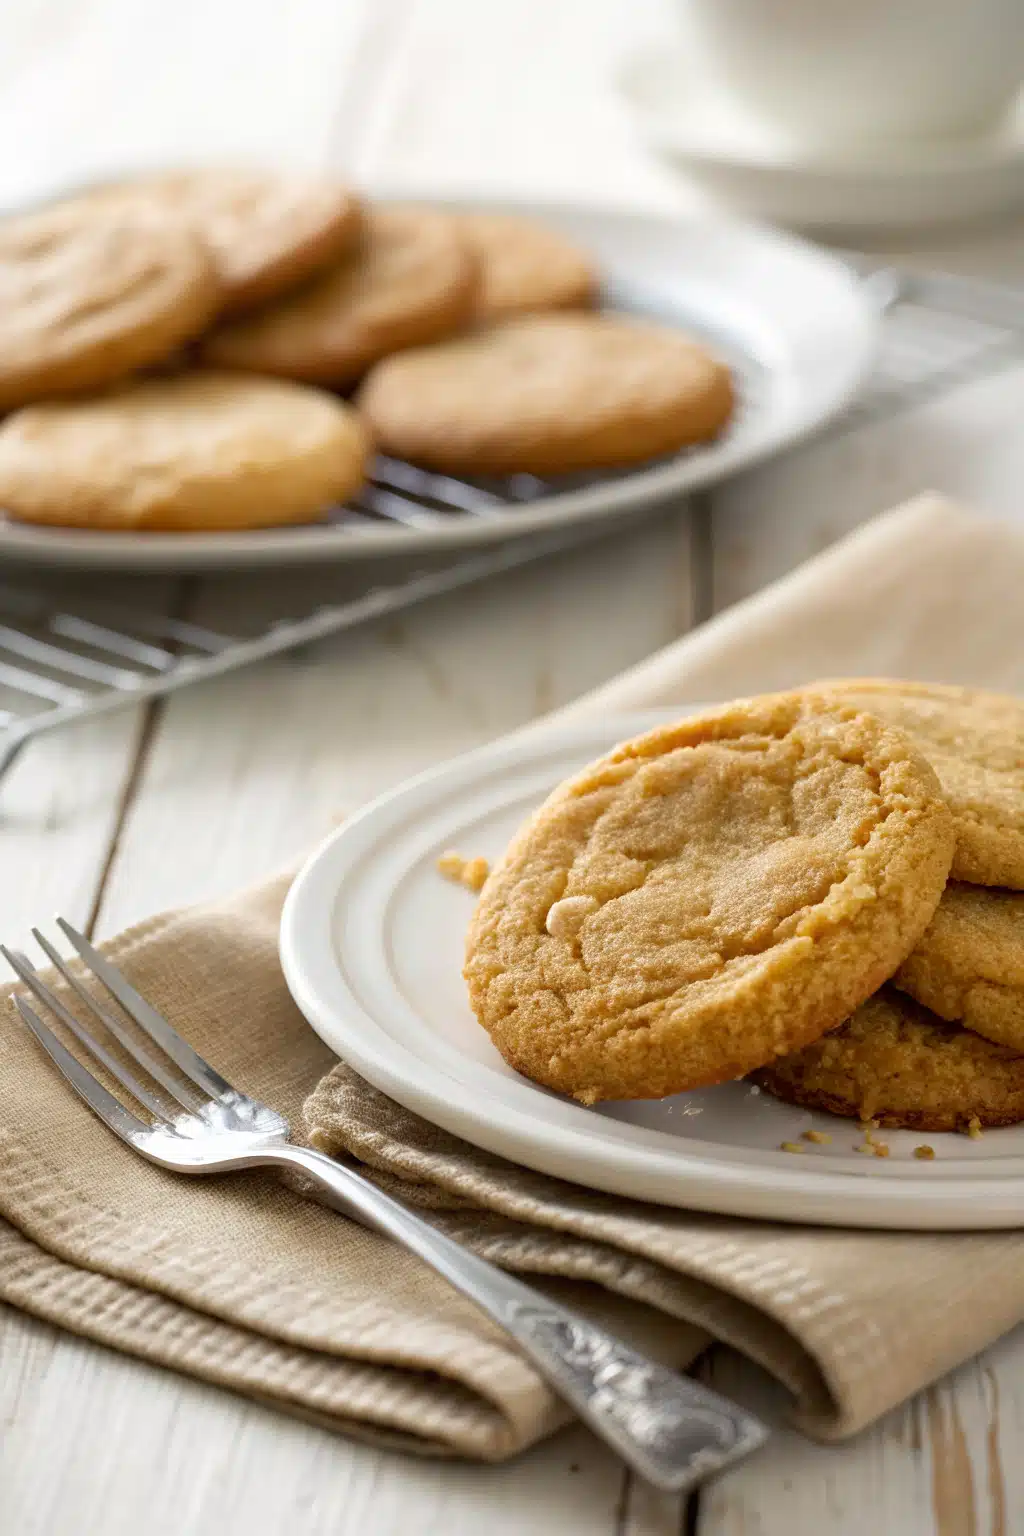
What to Serve It With
These cookies are an absolute dream all on their own, straight off the baking sheet while the chocolate is still warm and smudgy. But if you want to elevate the experience even further, you have to serve them with an ice-cold glass of whole milk. The contrast between the warm, rich cookie and the cold milk is pure childhood nostalgia.
If you are serving these to adults at a dinner party, they pair incredibly well with a strong cup of dark roast coffee or an espresso. The bitterness of the coffee beautifully cuts through the sweet caramel notes of the brown butter. Want to go completely over the top? Take two of these freshly baked cookies, let them cool entirely, and sandwich a massive scoop of premium vanilla bean ice cream between them. The nutty, toffee flavors make the ultimate base for a homemade ice cream sandwich.
Top Tips for Perfecting Your Best Brown Butter Cookies
Baking is a science, but it’s also an art. Over the years, I’ve made hundreds of batches of these cookies, and I’ve picked up a few crucial tricks along the way to guarantee perfection every single time.
- Don’t walk away from the butter: Butter goes from perfectly browned to totally burnt in a matter of seconds. Keep your eyes on the pan, keep whisking, and have your heat-proof bowl ready to go so you can pour it out the second it’s done.
- Let the butter cool: I know it is tempting to rush, but if you add your sugar and eggs to boiling hot butter, you will melt the sugar into a greasy mess and literally scramble your eggs. Patience is key! Let it cool until it is just warm to the touch.
- Measure flour correctly: The number one reason cookies turn out thick and dry is too much flour. Fluff your flour with a fork, spoon it gently into your measuring cup, and level it off with a butter knife.
- The pan-banging trick: If you love those crinkly, bakery-style edges, try the pan-banging method! Halfway through baking, carefully lift your baking sheet a few inches off the oven rack and let it drop down. This deflates the cookies and creates beautiful, chewy ripples around the edges.
Storing and Reheating Tips
If you somehow have leftovers (which is a very rare occurrence in my house!), you will want to keep them fresh. Store the baked cookies in an airtight container at room temperature for up to four days. To keep them incredibly soft, pop a small piece of plain white bread into the container with them. The cookies will absorb the moisture from the bread!
If you want that fresh-out-of-the-oven experience on day three, just pop a cookie in the microwave for about 8 to 10 seconds. The chocolate will get melty and gooey all over again.
You can also freeze the unbaked cookie dough! Scoop the dough into balls, freeze them on a baking sheet until solid, and then transfer them to a freezer-safe ziplock bag. They will keep for up to three months. When a cookie craving strikes, you can bake them straight from frozen—just add an extra minute or two to the baking time.
Frequently Asked Questions
You technically can use regular melted butter, but I highly recommend taking the extra five minutes to brown it! The browning process evaporates the water in the butter and toasts the milk solids, which is what gives these cookies their signature rich, caramel-toffee flavor. Without it, they will just be regular chocolate chip cookies.
Chilling the dough is super important for two reasons. First, it allows the melted butter to solidify again, which prevents the cookies from spreading into thin puddles in the hot oven. Second, it gives the flour time to absorb the moisture from the eggs and butter, which concentrates the flavor and gives you a much chewier texture.
Yes, you absolutely can! If salted butter is all you have on hand, go ahead and use it. Just be sure to reduce the additional salt in the recipe by half so your cookies don’t end up tasting overly salty.
Final Thoughts
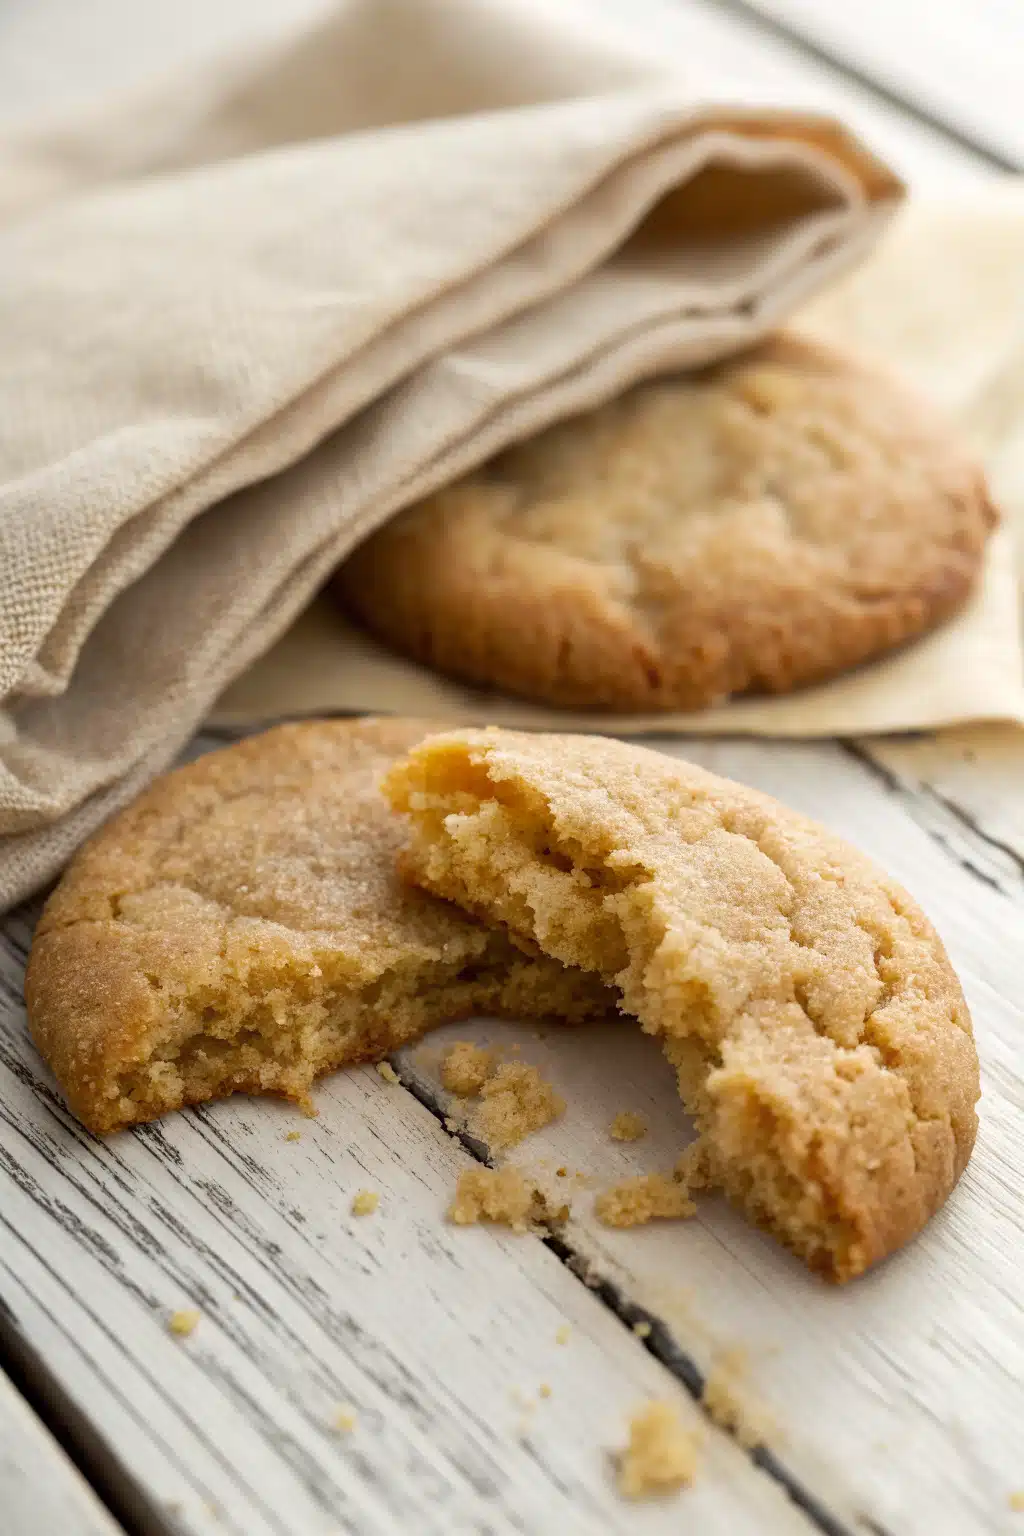
There is just something so incredibly special about baking a batch of these cookies from scratch. The way the house smells, the anticipation while they chill in the fridge, and that very first warm, chocolatey bite—it is pure joy. The best brown butter cookies aren’t just a dessert; they are a whole experience that you get to share with the people you love (or keep all to yourself, I definitely won’t judge!).
I really hope you give this recipe a try the next time you need a little comfort baking in your life. Don’t be intimidated by the browned butter—once you see how easy it is, you will want to add it to absolutely everything you bake. Grab your whisk, put on your favorite playlist, and treat yourself to the most amazing cookies you will ever pull out of your oven. Happy baking, my friends!
Best Brown Butter Cookies
Ingredients
Main Ingredients
- 0.5 cup unsalted butter
- 0.5 cup light brown sugar packed
- 0.25 cup granulated sugar
- 1 large egg
- 1 teaspoon vanilla extract
- 1.33 cup all-purpose flour
- 0.5 teaspoon baking soda
- 0.5 teaspoon salt
Instructions
Preparation Steps
- Brown the butter in a saucepan over medium heat until golden and nutty. Let it cool to room temperature.
- In a large bowl, whisk the cooled brown butter, brown sugar, and granulated sugar together until smooth.
- Whisk in the egg and vanilla extract until fully combined.
- Stir in the flour, baking soda, and salt until a dough forms.
- Scoop the dough into 12 balls and chill in the refrigerator for 1 hour.
- Preheat oven to 350°F. Line a baking sheet with parchment paper.
- Bake the cookies for 10 minutes until the edges are golden. Let cool on the baking sheet before transferring to a wire rack.
Notes
Featured Comments
“Impressed! Clear steps and restaurant-level results. Perfect for busy nights.”
“New favorite here — creamy. crowd-pleaser was spot on.”
“Super easy and turned out amazing! My family asked for seconds. Saving this one.”
“This sweet treat was absolutely loved — the cozy really stands out. Thanks!”
“Made it tonight and wow — quick weeknight win! Will definitely make brown butter cookies again.”
“Packed with flavor and so simple. Exactly what I wanted from brown butter cookies.”


