

Easy Buttermilk Scones You’ll Want to Make Every Weekend
There is nothing quite like a lazy weekend morning, a hot cup of coffee in your favorite mug, and the smell of freshly baked pastries wafting from the kitchen. For the longest time, I thought making bakery-quality scones at home was this mysterious, complicated process reserved only for professional pastry chefs. I used to buy them at my local coffee shop, paying way too much for something that was often a little too dry or overly sweet. Then, I finally rolled up my sleeves and started experimenting. Let me tell you, cracking the code on these easy buttermilk scones changed my weekend routine forever.
They are incredibly tender, perfectly flaky, and have just the right amount of sweetness. Plus, they come together so fast that you can easily whip them up before everyone else in the house even rolls out of bed. If you’ve ever been intimidated by baking from scratch, this is the recipe that will completely change your mind. Grab your mixing bowl, put on your favorite morning playlist, and let’s make some magic happen in the kitchen!
What Is An Easy Buttermilk Scone?
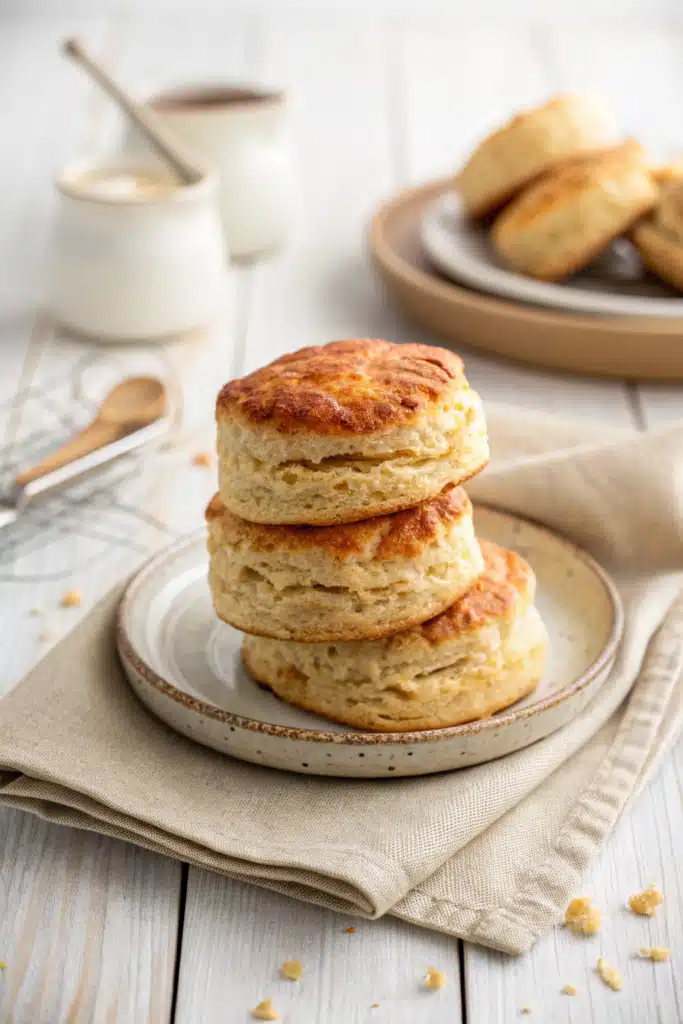
So, what exactly makes a buttermilk scone so special? If you’ve ever had a dry, crumbly, rock-hard scone, you might be a little skeptical right now. But a true, classic buttermilk scone is a thing of absolute beauty. It’s a traditional baked pastry that falls somewhere between a flaky, buttery biscuit and a lightly sweetened cake.
Unlike standard Southern-style biscuits that lean heavily into savory territory, these scones have a subtle sweetness and a tender, melt-in-your-mouth crumb that makes them the ultimate breakfast or afternoon tea treat. The secret ingredient here is, without a doubt, the buttermilk. The natural acidity in the buttermilk reacts beautifully with the baking powder and baking soda, giving the dough a gorgeous lift and creating those irresistible flaky layers we all crave. It also adds a slight, pleasant tang that balances out the sugar, ensuring your scones aren’t cloyingly sweet. Think of them as a cozy, comforting hug in pastry form. They are rustic, charmingly imperfect, and absolutely delicious.
How to Make Easy Buttermilk Scones
Quick Overview
Making these scones is all about keeping your ingredients cold and not overthinking the process. We’re going to start by tossing our dry ingredients together, then cutting in some freezing cold butter until the mixture looks like coarse crumbs. After that, we just gently fold in the buttermilk until a shaggy, rustic dough forms. We’ll pat it out into a circle, cut it into wedges, and bake them until they’re golden and glorious. The whole active process takes maybe ten to fifteen minutes. It’s wonderfully tactile, gets your hands a little messy, and is honestly a bit therapeutic!
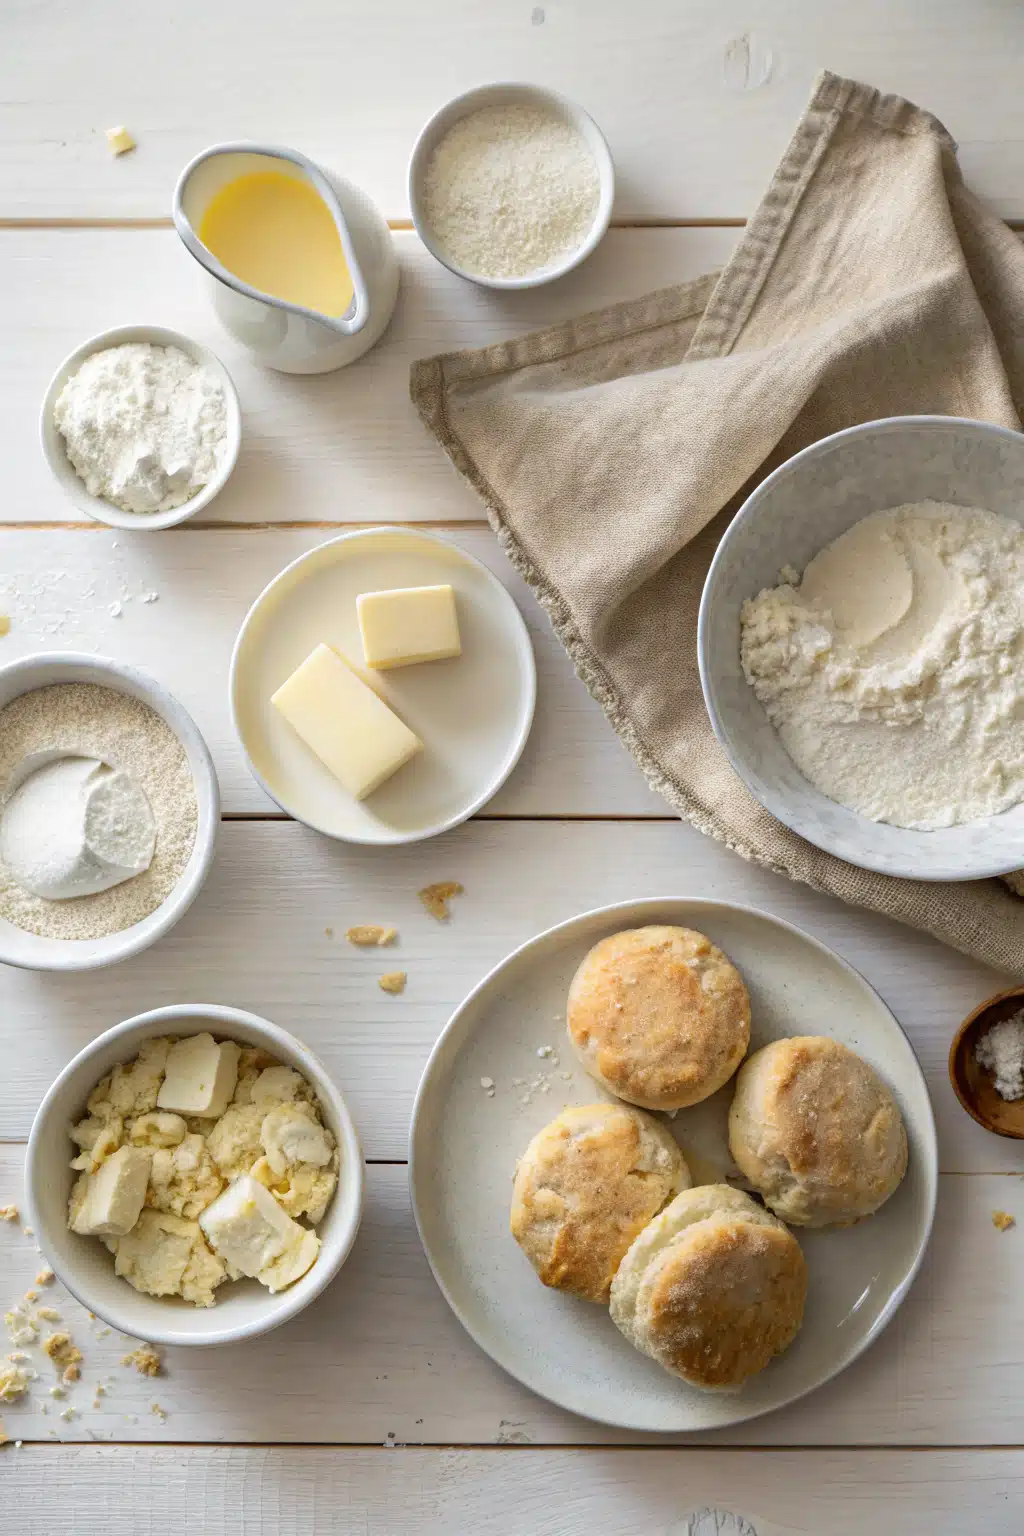
Ingredients
- All-purpose flour: The sturdy base of our scones.
- Granulated sugar: Just enough for a hint of sweetness.
- Baking powder & baking soda: The dynamic duo that gives these scones their sky-high lift.
- Salt: Essential for balancing the flavors.
- Unsalted butter: It must be freezing cold! This is non-negotiable for flaky layers.
- Cold buttermilk: Adds moisture, tang, and tenderness.
- Heavy cream or extra buttermilk: Just a splash for brushing on top to get that beautiful golden crust.
Step-by-Step Instructions
Step 1: Preheat & Prep Pan
First things first, let’s get that oven nice and hot. Preheat your oven to 400°F (200°C). Line a large baking sheet with parchment paper or a silicone baking mat and set it aside. You want your oven fully heated by the time your scones go in so they get that initial blast of heat.
Step 2: Whisk the Dry Ingredients
In a large mixing bowl, whisk together your all-purpose flour, granulated sugar, baking powder, baking soda, and salt. Make sure everything is evenly distributed so you don’t end up with a pocket of baking soda in one bite!
Step 3: Cut in the Cold Butter
Take your freezing cold butter (I sometimes even put mine in the freezer for 10 minutes before using) and cut it into small cubes. Toss the butter cubes into your flour mixture. Using a pastry blender, two forks, or your fingertips, cut the butter into the flour until the mixture resembles coarse meal with some pea-sized pieces of butter remaining. Those little butter lumps are what create the flaky layers, so don’t over-mix!
Step 4: Add the Buttermilk
Make a small well in the center of your flour and butter mixture. Pour in the cold buttermilk. Use a spatula or wooden spoon to gently fold the mixture together just until it starts to pull away from the sides of the bowl and forms a shaggy dough. It will look a bit messy and dry in spots—that’s exactly what you want.
Step 5: Shape and Cut the Dough
Turn the shaggy dough out onto a lightly floured surface. Gently knead it 3 or 4 times just to bring it together. Pat the dough into an 8-inch circle that’s about an inch thick. Using a sharp knife or a bench scraper, cut the circle into 8 equal wedges, like a pizza.
Step 6: Bake to Golden Perfection
Transfer your scone wedges to the prepared baking sheet, leaving a couple of inches between each one. Brush the tops lightly with a little heavy cream or extra buttermilk, and sprinkle with a pinch of coarse sugar if you like a crunchy top. Bake for 15 to 18 minutes, or until the tops are beautifully golden brown. Let them cool on the pan for a few minutes before moving them to a wire rack.
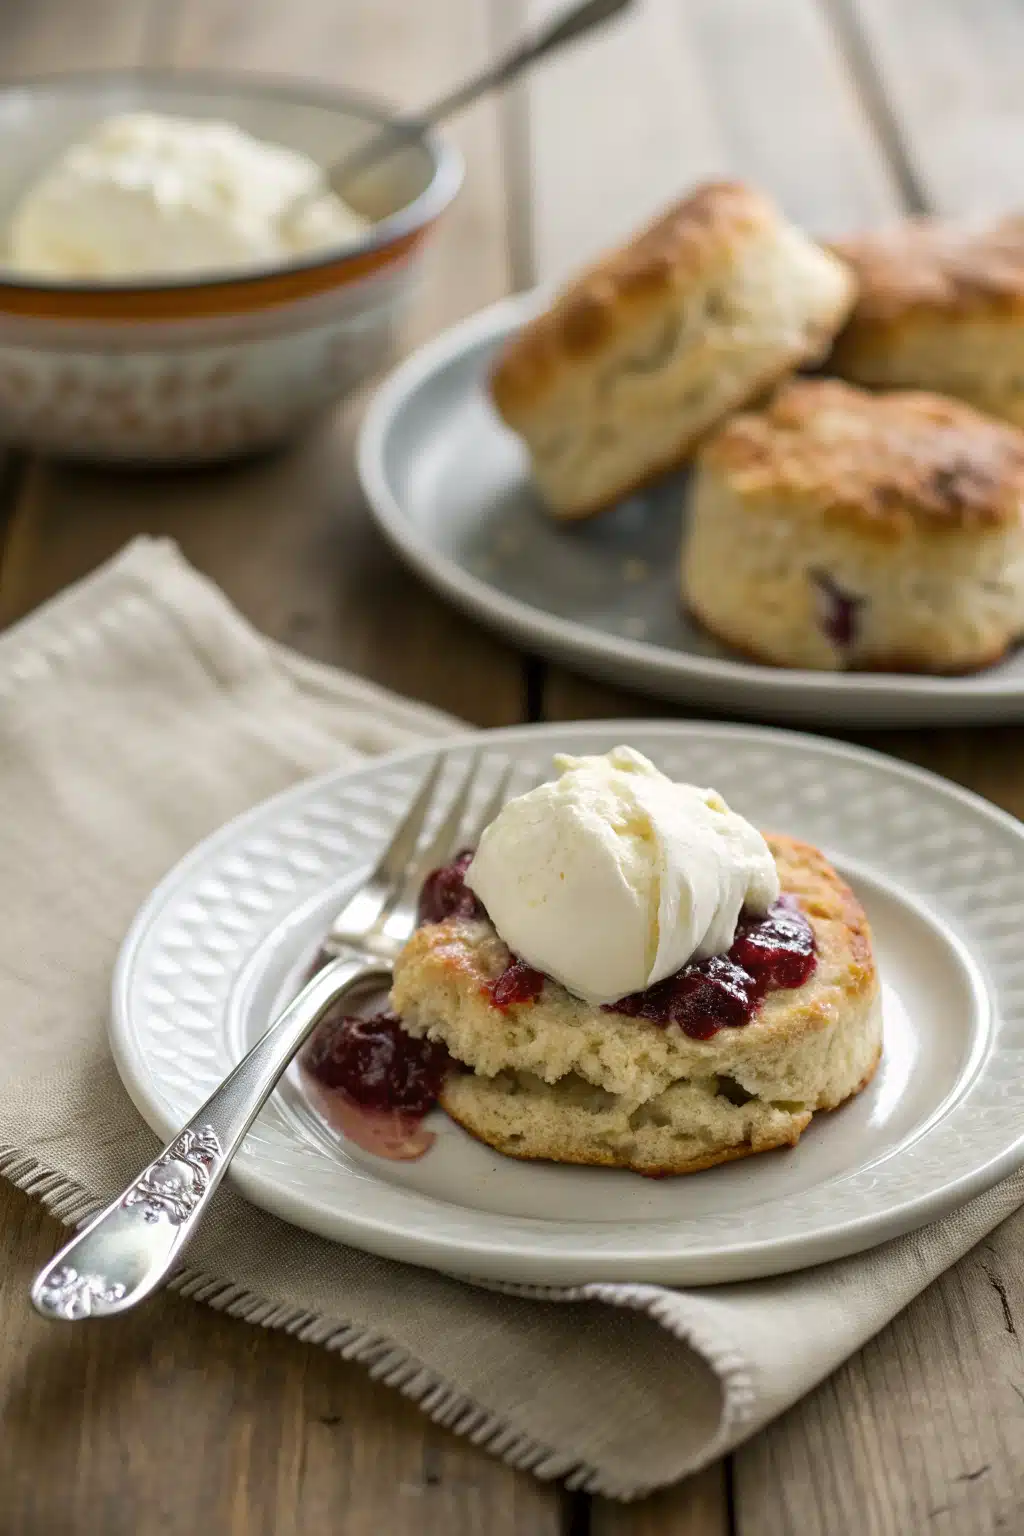
What to Serve It With
Scones this good deserve the absolute royal treatment. My favorite way to eat them is split right down the middle, still warm from the oven, with a generous swipe of high-quality salted butter and a spoonful of homemade strawberry preserves. If you want to get really traditional, you can whip up some clotted cream, or make a quick mock-clotted cream using mascarpone and heavy cream.
They also pair wonderfully with a dollop of lemon curd for a bright, zesty contrast. And of course, you can’t have a scone without a hot beverage! Serve these alongside a steaming mug of Earl Grey tea, a rich French press coffee, or a frothy matcha latte for the ultimate cozy cafe experience at home.
Top Tips for Perfecting Your Easy Buttermilk Scones
Even though this recipe is incredibly straightforward, there are a few golden rules I always follow to make sure they turn out perfect every single time:
- Keep the butter freezing cold: I can’t stress this enough. Cold butter creates steam when it hits the hot oven, which puffs up the dough and creates those gorgeous flaky layers. If your kitchen is warm, pop the bowl in the fridge for a few minutes before adding the buttermilk.
- Don’t overwork the dough: The more you knead and mix, the more gluten develops, which leads to tough, chewy scones. You want the dough to be shaggy and just barely holding together.
- Use real buttermilk: While milk and lemon juice work in a pinch, real cultured buttermilk is thicker and provides a much better texture and flavor. It’s worth a trip to the store!
- Chill before baking: If you have an extra 15 minutes, pop the cut scones into the fridge while your oven finishes preheating. This relaxes the gluten and chills the butter one last time, ensuring they rise tall instead of spreading flat.
Storing and Reheating Tips
Let’s be honest, scones are definitely at their absolute best the day they are made, preferably within a few hours of coming out of the oven. But don’t worry if you have leftovers! Store any extra baked scones in an airtight container at room temperature for up to two days.
To bring back that freshly-baked, crispy texture, just pop them in a 350°F oven for about five minutes, or warm them briefly in the toaster oven. Please don’t microwave them unless you have to, as it tends to make them rubbery. You can also freeze the unbaked scone wedges! Just place the cut dough on a baking sheet, freeze until solid, and then transfer them to a freezer-safe bag. You can bake them straight from frozen—just add about 3 to 5 extra minutes to the baking time.
Frequently Asked Questions
Final Thoughts
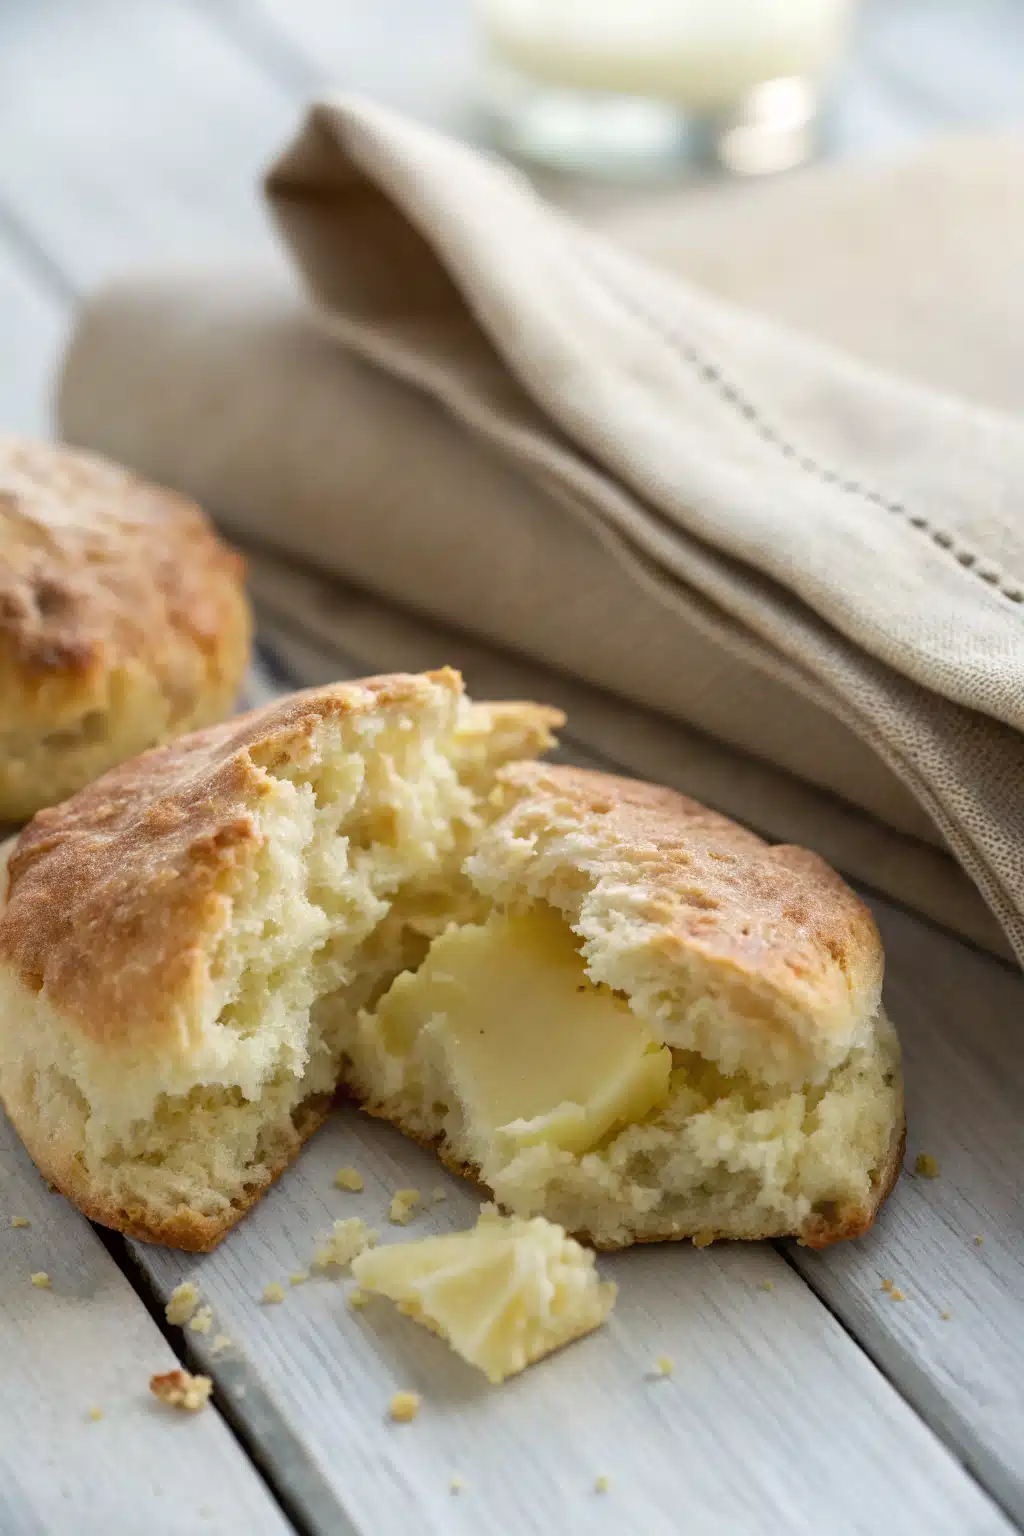
I really hope you give these easy buttermilk scones a try this weekend. There’s something so special about taking a handful of basic pantry ingredients and turning them into something that feels so elevated and comforting. Whether you’re making them for a holiday brunch, a quiet Sunday morning with a book, or just because you need a little baking therapy, they never disappoint.
Don’t be afraid to make the recipe your own, get your hands a little floury, and enjoy the process. If you bake a batch, I’d love to hear how they turned out for you! Grab a warm one, slather it with butter, and enjoy every single crumb.

Easy Buttermilk Scones
Ingredients
Main Ingredients
- 2 cups all-purpose flour
- 0.33 cup granulated sugar
- 1 tablespoon baking powder
- 0.5 teaspoon salt
- 0.5 cup unsalted butter cold and cubed
- 0.5 cup buttermilk cold
- 1 large egg
- 1 teaspoon vanilla extract
Instructions
Preparation Steps
- Preheat oven to 400°F (200°C) and line a baking sheet with parchment paper.
- In a large bowl, whisk together the flour, sugar, baking powder, and salt.
- Cut the cold butter into the flour mixture using a pastry blender or your fingers until it resembles coarse crumbs.
- In a small bowl, whisk together the buttermilk, egg, and vanilla extract. Pour over the flour mixture and stir until just combined.
- Turn the dough out onto a lightly floured surface, gently knead a few times to bring it together, and pat into an 8-inch circle.
- Cut the circle into 8 wedges and transfer them to the prepared baking sheet.
- Bake for 15 to 18 minutes until golden brown. Transfer to a wire rack to cool.
Notes
Featured Comments
“Impressed! Clear steps and so flavorful results. Perfect for busy nights.”
“New favorite here — super easy. crowd-pleaser was spot on.”
“Super easy and turned out amazing! My family asked for seconds. Saving this one.”
“This sweet treat was absolutely loved — the bright really stands out. Thanks!”
“Made it tonight and wow — turned out amazing! Will definitely make buttermilk scones again.”
“Packed with flavor and so simple. Exactly what I wanted from buttermilk scones.”


