

The Easiest Chewy Cake Mix Cookie Bars
Ever have one of those days where you desperately need a warm, gooey chocolate chip cookie, but the thought of pulling out the flour, measuring the baking soda, and waiting for butter to soften just sounds like entirely too much work? I’ve been there more times than I can count. That’s exactly when these incredible cake mix cookie bars swoop in to save the day.
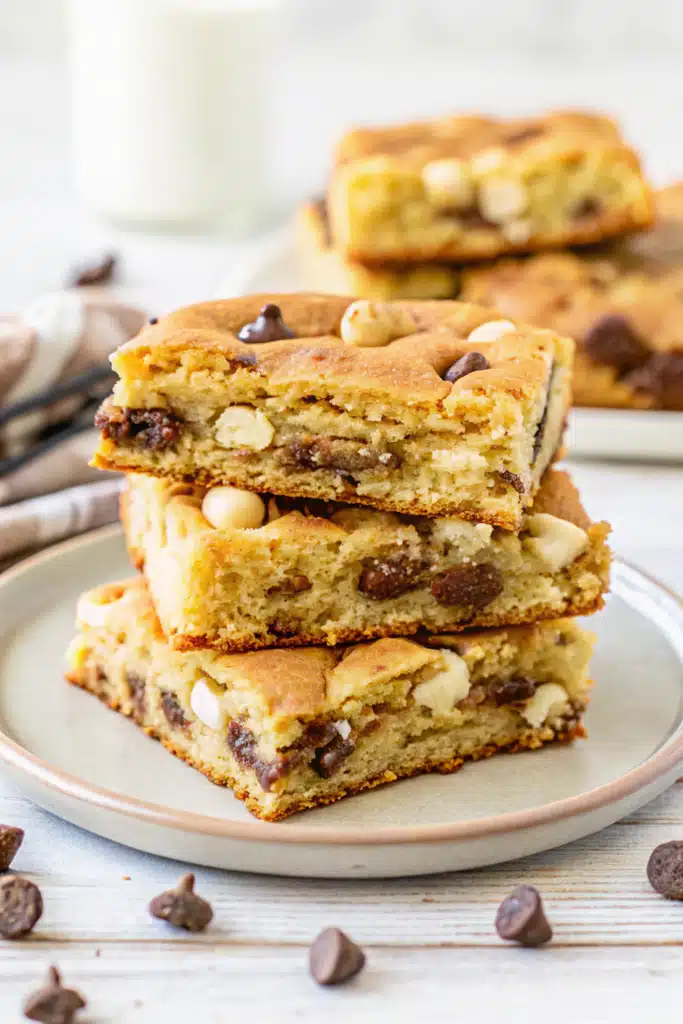
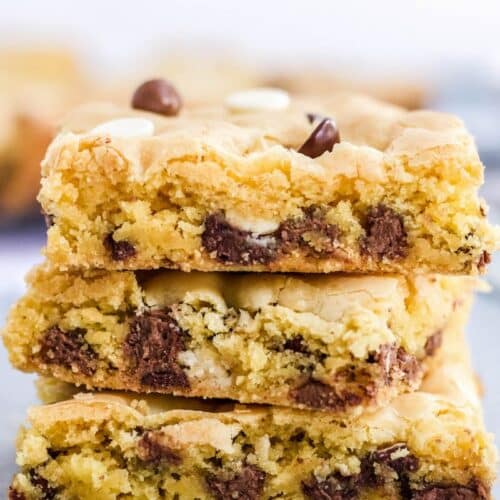
I remember the first time I threw these together; I was staring blankly at my pantry, hoping a dessert would magically appear. I spotted a lone box of yellow cake mix and decided to get a little creative. The result? Absolute magic. These bars are thick, unbelievably chewy, and bursting with three different types of chocolate. Yes, three! They take maybe five minutes of actual effort, and then the oven does the rest of the heavy lifting. If you’re looking for a foolproof, ridiculously quick dessert that tastes like it took hours, you’ve just found your new secret weapon. Grab your favorite mixing bowl, and let’s get baking!
What Are Cake Mix Cookie Bars?
So, what exactly are cake mix cookie bars? Think of them as the glorious lovechild of a classic, buttery yellow cake and a rich, dense chocolate chip cookie. Instead of making cookie dough completely from scratch, we use a standard box of dry cake mix as our base ingredient. By swapping out the usual cake instructions (like adding water and a full cup of oil) for just a couple of eggs and a tiny bit of oil, we completely transform the texture.
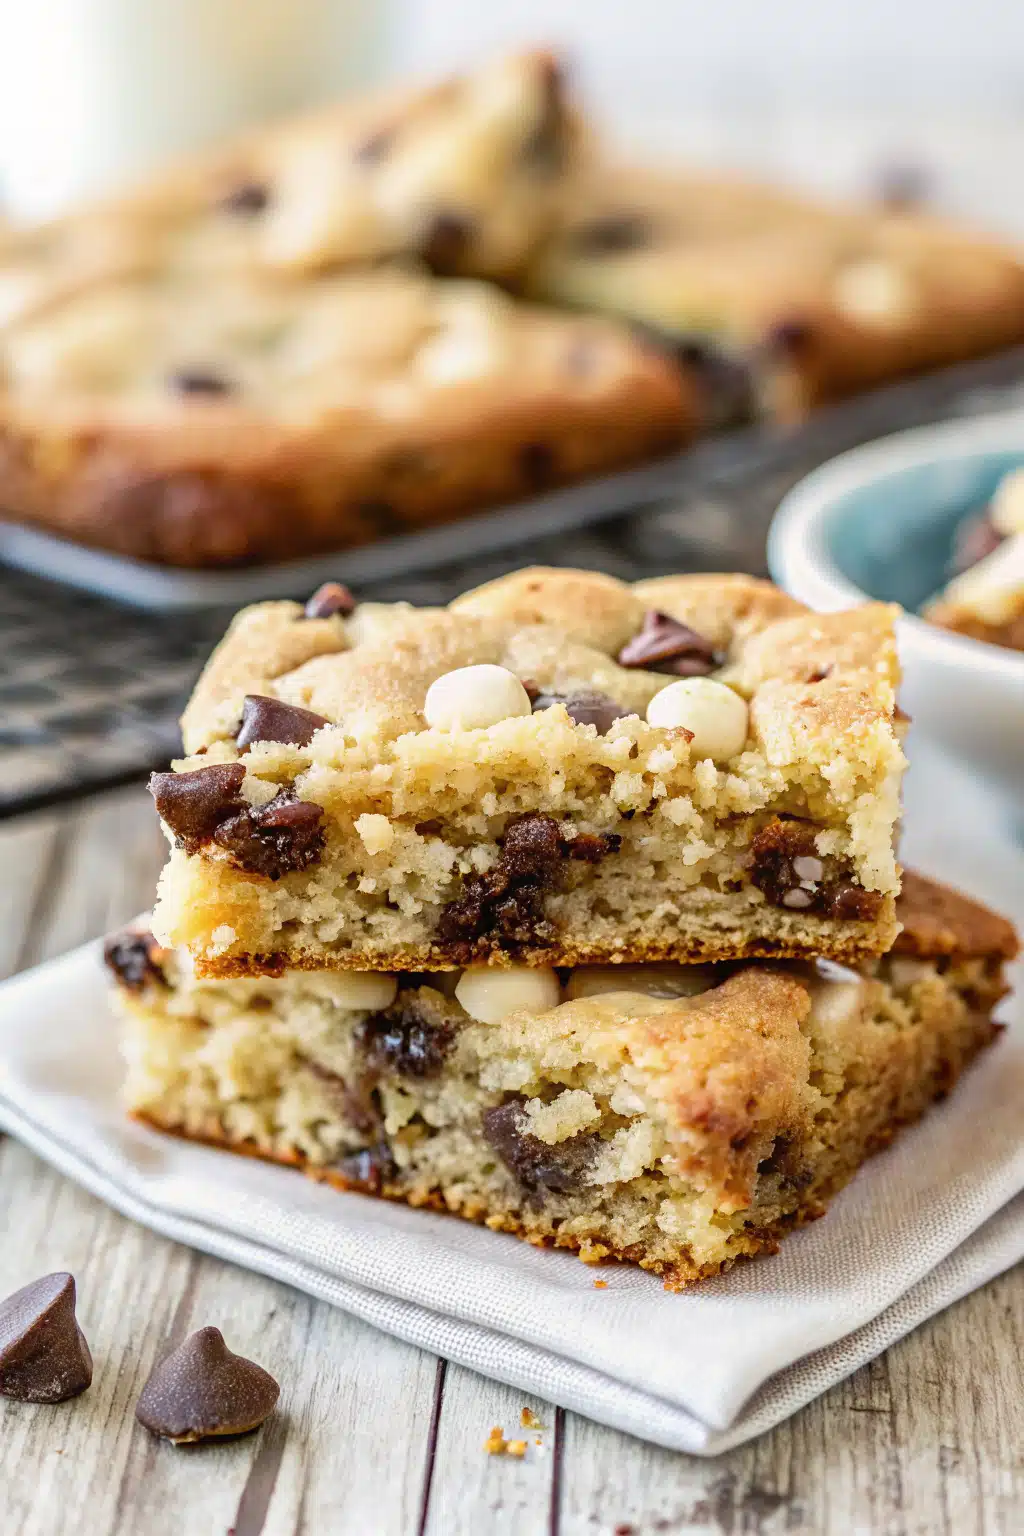
The batter becomes incredibly thick and sticky, just like traditional cookie dough. When you press it into a pan and bake it, it doesn’t rise into a fluffy cake. Instead, it bakes up into a dense, ultra-chewy bar that holds its shape beautifully. The best part is that the cake mix already contains all your dry ingredients—like flour, sugar, and leavening agents—perfectly measured out. It’s the ultimate baking hack for those of us who want bakery-quality treats without the bakery-level mess. Plus, baking them in a single pan means no scooping individual cookies!
How to Make Cake Mix Cookie Bars
Quick Overview
Making these cake mix cookie bars is so incredibly straightforward that you might never go back to traditional cookie recipes again. The whole process is essentially dumping your ingredients into a single bowl, giving it a good mix, and pressing it into a pan. You don’t need any fancy equipment. A simple hand mixer or even just a sturdy wooden spoon and some elbow grease will do the trick nicely. Since the batter is quite thick, the only real work is spreading it out evenly in your baking dish. I promise, even if you consider yourself a total beginner in the kitchen, you’re going to nail this on the very first try. Let’s break down exactly what you need to grab from the pantry.
Ingredients
You only need a handful of simple ingredients to bring these bars to life:
- Yellow Cake Mix: One standard 15.25-ounce box. You just need the dry mix itself!
- Eggs: Two large eggs to bind everything together and give the bars that chewy texture.
- Vegetable Oil: Just one-third of a cup adds the perfect amount of moisture without making them greasy.
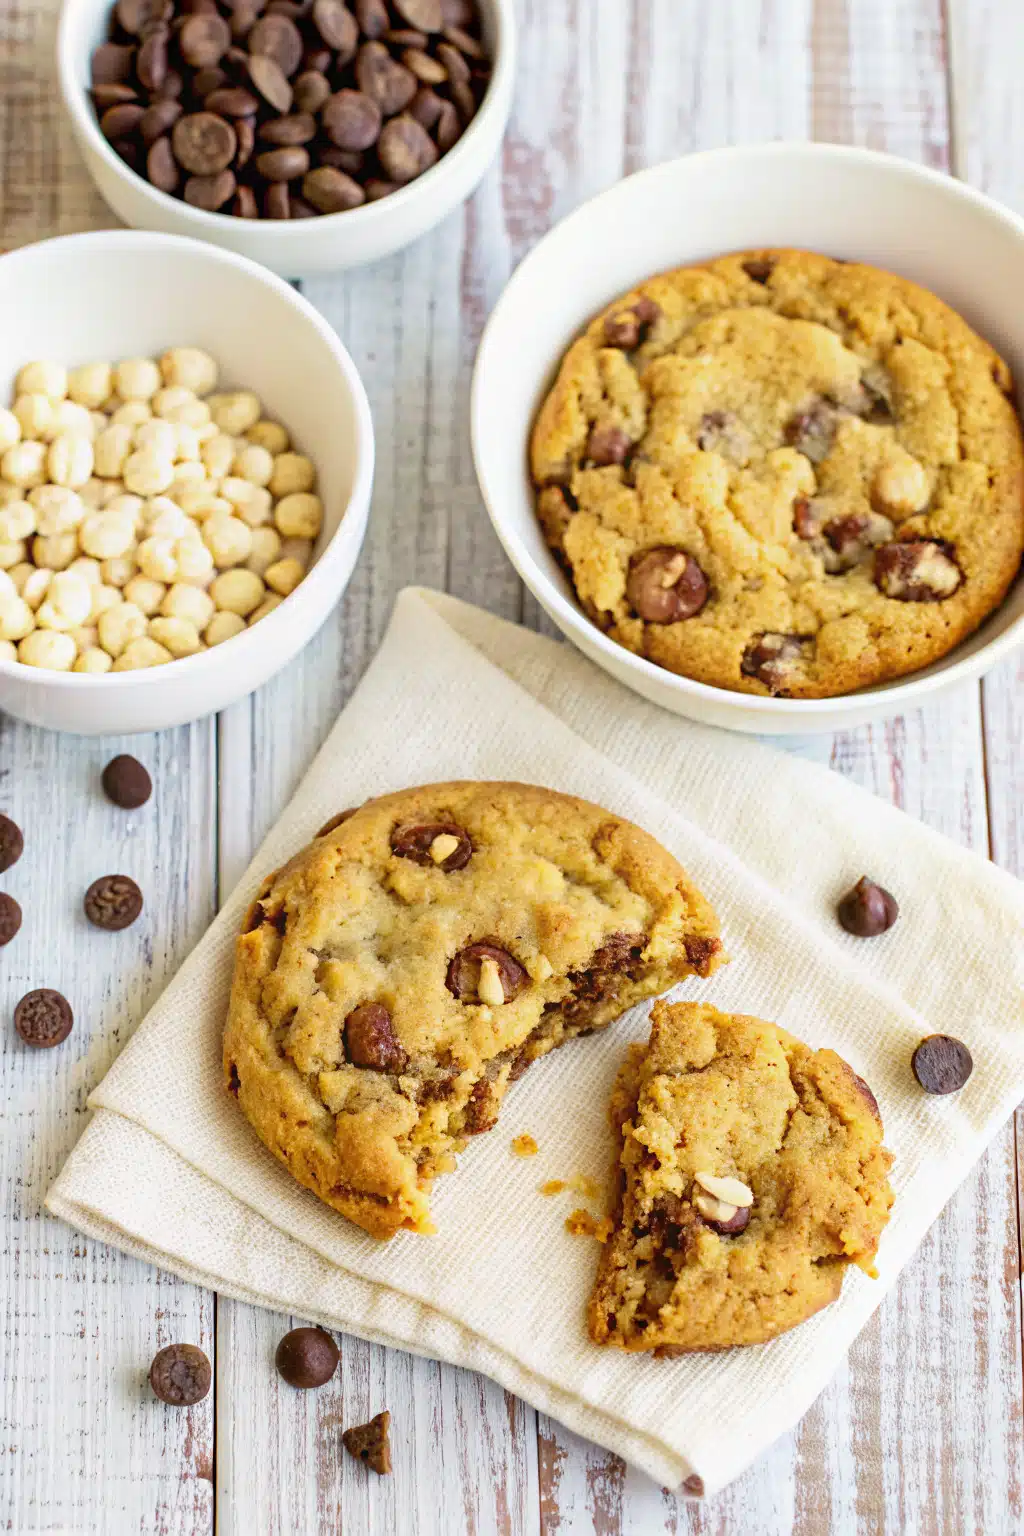
- Dark Chocolate Chips: One cup brings a lovely rich, slightly bitter balance to the sweetness.
- Milk Chocolate Chips: One cup for that classic, creamy cookie flavor we all grew up loving.
- White Chocolate Chips: One cup to add beautiful color contrast and sweet, buttery notes.
Step-by-Step Instructions
Step 1: Preheat & Prep Pan
First things first, preheat your oven to 350 degrees Fahrenheit. Grab a 9×13 baking dish and grease it really well with butter or a light coating of non-stick baking spray. Setting this up first makes the rest of the process a breeze.
Step 2: Mix the Dough
In a large mixing bowl, combine your dry cake mix, eggs, and vegetable oil. Use an electric mixer on medium speed to blend everything together until it’s fully incorporated. The batter will be thick! Once the base is mixed, gently fold in your dark, milk, and white chocolate chips using a spatula.
Step 3: Press into the Pan
Transfer your thick cookie dough into the prepared 9×13 pan. Since it’s sticky, I highly recommend lightly greasing your hands or a rubber spatula to press the dough out into an even layer. If you want them to look extra pretty, press a few extra chocolate chips right into the top of the dough before baking.
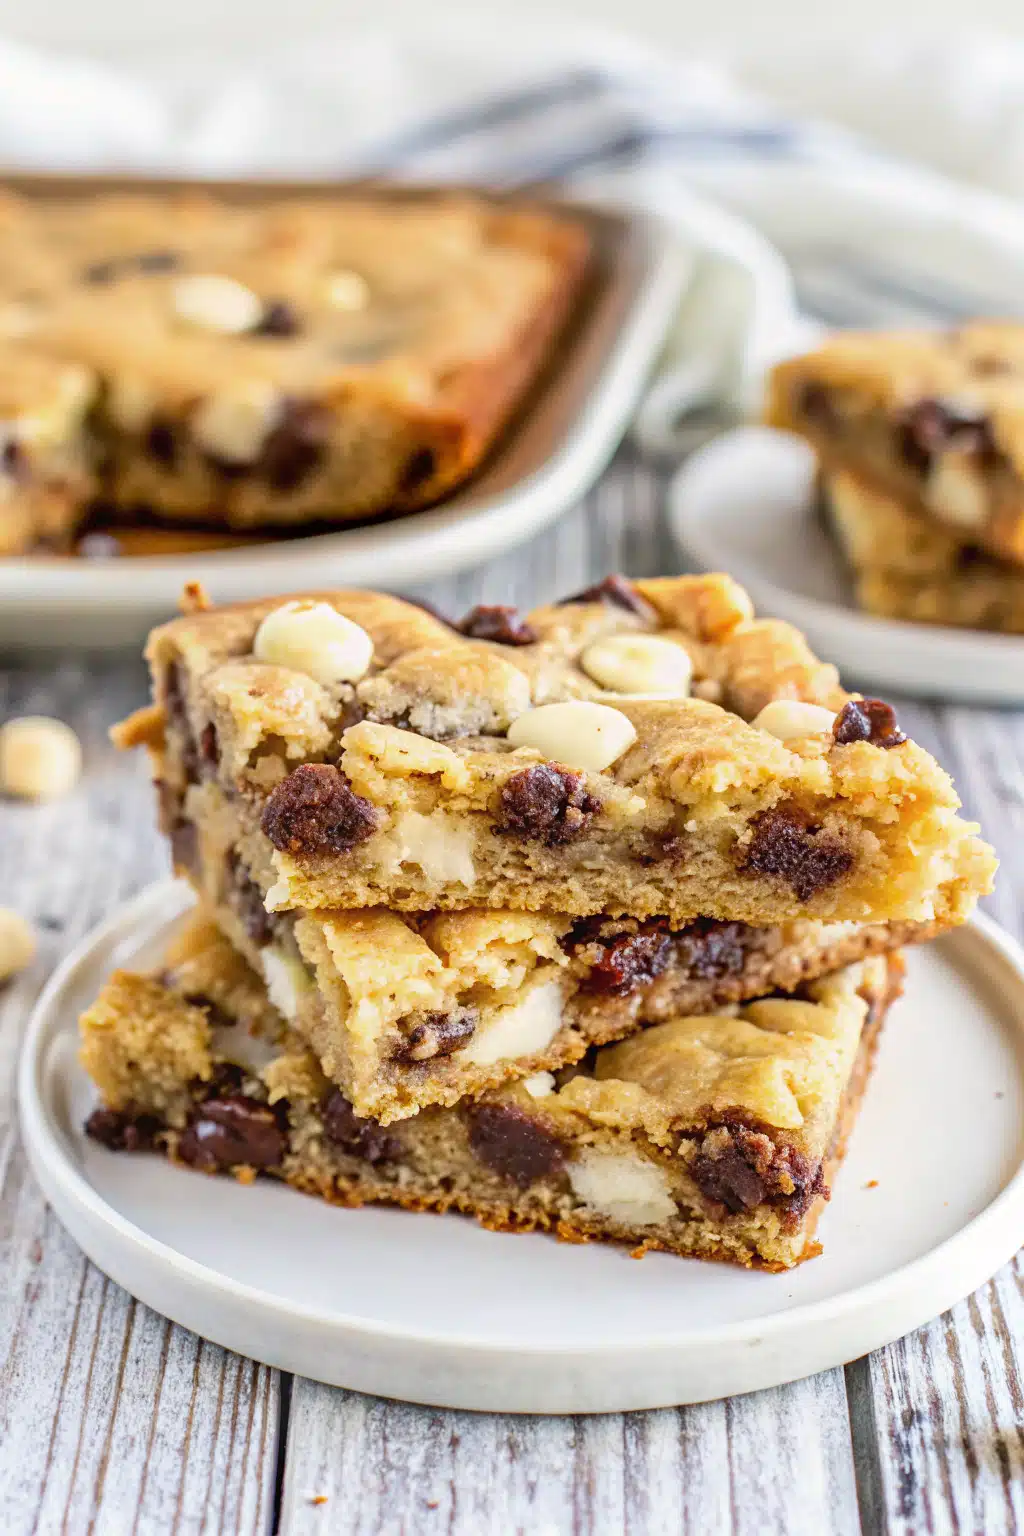
Step 4: Bake and Cool
Pop the pan into the oven and bake for about 25 minutes. You’re looking for the edges to turn a light golden brown. It might look slightly underdone in the absolute center, but that’s exactly what you want for chewy bars! Remove them from the oven and let them cool in the pan for at least 10 minutes before slicing into squares.
What to Serve It With
These cake mix bars are an absolute dream all on their own, but if you want to elevate your dessert game, there are so many fun ways to serve them. My personal favorite is serving a warm square right out of the oven with a giant scoop of vanilla bean ice cream melting over the top. The contrast between the warm, gooey chocolate and the cold ice cream is heavenly.
If you’re serving these at a party, try drizzling the cooled bars with a little melted chocolate or caramel sauce for a bakery-style presentation. Because they have that subtle cake flavor, you can even add a dollop of buttercream icing on top for a fun birthday treat. And of course, no matter how you serve them, a tall, ice-cold glass of milk is absolutely mandatory!
Top Tips for Perfecting Your Cake Mix Cookie Bars
Even though this recipe is incredibly forgiving, a few simple tricks will make sure your bars turn out flawless every single time:
- Tame the Sticky Dough: The batter is going to be exceptionally thick and sticky. Don’t add more liquid! Just grease your hands or the back of a spatula with a little cooking spray or butter to easily press it into the pan.
- Adjusting the Thickness: I love using a 9×13 pan for nice, thick, chewy bars. If you prefer thinner, crispier cookie bars, you can press the dough into a larger sheet pan. Just keep an eye on the oven, as they’ll bake a few minutes faster.
- Patience is Key: It’s so tempting to cut into these the second they leave the oven, but let them cool! Allowing them to rest for at least 10 to 15 minutes helps them set up properly. If you cut them while they’re piping hot, they’re more likely to crumble.
Storing and Reheating Tips
If you miraculously have leftovers, you’ll be happy to know that these bars store beautifully. Because of the cake mix base, they stay much softer and fluffier than traditional cookies over time.
To keep them fresh, just place the cooled bars in an airtight container or cover your baking pan tightly with plastic wrap. They’ll stay perfectly soft at room temperature for up to three days. Whenever I want that fresh-from-the-oven experience on day two or three, I just pop a square in the microwave for about 10 seconds. The chocolate chips get all melty again, and it tastes like it was just baked!
Frequently Asked Questions
Final Thoughts
There you have it—the easiest, most delicious cake mix cookie bars you’ll ever make. I really hope this recipe brings a little extra sweetness to your day and saves you some serious time in the kitchen. Whether you’re baking for a neighborhood potluck, a school bake sale, or just treating yourself on a cozy Tuesday night, these bars never disappoint.
Don’t be afraid to experiment with different cake flavors and mix-ins to make this recipe completely your own. If you try these out, I’d absolutely love to hear how they turned out for you! Grab a glass of cold milk, enjoy every single chocolatey bite, and happy baking!
Easy Cake Mix Cookie Bars
Ingredients
Main Ingredients
- 1 box yellow cake mix 15.25 oz
- 2 large eggs
- 0.33 cup vegetable oil
- 1 cup dark chocolate chips
- 1 cup milk chocolate chips
- 1 cup white chocolate chips
Instructions
Preparation Steps
- Preheat the oven to 350°F. Grease a 9x13 baking dish with butter or a light coating of baking spray, set aside.
- In a large bowl, use an electric mixer to combine the cake mix, eggs, vegetable oil, and chocolate chips until fully incorporated.
- Press the dough into the prepared pan, into an even layer. Decorate the top with extra chocolate chips, if desired.
- Bake for 25 minutes or until the top begins to turn golden brown. Remove from oven and let cool for at least 10 minutes before slicing into squares.
- Store in an airtight container for up to 3 days.
Notes
Featured Comments
“I made these last night and they were a hit! Super easy and perfect for when you’re craving something sweet but don’t want to spend hours baking.”
“These are perfect for when you need something sweet in a hurry—my kids absolutely love them!”
“Impressed! Clear steps and quick weeknight win results. Perfect for busy nights.”
“New favorite here — crowd-pleaser. crowd-pleaser was spot on.”
“Super easy and turned out amazing! My family asked for seconds. Saving this one.”
“This sweet treat was absolutely loved — the rich really stands out. Thanks!”


These are perfect for when you need something sweet in a hurry—my kids absolutely love them!
I made these last night and they were a hit! Super easy and perfect for when you’re craving something sweet but don’t want to spend hours baking.