

The Best Bacon Wrapped Green Beans You’ll Ever Eat
Let’s be real for a second—getting everyone at the dinner table genuinely excited about eating their vegetables can sometimes feel like an uphill battle. But over the years, I’ve discovered a secret weapon that never, ever fails. If you want people to devour their greens, just wrap them in bacon! These Bacon Wrapped Green Beans have become an absolute staple in my house, and I am so thrilled to finally share my go-to method with you.
Whether you are planning a massive holiday feast for Thanksgiving or Christmas, or you just want to make a regular Tuesday night chicken dinner feel a little more special, these little bundles of joy are the perfect solution. They are smoky, perfectly sweet, delightfully crispy, and surprisingly easy to throw together. I remember the first time I made these for a family gathering; the platter was completely wiped clean before the mashed potatoes even made it around the table. That is when you know you have a winner on your hands! Grab your apron, and let’s get cooking.

What Is Bacon Wrapped Green Beans?
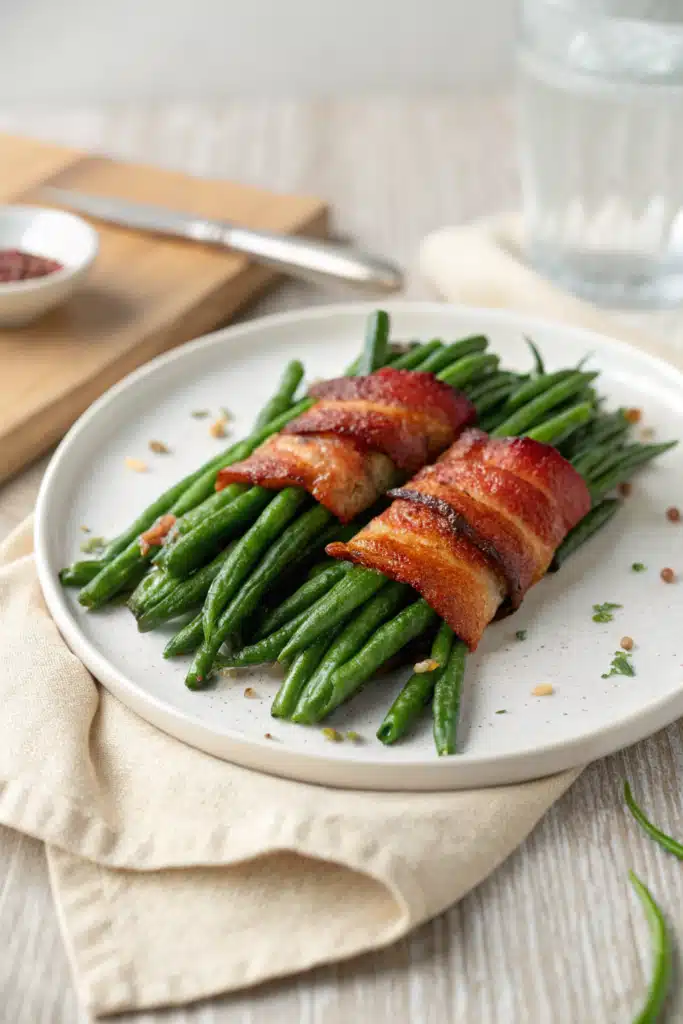
Simply put, Bacon Wrapped Green Beans are elegant little vegetable bundles that bring together the best of both worlds: crisp-tender, vibrant green beans and rich, smoky, crispy bacon. Typically, a handful of fresh green beans are gathered together, wrapped tightly in a half-slice of bacon, and then baked until the bacon is perfectly rendered and crispy.
But we don’t just stop there. To make this dish truly unforgettable, the bundles are brushed with a heavenly glaze made from melted butter, brown sugar, a hint of garlic powder, and a pinch of salt and pepper. As they bake, the brown sugar caramelizes right onto the bacon, creating a sticky, sweet, and savory coating that is seriously addictive. They look incredibly fancy and sophisticated—like something you would order at a high-end steakhouse—but they are completely foolproof to make right in your own kitchen.
How to Make Bacon Wrapped Green Beans
Quick Overview
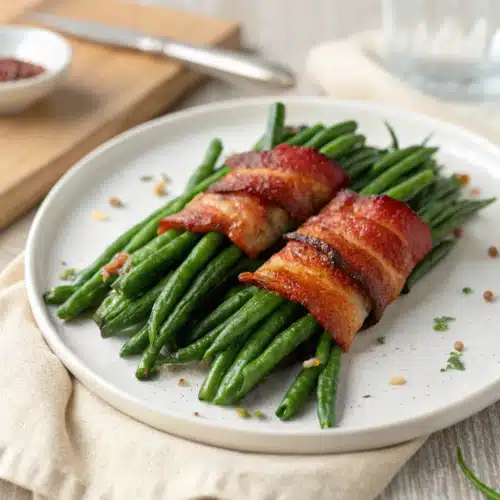
Making this dish is wonderfully straightforward. We start by giving our fresh green beans a quick plunge in boiling water—a process called blanching—to ensure they cook evenly and keep their gorgeous bright green color. After cooling them down, we gather them into cute little clusters and wrap them up in bacon. Next comes the fun part: whisking together a super simple, sweet and savory butter glaze. We brush that liquid gold all over the bundles, bake them in a hot oven until the bacon gets nice and crispy, and that’s it! You have a steakhouse-quality side dish ready to devour.
Ingredients
Here is what you will need to grab from the store to make this magic happen:
- Fresh Green Beans: Try to find beans that are relatively uniform in size. Make sure to snip off the tough stem ends!
- Bacon: Standard, regular-cut bacon is a must. Avoid thick-cut bacon, as it takes much longer to crisp up and might leave your beans overcooked.
- Butter: Unsalted butter forms the rich, delicious base of our irresistible glaze.
- Brown Sugar: This adds a beautiful molasses sweetness that caramelizes onto the bacon as it bakes.
- Garlic Powder: Just a touch for that savory depth of flavor.
- Salt and Black Pepper: To balance out the sweetness and make all the flavors pop.
Step-by-Step Instructions
Step 1: Preheat & Prep Pan
First things first, preheat your oven to 400 degrees Fahrenheit. Grab a large rimmed baking sheet and line it with aluminum foil or parchment paper. Trust me, the caramelized brown sugar glaze gets deliciously sticky, and lining your pan will save you from a major scrubbing headache later!
Step 2: Blanch the Green Beans
Bring a large pot of salted water to a rolling boil. Drop in your trimmed green beans and let them cook for just 2 to 3 minutes. You want them to turn bright green and become slightly tender, but still have a snap. Immediately drain them and plunge them into a bowl of ice water to stop the cooking process. Pat them completely dry with a clean kitchen towel.
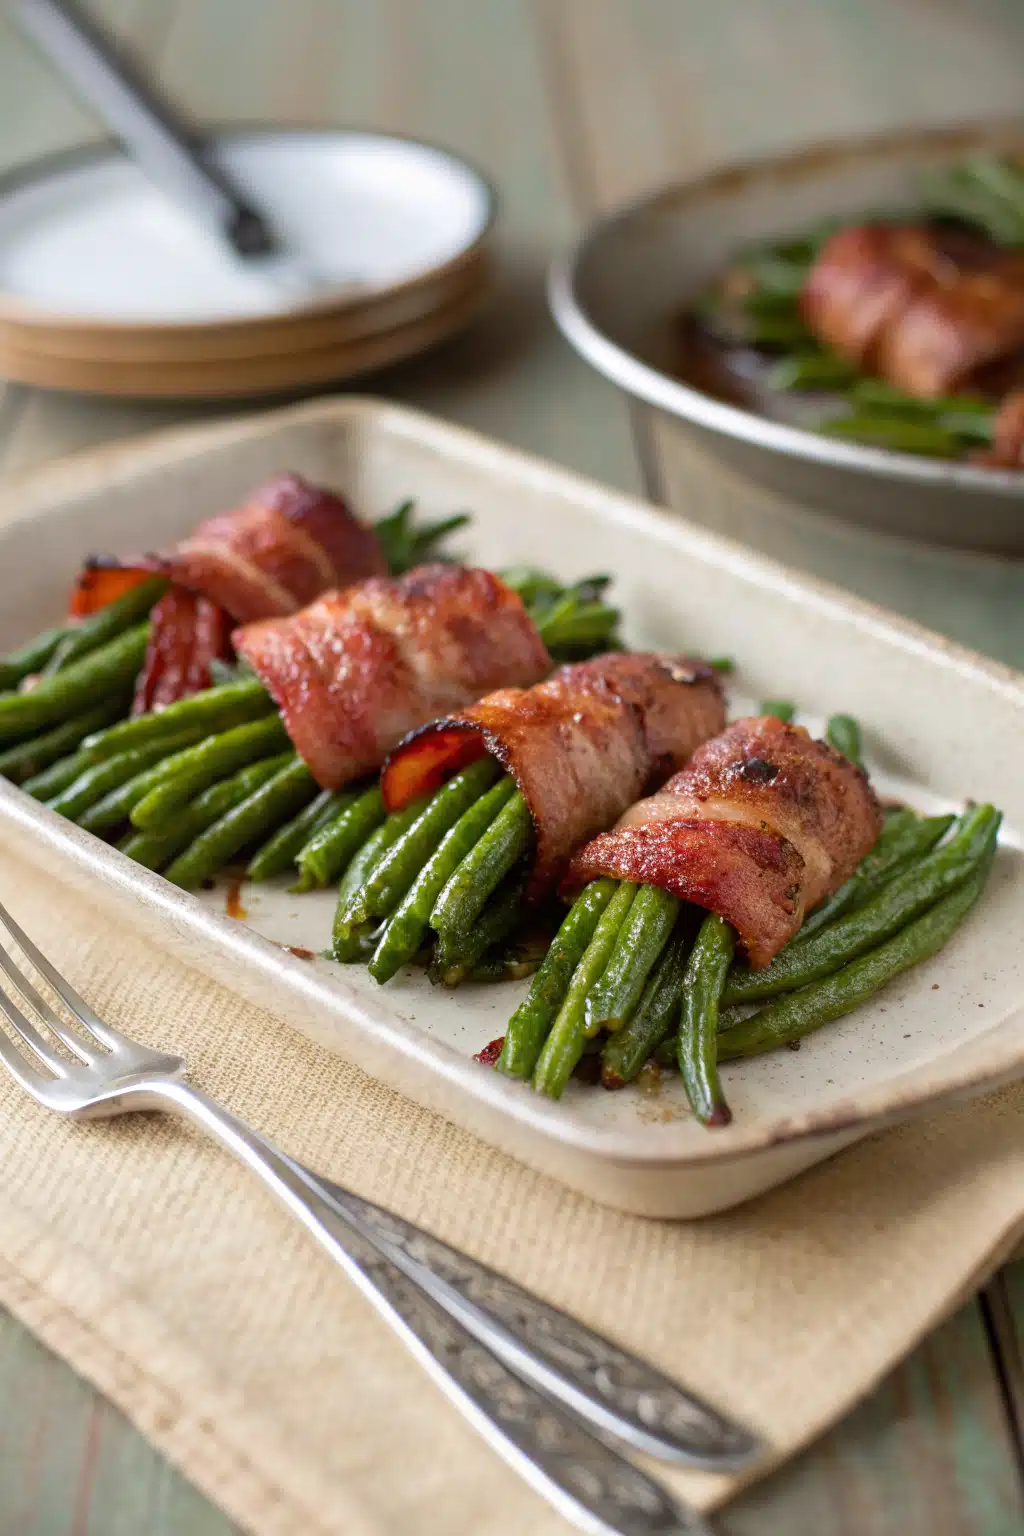
Step 3: Wrap the Bundles
Cut your bacon slices in half crosswise. Grab about 5 to 7 green beans, gather them into a neat little bundle, and wrap a half-slice of bacon tightly around the center. Place the bundle seam-side down on your prepared baking sheet. The weight of the bundle will keep the bacon from unraveling, so you usually don’t even need toothpicks.
Step 4: Make the Glaze
In a small microwave-safe bowl, melt your butter. Whisk in the brown sugar, garlic powder, salt, and pepper until it is well combined and slightly syrupy. Using a pastry brush, generously dab and brush this gorgeous mixture over the top of each bacon-wrapped bundle.
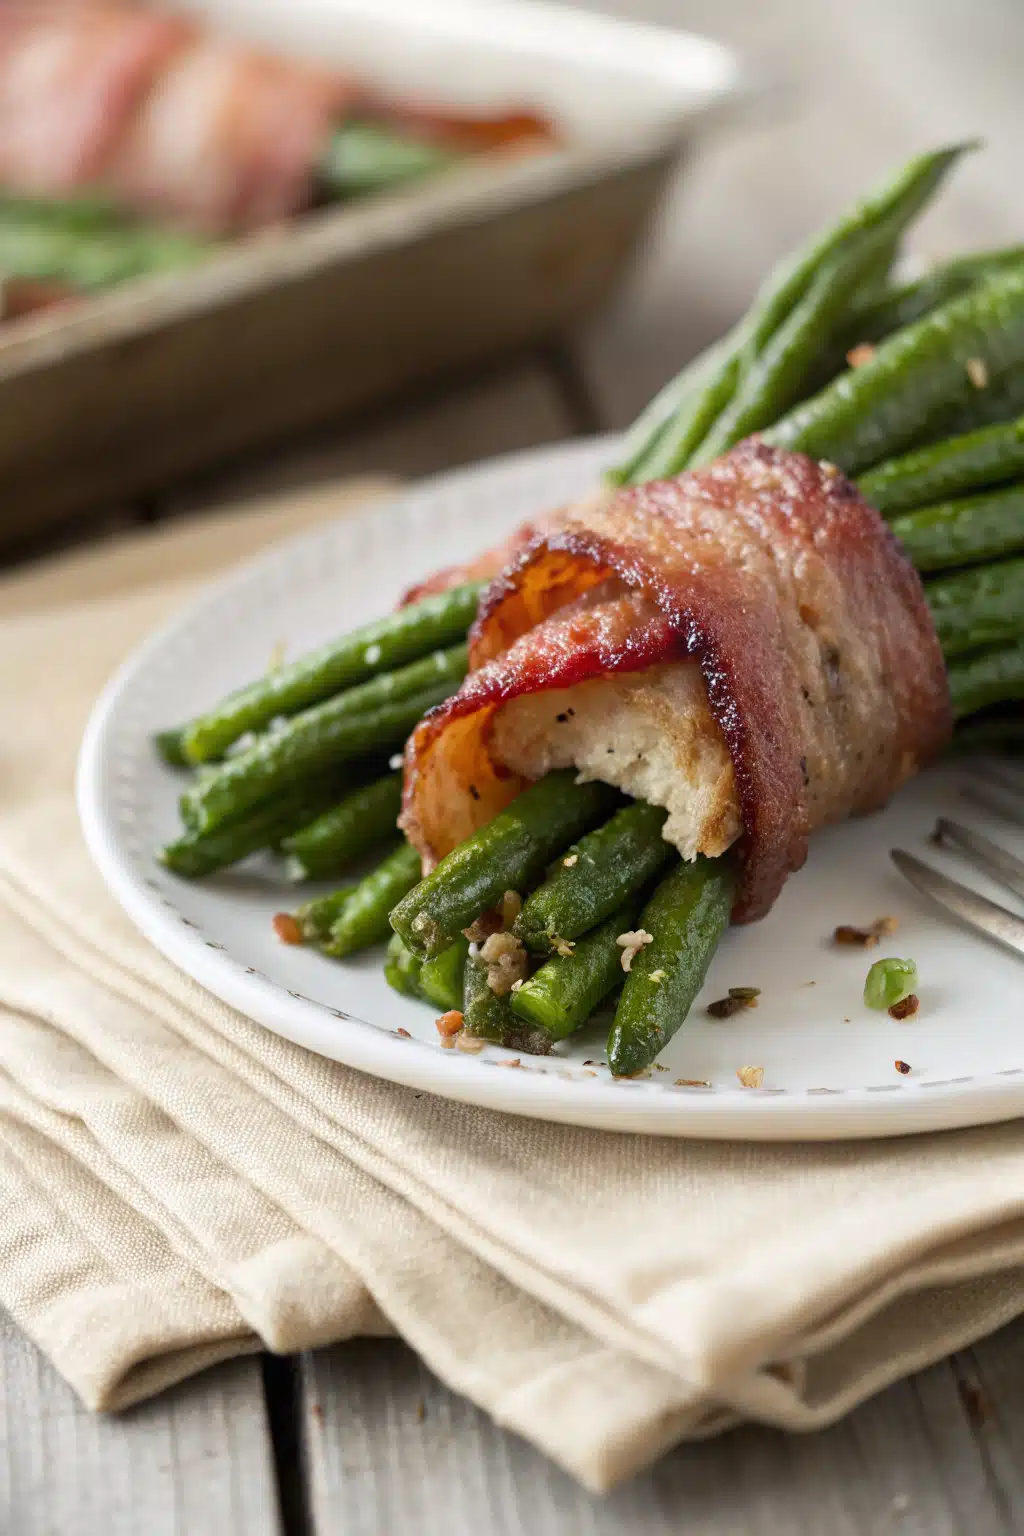
Step 5: Bake to Perfection
Pop the baking sheet into your preheated oven and bake for 20 to 25 minutes. Keep an eye on them toward the end; you are looking for the bacon to be browned and crispy. If you want an extra crunch, you can flip the broiler on for the last minute or two—just watch them like a hawk so the sugar doesn’t burn.
What to Serve It With
These savory, sweet bundles are incredibly versatile and pair beautifully with almost any main course you can dream up. During the holidays, they are my absolute favorite companion for a classic roasted turkey, a honey-glazed ham, or a rich prime rib. The smokiness of the bacon cuts right through heavier holiday dishes.
But please don’t save them just for special occasions! On a cozy weekend at home, I love serving these alongside a juicy grilled ribeye steak or some simple garlic butter pork chops. They also turn a basic weeknight roasted chicken into a meal that feels incredibly thoughtful and gourmet. Honestly, I have been known to eat a plate of these entirely on their own for lunch—they are just that good.
Top Tips for Perfecting Your Bacon Wrapped Green Beans
Want to make sure your bundles come out flawlessly every single time? Keep these simple tricks in mind:
- Dry the beans thoroughly: After blanching and ice-bathing your green beans, make sure you pat them very dry. If they are wet, the bacon won’t crisp up properly and the glaze will slide right off.
- Say no to thick-cut bacon: I know thick-cut bacon is amazing, but it is the enemy of this recipe. It takes too long to render its fat, meaning your green beans will turn to mush before the bacon gets crispy. Stick to standard or even thin-cut bacon.
- Keep the bundles small: Resist the urge to stuff ten or twelve beans into a single piece of bacon. Five to seven beans is the sweet spot. It ensures the bacon can wrap securely around the middle and everything cooks evenly.
- Broil for extra crunch: If your bacon is stubbornly soft at the end of the baking time, switch your oven to broil for 1-2 minutes. The brown sugar will bubble and crisp up beautifully.
Storing and Reheating Tips
If you somehow end up with leftovers (which is a rare occurrence in my house!), they are very easy to save for later.
To Store: Let the bundles cool completely to room temperature, then transfer them to an airtight container. They will stay fresh in the refrigerator for up to 3 to 4 days.
To Reheat: Whatever you do, try to avoid the microwave! Microwaving will make the bacon sad and rubbery. Instead, place the bundles on a baking sheet and pop them into a 350-degree oven for about 8 to 10 minutes until they are heated through and the bacon crisps back up. If you have an air fryer, that works brilliantly too—just give them 3 to 4 minutes at 350 degrees.
Frequently Asked Questions
Final Thoughts
There you have it, my friends! A side dish that is practically guaranteed to steal the show at your next dinner party or family gathering. These Bacon Wrapped Green Beans are the perfect blend of savory, sweet, and crunchy, and I just know they are going to become a requested favorite in your home, too.
If you decide to give this recipe a try, I would be absolutely thrilled to hear how it turned out for you. Leave a comment below, and don’t forget to share your beautiful creations with me. Happy cooking, and enjoy every single crispy, buttery bite!
Easy Bacon Green Bean Bundles Delight
Ingredients
Main Ingredients
- 1 pound Haricots verts or green beans ends trimmed
- 4 slices center cut bacon cut in half
- Olive oil spray
- 0.125 tsp garlic powder
- pinch salt
- Fresh cracked pepper to taste
Instructions
Preparation Steps
- Blanch the green beans for 3 minutes, then dry on paper towel.
- Preheat oven to 400°F. Spray a baking sheet with olive oil spray.
- Make 8 even bundles and wrap each bundle (about 1.6 oz each) in one half slice of bacon.
- Place the bundles seam side down on the baking sheet.
- Lightly spray the tops with a little more oil, season with salt, pepper, and garlic powder, then bake for about 14-16 minutes.
Notes
Featured Comments
“Impressed! Clear steps and quick weeknight win results. Perfect for busy nights.”
“New favorite here — turned out amazing. crowd-pleaser was spot on.”
“Super easy and turned out amazing! My family asked for seconds. Saving this one.”
“This sweet treat was absolutely loved — the light really stands out. Thanks!”
“Made it tonight and wow — turned out amazing! Will definitely make Easy Bacon Green Bean Bundles Delight again.”
“Packed with flavor and so simple. Exactly what I wanted from Easy Bacon Green Bean Bundles Delight.”


