

If there’s one thing I’ve learned over the years, it’s that nothing beats the joy of biting into a warm, gooey cookie loaded with all the sweet, crunchy goodness you can handle. And let me tell you, Reeses Pieces Cookies? They’re basically my secret weapon for turning any rough day around. I always do this when I need a sweet pick-me-up — bake a batch of these, and suddenly, everything feels just a little brighter. My kids ask for these all the time, especially when friends come over. The smell alone is enough to draw everyone into the kitchen—rich chocolate, the hint of peanut butter, and that irresistible crunch of Reeses Pieces just make my house feel cozy and festive. Honestly, once you try making these yourself, you’ll wonder why you ever bought cookies from the store. They’re quick, ridiculously delicious, and guaranteed to disappear in minutes at my house. Trust me on this one — once you bake these, they’ll become your go-to treat too!
What is Reeses Pieces Cookies?
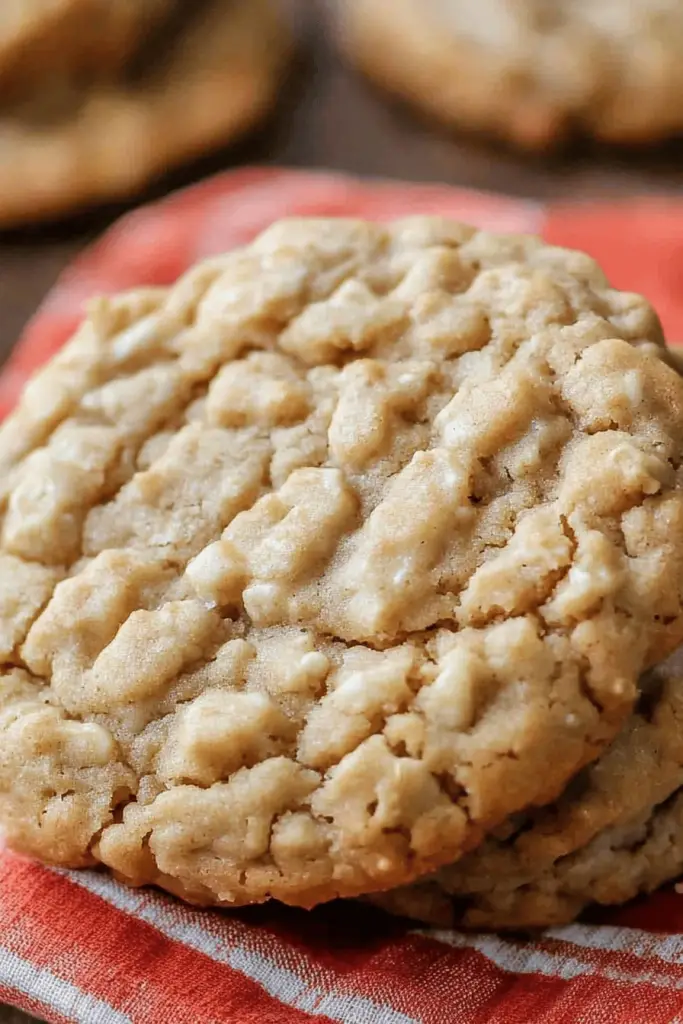
Think of Reeses Pieces Cookies as a dreamy mash-up of all your favorite sweet snack elements — a soft, tender cookie base topped with a colorful mess of crunchy Reeses Pieces that melt just enough in the oven to create that perfect candy-chocolate crunch. It’s essentially a cookie that’s got a sprinkle of childhood nostalgia with every bite. Named after the iconic peanut butter cups, “Reeses Pieces Cookies” highlight that same beloved flavor, but in cookie form. These cookies are a cross between a classic chocolate chip cookie and a candy explosion — think chewy, chocolaty, with bursts of peanut butter goodness and bright, crunchy bits of Reeses candies. They’re the kind of treat that’s endlessly customizable, so whether you like adding more peanut butter or drizzling chocolate on top, this recipe is really a blank canvas for all things sweet and fun. The best part? They’re super easy to make, even if you don’t bake often—perfect for baking with kids or when you just need a quick, satisfying dessert.
How do I make Reeses Pieces Cookies?
Quick Overview
This recipe is the embodiment of “easy comfort food.” You start by mixing up a soft dough, then gently fold in Reeses Pieces—an important step so they don’t all break apart. Drop spoonfuls onto your baking sheet, and into the oven they go. The magic happens during baking when the cookies spread out, the chocolate chips melt just enough, and those colorful candies take on a slightly caramelized crunch. In under 30 minutes, you’ll have warm, irresistible cookies ready to enjoy. What makes this recipe special is how forgiving it is—if you’re short on eggs or butter, I’ve tested substitutions that work beautifully. And if you like your cookies more chewy or crisp, you can tweak the baking time to suit your preference. Honestly, once you’ve made these a few times, they’ll feel like your personal bakery special.
Ingredients
For the Main Batter:
- 1 cup (2 sticks) unsalted butter, softened — trust me, soft butter blends so much easier!
- 1 cup packed brown sugar — adds richness
- 1/2 cup white sugar — for that just-right sweetness
- 2 large eggs — I always do this at room temperature for better mixing
- 2 teaspoons vanilla extract — pure vanilla makes a big difference
- 2 1/4 cups all-purpose flour — I like to use unbleached for depth of flavor
- 1 teaspoon baking soda
- 1/2 teaspoon salt
For the Filling:
- 1 1/2 cups Reeses Pieces candies — find the colorful ones; they look so cute! Also, I’ve tested using peanut butter M&Ms, and wow, that was a game-changer.
For the Glaze (optional but pretty):
- 1/2 cup melting chocolate or chocolate chips
- Extra Reeses Pieces for topping, if desired
Step-by-Step Instructions
Step 1: Preheat & Prep Pan
Preheat your oven to 350°F (175°C). Line a baking sheet with parchment paper or silicone baking mats — this makes cleanup so much easier and keeps the cookies from sticking. I do this first so everything’s ready to go. Make sure your butter is softened — I leave mine out for about 30 minutes, or you can microwave it briefly in 10-second bursts. Trust me, soft butter makes the creaming process way smoother and fluffier.
Step 2: Mix Dry Ingredients
In a small bowl, whisk together the flour, baking soda, and salt. Sifting isn’t necessary, but I always do this to get a smooth, lump-free batter. This step helps ensure even distribution of leavening agents and avoids clumps in your batter later, which is a game-changer when you want that perfect cookie texture.
Step 3: Mix Wet Ingredients
In a large mixing bowl, beat the softened butter, brown sugar, and white sugar together until creamy and pale — about 2-3 minutes with a hand or stand mixer. Add eggs one at a time, beating well after each addition, then stir in vanilla. This step creates that luscious, velvety base for your cookies, and I find it’s worth taking the time to get it nice and fluffy.
Step 4: Combine
Gradually add the dry ingredients to the wet, mixing on low speed just until everything is combined — don’t overmix! Overworking the dough can make cookies tough, so I stop as soon as I don’t see any more flour. The dough will be soft but scoopable.
Step 5: Prepare Filling
Gently fold in the Reeses Pieces, being careful not to crush too many. I like to reserve a handful for decoration or topping later. The candies add the perfect crunch and burst of flavor in every bite, so don’t skimp on this step. If you want, sprinkle a few more on top before baking for an extra colorful touch.
Step 6: Layer & Swirl
Drop spoonfuls of dough onto your prepared baking sheet, spacing them about 2 inches apart. To create those beautiful marbled patterns, use a toothpick or the back of a fork to swirl some of the candies into the dough, or just let the candies sit on top — both work beautifully. Sometimes I even press a few extra candies into the top of each cookie before baking for pops of color.
Step 7: Bake
Bake for 10-12 minutes, or until the edges are golden and the centers look just set. Keep an eye on them because oven times can vary — if you like softer cookies, pull them out a little earlier. Let them rest on the baking sheet for 5 minutes before transferring to a wire rack to cool completely. This way, they’ll keep their shape and stay chewy inside.
Step 8: Cool & Glaze
Allow your cookies to cool completely before adding a drizzle of melted chocolate, if you’re feeling fancy. The glaze adds an extra layer of lusciousness and makes them look irresistibly professional. Trust me, a little drizzle here and there elevates the presentation and makes everyone think you bought them at a fancy bakery.
Step 9: Slice & Serve
Once cooled and glazed, these cookies are ready to be served! I recommend serving them slightly warm or at room temperature — the melty chocolate and crunch from the candies are best enjoyed this way. I like placing them on a nice platter and letting everyone dig in. They look adorable with a big glass of milk or a hot cup of coffee on the side.
What to Serve It With
This cookie is versatile enough for all kinds of occasions! For a cozy breakfast treat, pair a warm cookie with your morning coffee or a glass of cold milk — it’s a miniature breakfast in itself. At brunch, serve alongside fruit and a simple yogurt dip for a fun twist. When it’s time for dessert, these are fabulous with a scoop of vanilla ice cream or atop a layer of whipped cream — think of them as a fun, cookie version of peanut butter and chocolate par excellence. And if you’re just craving a casual, comforting snack, nothing beats grabbing a few straight from the jar, still slightly warm, with the chocolate slightly gooey. I’ve made a kid-approved milkshake using crushed cookies and ice cream that’s basically Reeses Pieces Cookies in drink form—so good! Or, make it a picnic staple by wrapping some in parchment and tossing into a basket for a sweet surprise. No matter how you serve them, these cookies always bring a smile.
Top Tips for Perfecting Your Reeses Pieces Cookies
Over the years, I’ve picked up a few tricks that make these cookies turn out perfect every time. First, always soften your butter properly; I’ve tested everything from melting it first to just leaving it out — softened butter, in my experience, gives the best fluffy texture. When folding in Reeses Pieces, do this gently — I’ve found that smashing a few candies can add color, but overmixing can cause them to break, melting into the dough and losing their crunch. For the swirl pattern, I like to use a toothpick to create random marbling — it’s a fun way to get creative and makes each cookie look a little different, which I think makes it more charming. Variations? Yep! I’ve tried swapping the all-purpose flour for almond flour, and honestly, they still came out deliciously chewy. Using dark chocolate chips instead of milk chocolate gives a more sophisticated taste, and a pinch of sea salt sprinkled on top before baking makes the flavors pop. Baking times are crucial; I always set a timer for 10 minutes and check, because everyone’s oven is different. Also, if you prefer softer cookies, take them out a tad earlier. Lastly, don’t forget to let your cookies cool completely before glazing — the chocolate drizzle smooths out and sets beautifully, looking bakery perfect. Little tweaks like these are what turn good cookies into my personal favorites.
Storing and Reheating Tips
Once you’ve baked (and devoured!) your Reeses Pieces Cookies, you’ll want to keep them fresh. Room temperature is best within the first 2 days — keep them in an airtight container or a glass jar, and they’ll stay soft and chewy. If you’re not eating them right away, refrigerate them for up to a week — just remember, some candies may get a little less crunchy over time. For longer storage, freezing is your friend. Wrap cookies tightly in plastic wrap or foil, then place in a freezer bag — they’ll keep beautifully for up to 3 months. To thaw, leave them out at room temperature for about 30 minutes. Want the cookies to mimic that freshly baked warmth? Pop them in a low oven (about 300°F) for 5 minutes, or microwave for about 10 seconds. If you like a glossy, less sticky glaze, I recommend waiting until cookies are at room temp to add the chocolate drizzle — otherwise, it might melt too quickly. As for the glaze, I usually keep it slightly thick so it’s easy to drizzle without running everywhere. So, whether you’re enjoying a cookie straight from the fridge or a warm batch from the oven, follow these tips to keep your cookies tasting and looking fabulous every time.
Frequently Asked Questions
Final Thoughts
Honestly, Reeses Pieces Cookies have become my go-to sweet fix when I need something quick and satisfying. They remind me of childhood afternoons, running around in the yard, peanut butter cups in hand. But now, I can whip up a batch in under 30 minutes, and the whole family comes running when they smell that irresistible baking aroma. They’re a little bit nostalgic, a little bit decadent — and totally addictive. I love how versatile they are, too; you can jazz them up with extra toppings or keep them simple and classic. Every time I bake these, I feel like I’m sharing a little piece of happiness with everyone around me. If you give this recipe a try, I’d love to hear how yours turn out — or any fun twists you add. Happy baking, and don’t forget to save some for yourself!

Reeses Pieces Cookies
Ingredients
Main Ingredients
- 1.25 cups all-purpose flour
- 0.5 tsp baking soda
- 0.25 tsp salt
- 0.5 cups salted butter (melted)
- 0.5 cups creamy peanut butter
- 0.33 cups brown sugar
- 0.25 cups granulated sugar
- 1 egg egg (room temperature)
- 1 tsp vanilla
- 1 cups Reese's Pieces candies
Instructions
Preparation Steps
- Preheat the oven to 350°F. Line baking sheets with silicone mats or parchment paper.
- Combine flour, baking soda, and salt in a bowl and whisk together.
- Cream melted butter, peanut butter, brown sugar, and granulated sugar until smooth.
- Add egg and vanilla to the mixture and beat well.
- Gradually add dry ingredients to wet mixture, mixing until combined. Stir in Reese's Pieces.
- Scoop dough with a large scoop, roll into balls, and place on prepared baking sheets, about 2 inches apart.
- Flatten the dough slightly with the bottom of a glass, then bake for 10 minutes until edges are golden.
- Gently press additional Reese's Pieces into cookies while warm.
- Cool cookies on the baking sheet for at least 10 minutes before transferring to a wire rack.
Notes
Featured Comments
“Love these! They’re simple and always a hit—my kids ask for them all the time. Perfect combo of peanut butter and chocolate!”
“Impressed! Clear steps and perfect for busy nights results. Perfect for busy nights.”
“New favorite here — spot on. crowd-pleaser was spot on.”
“Super easy and turned out amazing! My family asked for seconds. Saving this one.”
“This sweet treat was absolutely loved — the hearty really stands out. Thanks!”
“Made it tonight and wow — restaurant-level! Will definitely make Easy Peanut Butter Chocolate Cookies again.”


Love these! They’re simple and always a hit—my kids ask for them all the time. Perfect combo of peanut butter and chocolate!