

The Best Easy Tzatziki Sauce You’ll Ever Make
Let me tell you about a little slice of culinary heaven that has completely taken over my fridge. If you’ve ever found yourself standing in the kitchen, staring at a plate of chicken, roasted veggies, or even just a bag of pita chips thinking, “This needs… something,” I have the perfect solution for you. We’re making my absolute favorite easy tzatziki sauce today, and I promise it’s going to change your meal prep game forever.
I remember the first time I tried authentic tzatziki at a tiny taverna on a warm summer night. It was creamy, garlicky, bursting with fresh dill, and had this incredible cooling effect. For years, I bought the store-bought tubs, but they always fell flat—either too watery, too sweet, or lacking that vibrant fresh herb punch. Finally, I decided to crack the code at home.
Turns out, making this classic Greek dip is shockingly simple. You don’t need fancy equipment or hard-to-find ingredients. Just a few fresh staples and about ten minutes of your time. Grab your whisk, because we’re about to whip up a batch of pure magic.
What Is Easy Tzatziki Sauce?
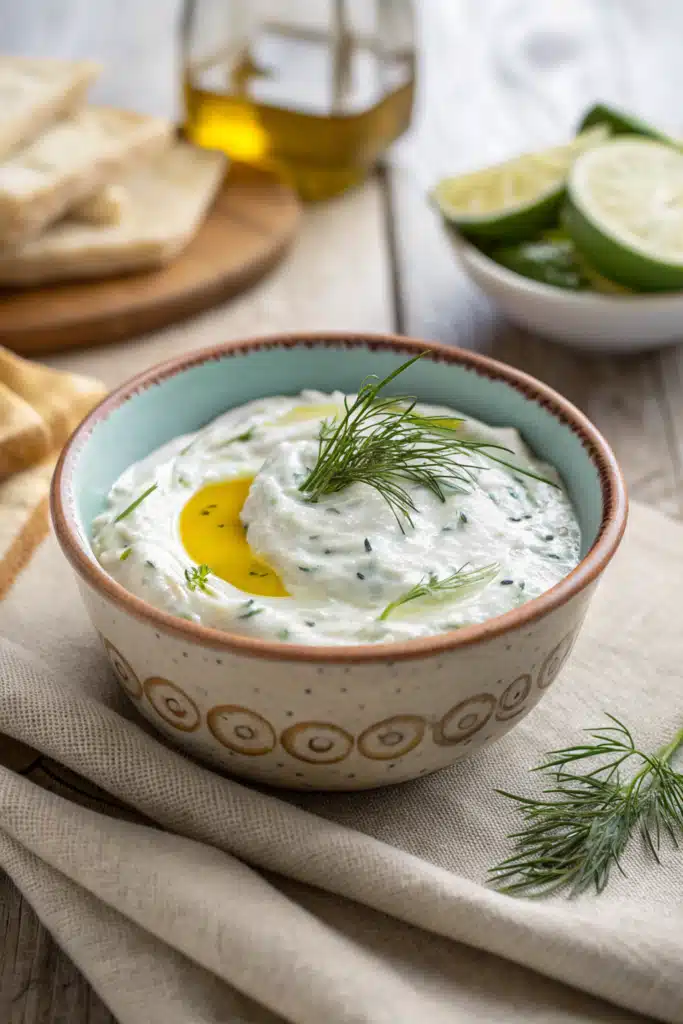
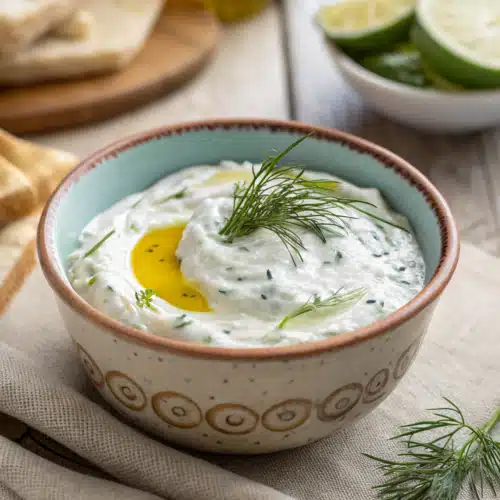
If you’re new to Mediterranean cuisine, you might be wondering what exactly this glorious white dip actually is. At its core, an easy tzatziki sauce is a traditional Greek yogurt-based dip or condiment that is as refreshing as a cool breeze on a hot July afternoon. The base is always thick, rich Greek yogurt, which gets folded together with finely grated cucumber, a generous hit of minced garlic, a splash of bright lemon juice, and a handful of fresh herbs—usually dill, though some families swear by mint.
It’s the ultimate cooling counterpart to warm, heavily spiced meats and roasted vegetables. What makes tzatziki so special is the beautiful contrast of textures and flavors. The yogurt brings a luxurious creaminess, the cucumber adds a subtle, hydrating crunch, and the garlic and lemon cut through it all with a sharp, tangy bite. While it’s famous for being slathered inside gyro pita wraps, this sauce is incredibly versatile. It functions beautifully as a salad dressing, a dip for fresh crudités, or a savory spread for sandwiches. Once you know what it is, you’ll want to put it on literally everything.
How to Make Easy Tzatziki Sauce
Quick Overview
Making this easy tzatziki sauce is a breeze, even if you aren’t super confident in the kitchen. The entire process takes about ten minutes of hands-on time. The secret to success lies in one crucial step: getting rid of the excess water in the cucumber. Cucumbers are mostly water, and if you skip draining them, your beautiful, creamy sauce will turn into a watery, separated mess.
We’ll grate the cucumber, squeeze the living daylights out of it, and then simply fold it into our thick Greek yogurt along with minced garlic, fresh dill, lemon juice, extra virgin olive oil, and a pinch of salt. After a quick mix, you just let it chill in the fridge so those gorgeous flavors can get to know each other. That’s really all there is to it!
Ingredients
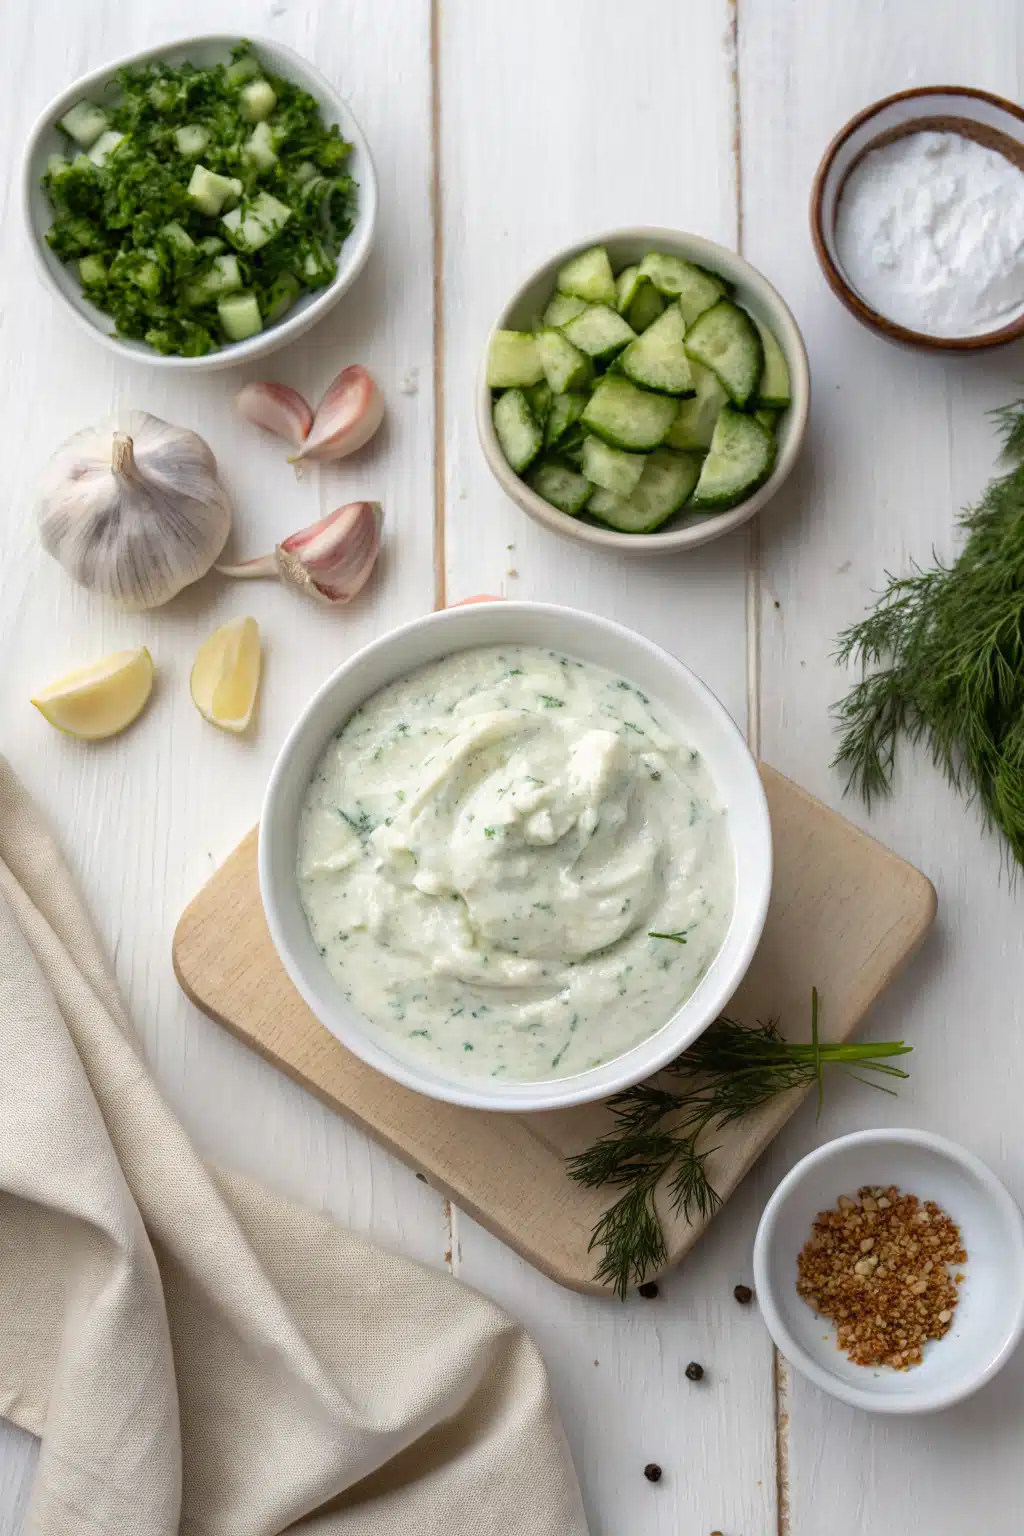
Here is what you need to grab from the store to make this magic happen:
- Plain Greek Yogurt: You must use full-fat or 2% Greek yogurt for the best texture. Regular yogurt is too thin!
- English Cucumber: I prefer English cucumbers because they have fewer seeds and a thinner skin, meaning you don’t even have to peel them.
- Fresh Garlic: One or two cloves, finely minced or grated. Fresh is mandatory here—skip the jarred stuff!
- Fresh Dill: A generous handful of finely chopped fresh dill gives this sauce its signature flavor.
- Lemon Juice: Freshly squeezed lemon juice adds the perfect bright acidity.
- Extra Virgin Olive Oil: A drizzle of good quality olive oil adds richness and a silky mouthfeel.
- Salt and Pepper: Just a pinch to bring all the flavors alive.
Step-by-Step Instructions
Step 1: Grate the Cucumber
Start by washing your English cucumber. Using a box grater, grate about half of the cucumber on the medium or coarse holes. If you are using a standard garden cucumber, you might want to peel it first and scoop out the large seeds before grating so your sauce stays smooth.
Step 2: Squeeze Out the Moisture
This is the most important step! Place the grated cucumber into a fine mesh sieve or the center of a clean kitchen towel. Squeeze it tightly over the sink to extract as much water as humanly possible. You want the cucumber shreds to be quite dry so they don’t water down your dip.
Step 3: Mix the Base
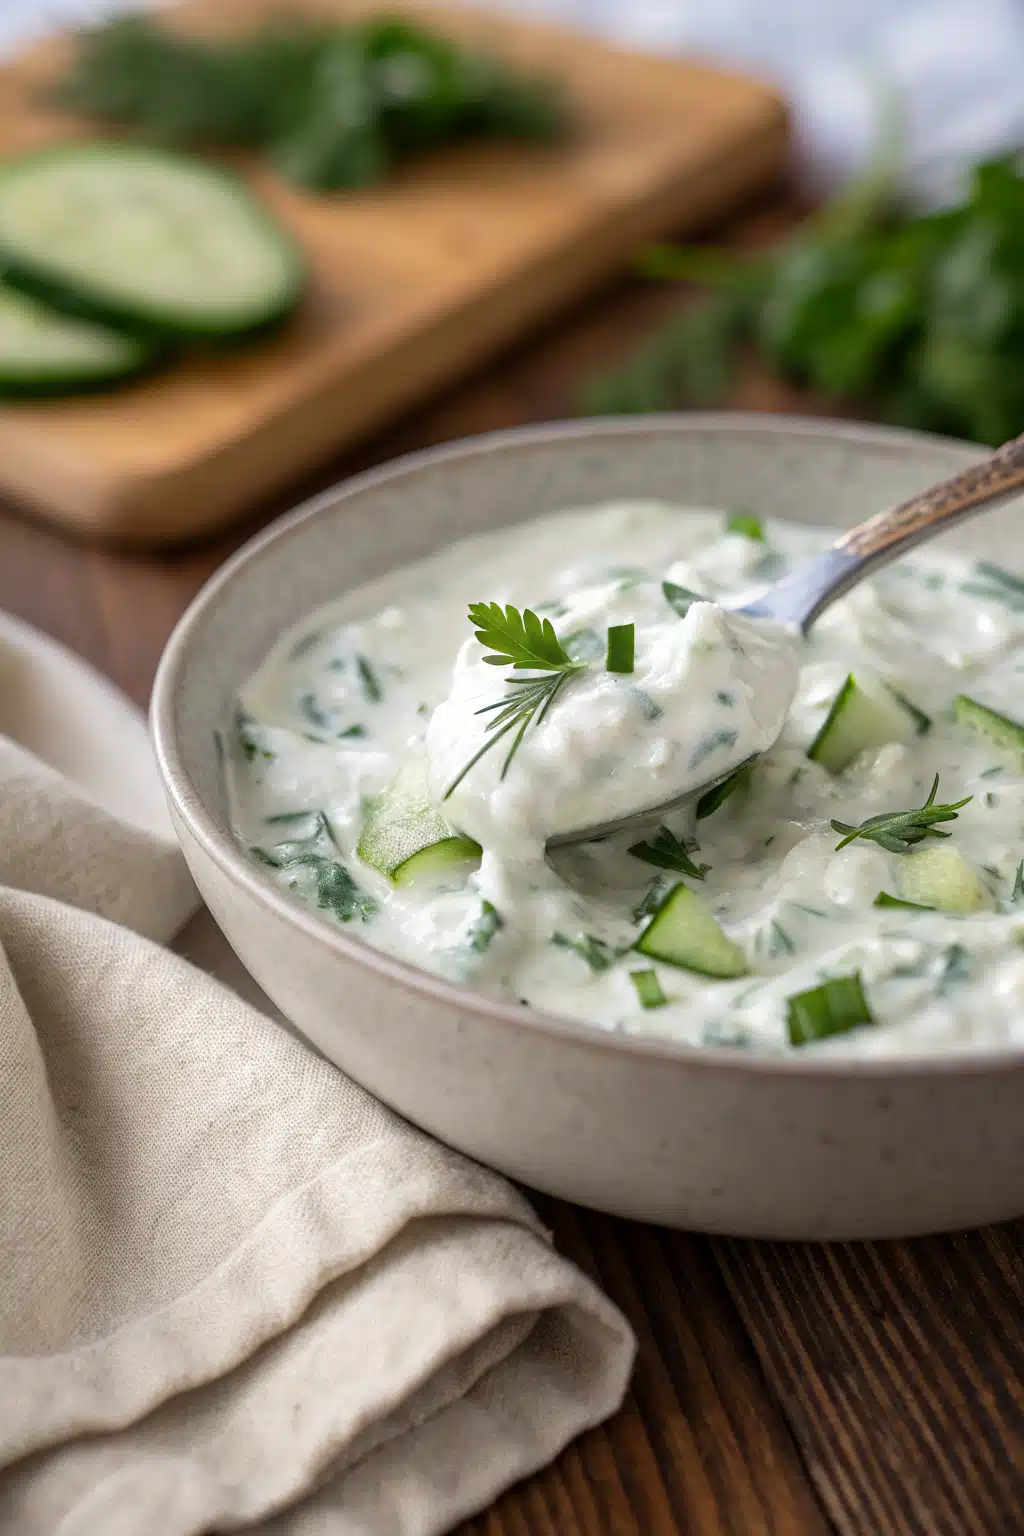
In a medium-sized mixing bowl, combine your thick Greek yogurt, the squeezed cucumber, minced garlic, freshly chopped dill, lemon juice, extra virgin olive oil, and a pinch of salt and pepper.
Step 4: Stir and Chill
Use a spoon or a whisk to gently fold everything together until the ingredients are evenly distributed. Give it a quick taste and adjust the salt or lemon juice if needed. While you can eat it right away, I highly recommend covering the bowl and letting it chill in the fridge for at least 30 minutes. This resting time allows the garlic and dill to infuse beautifully into the yogurt.
What to Serve It With
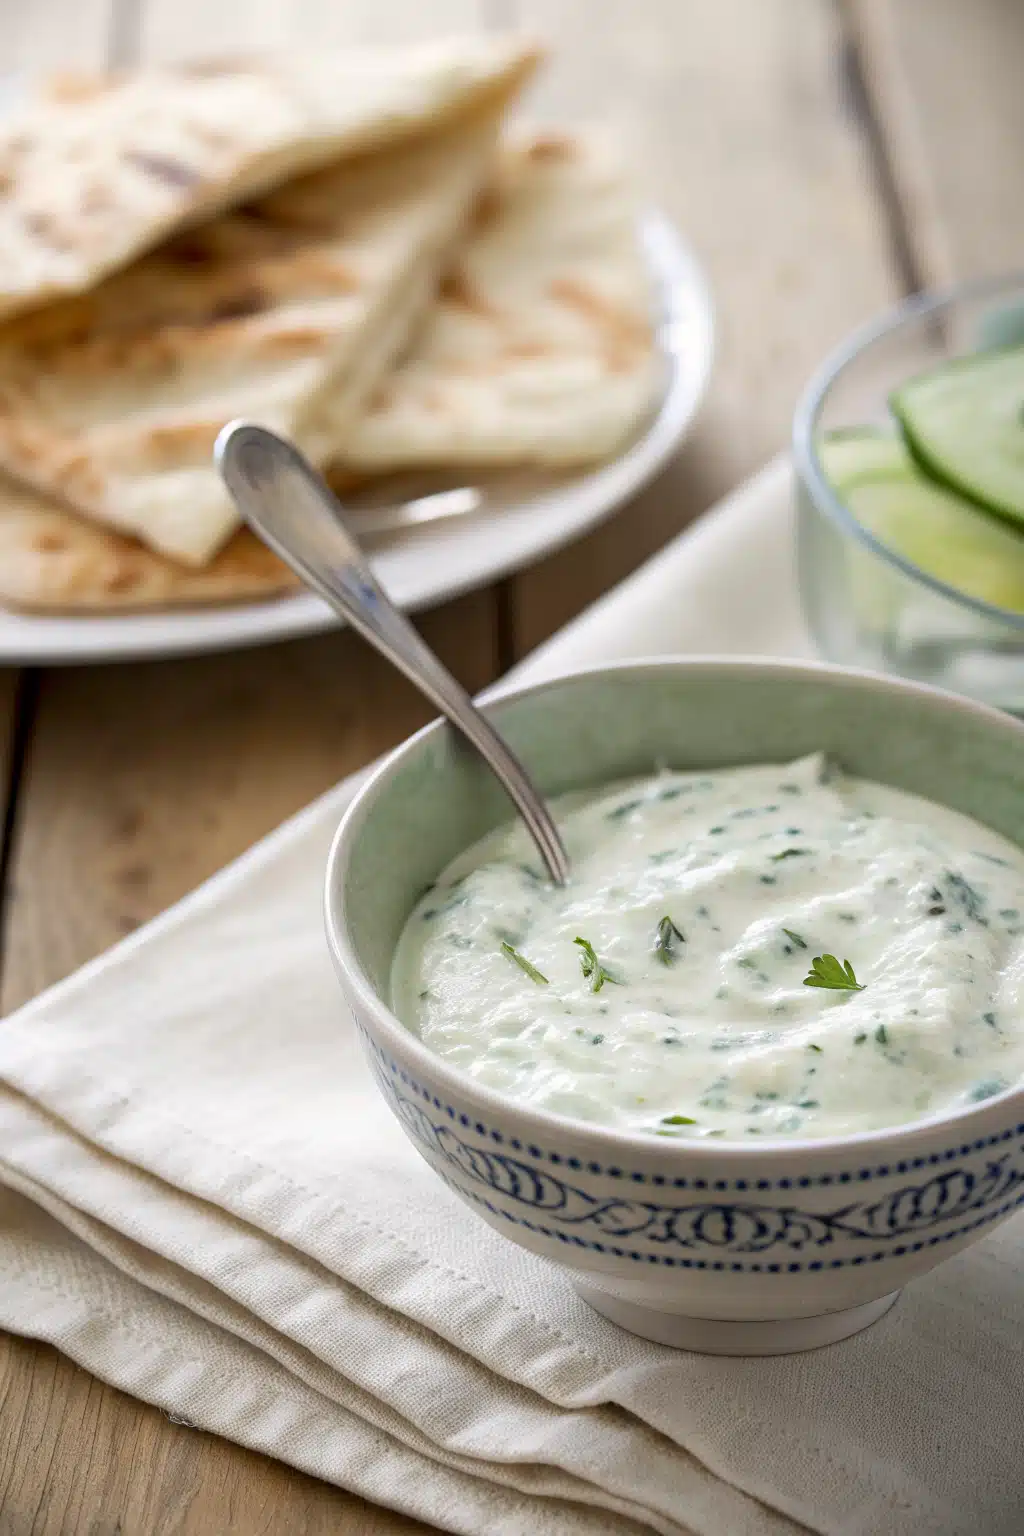
The beauty of this easy tzatziki sauce is its wild versatility. My absolute favorite way to serve it is alongside warm, fluffy pita bread and a massive platter of grilled chicken souvlaki. It’s the ultimate pairing! But don’t stop there. It acts as a phenomenal dip for fresh, crunchy vegetables like carrots, bell peppers, and celery.
I love dolloping a huge spoonful over grain bowls filled with quinoa, roasted chickpeas, and feta cheese. It’s also a brilliant substitute for mayonnaise on sandwiches and burgers, adding a punch of flavor without the heaviness. And if you’re making roasted potatoes or sweet potato fries? Dip them in tzatziki. Trust me, it is a total game changer.
Top Tips for Perfecting Your Easy Tzatziki Sauce
Even the simplest recipes have a few secrets. Here is how to make sure your tzatziki turns out flawless every single time:
- Don’t skip the squeeze: I can’t stress this enough. Wet cucumbers equal runny tzatziki. Squeeze them until you think no more water can come out, and then squeeze them one more time!
- Use full-fat Greek yogurt: The fat content is what gives this dip its luxurious, creamy mouthfeel. Fat-free versions can be a bit chalky and lack the richness needed to balance the sharp garlic.
- Grate the garlic: Instead of chopping the garlic with a knife, use a microplane to grate it into a fine paste. This ensures the garlic flavor distributes evenly without leaving you biting into a harsh, spicy chunk of raw garlic.
- Let it rest: Patience is a virtue! Giving the sauce at least 30 minutes to chill in the fridge completely transforms the flavor profile. The harsh bite of the raw garlic mellows out, and the dill permeates the entire bowl.
Storing and Reheating Tips
Because this easy tzatziki sauce is dairy-based and full of fresh ingredients, proper storage is key. Transfer any leftover sauce into an airtight container and store it in the refrigerator. It will stay wonderfully fresh for up to 3 to 4 days. You might notice a little bit of water pooling on the top after it sits in the fridge overnight—don’t panic! This is totally normal as the cucumbers continue to release a tiny bit of moisture. Just give it a good stir before serving, and it will be as good as new.
I do not recommend freezing tzatziki sauce. Freezing alters the cellular structure of the cucumbers and the yogurt. When you thaw it out, the yogurt will separate and become grainy, and the cucumbers will turn to mush. Since it only takes ten minutes to whip up a fresh batch, it’s always best enjoyed freshly made from the fridge! There’s obviously no reheating required here, as this is meant to be served chilled.
Frequently Asked Questions
Final Thoughts
There you have it, friends—my absolute favorite way to whip up an easy tzatziki sauce right at home. It’s vibrant, it’s creamy, and it packs a flavor punch that will make you swear off the store-bought tubs forever. Whether you’re hosting a big summer barbecue, prepping your lunches for the busy week ahead, or just looking for a deliciously fresh dip for your midnight pita chip cravings, this recipe is guaranteed to deliver.
I really hope you give this a try in your own kitchen. There is something so deeply satisfying about making your own condiments from scratch, especially when they turn out this good. Don’t be afraid to play around with the garlic and herbs until it tastes exactly the way you love it. If you make this, be sure to let me know how you served it! Grab those cucumbers, start grating, and get ready to fall in love with your new favorite dip. Happy mixing!
Easy Tzatziki Sauce
Ingredients
Main Ingredients
- 1 cup plain Greek yogurt
- 0.5 cup English cucumber grated
- 1 tablespoon extra virgin olive oil
- 1 tablespoon fresh lemon juice
- 1 clove garlic minced
- 1 tablespoon fresh dill chopped
- 0.25 teaspoon kosher salt
- 0.125 teaspoon black pepper
Instructions
Preparation Steps
- Grate the cucumber and place it in a clean dish towel. Squeeze out as much excess liquid as possible.
- In a medium bowl, combine the squeezed cucumber, Greek yogurt, olive oil, lemon juice, minced garlic, fresh dill, salt, and pepper.
- Stir all the ingredients together until well combined.
- Cover and refrigerate for at least 10 minutes to allow the flavors to meld before serving.
Notes
Featured Comments
“So good! This is exactly what I need on a lazy Sunday—simple, fresh, and full of sunshine. Thanks for sharing!”
“This sounds so comforting—tzatziki always feels like a little slice of summer. Thanks for the reminder of how simple things can bring joy!”
“Impressed! Clear steps and restaurant-level results. Perfect for busy nights.”
“New favorite here — so flavorful. crowd-pleaser was spot on.”
“Super easy and turned out amazing! My family asked for seconds. Saving this one.”
“This sweet treat was absolutely loved — the bright really stands out. Thanks!”


This sounds so comforting—tzatziki always feels like a little slice of summer. Thanks for the reminder of how simple things can bring joy!
So good! This is exactly what I need on a lazy Sunday—simple, fresh, and full of sunshine. Thanks for sharing!