

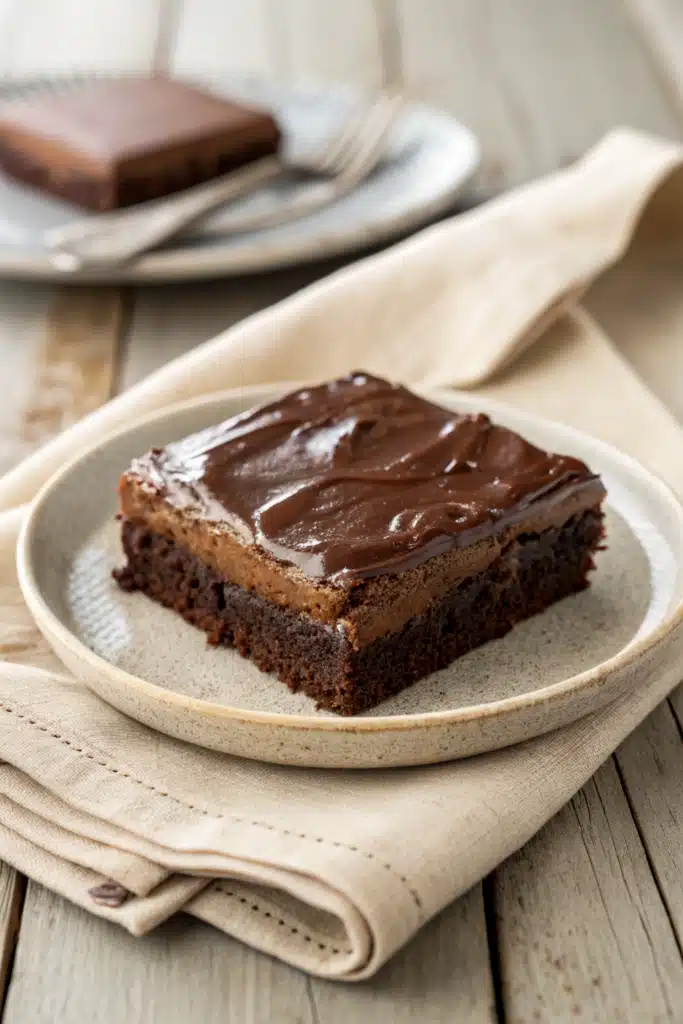
The Ultimate French Silk Brownies
Let’s be completely honest for a second. We all have those days where a standard chocolate chip cookie just isn’t going to cut it. You know the kind of day I’m talking about—when you need a dessert that is unapologetically rich, deeply chocolatey, and feels like a massive warm hug in pastry form. That is exactly when I pull out my recipe for French Silk Brownies.
I first started making these years ago when I couldn’t decide between baking a batch of my grandmother’s classic fudgy brownies or whipping up a traditional French silk pie for a holiday get-together. I thought, why on earth do I have to choose? Combining them seemed like a dangerous, wonderful experiment, and let me tell you, the result was absolute magic.
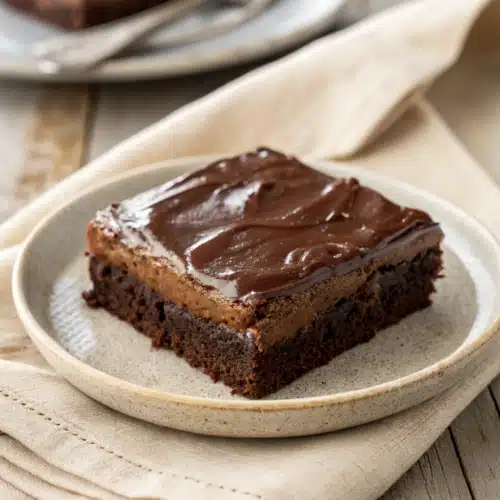
These aren’t your average bake-sale treats. They are an experience. A dense, chewy bottom layer supports a cloud-like, velvety chocolate mousse topping that literally melts the second it hits your tongue. Grab your favorite mixing bowl, because you’re about to make your new favorite dessert.
What Are French Silk Brownies?
If you’ve never had the absolute pleasure of eating one of these, let me paint a picture for you. French Silk Brownies are exactly what they sound like: a beautiful, decadent marriage between two beloved dessert classics.
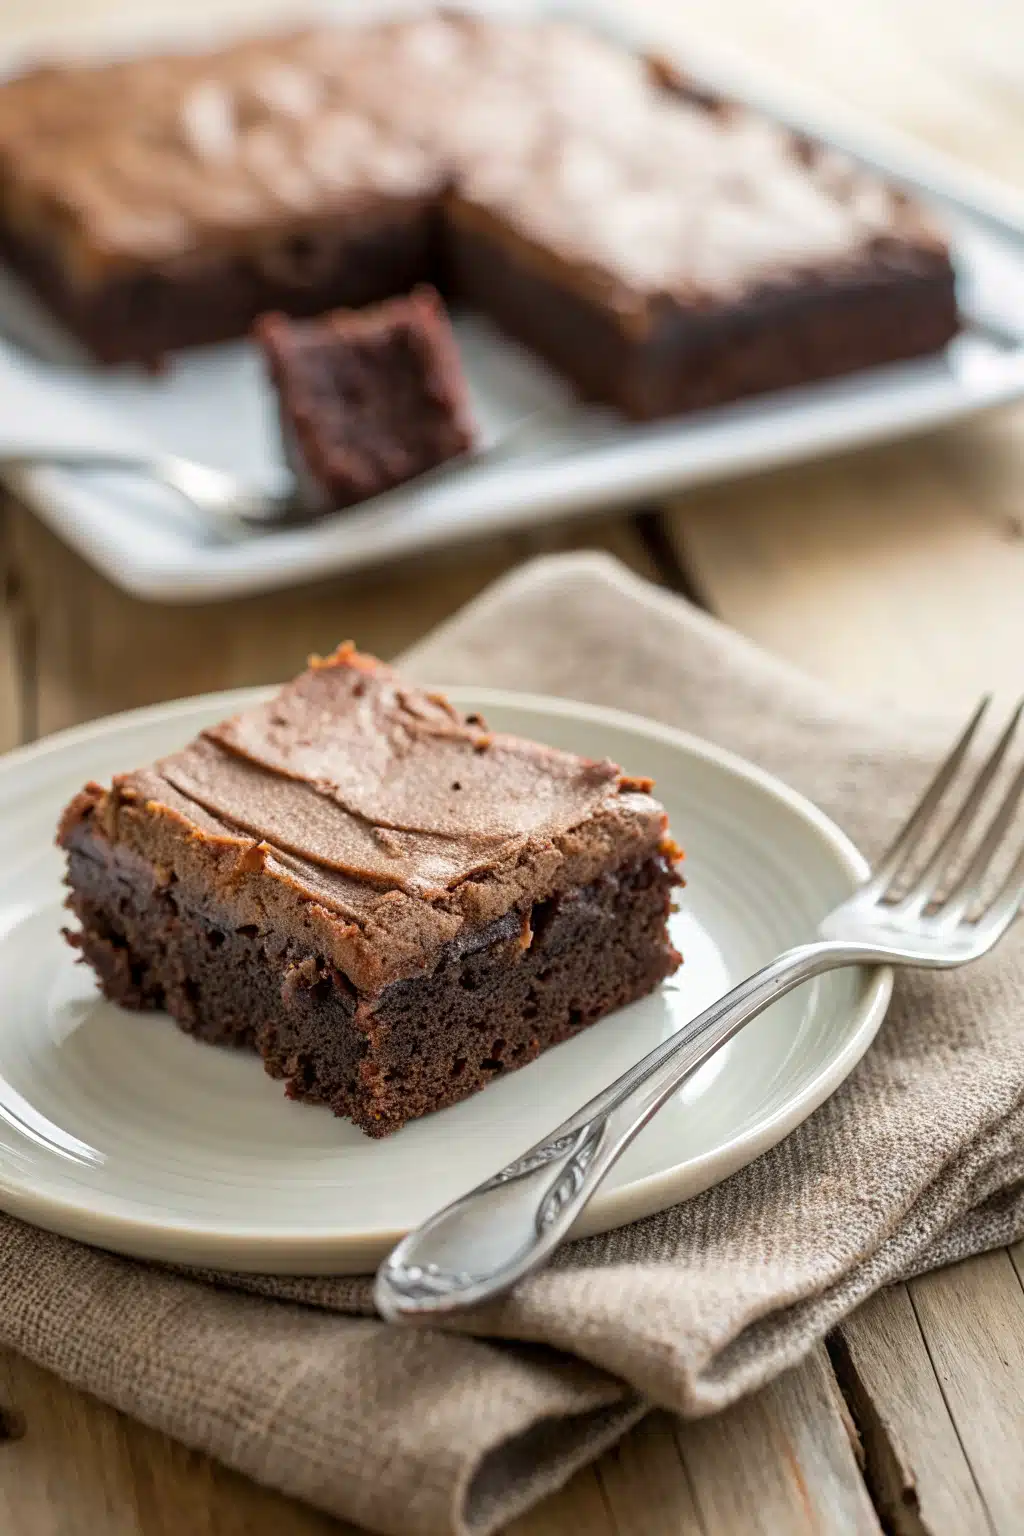
The base is a traditional, from-scratch chocolate brownie. It’s baked until it’s just set, ensuring it stays ultra-fudgy, dense, and rich. We aren’t going for a cake-like brownie here; we need a sturdy, chewy foundation.
The magic really happens with the topping. Instead of a standard frosting, these brownies are piled high with a thick layer of French silk. If you aren’t familiar with French silk, it’s a luscious, buttery, airy chocolate mousse made by whipping butter, sugar, melted chocolate, and eggs for an extended period until it becomes impossibly smooth. When you layer that chilled, creamy silk over a dense brownie base and top it all off with a dollop of freshly whipped cream and chocolate shavings, you get a dessert that tastes like it came from a high-end French patisserie.
How to Make French Silk Brownies
Quick Overview
Don’t let the layers intimidate you! Making these brownies boils down to three simple phases. First, you’ll whip up a quick, one-bowl brownie batter and bake it until it’s perfectly fudgy. While that cools down completely, you’ll tackle the star of the show: the French silk topping. This involves melting some good quality chocolate and whipping it with butter, sugar, and pasteurized eggs until it’s light and fluffy. Finally, you’ll spread that silk over your cooled brownies, let it chill in the fridge to set, and finish it off with a simple homemade whipped cream.
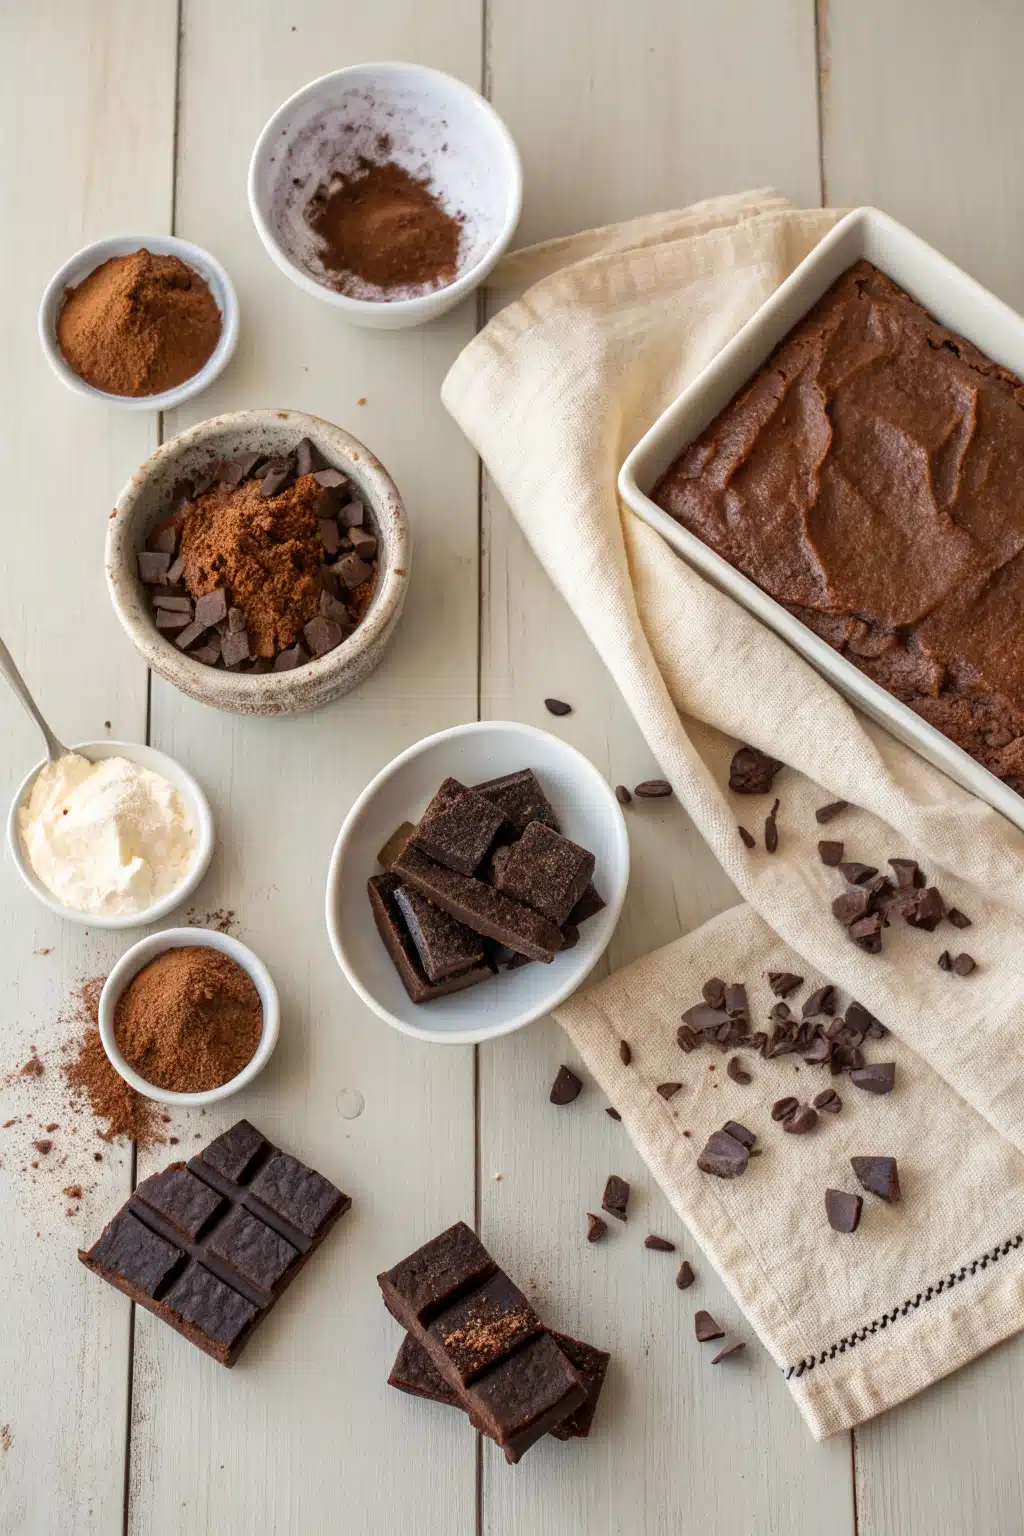
Ingredients
For the Brownie Base:
- 1/2 cup unsalted butter, melted
- 1 cup granulated sugar
- 2 large eggs, room temperature
- 1 teaspoon pure vanilla extract
- 1/2 cup unsweetened cocoa powder
- 1/2 cup all-purpose flour
- 1/4 teaspoon salt
For the French Silk Layer:
- 3/4 cup unsalted butter, softened to room temperature
- 1 cup granulated sugar
- 3 ounces unsweetened baking chocolate, melted and cooled
- 1 teaspoon pure vanilla extract
- 3 large pasteurized eggs
For the Topping:
- 1 cup heavy whipping cream, cold
- 2 tablespoons powdered sugar
- Chocolate curls or shavings for garnish
Step-by-Step Instructions
Step 1: Preheat & Prep Pan
Preheat your oven to 350°F (175°C). Line an 8×8-inch square baking pan with parchment paper, leaving a little overhang on the sides. This is my favorite trick because it lets you easily lift the entire batch of brownies out of the pan later for clean, beautiful slices.
Step 2: Mix and Bake the Brownie Base
In a medium bowl, whisk together the melted butter and granulated sugar until well combined. Beat in the eggs one at a time, followed by the vanilla extract. Gently fold in your cocoa powder, flour, and salt until just combined—don’t overmix! Pour the batter into your prepared pan and bake for 20-25 minutes, or until a toothpick inserted in the center comes out with moist crumbs. Let the brownies cool completely in the pan.
Step 3: Whip the Butter and Sugar
While the brownies cool, start the silk layer. In a stand mixer fitted with a paddle attachment (or using a hand mixer), beat the softened butter and sugar together on medium-high speed until it’s incredibly light and fluffy. You want the sugar to lose most of its grittiness, which usually takes about 3 to 4 minutes. Scrape down the sides of the bowl as needed.
Step 4: Add Chocolate and Eggs
Pour the cooled, melted chocolate and vanilla extract into your butter mixture and beat until blended. Now comes the most important part: add the pasteurized eggs one at a time. After adding each egg, beat the mixture on high speed for exactly 5 minutes. Yes, 5 minutes per egg! This extended whipping time is what gives the French silk its signature airy, velvety texture and dissolves the remaining sugar.
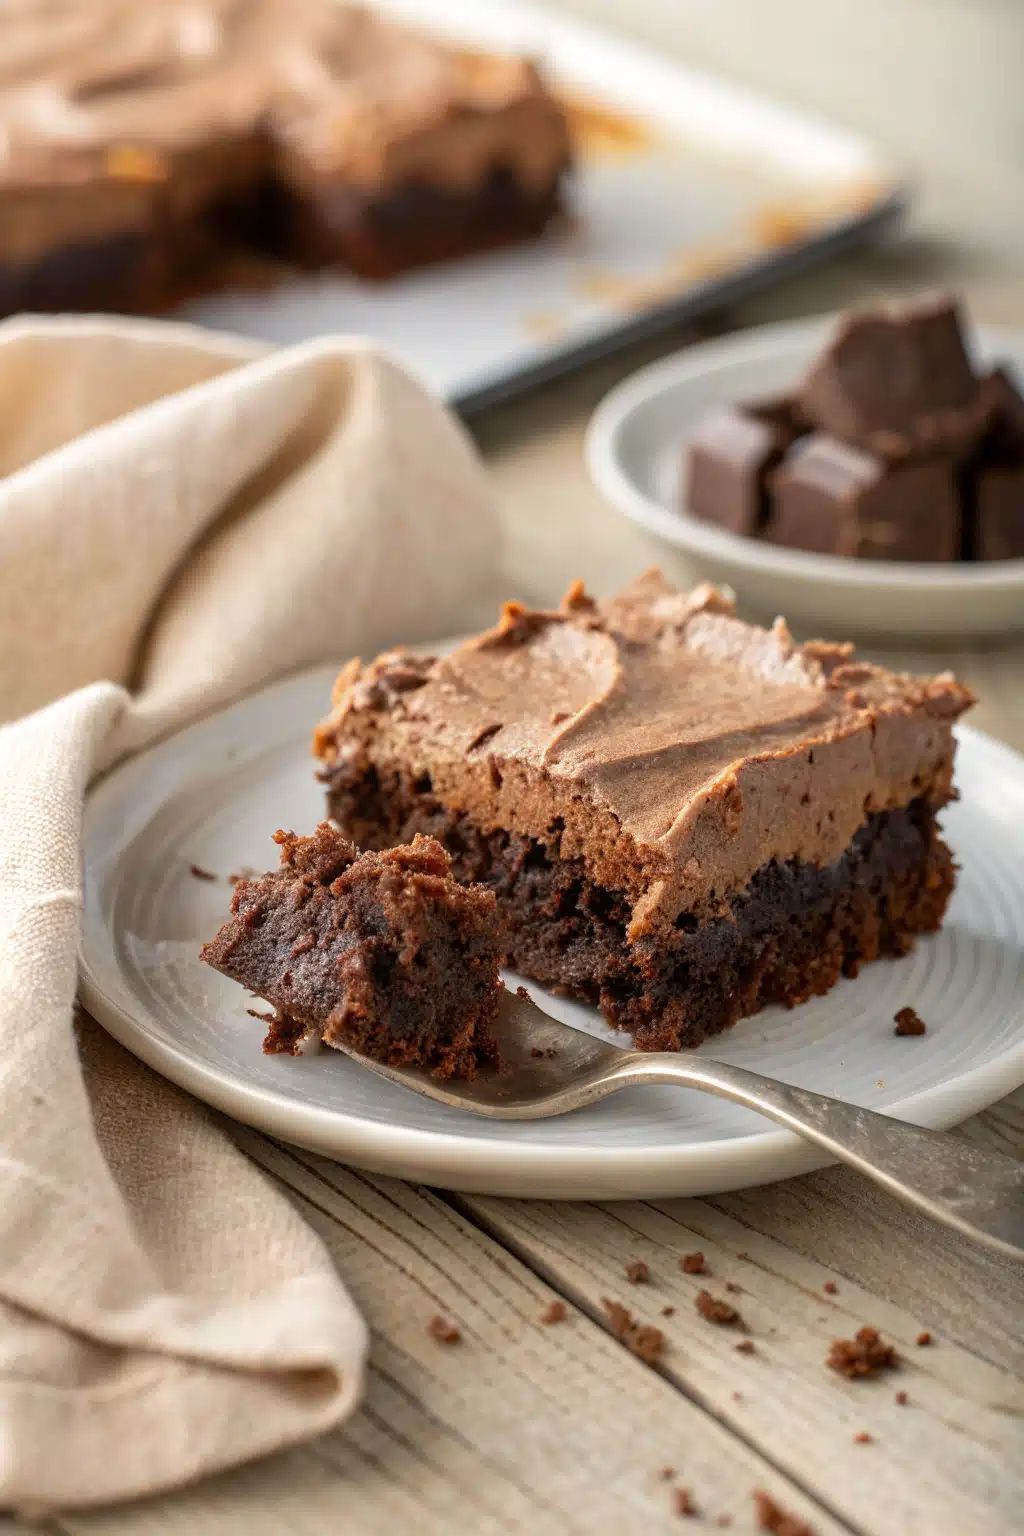
Step 5: Assemble and Chill
Once your silk is perfectly light and fluffy, spread it evenly over the completely cooled brownie base. Cover the pan tightly with plastic wrap and place it in the refrigerator to chill for at least 4 hours, though overnight is even better.
Step 6: Top and Serve
Right before serving, whip the cold heavy cream and powdered sugar together until stiff peaks form. Spread the whipped cream over the set French silk layer. Use the parchment paper overhang to lift the brownies out of the pan, slice them with a warm knife, and garnish with fresh chocolate curls.
What to Serve It With
Because these brownies are intensely rich and chocolatey, I highly recommend pairing them with something that offers a bit of balance. A piping hot cup of black coffee or a shot of espresso is an absolute match made in heaven—the bitterness of the coffee cuts right through the sweetness of the silk.
If you’re serving these to kids (or kids at heart), a tall, ice-cold glass of milk is practically mandatory. I also love serving these with a side of fresh berries. A handful of tart raspberries or sliced strawberries adds a bright, acidic pop of flavor that beautifully offsets the heavy, decadent chocolate.
Top Tips for Perfecting Your French Silk Brownies
Use Pasteurized Eggs: Because the French silk layer is not baked, you are consuming raw eggs. To make this completely safe for everyone to enjoy, buy pasteurized eggs from the grocery store. They’ve been briefly heated to kill bacteria without cooking the egg inside.
Patience is Key: Do not shortcut the 5-minute whipping rule for the eggs! I know 15 total minutes of mixing sounds like a long time, but this is the secret to getting that impossibly smooth, melt-in-your-mouth texture. If you rush it, your topping will be gritty and heavy.
Cool the Chocolate: When melting the baking chocolate for the silk layer, make sure you let it cool to room temperature before adding it to your butter and sugar. If it’s too hot, it will melt the butter and ruin the fluffy texture.
Clean Cuts: For bakery-worthy, gorgeous slices, run a large, sharp chef’s knife under hot water, wipe it completely dry with a towel, and make a slice. Repeat this hot-water-and-wipe process for every single cut. It takes a little extra time, but the clean layers look spectacular.
Storing and Reheating Tips
Because of the dairy and raw eggs in the silk layer, these brownies absolutely must be stored in the refrigerator. Place any leftovers in an airtight container, or keep them in the baking pan wrapped tightly in plastic wrap. They will stay fresh and delicious in the fridge for up to 4 days.
Whatever you do, please do not microwave these! The French silk layer is made primarily of whipped butter and chocolate. If you heat it up, it will immediately melt into a sad, greasy puddle. These are meant to be eaten chilled directly from the fridge, or allowed to sit at room temperature for about 10 minutes to take the chill off before taking a bite.
Frequently Asked Questions
Final Thoughts
There you have it, friends—my absolute favorite way to satisfy a serious chocolate craving. These French Silk Brownies are a labor of love, but the moment you take that first bite, you’ll realize every single minute of mixing was completely worth it. They are rich, they are impressive, and they are guaranteed to make you the most popular person at your next gathering.
I really hope you give this recipe a try in your own kitchen. Pour yourself a hot cup of coffee, cut a generous slice, and treat yourself to a little slice of chocolate heaven. Happy baking!
French Silk Brownies
Ingredients
Main Ingredients
- 1 box fudge brownie mix 18.3 oz
- Water, vegetable oil and eggs as called for on brownie mix box
- 0.5 cup miniature semisweet chocolate chips
- 1 package cream cheese 8 oz, softened
- 1.5 cups powdered sugar
- 0.25 cup unsweetened baking cocoa
- 0.75 cup heavy whipping cream
- 1 teaspoon vanilla
- 1 cup heavy whipping cream for topping
- 3 tablespoons powdered sugar for topping
- 0.5 teaspoon vanilla for topping
- 2 tablespoons miniature semisweet chocolate chips for garnish
Instructions
Preparation Steps
- Heat oven to 350°F. Spray bottom of 13x9-inch pan with cooking spray.
- Make brownie batter as directed on box. Stir in 0.5 cup chocolate chips. Spread in pan. Bake 22 to 25 minutes or until toothpick inserted 2 inches from side of pan comes out almost clean. Cool completely, about 1 hour.
- In large bowl, beat cream cheese, 1.5 cups powdered sugar, cocoa, 0.75 cup heavy whipping cream, and 1 teaspoon vanilla with electric mixer on medium speed until smooth. Spread evenly over brownies. Refrigerate about 2 hours or until set.
- When ready to serve, cut brownies into 6 rows by 4 rows. In chilled medium bowl, beat 1 cup whipping cream with electric mixer on medium-high speed until slightly thickened. Reduce speed; beat in 3 tablespoons powdered sugar and 0.5 teaspoon vanilla. Increase speed; beat mixture until stiff peaks form.
- Spoon whipped cream into decorating bag fitted with 0.5-inch star piping tip. In center of each brownie, pipe in tight circle to make rosette flower. Garnish rosettes with chocolate chips. Store loosely covered in refrigerator.
Notes
Featured Comments
“I’ve been looking for the perfect brownie recipe and this sounds like it! Can’t wait to try these French Silk Brownies—thanks for sharing!”
“Impressed! Clear steps and so flavorful results. Perfect for busy nights.”
“New favorite here — family favorite. crowd-pleaser was spot on.”
“Super easy and turned out amazing! My family asked for seconds. Saving this one.”
“This sweet treat was absolutely loved — the cozy really stands out. Thanks!”
“Made it tonight and wow — absolutely loved! Will definitely make French Silk Brownies again.”


I’ve been looking for the perfect brownie recipe and this sounds like it! Can’t wait to try these French Silk Brownies—thanks for sharing!