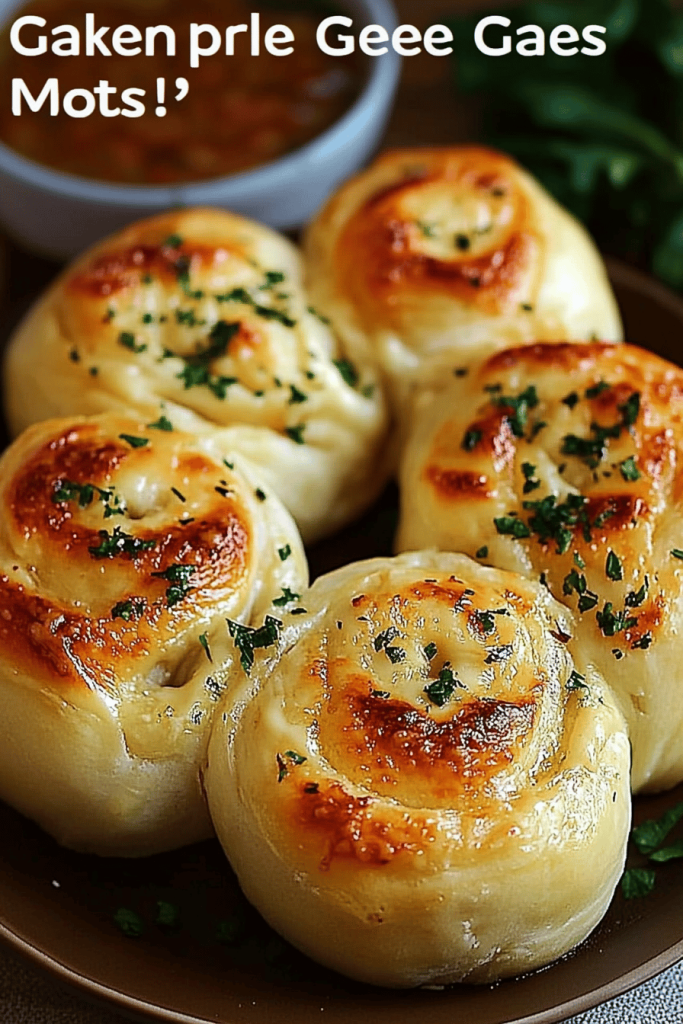
Okay, picture this: it’s a chilly evening, the kind where you just want something warm and comforting. The aroma of baking bread fills the air, but not just any bread – it’s the irresistible smell of garlic and melted cheese mingling together. That’s what these Garlic Cheese Rolls are a are all about! Honestly, they’re like the lovechild of garlic bread and cinnamon rolls, but savory and, dare I say, even more addictive. My grandmother used to Make something similar with just garlic and butter, but the addition of cheese takes them to a whole new level. These little guys are so easy to whip up, even on the busiest of weeknights, and they always disappear faster than I can make them!
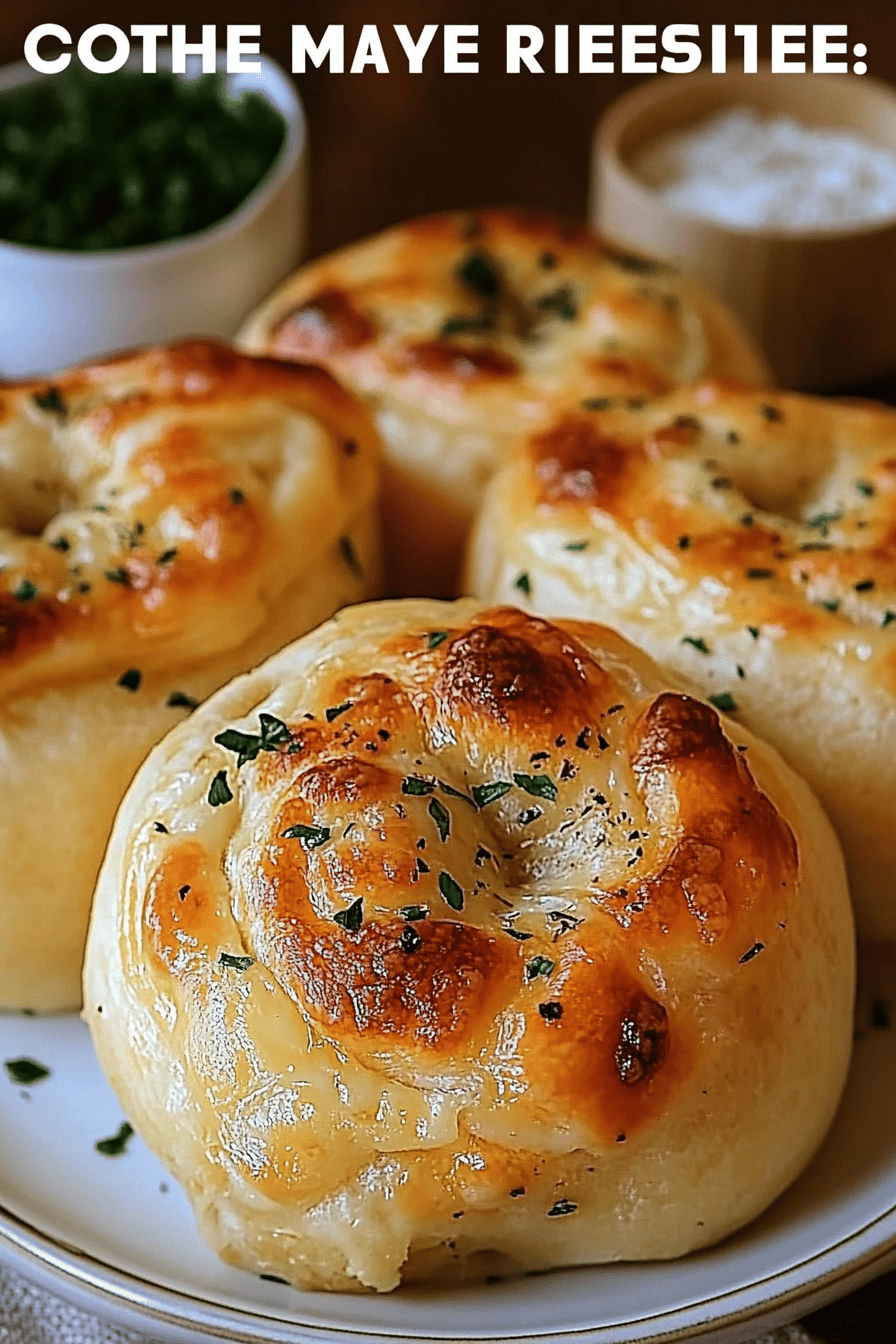
What are Garlic Cheese Rolls?
Think of Garlic Cheese Rolls as soft, fluffy rolls swirled with a generous filling of garlic-infused butter and melted cheese. They’re essentially a savory twist on classic sweet rolls. The name pretty much says it all! The dough is simple, yeasted, and creates this unbelievably tender crumb that just soaks up all the delicious flavors. It’s like having individual little pillows of garlic and cheese heaven. They can be served as a side dish, a snack, or even a light meal all on their own. Don’t let the “roll” part intimidate you; they’re surprisingly simple to put together, and the results are totally worth it.
Why You’ll Love This Recipe
>Where do I even begin? There are so many reasons why I adore this recipe for Garlic Cheese Rolls. First and foremost, the flavor is out of this world! The pungent garlic, the rich butter, and the gooey, melted cheese combine in a symphony of deliciousness that’s hard to resist. My family literally hovers around the kitchen when these are baking, waiting for the moment they can sink their teeth into one. What I love most about this recipe is how incredibly easy it is to make. Seriously, you don’t need to be a master baker to pull these off. The dough comes together quickly, and the filling is as simple as mixing a few ingredients. Plus, they’re surprisingly cost-effective. You probably already have most of the ingredients in your pantry and fridge.
Another reason is the versatility! These rolls are amazing served warm as a side dish with pasta, soup, or salad. They’re equally fantastic as a snack on their own, or even as a light lunch. I’ve even been known to sneak one (or two!) straight from the pan while they’re still warm. Honestly, this recipe is right up there with my Grandma’s classic dinner rolls, but with an extra kick of garlic and cheese that makes them completely irresistible. And the best part? Even if you mess up a little, they still taste amazing. Trust me, I’ve learned that the hard way!
How to Make Garlic Cheese Rolls
Quick Overview
>Making these Garlic Cheese Rolls: What are is way easier than you might think. Basically, you’ll make a simple yeast dough, let it rise, roll it out, slather it with a garlicky cheese mixture, roll it up like a log, slice it into rolls, and bake until golden brown and bubbly. The secret is using good quality ingredients and not being afraid to get your hands a little messy. Don’t worry about making them perfect, the rustic look is part of their charm. I promise, the aroma that fills your kitchen while they’re baking is worth every single step!
Ingredients
>For the Main Batter:
* 3 cups all-purpose flour, plus more for dusting – I always use unbleached for the best flavor.
* 1 packet (2 1/4 teaspoons) active dry yeast – Make sure it’s not expired or your dough won’t rise!
* 1 cup warm milk (about 110°F) – I use whole milk, but you can substitute with almond milk – I tested this with almond milk and it actually made it even creamier!
* 1/4 cup granulated sugar – Just a touch to help activate the yeast and add a little sweetness.
* 1 teaspoon salt – Enhances the flavor and controls the yeast.
* 1/4 cup (1/2 stick) unsalted butter, melted – Adds richness and tenderness to the dough.
* 1 large egg – Provides structure and moisture.
>For the Filling:
* 1/2 cup (1 stick) unsalted butter, softened – Make sure it’s nice and soft so it’s easy to spread.
* 4 cloves garlic, minced – Fresh garlic is a must for that pungent flavor! I always buy pre-minced to speed up the process.
* 2 cups shredded cheddar cheese – You can use any cheese you like, but cheddar is my go-to! I usually go for sharp cheddar for a bit more flavor.
* 1/4 cup grated Parmesan cheese – Adds a salty, nutty flavor.
* 2 tablespoons chopped fresh parsley – Adds freshness and color.
>For the Glaze:
* 2 tablespoons melted butter – Just a little extra richness for the top.
* 1 teaspoon garlic powder – For an extra boost of garlic flavor. I find it really helps bring out the garlic taste.
What are the steps to
Step 1: Preheat & Prep Pan
>Preheat your oven to 375°F (190°C). Grease a 9×13 inch baking pan. You can also line it with parchment paper for easier cleanup, but I usually just grease it well. The parchment is great though if you want to lift the whole batch out at once! Make sure your oven is fully preheated before you put the rolls in; this will ensure they bake evenly.
Step 2: Mix Dry Ingredients
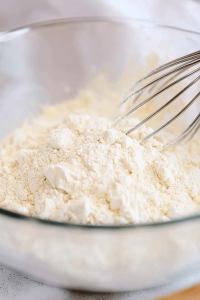
>In a large bowl, whisk together the flour, yeast, sugar, and salt. Make sure the yeast is evenly distributed throughout the flour. This helps ensure a consistent rise. I always do this in a large bowl so I have enough room to mix later.
Step 3: Mix Wet Ingredients
>In a separate bowl, combine the warm milk, melted butter, and egg. Whisk until well combined. The milk should be warm, not hot, to avoid killing the yeast. I usually microwave the milk for about 30-45 seconds.
Step 4: Combine
>Pour the wet ingredients into the dry ingredients and mix until a shaggy dough forms. Turn the dough out onto a lightly floured surface and knead for 5-7 minutes, or until smooth and elastic. If the dough is too sticky, add a little more flour, one tablespoon at a time. Be careful not to overmix the dough, or it will be tough. I usually do this by hand, but you can also use a stand mixer with a dough hook.
Step 5: Prepare Filling
>In a medium bowl, combine the softened butter, minced garlic, cheddar cheese, Parmesan cheese, and parsley. Mix until well combined. Make sure the butter is soft enough to easily spread, but not melted. If you don’t have fresh parsley, you can use dried, but fresh is always better.
Step 6: Layer & Swirl
>Roll out dough into a large rectangle, about 12×18 inches. Spread the garlic cheese filling evenly over the dough. Roll dough up tightly, starting from one of the long ends. What are the best ways to slice a roll into 12-15 equal pieces. Place the rolls in the prepared baking pan, cut side up. I use a serrated knife to slice the rolls. How do I cut through dough without squishing it? If you want to make them look fancy, you can use dental floss to slice them.
Step 7: Bake
>Cover the rolls with a clean kitchen towel and let them rise for 30-40 minutes. Is it possible to double the size of a Bake for 20-25 minutes, or until golden brown and the cheese is melted and bubbly. When baking, keep an eye on them to make sure they don’t get too brown. If they start to brown too quickly, you can tent them with foil.
Step 8: Cool & Glaze
>While the rolls are baking, prepare the glaze by melting the butter and mixing it with the garlic. As soon as the rolls come out of the oven, brush the glaze over them. Let the rolls cool in the pan for a few minutes before serving. How do you set the glaze on a roll?
Step 9: Slice & Serve
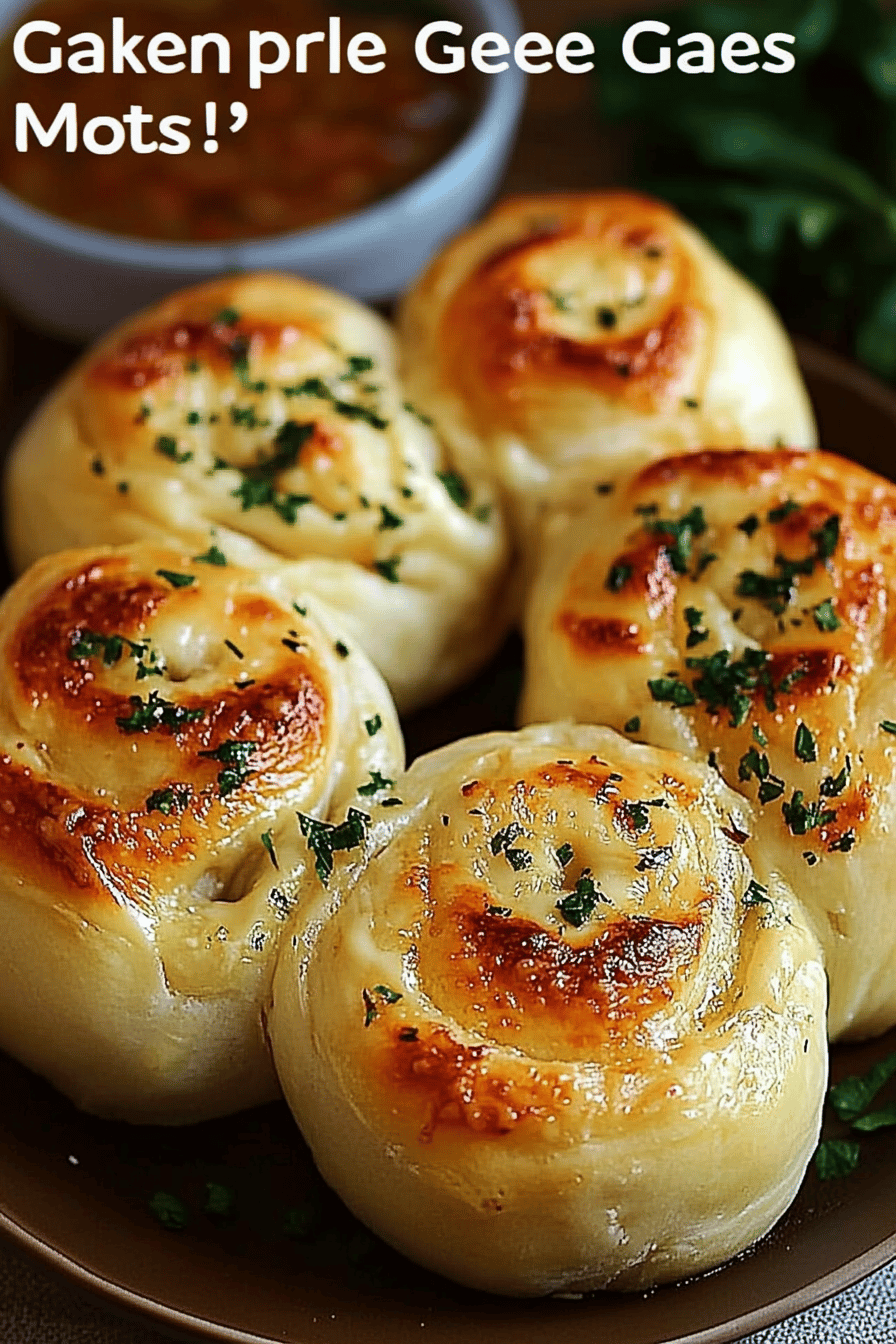
>Carefully remove the rolls from the pan and serve warm. What are the best appetizers to serve immediately, while the cheese is still gooey and the garlic flavor is at its best. I like to serve them with a side of marinara sauce for dipping, but they’re also delicious on their own.
What do you serve it with?
These Garlic Cheese Rolls –Are incredibly versatile and can be served in so many different ways?For Breakfast:What are some good ways to start your day with a cup of coffee or latte? I like to serve a fried egg on top of my breakfast.For Brunch:What are some good ways to serve your brunch rolls on a platter with fresh fruit and some whipped cream? What is the best side of scrambled eggs Can you serve these with mimosas?As Dessert:Okay, hear me out… While they aren’t sweet, they can be the perfect savory counterpoint to a sweet dessert. What are some good side dishes to serve after a light dessert like fruit salad or Ice Cream?For Cozy Snacks:What are some of the best nights in a hotel? Serve them with a bowl of warm soup or salad for an easy snack. I love dipping them in olive oil with herbs. What are some good ways to do this?
How do I make a Garlic Cheese Roll?
>Over the years, I’ve learned a few tricks to make these.Garlic Cheese Rolls: What is even better:
>Mixing Advice:Do not overmix dough. Overmixing can result in tough rolls. Mix until just combined, then knead until smooth and elastic. How do I make a dough that is not sticky?Ingredient Swaps: Feel free to experiment with different types of cheese. Mozzarella, provolone, or even a blend of cheeses would be delicious. You can also add other ingredients to the filling, such as chopped sun-dried tomatoes, olives, or herbs. My friend once used some leftover pesto and the rolls were amazing!
>Baking Tips: The baking time may vary depending on your oven. Keep an eye on the rolls and bake until they are golden brown and the cheese is melted and bubbly. If the tops start to brown too quickly, you can tent them with foil.
Glaze Variations: For an extra boost of flavor, try adding a pinch of Red Pepper flakes to the glaze. You can also use a different type of oil instead of butter, such as olive oil or garlic-infused oil. Or sprinkle with Italian seasoning for added flavor.
Storing and Reheating Tips
>Here’s how to keep your Garlic Cheese Rolls fresh and delicious:
>Room Temperature: These rolls are best enjoyed fresh, but you can store them at room temperature for up to 2 days. Place them in an airtight container or wrap them tightly in plastic wrap to prevent them from drying out.
>Refrigerator Storage: For longer storage, you can store the rolls in the refrigerator for up to 5 days. Make sure to wrap them tightly to prevent them from absorbing odors.
>Freezer Instructions: You can also freeze these rolls for up to 2 months. Wrap them individually in plastic wrap, then place them in a freezer-safe bag or container. To thaw, simply transfer them to the refrigerator overnight or microwave them for a few seconds until warmed through.
>Glaze Timing Advice: If you’re planning to store the rolls, it’s best to wait to glaze them until just before serving. This will prevent the glaze from becoming sticky or soggy.
Frequently Asked Questions
Final Thoughts

These Garlic Cheese Rolls are more than just a recipe; they’re a warm, comforting hug in bread form. They’re perfect for sharing with loved ones, or for enjoying all by yourself on a cozy night in. The simplicity of the recipe, combined with the incredible flavor, makes them a winner every time. If you love this recipe, you might also enjoy my classic dinner rolls or my cheesy garlic bread. Happy baking, and I can’t wait to hear how yours turn out! Be sure to leave a comment below and let me know what you think. I’d love to hear about your variations, too!
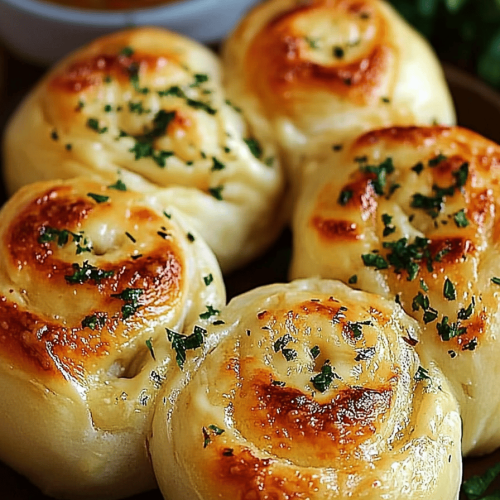
Garlic Cheese Rolls: 7 Reasons Why They’re Your Next Bake-Off Winner!
Ingredients
Dough Ingredients
- 1 cup Warm Milk Around 110°F (43°C)
- 2.25 teaspoons Active Dry Yeast
- 0.25 cup Granulated Sugar
- 0.5 teaspoon Salt
- 4 tablespoons Unsalted Butter Melted
- 3 cups All-Purpose Flour
Garlic Cheese Filling
- 0.5 cup Unsalted Butter Softened
- 4 cloves Garlic Minced
- 2 cups Shredded Mozzarella Cheese
- 2 tablespoons Fresh Parsley Chopped
Instructions
Preparation Steps
- In a large bowl, combine warm milk, yeast, and sugar. Let stand for 5 minutes until foamy.
- Add melted butter, salt, and flour. Mix until a dough forms. Knead for 5-7 minutes until smooth and elastic.
- Place the dough in a greased bowl, turning to coat. Cover and let rise in a warm place for 1 hour, or until doubled in size.
- In a small bowl, combine softened butter, minced garlic, mozzarella cheese, and parsley.
- Punch down the dough and roll it out into a large rectangle. Spread the garlic cheese mixture evenly over the dough.
- Roll the dough up tightly and slice into 12 equal rolls. Place the rolls in a greased baking dish.
- Cover and let rise for another 30 minutes.
- Preheat oven to 375°F (190°C). Bake for 20-25 minutes, or until golden brown.
Notes
Featured Comments
“Impressed! Clear steps and perfect for busy nights results. Perfect for busy nights.”
“New favorite here — creamy. crowd-pleaser was spot on.”
“Super easy and turned out amazing! My family asked for seconds. Saving this one.”
“This sweet treat was absolutely loved — the zingy really stands out. Thanks!”
“Made it tonight and wow — family favorite! Will definitely make Garlic Cheese Rolls: 7 Reasons Why They’re Your Next Bake-Off Winner! again.”
“Packed with flavor and so simple. Exactly what I wanted from Garlic Cheese Rolls: 7 Reasons Why They’re Your Next Bake-Off Winner!.”


