

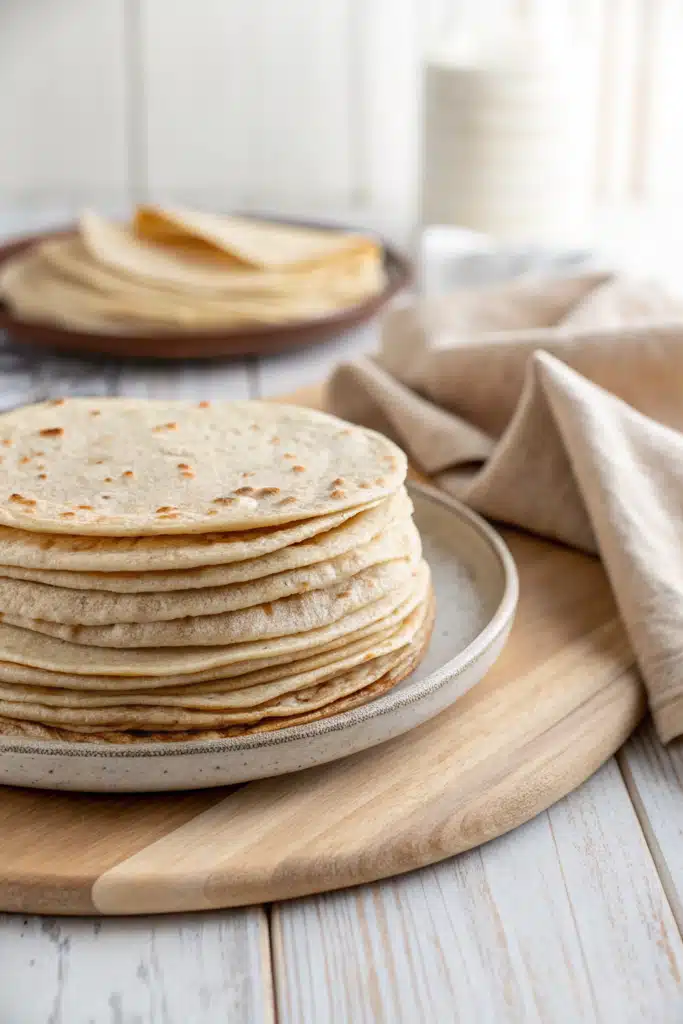
The Best Homemade Gluten Free Tortillas (Soft & Pliable!)
Hey there! Let’s talk about the elephant in the gluten-free room: store-bought wraps. We’ve all been there, right? You bring home a pricey pack of gluten free tortillas, dreaming of a massive, overstuffed burrito, only to have the tortilla shatter into a million sad, crumbly pieces the second you try to fold it. It is absolutely heartbreaking!
For the longest time, I just accepted that taco night meant eating a taco salad or dealing with stiff, cardboard-like wraps that cracked at the slightest movement. But not anymore. I finally rolled up my sleeves, got my hands a little dusty, and figured out how to make the absolute best homemade version. I’m talking soft, warm, completely pliable wraps that actually bend, fold, and hold all your favorite fillings without breaking apart.
They are incredibly easy to whip up, require just a handful of simple pantry staples, and the taste? Oh my goodness, it blows the commercial stuff right out of the water. Grab your rolling pin, because taco Tuesday is about to get a major upgrade!
What Are Gluten Free Tortillas?
Gluten free tortillas are exactly what they sound like—a delicious, allergy-friendly alternative to traditional wheat flour tortillas. But let’s dive a little deeper into why they work. Traditional flour tortillas rely on gluten, a protein found in wheat, to give them that characteristic stretch and chewiness. Gluten acts like an invisible web, holding the dough together so it can be rolled paper-thin and wrapped around hefty fillings.
When you take the gluten out, you lose that structural integrity, which is why so many gluten-free options end up stiff or brittle. To fix this, our homemade gluten free tortillas use a high-quality gluten-free flour blend paired with hot water. The hot water is the absolute secret weapon here; it helps hydrate the starches in the flour, gelatinizing them slightly to mimic the elasticity that gluten normally provides.
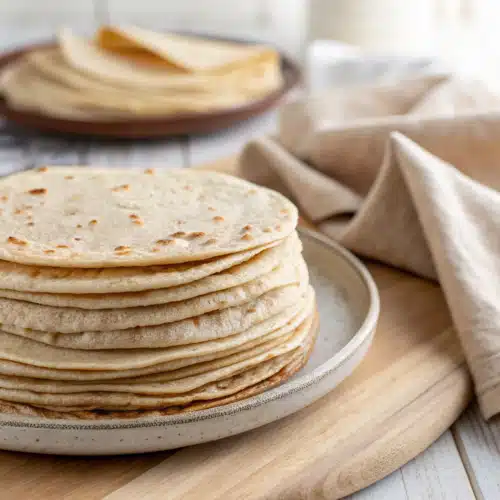
The result is a flatbread that looks, feels, and tastes incredibly close to a classic flour tortilla. They are cooked quickly on a hot skillet until they get those beautiful, golden-brown bubbles, bringing the joy back to Mexican-inspired meals for anyone with celiac disease or gluten sensitivity.
How to Make Gluten Free Tortillas
Quick Overview
Making these homemade wraps is a total breeze. You’ll start by whisking your dry ingredients together in a large mixing bowl. Then, you’ll mix in a little bit of fat—I love using olive oil or melted butter—and pour in hot water. The hot water is crucial, so don’t skip that detail! You’ll mix it all together until a soft dough forms, then knead it briefly until it’s smooth. Let the dough rest for about 15 minutes to allow the flour to fully hydrate. After the rest, divide the dough into equal portions, roll them out into thin circles, and cook them for about a minute on each side in a hot skillet. Keep them wrapped in a clean kitchen towel to steam and stay soft!
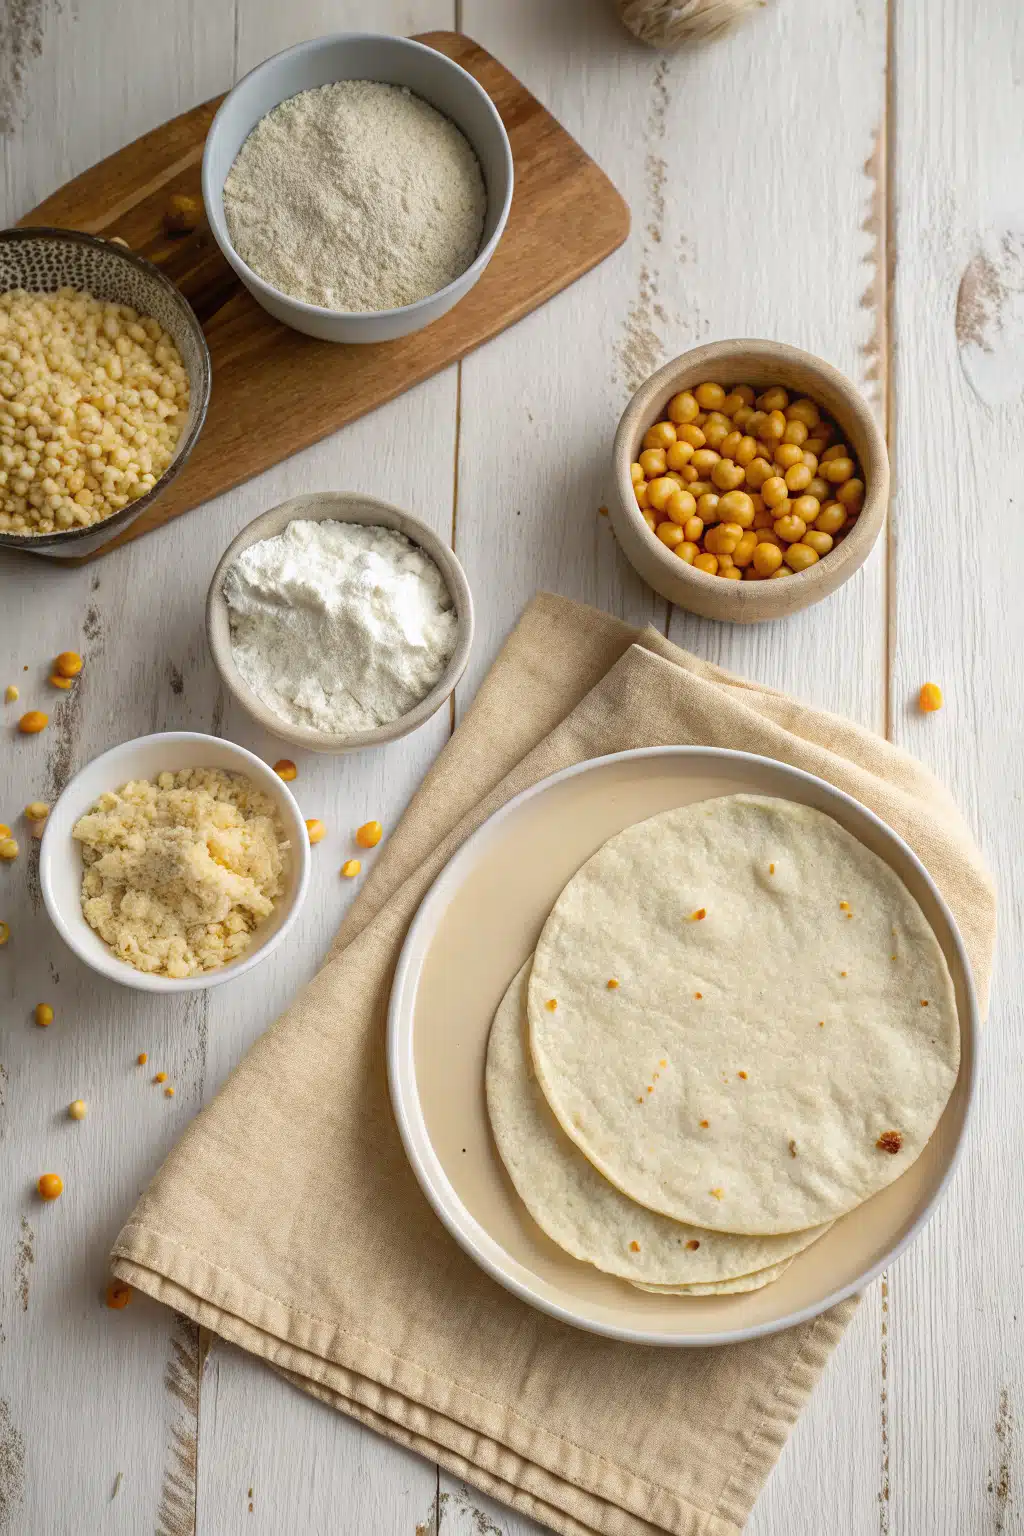
Ingredients
- Gluten-Free Measure-for-Measure Flour: Make sure your blend contains xanthan gum, as this helps bind the dough.
- Baking Powder: Just a pinch to give the wraps a little lightness and help them bubble up in the pan.
- Salt: Essential for bringing out the flavor.
- Olive Oil: Adds moisture and flexibility to the dough. You can also use melted butter or lard.
- Hot Water: The magic ingredient! It must be hot to activate the starches and make the dough pliable.
Step-by-Step Instructions
In a large mixing bowl, combine your gluten-free flour, baking powder, and salt. Give it a good whisk to make sure the baking powder is evenly distributed throughout the flour.
Create a small well in the center of your dry ingredients. Pour in the olive oil and the hot water. Use a wooden spoon or a silicone spatula to stir everything together until a shaggy dough begins to form.
Once the dough is cool enough to handle, use your hands to knead it right in the bowl for about 1 to 2 minutes. It should feel smooth and slightly tacky, but not overly sticky. Form it into a ball, cover the bowl with a damp towel, and let it rest for 15 minutes.
Divide the rested dough into 6 or 8 equal pieces, rolling each into a small ball. Place a dough ball between two sheets of parchment paper and use a rolling pin to roll it out into a thin circle, about 6 to 8 inches in diameter.
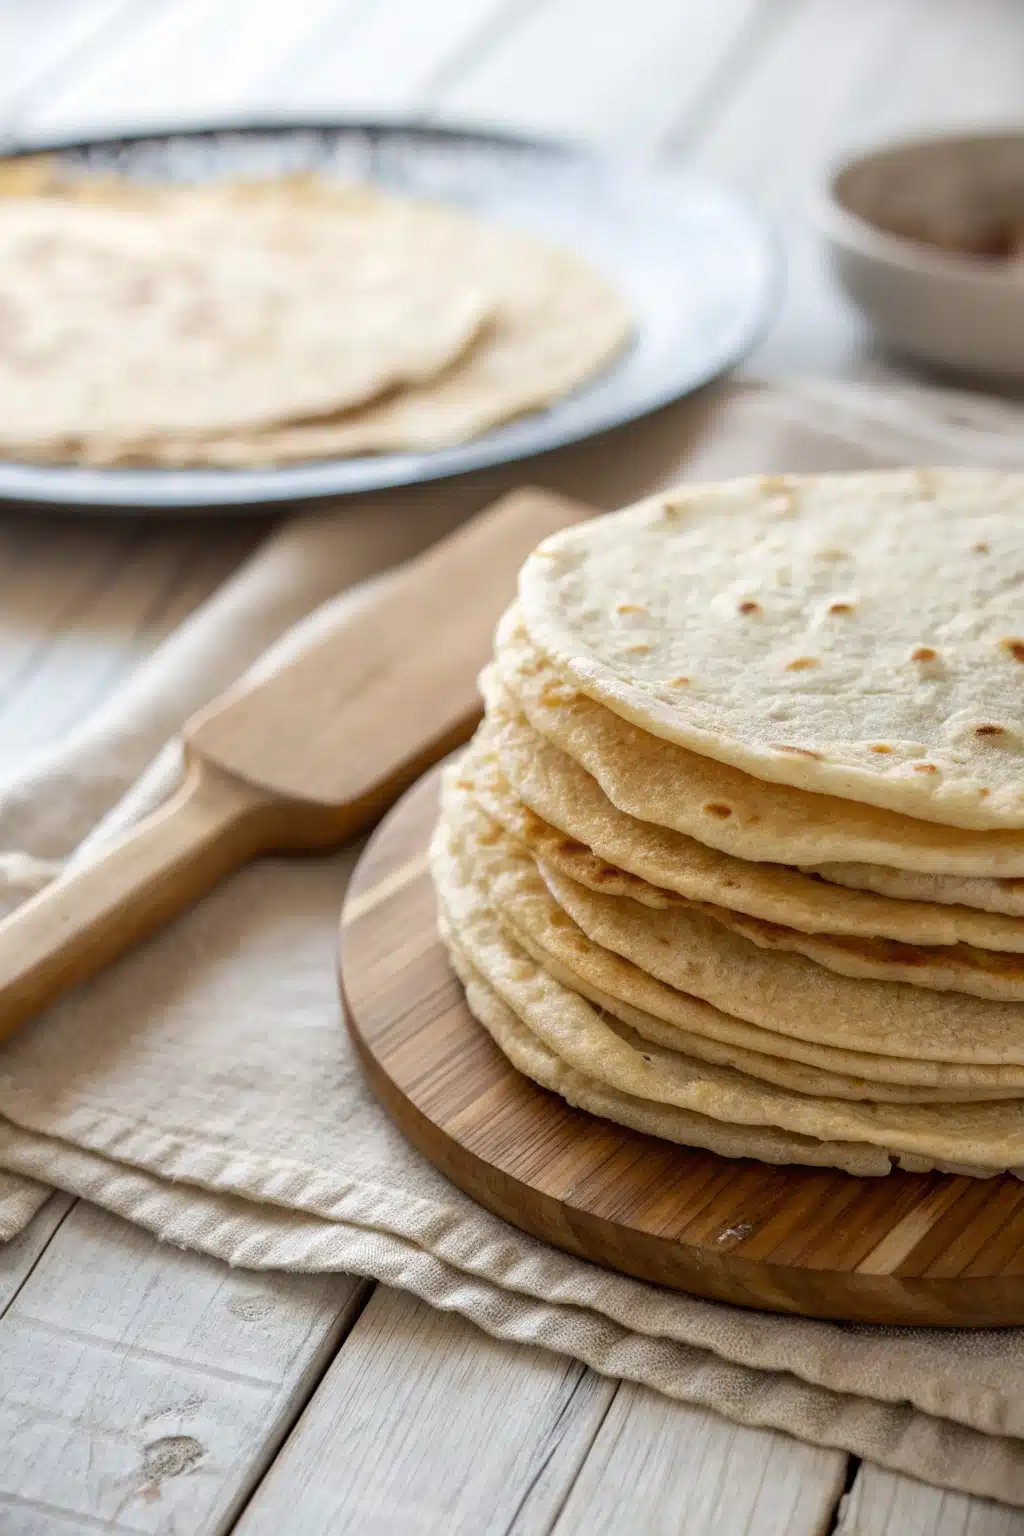
Heat a dry skillet over medium-high heat. Carefully peel the parchment paper off your rolled dough and place it in the hot pan. Cook for about 45 to 60 seconds until bubbles form and golden-brown spots appear on the bottom. Flip and cook for another 45 seconds. Immediately transfer the cooked wrap to a clean kitchen towel and fold the towel over it to trap the steam.
What to Serve It With
These gluten free tortillas are incredibly versatile. Honestly, you can use them for absolutely anything you’d use a regular flour tortilla for! My family’s favorite way to enjoy them is on a classic taco night, loaded up with seasoned ground beef, shredded lettuce, fresh pico de gallo, and a generous dollop of sour cream.
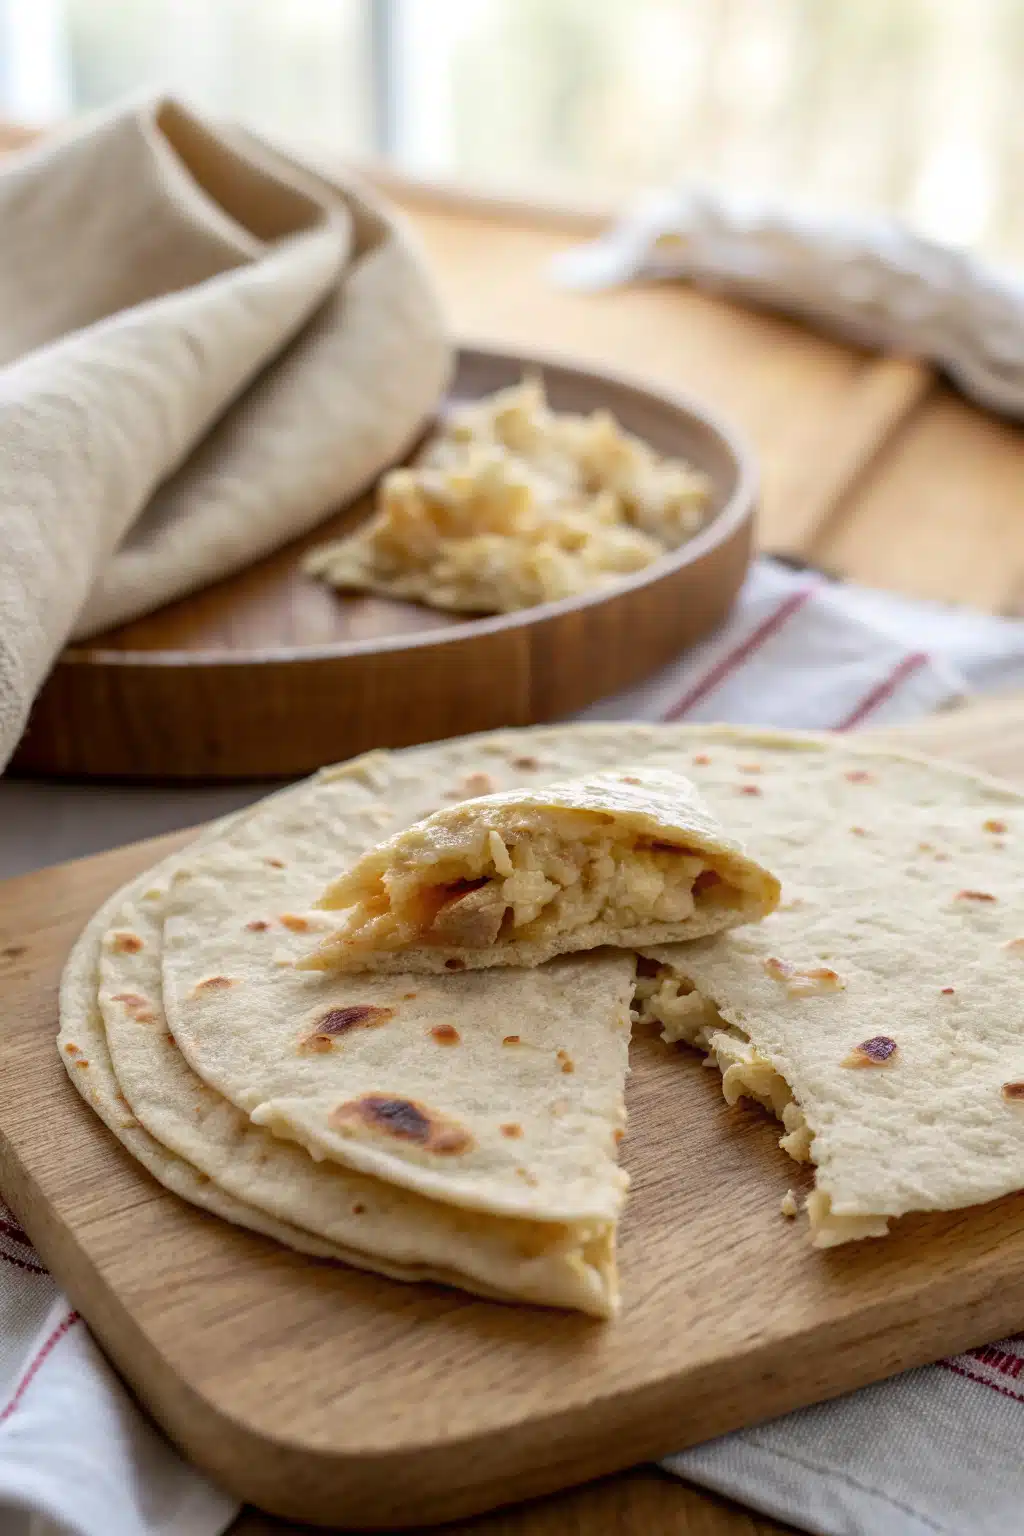
They also make the most amazing quesadillas. Because they hold together so well, you can stuff them with gooey cheddar cheese, black beans, and shredded chicken, then crisp them up in a pan without any fear of them falling apart. I love using them for breakfast burritos, too—just pack them with scrambled eggs, crispy bacon, and avocado for a hearty morning meal. And don’t forget about sweet treats! Brush them with a little melted butter, sprinkle with cinnamon sugar, and bake until crispy for a quick and easy dessert.
Top Tips for Perfecting Your Gluten Free Tortillas
Use hot water: I really can’t stress this enough! The water needs to be hot to the touch (but not boiling). This helps gelatinize the starches in the gluten-free flour, giving the dough that much-needed elasticity.
Don’t skip the resting time: Letting the dough rest for 15 minutes allows the flour to fully absorb the liquid. If you try to roll it out immediately, the dough will be crumbly and hard to manage.
Roll between parchment paper: Gluten-free dough can be a bit more delicate and sticky than regular dough. Rolling your tortillas between two sheets of parchment paper makes transferring them to the skillet an absolute breeze and prevents tearing.
Keep them covered: As soon as a wrap comes off the hot skillet, slide it into a clean kitchen towel or a tortilla warmer. The trapped steam is exactly what keeps them soft, pliable, and easy to fold later on.
Storing and Reheating Tips
If you happen to have leftovers (which is a rare occurrence in my house!), you can easily store these gluten free tortillas for later. Let them cool completely to room temperature first. Then, place them in an airtight zip-top bag or container. They will keep nicely in the fridge for up to 3 days. If you want to make a big batch to freeze, simply place a small square of parchment paper between each one so they don’t stick together, then freeze them in a freezer-safe bag for up to 3 months.
When it comes to reheating, a little moisture is your best friend. Gluten-free baked goods tend to dry out in the fridge. To bring back that fresh, soft texture, I recommend wrapping them in a slightly damp paper towel and microwaving them for 15 to 20 seconds. Alternatively, you can warm them individually in a dry skillet over medium heat for about 10 seconds per side until they are heated through and pliable again.
Frequently Asked Questions
Final Thoughts
I really hope this recipe brings a little extra joy to your kitchen and makes navigating a gluten-free lifestyle just a bit easier. Finding a good wrap shouldn’t be a daily struggle, and with these homemade gluten free tortillas, you’ll never feel like you’re missing out on your favorite meals again. They are a true game-changer for taco nights, quick lunches, and everything in between.
If you give this recipe a try, I’d absolutely love to hear how it went for you. Grab your favorite fillings, gather your friends and family, and enjoy a delicious meal that absolutely everyone can participate in. Happy cooking, friends!
Gluten Free Flour Tortillas
Ingredients
Main Ingredients
- 1.5 cup all purpose gluten free flour blend
- 1 teaspoon xanthan gum
- 0.67 cup tapioca starch
- 1.5 teaspoon baking powder
- 1 teaspoon kosher salt
- 4 tablespoon virgin coconut oil
- 0.75 cup warm water
Instructions
Preparation Steps
- In a large bowl, whisk together the gluten free flour blend, xanthan gum, tapioca starch, baking powder, and salt.
- Add the coconut oil and toss it in the dry ingredients. Break up the fat into small pieces with a fork until the mixture looks sandy.
- Create a well in the center, add the warm water, and mix to combine. Knead the dough into a ball.
- Cover the dough with a moist tea towel or plastic wrap and let it rest for 20 to 30 minutes.
- Sprinkle the dough generously with tapioca starch and divide into 4 equal pieces.
- Roll each piece out into a 9-inch round that is about 0.125-inch thick. Cut out an 8-inch round using a cake cutter or pot lid.
- Heat a skillet over medium-high heat and cook each tortilla for about 30 seconds to 1 minute per side until bubbles form and golden spots appear.
Notes
Featured Comments
“I love this recipe! It reminds me of my grandma’s kitchen—such a comforting memory, and these tortillas turned out amazing.”
“This brought back so many warm memories of my grandma’s kitchen. I’d love to try these gluten-free version—thanks for sharing!”
“Impressed! Clear steps and so flavorful results. Perfect for busy nights.”
“New favorite here — restaurant-level. crowd-pleaser was spot on.”
“Super easy and turned out amazing! My family asked for seconds. Saving this one.”
“This sweet treat was absolutely loved — the zingy really stands out. Thanks!”


This brought back so many warm memories of my grandma’s kitchen. I’d love to try these gluten-free version—thanks for sharing!
I love this recipe! It reminds me of my grandma’s kitchen—such a comforting memory, and these tortillas turned out amazing.