

The Ultimate One-Bowl Homemade Brownie Recipe
Let me tell you a little secret. For years, I was that person who secretly preferred boxed brownie mix over anything made from scratch. I know, I know—as a food blogger, that feels like a cardinal sin! But every homemade version I tried was either too cakey, too dry, or just lacked that intense, deeply satisfying chocolate punch. That is, until this homemade brownie recipe came into my life.
After countless batches, tweaks, and maybe a few too many late-night taste tests, I finally nailed it. This is the recipe that officially kicked the box to the curb. We’re talking about insanely fudgy, dense, and perfectly chewy brownies with that iconic, glossy, crackly top that makes your mouth water just looking at it. Best of all? It all comes together in just one bowl. No fancy equipment, no massive pile of dishes to wash afterward. Just pure, unadulterated chocolate heaven that your family will beg you to make again and again. Grab your favorite mixing bowl, and let’s get baking!
What Is This Homemade Brownie Recipe?
If you’ve never made brownies from scratch, you might be wondering what sets a true homemade brownie recipe apart from the stuff in the cardboard box. If we’re getting down to the basics, this recipe is a rich, decadent baked dessert that relies on everyday pantry staples rather than artificial preservatives and powdered mystery ingredients.
Instead of relying on oil and water, we use real melted butter and sugar to create a deeply flavorful, dense base. The magic happens when we combine high-quality unsweetened cocoa powder with a touch of instant espresso powder. Don’t worry, it doesn’t taste like a cup of coffee! The espresso simply acts as a flavor amplifier, making the chocolate notes taste richer and more intense.
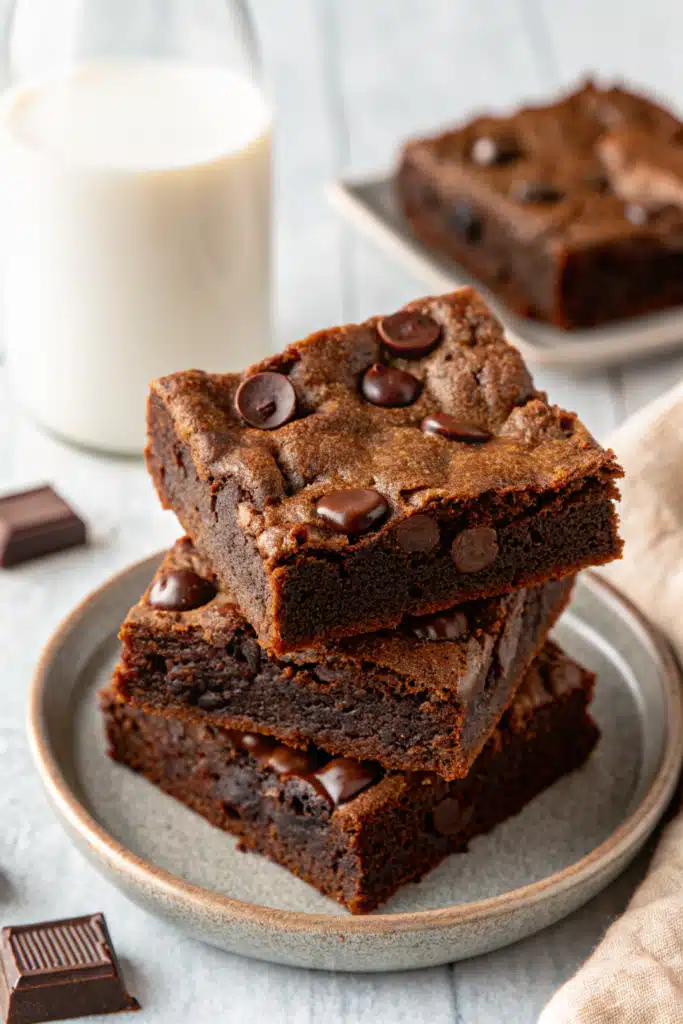
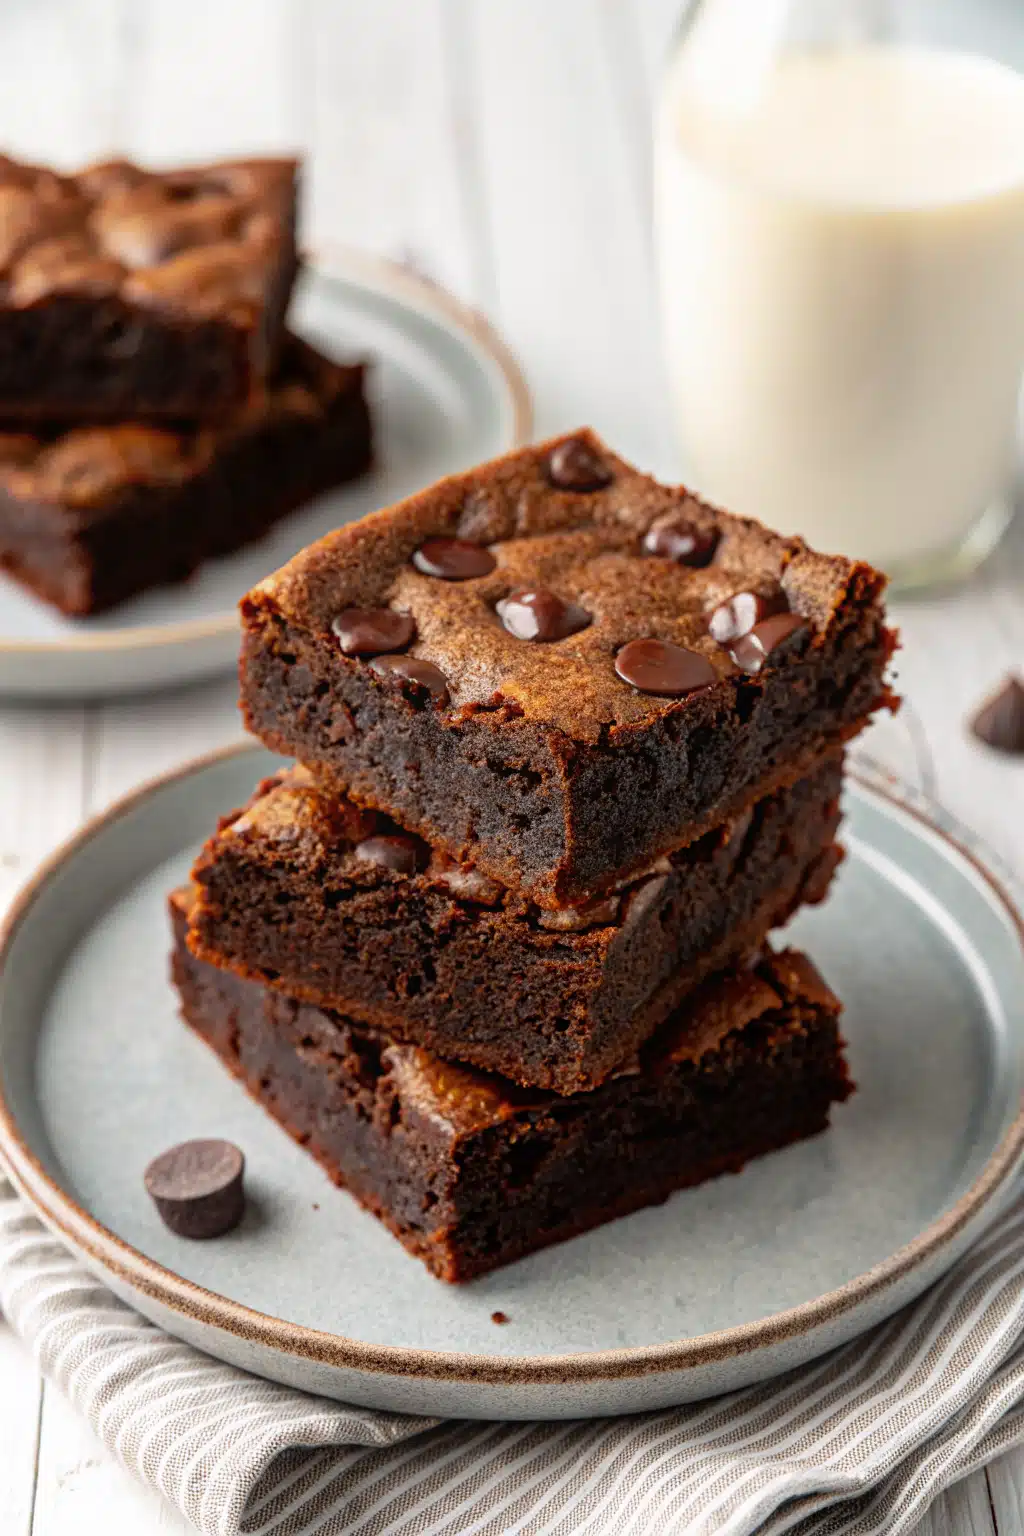
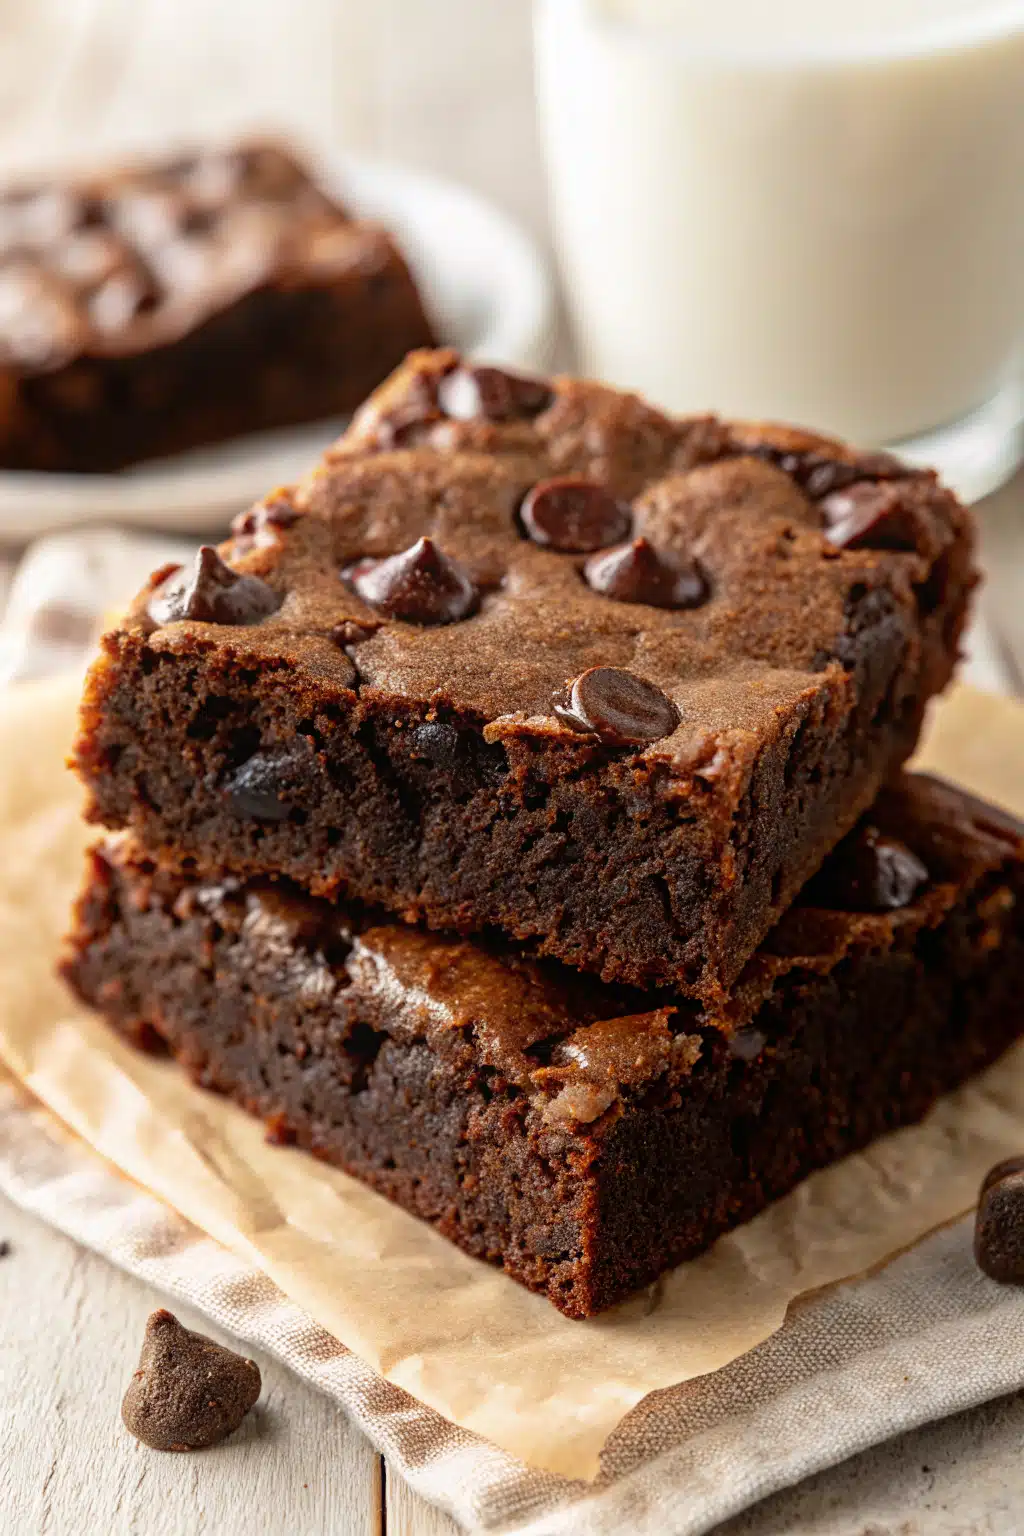
This specific homemade brownie recipe leans heavily into the “fudgy” category rather than the “cakey” one. That means fewer dry ingredients and more gooey, chocolatey goodness. It’s the ultimate comfort food, baked in a trusty 9×13 pan, yielding thick, chewy squares with gorgeous crinkly tops that look like they came straight out of a high-end bakery display case.
How to Make This Homemade Brownie Recipe
Quick Overview
Making this homemade brownie recipe is wonderfully straightforward, even if you’re a total beginner in the kitchen. The whole process starts by melting butter and sugar together in the microwave, which forms the chewy, fudgy base of our dessert. From there, you’ll whisk in your flavor makers—cocoa powder, a pinch of espresso powder, and vanilla extract. Next, the eggs get mixed in to bind everything together and give the brownies their structure. Finally, you’ll gently fold in the flour and your chocolate chips. The hardest part of this entire recipe is simply waiting for the pan to bake in the oven while your kitchen fills with the most intoxicating chocolate aroma imaginable!
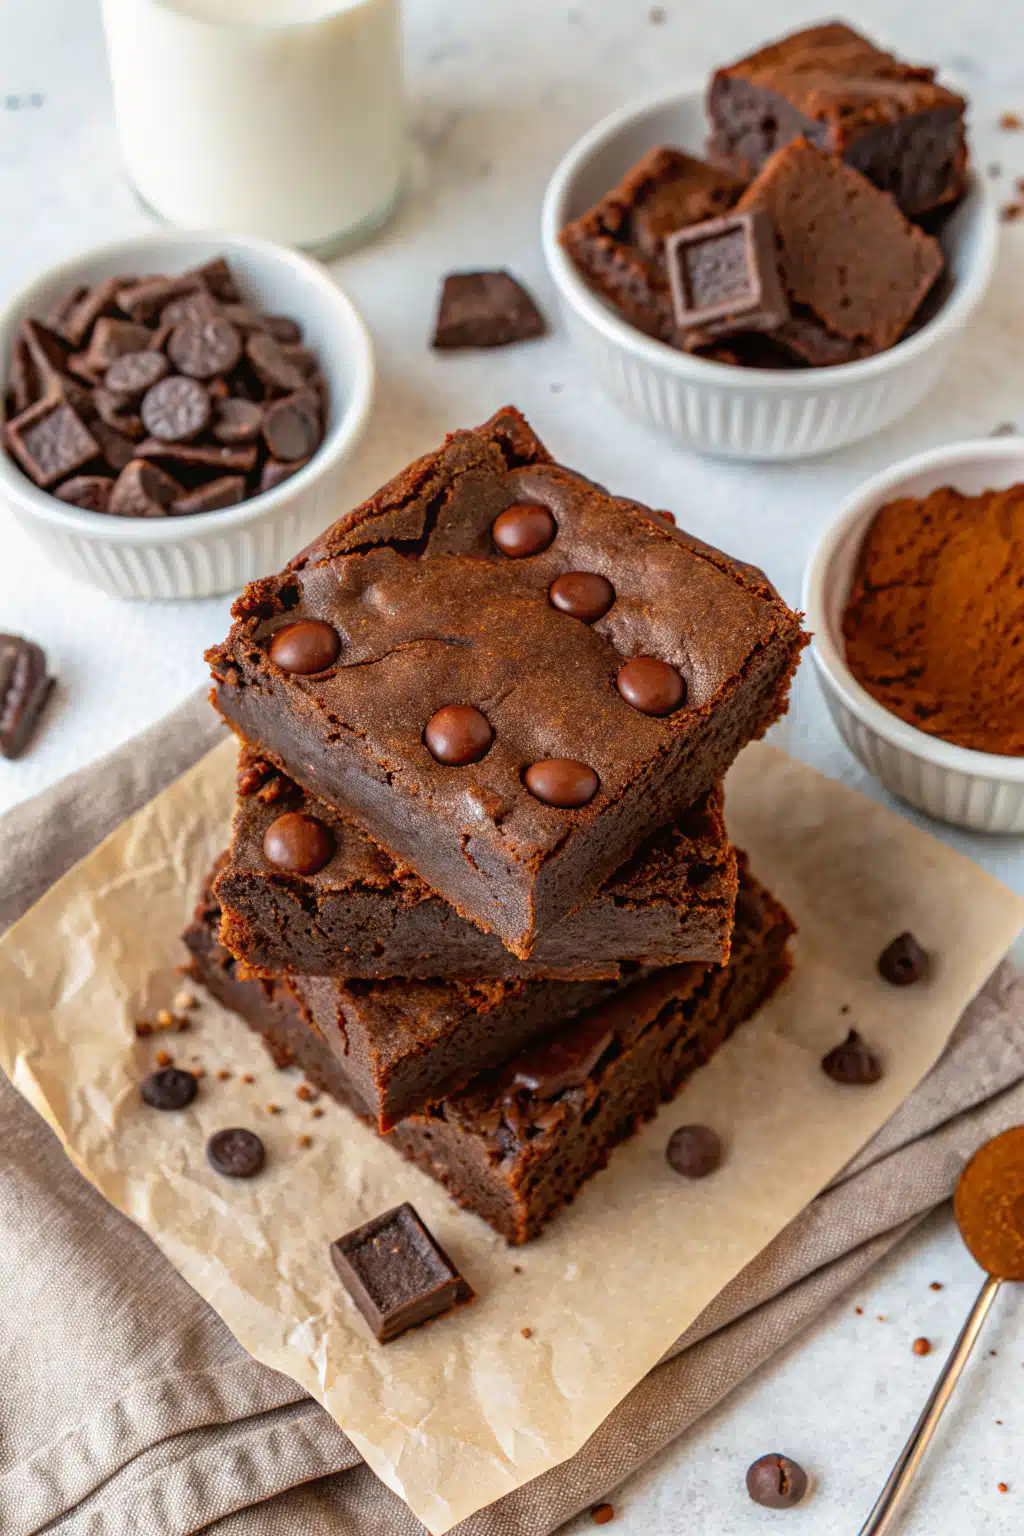
Ingredients
- Salted Butter: 1 cup (2 sticks). I love the slight salty-sweet balance this brings, but unsalted works fine if you add an extra pinch of salt!
- Granulated White Sugar: 2 cups to sweeten our brownies and create that signature crackly crust.
- Large Eggs: 4 of them, room temperature if possible, to bind the batter perfectly.
- Unsweetened Cocoa Powder: 1 ¼ cups. Sift it if it looks lumpy!
- Salt: 1 teaspoon to enhance all the flavors.
- Instant Espresso Powder: 1 teaspoon. This is optional, but highly recommended to deepen the chocolate flavor.
- Baking Powder: 1 teaspoon for just a tiny bit of lift.
- Vanilla Extract: 2 teaspoons for warmth and depth.
- All-Purpose Flour: 1 ½ cups. Make sure to spoon and level your flour so your brownies don’t get too dense.
- Chocolate Chips: 1 cup (semi-sweet, dark, or milk chocolate), plus a few extra for sprinkling on top!
Step-by-Step Instructions
Step 1: Preheat & Prep Pan
Start by preheating your oven to 350°F. Grab a 9×13 baking dish and line it with parchment paper. Leave a little bit of paper hanging over the edges—this creates a handy little “sling” so you can easily lift the baked brownies right out of the pan later.
Step 2: Melt the Butter and Sugar
In a large microwave-safe bowl, melt your two sticks of butter in 30-second intervals. Once it’s completely liquid, stir in the granulated sugar. Pop the bowl back into the microwave for one more minute, then give it another really good stir. This helps dissolve the sugar slightly for that glossy top.
Step 3: Add the Cocoa and Flavorings
To your warm butter and sugar mixture, stir in the unsweetened cocoa powder and the instant espresso powder. Mix until it’s smooth and well combined.
Step 4: Mix in Eggs and Vanilla
Next, add in your eggs, salt, baking powder, and vanilla extract. Grab a wooden spoon or a sturdy whisk and stir everything together until the batter is fully incorporated and looks silky.
Step 5: Fold in Flour and Chocolate Chips
Slowly add the all-purpose flour to your bowl. Stir gently just until the flour disappears—be very careful not to over-mix here, or you’ll end up with tough brownies! Gently fold in the chocolate chips.
Step 6: Bake to Perfection
Pour your beautiful brownie batter into the prepared baking pan, spreading it out into an even layer. Sprinkle a few extra chocolate chips on top if your heart desires. Bake for 50 minutes. You’ll know they’re done when a toothpick inserted into the center comes out with a few moist crumbs attached. Remember, it’s always better to slightly underbake than overbake!
Step 7: Cool and Slice
Let the pan cool on a wire rack for at least 10 minutes. Use the parchment paper overhang to lift the brownies out, slice them into squares (try using a plastic knife for super clean edges!), and enjoy.
What to Serve It With
Honestly, this homemade brownie recipe is spectacular all on its own, maybe paired with a tall, ice-cold glass of milk. But if you want to turn this into a show-stopping dessert for a dinner party or a special family movie night, you have to dress it up!
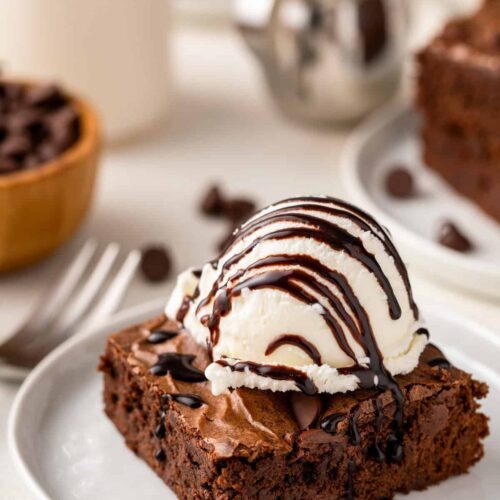
My absolute favorite way to serve these is warm, straight out of the oven, topped with a massive scoop of vanilla bean ice cream. The way the cold ice cream melts into the gooey, warm chocolate chunks is pure magic. Take it a step further by drizzling some homemade hot fudge or warm salted caramel sauce over the top.
If you’re hosting a brunch or an afternoon get-together, these brownies pair beautifully with a hot cup of dark roast coffee or a creamy latte. The espresso powder inside the brownies beautifully echoes the roasted notes of your coffee. You can also serve them on a dessert platter alongside fresh strawberries and raspberries; the tartness of the berries cuts through the rich, dense chocolate perfectly.
Top Tips for Perfecting Your Homemade Brownie Recipe
Want to make sure your batch comes out flawlessly every single time? Keep these simple test-kitchen secrets in mind:
- Do Not Over-Mix: Once you add the flour, step away from the whisk! Stir just until you no longer see white streaks of flour. Over-mixing develops the gluten, which will give you a cakey, tough brownie instead of a fudgy one.
- Spoon and Level Your Flour: Never scoop your measuring cup directly into the flour bag. This packs the flour tightly, meaning you’ll accidentally add way too much. Instead, fluff the flour with a fork, spoon it into your measuring cup, and level it off with a butter knife.
- Embrace the Plastic Knife Trick: It sounds crazy, but if you want those picture-perfect, clean-cut bakery edges, slice your cooled brownies using a disposable plastic knife. The plastic naturally resists sticking to the gooey chocolate center!
- Better to Under-Bake: When in doubt, pull them out! Brownies continue to cook slightly in the hot pan even after you remove them from the oven. A toothpick with moist crumbs is exactly what you want.
- Don’t Skip the Espresso: I promise it won’t make your dessert taste like coffee. It just makes the chocolate taste more like chocolate!
Storing and Reheating Tips
If you somehow magically have leftovers of this homemade brownie recipe, you’ll want to store them properly so they stay fresh, soft, and chewy for days.
Room Temperature: Keep your sliced brownies in an airtight container on the kitchen counter. They’ll stay perfectly fresh for up to 5 days. Pro tip: Toss a slice of plain white sandwich bread into the container with them! The brownies will absorb the moisture from the bread, keeping them incredibly soft. Just replace the bread when it gets stale.
Freezing: These brownies freeze beautifully! I highly recommend freezing them individually rather than freezing the whole slab. Once they’re completely cooled, wrap each square tightly in plastic wrap, then place them all into a large freezer-safe zip-top bag. They’ll keep in the freezer for up to 3 months. When that late-night craving hits, simply leave one on the counter for about 30 minutes to thaw.
Reheating: Want that fresh-out-of-the-oven experience? Pop a brownie on a microwave-safe plate and heat it for about 10 to 15 seconds. It’ll get wonderfully warm, and the chocolate chips will turn gooey and melty all over again.
Frequently Asked Questions
Final Thoughts
There’s just something incredibly special about pulling a warm pan of baked goods out of the oven, especially when it’s a recipe as beloved as this one. Finding the perfect homemade brownie recipe took a lot of trial and error, but the result is a deeply chocolatey, flawlessly fudgy dessert that I’m so incredibly proud to share with you. Whether you’re baking these for a neighborhood potluck, wrapping them up in little boxes for holiday gifts, or simply treating yourself on a rainy Tuesday afternoon, I hope they bring as much joy to your kitchen as they do to mine.
Ditch the boxed mix, grab your favorite mixing bowl, and give this recipe a try. I have a feeling that once you take that first chewy, chocolate-packed bite, this will become a forever favorite in your recipe box, too. Happy baking, friends!
Homemade Brownie Recipe
Ingredients
Main Ingredients
- 1 cup salted butter (2 sticks)
- 2 cups granulated white sugar
- 4 large eggs
- 1.25 cups unsweetened cocoa powder
- 1 teaspoon salt
- 1 teaspoon instant espresso powder (optional)
- 1 teaspoon baking powder
- 2 teaspoons vanilla extract
- 1.5 cups all-purpose flour
- 1 cup chocolate chips (or chunks) (optional)
Instructions
Preparation Steps
- Preheat oven to 350°F. Line a 9x13 baking dish with parchment paper, allowing it to hang over the edges, set aside.
- In a medium microwave-safe bowl, melt butter, by cooking in 30-second intervals. Once completely melted, stir in the sugar. Microwave mixture for 1 minute and stir again.
- Pour the butter/sugar mixture into a large bowl. Stir in cocoa powder and instant espresso powder, mixing to combine. Add in eggs, salt, baking powder and vanilla extract. Stir with a wooden spoon until fully incorporated.
- Slowly add in flour, stirring until just combined. Do not over mix. Fold in chocolate chips and pour the batter into your prepared pan. If you want, you can add a few more chocolate chips on top of the batter.
- Bake for 50 minutes, until cooked through and a toothpick comes out with moist crumbs attached. Do not over bake the brownies or they will be dry. It’s honestly better to underbake brownies a little rather than over bake them!
- Allow brownies to cool for at least 10 minutes, then lift the brownies out of the pan and cut into squares.
Notes
Featured Comments
“That sounds absolutely comforting—homemade brownies with a nostalgic twist are the best! I’d love to try this recipe and feel that warmth again.”
“This recipe brings so much warmth and nostalgia—every bite feels like a hug from my grandma. Perfectly fudgy and rich, just as I remember!”
“This recipe brings back such warm memories! The smell alone is enough to make your mouth water.”
“Impressed! Clear steps and super easy results. Perfect for busy nights.”
“New favorite here — comforting. crowd-pleaser was spot on.”
“Super easy and turned out amazing! My family asked for seconds. Saving this one.”


This recipe brings back such warm memories! The smell alone is enough to make your mouth water.
This recipe brings so much warmth and nostalgia—every bite feels like a hug from my grandma. Perfectly fudgy and rich, just as I remember!
That sounds absolutely comforting—homemade brownies with a nostalgic twist are the best! I’d love to try this recipe and feel that warmth again.