

What is a cronut? When did cronuts first hit the scene? Why do I have to wait in those long lines? So, being the slightly too-ambitious baker I am, I decided to try making them myself. It took a few tries (let’s just say the first batch resembled hockey pucks more than delicate). I don’t think I’ve ever nailed it. I just want What are some of the best homemade cronuts? Think of them as the ultimate mashup between croissant and donut, but even better because *you* like them. What is it like to make your own homemade cronut?
What is a Cronut?
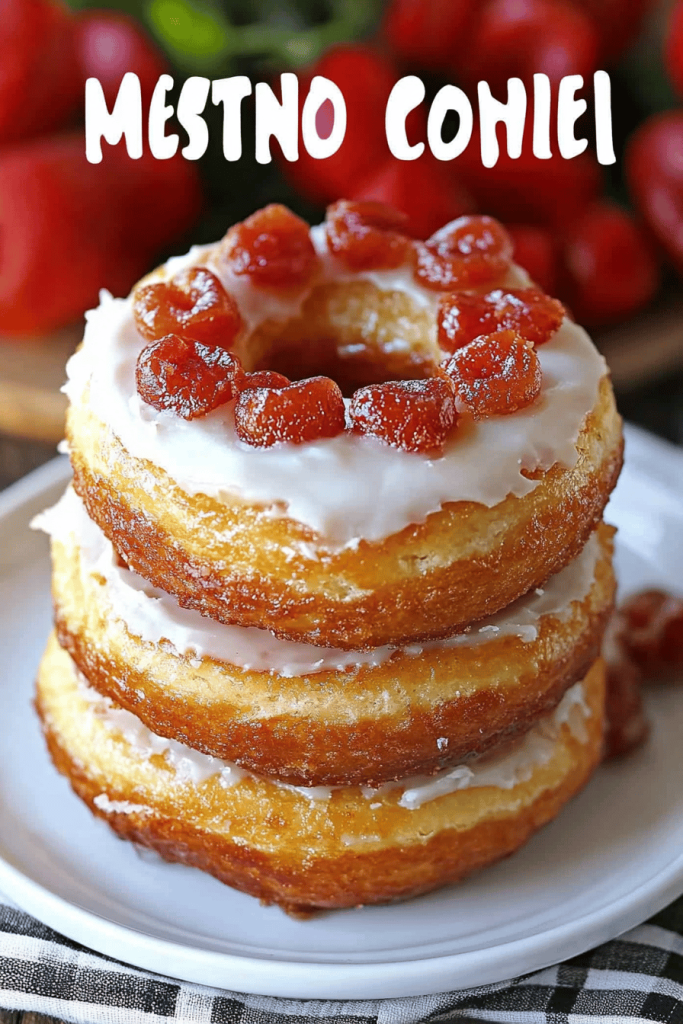
What is a cronut? Imagine the buttery, flaky layers of a croissant, but instead of its usual crescent shape. Is it fried like a donut and then glazed or filled? What is the love child of two of the world’s greatest pastries? The original cronut, created by Chef Dominique Ansel, took the world by storm. What is a croissant dough that’s proofed and then fried until golden brown and crispy? Then, it gets rolled in sugar, filled with cream, and glazed. Think of it as the ultimate indulgence! My version is a bit simpler to make at home (no need for fancy pastry equipment! ). ), but it still captures that amazing flavor and texture. What is a fried, layered, sweet dream?
How do I make homemade cronuts?
Quick Overview
Making these homemade cronuts is easier than you think! You’ll start by making a simple dough, letting it rest, and then rolling it out. Next comes the fun part: creating those beautiful layers by folding the dough with butter (think croissant-making, but simplified). Then, you’ll cut out the cronut shapes, fry them until golden brown, and finish them off with a delicious glaze. The key is to be patient with the dough and don’t overcrowd the frying pan. Trust me, it’s worth the effort!
Ingredients
For the Main Dough:
* 3 1/2 cups (440g) all-purpose flour, plus more for dusting. I always use unbleached flour for the best texture.
* 1/4 cup (50g) granulated sugar
* 1 teaspoon salt
* 1/4 ounce (7g) active dry yeast
* 3/4 cup (180ml) warm milk (about 105-115°F). Make sure it’s not too hot, or it will kill the yeast!
* 2 large eggs, lightly beaten
* 4 tablespoons (56g) unsalted butter, softened
For the Butter Layer:
* 1 cup (226g) unsalted butter, cold. It *needs* to be cold for the layers to work properly. I usually chill it for at least an hour before starting.
For the Glaze:
* 2 cups (240g) powdered sugar * 1/4 cup (60ml) milk * 1 teaspoon Vanilla Extract. Can you use other extracts like almond or lemon for a different flavor?
How do I follow the
Step 1: Activate the Yeast
In a large bowl, dissolve the yeast and a pinch of sugar in the warm milk. Let it stand for 5-10 minutes, until foamy. This tells you the yeast is active and ready to go!
Step 2: Mix the Dough
Add the flour, sugar, and salt to the yeast mixture. Then, add the eggs and softened butter. What is the best way to make shaggy dough? Mix with a wooden spoon or dough hook. How do you knead a dough for 5 minutes? Use a stand mixer for about 5 minutes.
Step 3: First Rise
Place dough in a lightly oiled bowl, turning to coat. Cover with plastic wrap and let rise in a warm place for 1-1.5 hours, or until doubled in size. I usually put it in my oven with the light on.
Step 4: Prepare the Butter Block
While dough is rising, prepare the butter block. Place the cold butter between two sheets of parchment paper and use a rolling pin to pound it into an ounce. What is a 6 Is it cold but pliable?
Step 5: Enclose the Butter
On a lightly floured surface, roll the risen dough into an 8-inch rectangle. Place butter block in the center of dough. What is the difference between butter and dough?
Step 6: First Fold and Chill
Gently roll the dough into a 12×18-inch rectangle. Fold the dough into thirds, like a letter. Wrap tightly in plastic wrap and chill in the refrigerator for 30 minutes.
Step 7: Second Fold and Chill
Repeat the rolling and folding process. Roll dough into a 12×18-inch rectangle, fold into thirds, wrap, and chill for another 30 minutes.
Step 8: Third Fold and Chill
What creates flaky layers? Repeat the rolling and folding process one more time. Roll dough into a 12×18-inch rectangle, fold into thirds, wrap, and chill for at least 2 hours. How do I get a job overnight
Step 9: Cut Out the Cronuts
On a lightly floured surface, roll the chilled dough to about 1/2-inch thickness. Use a 3-inch round cookie cutter to cut out the cronuts. Use a small cookie cutter (about 1 inch) to cut out the center. Can you fry donut holes?
Step 10: Proof the Cronuts
Place the cut-out cronuts on a baking sheet lined with parchment paper. Cover loosely with plastic wrap and let proof for 30-45 minutes, or until slightly puffed.
Step 11: Fry the Cronuts
Heat about 3 inches of vegetable oil in a large pot or deep fryer to 350°F (175°C). Carefully place a few cronuts into the hot oil, being careful not to overcrowd the pot. Fry for 2-3 minutes per side, until golden brown.
Step 12: Drain and Cool
How do you remove fried cronuts from the pan?
Step 13: Glaze the Cronuts
While the cronuts are cooling, prepare the glaze. In a bowl, whisk together the powdered sugar, milk, and vanilla extract until smooth. Let stand 5 minutes. How do you dip cronuts in glaze and let it drip off?
Step 14: Enjoy!
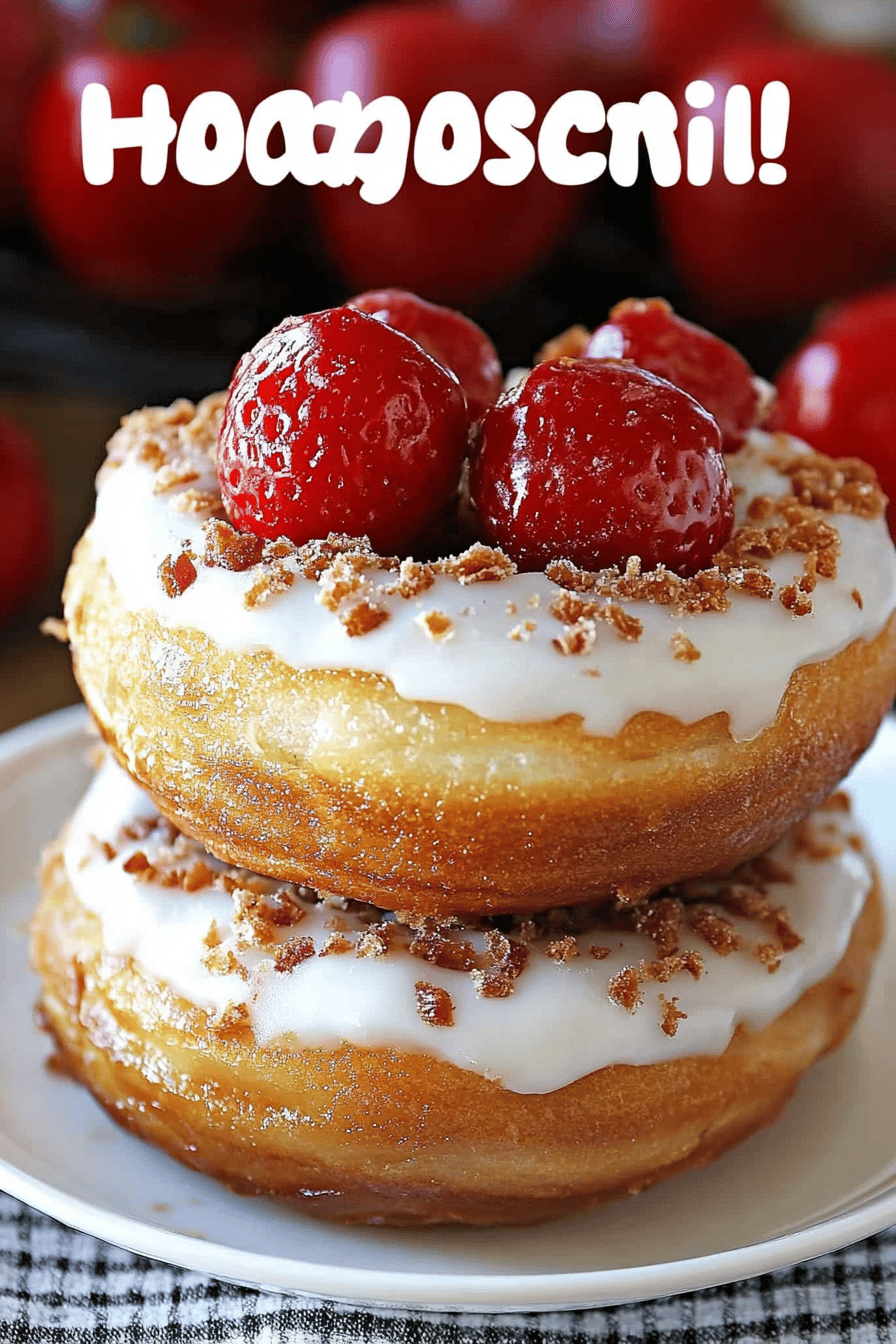
Let the glaze set for a few minutes, and then enjoy your homemade cronuts! Is it good to eat fresh fruit?
What should I serve it with?
Okay, so you’ve got these amazing homemade cronuts…now what? Well, the possibilities are endless!
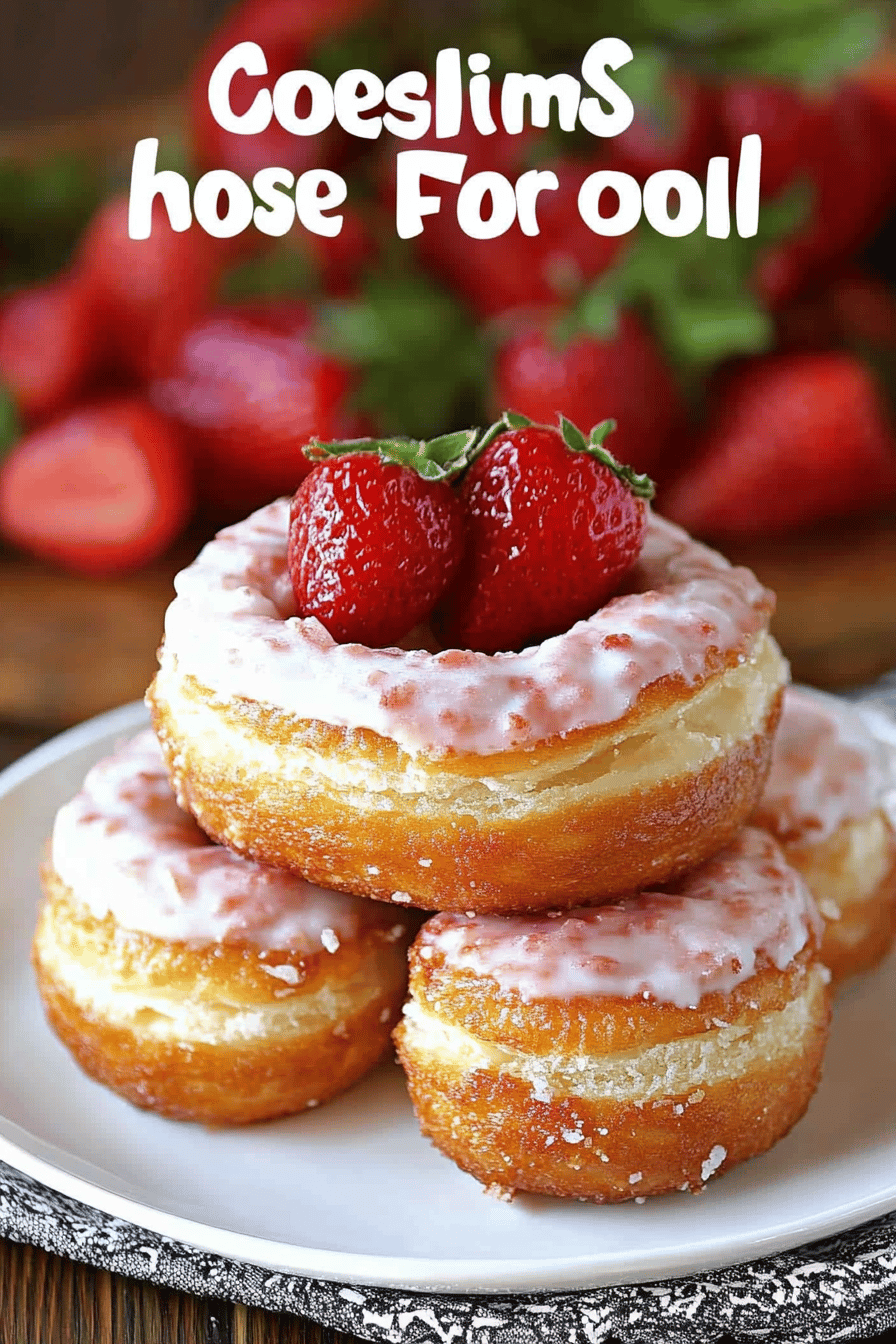
**For Breakfast:** Pair them with a strong cup of coffee or a creamy latte. A simple fruit salad on the side adds a touch of freshness. I love serving them with a sprinkle of cinnamon sugar for an extra cozy vibe.
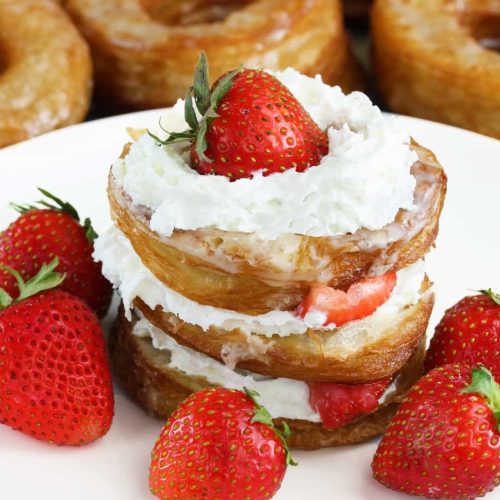
**For Brunch:** Elevate your brunch spread with these decadent treats. Arrange them artfully on a platter with fresh berries and whipped cream. Mimosas or sparkling cider are the perfect brunch companions.
**As Dessert:** Serve them warm with a scoop of vanilla Ice Cream and a drizzle of chocolate sauce. A glass of dessert wine or a cup of herbal tea complements the sweetness perfectly.
**For Cozy Snacks:** Enjoy them with a mug of hot chocolate or a glass of cold milk on a chilly evening. These cronuts are the ultimate comfort food!
My family loves when I make these for special occasions. We have a tradition of eating them on Christmas morning with a big pot of coffee. It’s the perfect way to start the day!
How do I make my own homemade cronuts?
Want to take your homemade cronut game to the next level? Here are some of my top tips:
Yeast Activ Make sure your milk is warm, not hot, when activating the yeast. Hot milk can kill the yeast and prevent the dough from rising.
Butter Temperature:The butter *must* be cold when you’re creating the layers. If butter is too soft, it will melt into the dough and you won’t get those flaky layers we’re used to.Chilling Time: Don’t skimp on the chilling time! This allows the gluten to relax and the butter to firm up, resulting in a flakier cronut.
Frying Temperature: Maintain a consistent oil temperature of 350°F (175°C). If the oil is too hot, the cronuts will burn on the outside and be raw on the inside. If it’s too cold, they’ll absorb too much oil.
Don’t Overcrowd the Pan: Fry the cronuts in batches to avoid lowering the oil temperature. Overcrowding the pan can also cause the cronuts to stick together.
Glaze Consistency: Adjust the amount of milk in the glaze to achieve your desired consistency. For a thicker glaze, use less milk. For a thinner glaze, use more. I always add the milk a tablespoon at a time until I get the right consistency.
Flavor Variations: Get creative with your fillings and glazes! Try adding extracts, spices, or even citrus zest to the glaze for a unique twist.
I learned the hard way that rushing the process never works. Patience is key when making cronuts! Take your time, follow the steps carefully, and you’ll be rewarded with the most amazing homemade treats.
Storing and Reheating Tips
Want to enjoy your homemade cronuts later? Here’s how to store and reheat them:
Room Temperature: Store the cronuts in an airtight container at room temperature for up to 2 days. They’re best enjoyed fresh, but they’ll still be delicious the next day.
Refrigerator Storage: For longer storage, you can refrigerate the cronuts in an airtight container for up to 4 days. However, they may lose some of their crispness.
Freezer Instructions: To freeze the cronuts, wrap them individually in plastic wrap and then place them in a freezer-safe bag or container. They can be frozen for up to 2 months. Thaw them overnight in the refrigerator before reheating. Don’t glaze them before freezing though, as the glaze will get sticky as it thaws.
Glaze Timing Advice: If you’re planning to store the cronuts, it’s best to glaze them just before serving. This will prevent the glaze from becoming soggy or sticky.
Reheating Instructions: To reheat the cronuts, place them in a preheated oven at 350°F (175°C) for 5-7 minutes, or until warmed through. You can also microwave them for a few seconds, but be careful not to overcook them. They’ll get tough.
I’ve found that freezing them is a great option when I make a big batch. It’s so nice to have a sweet treat on hand whenever I’m craving one!
Frequently Asked Questions
Final Thoughts
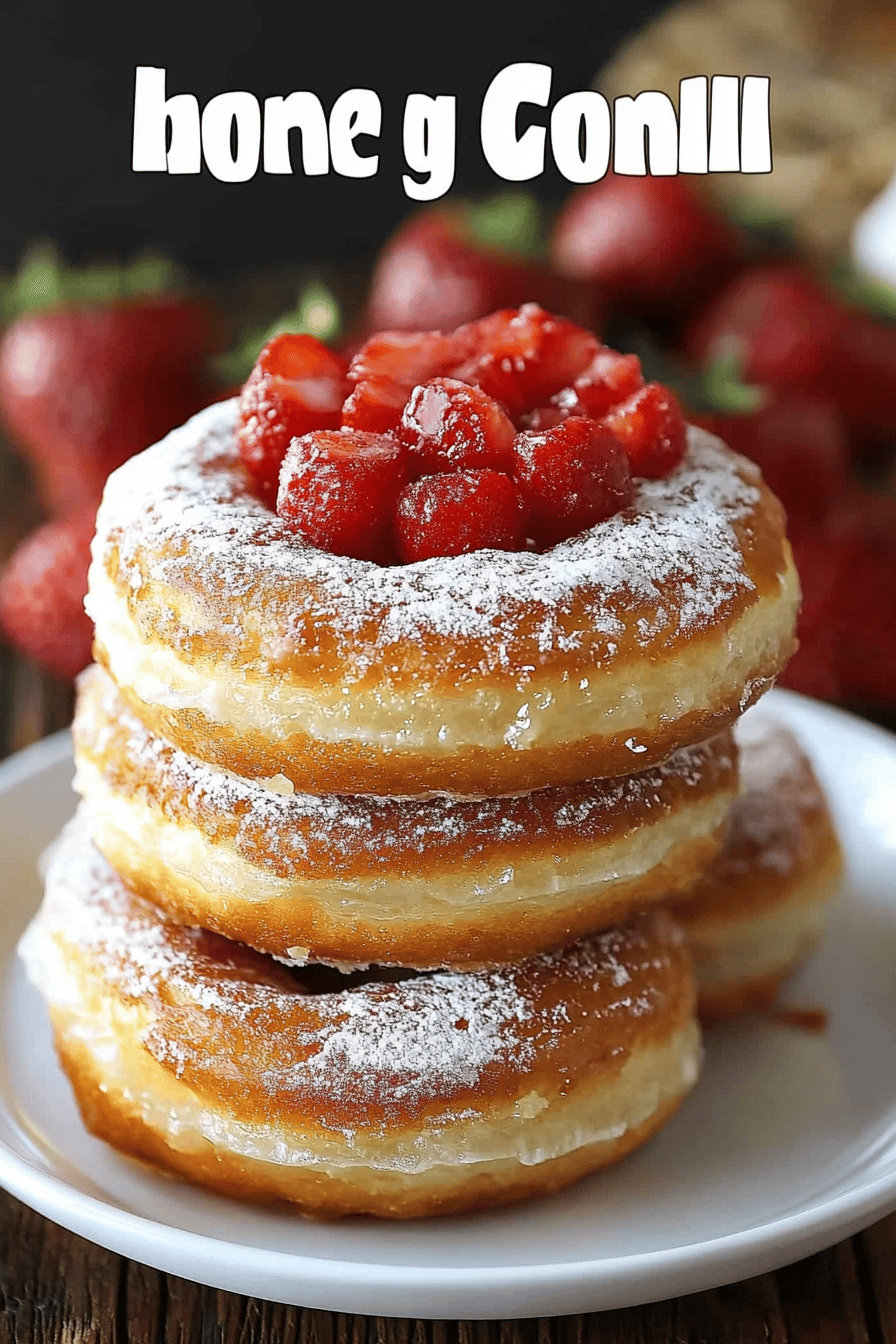
These homemade cronuts are truly a labor of love, but I promise you, they’re worth every single minute. The combination of flaky layers, buttery flavor, and sweet glaze is simply irresistible. Plus, there’s nothing quite like the feeling of accomplishment when you pull a batch of these beauties out of the fryer. And when you see the looks on people’s faces when they bite into one? Pure joy!
If you’re looking for other delicious pastry recipes, be sure to check out my homemade donut recipe too! It’s another family favorite.
I really hope you give these homemade cronuts a try. They’re perfect for special occasions, weekend treats, or just because you deserve something amazing. Happy baking, and don’t forget to let me know how yours turn out in the comments below! I’d love to hear about your variations and flavor combinations. And if you loved this recipe, please rate it and share it with your friends!
Homemade Cronuts
Ingredients
Main Ingredients
- 2 cups all-purpose flour
- 0.5 cups granulated sugar
- 1 tsp salt
- 1 cup unsalted butter cold, cubed
Instructions
Preparation Steps
- Whisk together flour, sugar, and salt. Cut in cold butter until mixture resembles coarse crumbs.
- Add cold water, 1 tablespoon at a time, until dough just comes together. Form into a disc, wrap in plastic wrap, and chill for at least 30 minutes.
- Roll out dough on a lightly floured surface to 1/8 inch thickness. Cut out circles using a 3-inch cookie cutter.
- Fry cronuts in hot oil (350°F) for about 1-2 minutes per side, until golden brown. Drain on paper towels.
- Dust with powdered sugar or glaze as desired.
Notes
Featured Comments
“Impressed! Clear steps and absolutely loved results. Perfect for busy nights.”
“New favorite here — restaurant-level. crowd-pleaser was spot on.”
“Super easy and turned out amazing! My family asked for seconds. Saving this one.”
“This sweet treat was absolutely loved — the hearty really stands out. Thanks!”
“Made it tonight and wow — turned out amazing! Will definitely make homemade cronuts again.”
“Packed with flavor and so simple. Exactly what I wanted from homemade cronuts.”


