


Oh, where do I even begin with homemade mac and cheese? For me, it’s not just food; it’s a warm hug in a bowl, a trip back to childhood kitchens, and frankly, the ultimate comfort dish. If you’re anything like me, you’ve probably tried a few mac and cheese recipes in your day. Some are too bland, some are too fussy, and some just… well, they’re okay, but they don’t make you close your eyes and sigh with pure bliss. This one? This is different. This is the recipe that people beg me for, the one that disappears in minutes at any gathering, and the one that makes my kids say, “Mom, this is the BEST!” It’s the kind of dish that feels special but is surprisingly simple, and honestly, it’s my go-to when I need something truly delicious that will make everyone happy. It’s like the cozy blanket of the culinary world, but so much tastier!

What is a good home made mac and cheese?
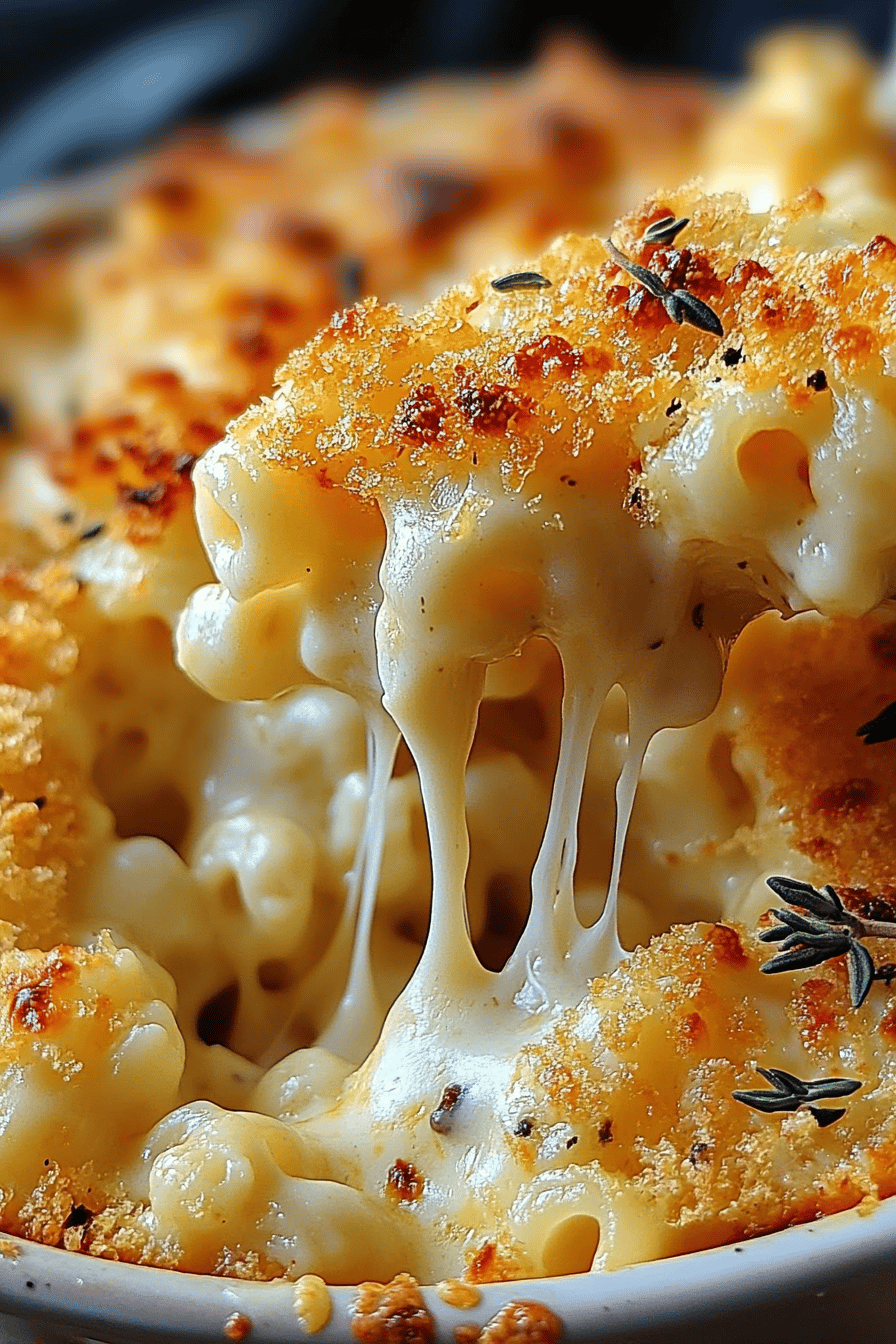
So, what exactly *is* this magical homemade mac and cheese we’re talking about? Think of it as the elevated, soul-satisfying version of that boxed stuff we all grew up with, but cranked up to eleven. It’s essentially pasta enveloped in a ridiculously creamy, cheesy sauce, baked until it’s golden and bubbly. But this isn’t just any cheese sauce. It’s a carefully crafted blend of dairy and cheese that coats every single noodle perfectly, creating a symphony of textures and flavors. The “homemade” part is key here – it means we’re using real ingredients, building flavor from scratch, and creating something that tastes genuinely special. It’s the kind of dish that whispers, “I’m delicious, and I took some care to make me this way,” without demanding hours in the kitchen. It’s pure, unadulterated cheesy goodness.
How to Make Homemade Mac and Cheese
Quick Overview
Making this ultimate homemade mac and cheese is all about building a luscious cheese sauce and then letting the oven do its magic. We’ll start by cooking your pasta just right, then create a quick roux with butter and flour to thicken our cheese sauce. We’ll stir in a blend of cheeses until it’s gloriously smooth and pour it all over the pasta. A quick bake until golden and bubbly, and voilà! You’ve got a dish that tastes like it came from a fancy restaurant but was made with love right in your own kitchen. It’s remarkably straightforward, and the results are always spectacular.
Ingredients
For the Pasta:
1 pound elbow macaroni (or your favorite short pasta shape)
1 tablespoon olive oil
1 teaspoon salt
For the Cheese Sauce:
6 tablespoons unsalted butter
1/2 cup all-purpose flour
4 cups whole milk, warmed
1 teaspoon salt
1/2 teaspoon Black Pepper
1/4 teaspoon nutmeg (optional, but trust me!)
4 cups shredded sharp cheddar cheese
2 cups shredded Gruyère cheese (or Monterey Jack, Colby, etc.)
For the Topping:
1/2 cup panko breadcrumbs
2 tablespoons melted butter
Step-by-Step Instructions
Step 1: Preheat & Prep Pan
First things first, let’s get that oven preheating to 375°F (190°C). While it’s warming up, lightly grease a 9×13 inch baking dish with butter or cooking spray. This prevents any sticking and makes for easier serving later on. Trust me, no one wants to scrape burnt bits off the bottom of their masterpiece!
Step 2: Cook the Pasta
Bring a large pot of salted water to a rolling boil. Add your elbow macaroni (or chosen pasta shape) and cook according to package directions, but aim for al dente – just shy of fully cooked. It will finish cooking in the oven. Drain the pasta and toss it with a tablespoon of olive oil and a teaspoon of salt. The olive oil helps prevent the pasta from clumping together as it waits for its cheesy destiny.
Step 3: Make the Roux
In the same large pot (no need to wash it!), melt the 6 tablespoons of butter over medium heat. Once melted, whisk in the 1/2 cup of flour. Cook this mixture, whisking constantly, for about 1-2 minutes. This is your roux, and it’s the magic ingredient that thickens our sauce. You want it to be a pale, peanut-butter color – don’t let it brown too much, or your sauce might have a toasted flavor you don’t want.
Step 4: Create the Cheese Sauce
Gradually whisk in the warmed milk, about a cup at a time, making sure each addition is fully incorporated before adding more. Keep whisking until the sauce is smooth and starts to thicken. This might take about 5-7 minutes. Once it’s thickened to a sauce consistency (it should coat the back of a spoon), stir in the salt, pepper, and nutmeg (if using). Taste it and adjust seasoning if needed – a little more salt can really bring out the cheese flavors!
Step 5: Add the Cheese!
Remove the pot from the heat. Now for the best part! Gradually add your shredded cheeses, a handful at a time, stirring until each addition is melted and smooth before adding more. This low-and-slow melting process prevents the cheese from becoming greasy. Keep stirring until you have a gloriously smooth, velvety cheese sauce. It should be thick but still pourable. If it seems a little too thick, you can whisk in another splash of warm milk.
Step 6: Combine Pasta and Sauce
Add the drained, al dente pasta directly into the pot with the cheese sauce. Gently stir everything together until every piece of pasta is beautifully coated in that luscious sauce. Make sure to get into all the nooks and crannies!
Step 7: Assemble and Bake
Pour the cheesy pasta mixture into your prepared baking dish and spread it out evenly. In a small bowl, combine the panko breadcrumbs with the 2 tablespoons of melted butter. Sprinkle this buttery mixture evenly over the top of the mac and cheese. This is going to give you that irresistible crispy, golden crust.
Step 8: Bake to Perfection
Place the baking dish in the preheated oven and bake for 20-25 minutes, or until the top is golden brown and the edges are bubbling with cheesy deliciousness. You want to see that beautiful, irresistible crust form.
Step 9: Rest and Serve
This is a crucial step, though it’s the hardest! Let the mac and cheese rest for about 5-10 minutes after it comes out of the oven. This allows the sauce to set up just a bit, making it easier to serve and preventing it from being too runny. Then, scoop it out and enjoy the absolute best homemade mac and cheese you’ve ever had!
What to Serve It With
Honestly, this homemade mac and cheese is so good, it can absolutely stand on its own as a meal. But if you’re feeling like making a full spread or just want some perfect accompaniments, I’ve got you covered! It’s surprisingly versatile:
For Breakfast: Hear me out! A small, individual portion of this mac and cheese is surprisingly delicious alongside some crispy bacon or a fried egg. The savory richness is a perfect counterpoint to a runny yolk. I love making little mini versions in ramekins for a special weekend brunch.
For Brunch: This is where it really shines! Serve it in a large, beautiful bowl as part of a brunch buffet. It’s fantastic alongside Roasted vegetables, a fresh green salad, or even some mini quiches. A sparkling mimosa or a strong cup of coffee is the perfect beverage companion.
As Dessert: Okay, this sounds wild, but if you dial back the salt and pepper and maybe add a touch of cinnamon or a tiny bit of brown sugar to the sauce (and skip the breadcrumbs or use something sweet), it can actually be a surprisingly comforting dessert! Think of it as a savory-sweet custard. It’s for the adventurous, but it works! I usually pair it with a light Fruit Salad to balance the richness.
For Cozy Snacks: This is its natural habitat! Serve it as a side dish with barbecued meats, roasted chicken, or even just a simple grilled cheese sandwich (yes, mac and cheese *with* a grilled cheese!). It’s also amazing alongside a hearty soup like tomato or broccoli cheddar. My family loves it as an after-school snack – a little warm bowl of comfort after a long day.
My family tradition is to have this as our main event on a chilly Sunday evening, with a big green salad to make us feel slightly virtuous. It always feels like a celebration!
Top Tips for Perfecting Your Homemade Mac and Cheese
Over the years, I’ve picked up a few tricks and learned from my own little kitchen mishaps to make this homemade mac and cheese absolutely perfect every single time. Here are my go-to tips:
Pasta Prep is Key: Don’t overcook your pasta! This is probably the single most important tip. It needs to be al dente because it will continue to cook in the oven. If you cook it until it’s mushy beforehand, you’ll end up with a clumpy, sad dish. Also, tossing it with a little oil and salt after draining prevents sticking and adds a touch more flavor.
The Roux Matters: Cooking your flour and butter mixture for at least a minute or two is crucial. This cooks out the raw flour taste. You don’t want to overcook it to a deep brown, but a pale golden color is perfect for a neutral base. This step ensures a smooth, creamy sauce, not a grainy one.
Warming the Milk: While not strictly mandatory, warming your milk before adding it to the roux helps prevent lumps and makes the sauce come together more quickly and smoothly. I usually just pop it in the microwave for a minute or two.
Cheese Quality is Everything: Please, please, please use block cheese and shred it yourself! Pre-shredded cheese has anti-caking agents that can make your sauce a little grainy and less smooth. Sharp cheddar gives it a great tang, and a good melting cheese like Gruyère or Monterey Jack adds creaminess and depth. I’ve experimented with adding a touch of smoked gouda too, and it was phenomenal!
Low Heat for Melting Cheese: Always add your cheese off the heat or on very low heat. This prevents the cheese from separating and becoming greasy. Stirring gently until just melted is the goal.
Don’t Skimp on Seasoning: Salt, pepper, and that tiny pinch of nutmeg (seriously, try it!) make a huge difference. The nutmeg subtly enhances the cheesy flavor without making it taste like nutmeg. Taste your sauce before adding the pasta and adjust as needed. Remember, pasta absorbs flavor, so the sauce needs to be well-seasoned.
The Breadcrumb Topping: Panko breadcrumbs give the crispiest, crunchiest topping. Tossing them with melted butter ensures they toast up beautifully and become golden brown and delicious. Don’t skip this step; it adds a lovely textural contrast.
Resting Period: I know it’s tempting to dive right in, but letting it sit for 5-10 minutes after baking allows the sauce to thicken slightly and makes it much easier to serve neatly. It also means you won’t burn your tongue on molten cheese!
Storing and Reheating Tips
The best part about this homemade mac and cheese is that it reheats beautifully, making it perfect for leftovers. Here’s how I usually handle it:
Room Temperature: Honestly, I rarely leave it at room temperature for more than an hour or two, especially if the house is warm. It’s best to refrigerate it promptly to maintain freshness and safety.
Refrigerator Storage: Once cooled slightly, transfer any leftovers to an airtight container. It will stay delicious in the refrigerator for about 3-4 days. The sauce might thicken up a bit as it cools, which is totally normal.
Freezer Instructions: If I know I want to freeze it for a later date, I’ll portion it out into freezer-safe containers or even muffin tins (for individual servings) before it’s baked, or after it’s cooled completely if it’s leftovers. Wrapped well, it can last in the freezer for up to 2-3 months.
Glaze Timing Advice: For the breadcrumb topping, it’s best to add that right before baking for maximum crispiness. If you’re storing unbaked mac and cheese, I’d recommend adding the breadcrumb topping just before you plan to bake it. If you’re reheating, I sometimes add a fresh sprinkle of breadcrumbs on top before popping it back in the oven for a quick crisp-up.
Reheating: The stovetop or oven is your best friend here. For stovetop, gently reheat on low heat in a saucepan, adding a splash of milk or cream to loosen the sauce. For oven reheating, place in a baking dish (covered with foil for the first part of reheating, then uncovered to crisp the top) at around 300-325°F (150-160°C) until heated through. If reheating from frozen, thaw overnight in the fridge first, then reheat as above. For individual portions, a quick zap in the microwave works too, though the topping won’t be as crispy.
Frequently Asked Questions
Final Thoughts

I truly hope you give this homemade mac and cheese a try. It’s more than just a recipe to me; it’s a gateway to comfort, warmth, and pure culinary joy. It’s proof that simple ingredients, treated with a little care, can create something truly spectacular. The creamy, cheesy sauce, the perfectly cooked pasta, and that golden, crispy topping – it’s a combination that’s hard to beat. I can’t wait for you to experience that first bite, that moment when all the flavors and textures just sing. If you loved this recipe, you might also want to check out my recipes for creamy tomato soup (the perfect partner!) or my garlic herb roasted chicken for a complete comfort food feast.
I’d absolutely love to hear how yours turns out! Please leave a comment below and tell me your favorite cheese combination or any fun variations you tried. And if you share a picture on social media, don’t forget to tag me – I love seeing your creations! Happy baking (and eating!)

Homemade Mac and Cheese
Ingredients
Main Ingredients
- 0.5 pound Elbow macaroni
- 0.25 cup Butter
- 0.25 cup All-purpose flour
- 3 cups Milk Whole milk recommended
- 2 cups Cheddar cheese Shredded
- 1 cup Gruyere cheese Shredded
- 0.5 teaspoon Salt
- 0.25 teaspoon Black pepper
- 0.125 teaspoon Nutmeg Freshly grated, optional
Instructions
Preparation Steps
- Preheat your oven to 375°F (190°C). Grease a 9x13 inch baking dish.
- Cook the elbow macaroni according to package directions until al dente. Drain and set aside.0.5 pound Elbow macaroni
- In a large saucepan or Dutch oven, melt the butter over medium heat. Whisk in the flour and cook for 1-2 minutes, until lightly golden, creating a roux.0.5 pound Elbow macaroni
- Gradually whisk in the milk, stirring constantly to prevent lumps. Bring to a gentle simmer and cook until thickened, about 5-7 minutes.0.5 pound Elbow macaroni
- Remove from heat and stir in the shredded cheddar and Gruyere cheeses until melted and smooth. Season with salt, pepper, and nutmeg (if using).0.5 pound Elbow macaroni
- Add the cooked macaroni to the cheese sauce and stir to combine.0.5 pound Elbow macaroni
- Pour the macaroni and cheese mixture into the prepared baking dish.
- Bake for 20-25 minutes, or until bubbly and golden brown on top.
- Let stand for a few minutes before serving.
Notes
Featured Comments
“Impressed! Clear steps and so flavorful results. Perfect for busy nights.”
“New favorite here — turned out amazing. crowd-pleaser was spot on.”
“Super easy and turned out amazing! My family asked for seconds. Saving this one.”
“This sweet treat was absolutely loved — the fresh really stands out. Thanks!”
“Made it tonight and wow — comforting! Will definitely make Homemade Mac and Cheese again.”
“Packed with flavor and so simple. Exactly what I wanted from Homemade Mac and Cheese.”


