

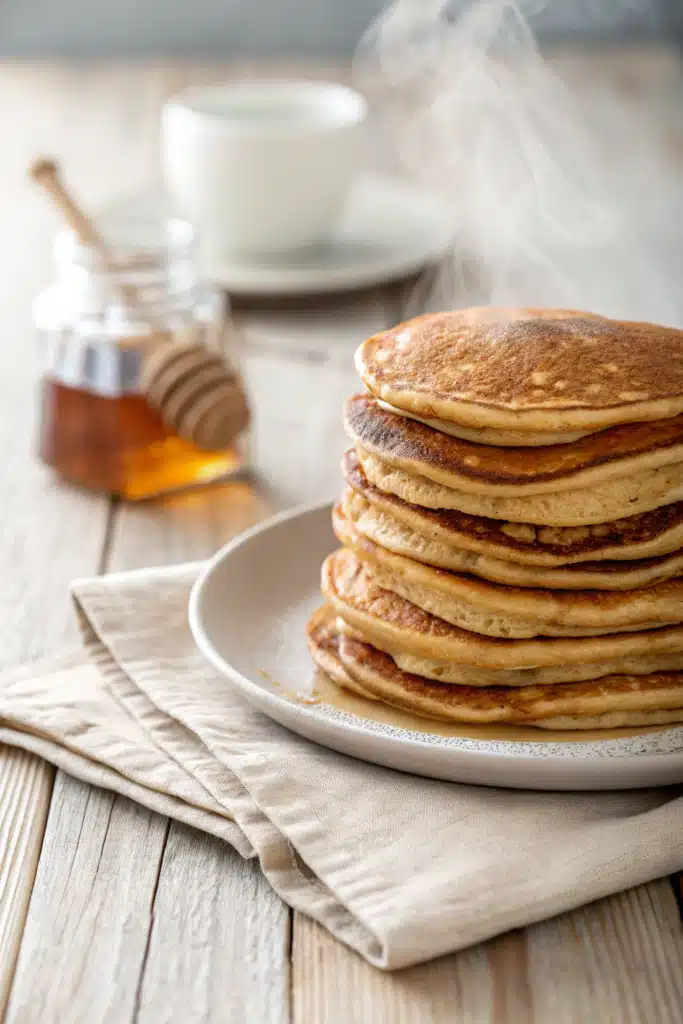
The Fluffiest Dairy Free Pancakes You’ll Ever Make
Let’s be honest, weekend mornings just aren’t complete without the smell of fresh batter sizzling on a hot griddle. But if you or someone in your family has recently ditched dairy, you might be feeling a little left out of the traditional Sunday breakfast club. I totally get it. When we first started looking into dairy-free options, every batch I made ended up either rubbery, flat as a board, or tasting weirdly like cardboard. Not exactly the comforting breakfast I was going for!
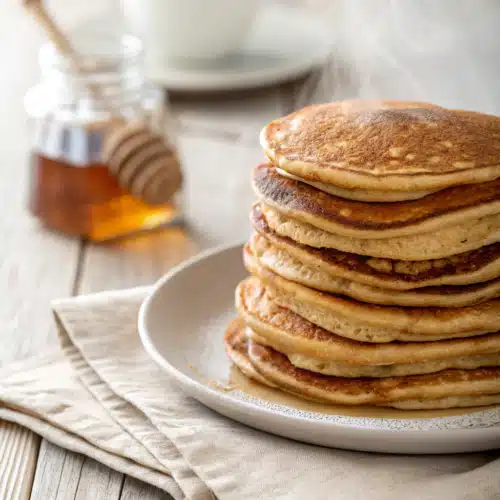
That’s exactly why I spent weeks tweaking, testing, and eating way too many mediocre batches to finally perfect these fluffy, golden dairy free pancakes. They are completely life-changing, and I don’t use that phrase lightly. You get those crispy, buttery edges (using plant-based butter, of course!) and cloud-like, pillowy centers that soak up maple syrup like an absolute dream. Whether you are lactose intolerant, vegan, or just ran out of regular milk and need a quick fix, this recipe is going to save your morning. Grab your favorite mixing bowl, and let’s get cooking!
What Are Dairy Free Pancakes?
At their core, dairy free pancakes are exactly what they sound like—a classic breakfast staple reimagined without any cow’s milk or traditional butter. But if you think that means sacrificing flavor or texture, think again! Traditional pancakes rely on buttermilk or whole milk to create a tender crumb and a rich flavor profile. To replicate that magic without the dairy, we use a simple combination of plant-based milk mixed with a splash of apple cider vinegar or lemon juice.
This clever little trick creates a homemade dairy-free “buttermilk” that reacts beautifully with the baking powder in the recipe. The result? A chemical reaction that produces gorgeous little air bubbles in your batter, giving you that signature rise and fluffiness. We also swap out regular butter for a high-quality neutral oil or melted plant-based butter to keep the moisture locked in. They look, feel, and taste so incredibly similar to the classic diner-style hotcakes that I guarantee your family won’t even realize they’re eating a dairy-free version. It’s just pure, uncomplicated comfort food on a plate.
How to Make Dairy Free Pancakes
Quick Overview
Making these dairy free pancakes couldn’t be easier. You’ll start by making a quick vegan buttermilk using your milk of choice and a little vinegar. While that sits and curdles slightly, you’ll whisk together your dry ingredients. Pour the wet mixture into the dry, stir just until combined (remember, lumps are your friend!), and then ladle the batter onto a hot, greased skillet. Flip when the bubbles pop, and you’re done! Total prep time is about 5 minutes, and cooking takes another 10.
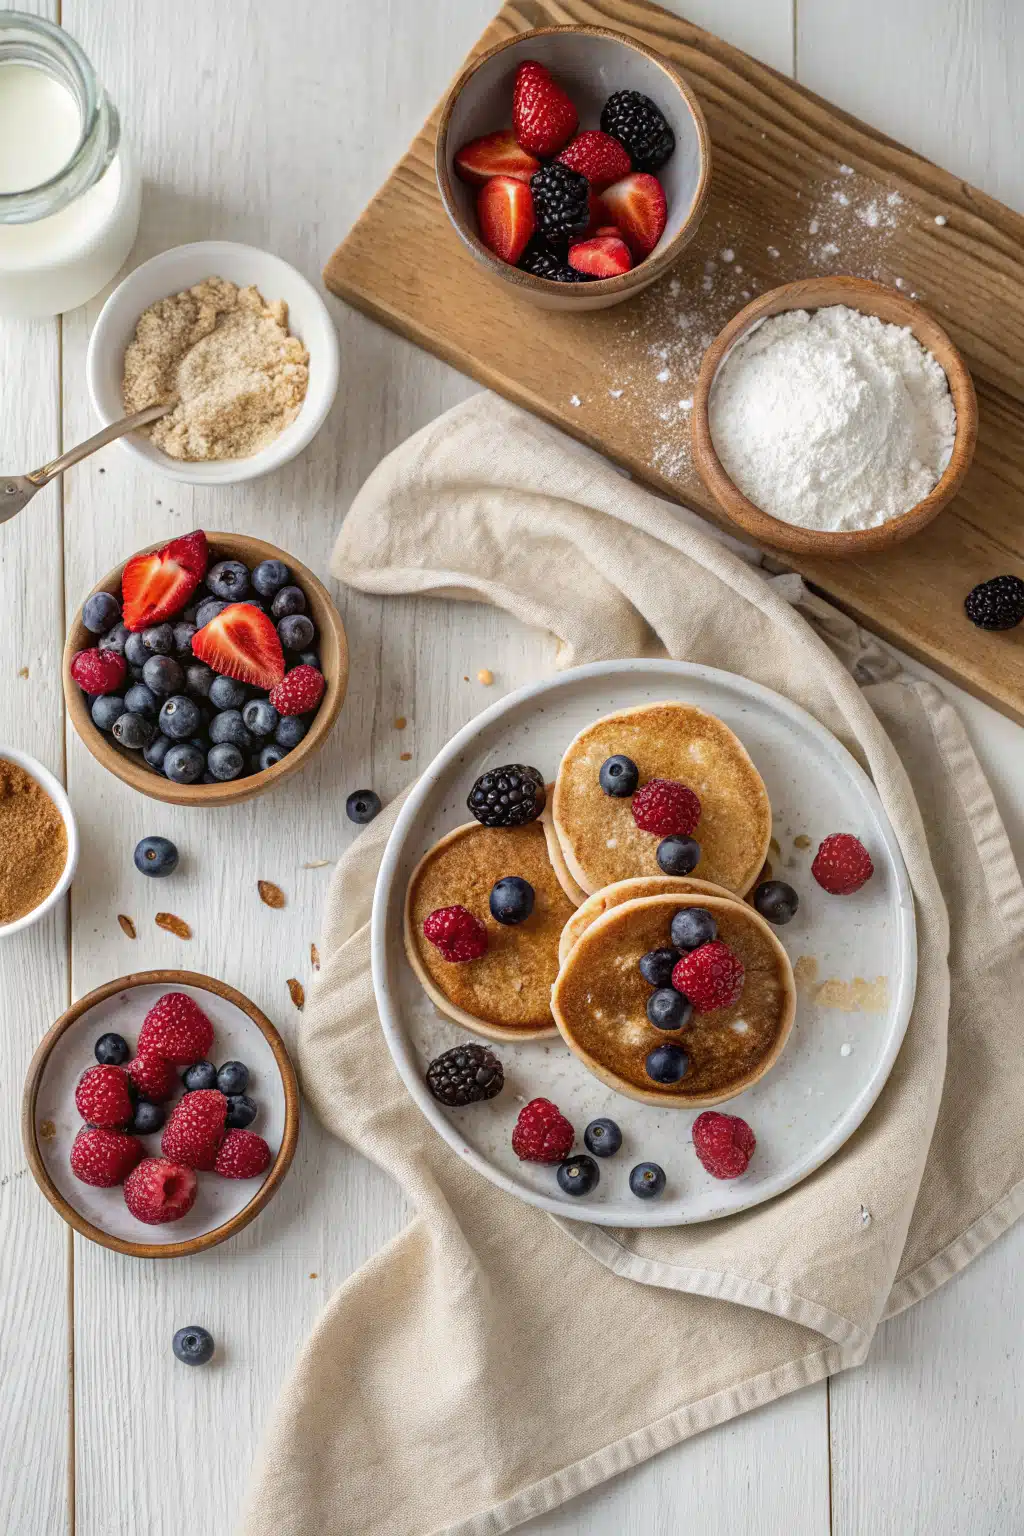
Ingredients
- All-purpose flour: Standard white flour gives the best fluffy texture. You can use a 1-to-1 gluten-free blend if needed!
- Dairy-free milk: Almond, oat, or soy milk work great. Unsweetened is definitely best here.
- Apple cider vinegar: Just a tablespoon to curdle the milk and activate the baking powder.
- Baking powder: The secret to that sky-high rise. Make sure it’s fresh.
- Sugar: Just a touch for sweetness and to help the edges brown beautifully in the pan.
- Salt: Essential for balancing the flavors.
- Neutral oil: Canola, vegetable, or melted coconut oil keeps the crumb perfectly tender.
- Vanilla extract: For that classic bakery aroma we all love.
- Egg: One large egg binds it all together (check the FAQ below for my favorite vegan swap).
Step-by-Step Instructions
In a small measuring jug, combine your dairy-free milk and apple cider vinegar. Give it a quick stir and let it sit for about 5 minutes. It will thicken slightly and look a bit curdled. Don’t panic, this is exactly what we want to happen!
In a large mixing bowl, toss together your flour, sugar, baking powder, and salt. Whisk it well so the baking powder is evenly distributed. This ensures your pancakes rise evenly on the griddle.
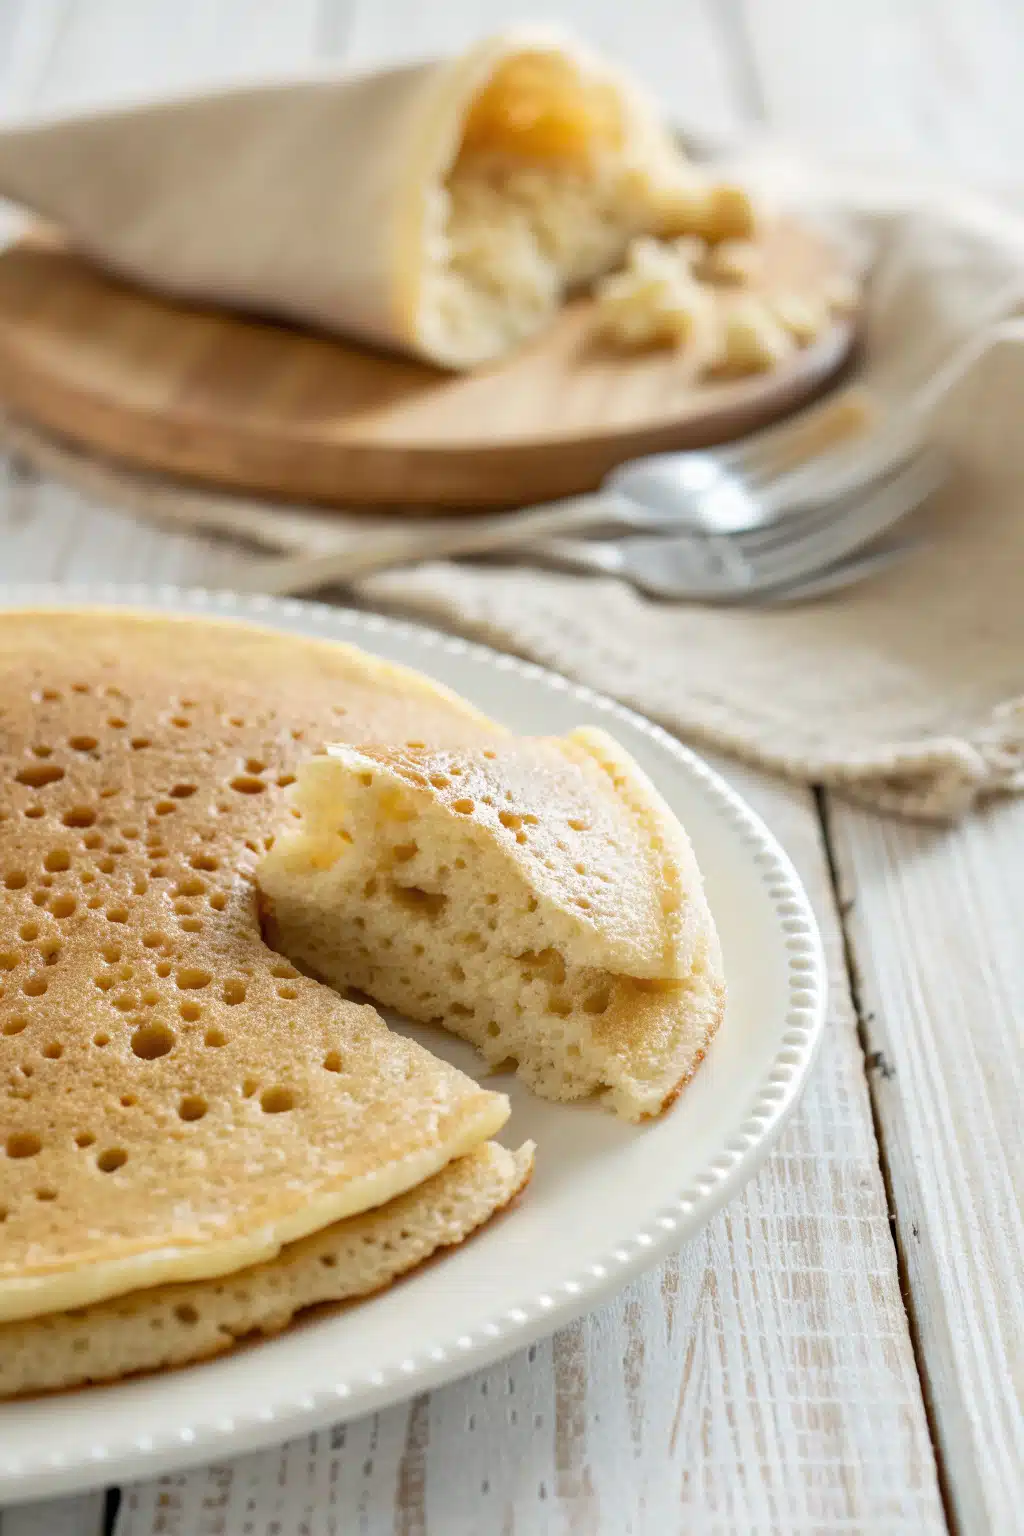
Add your oil, vanilla extract, and egg into the thickened milk mixture. Whisk until smooth. Pour this wet mixture into your dry ingredients. Gently fold everything together using a spatula. Stop mixing when you can still see a few small streaks of flour. Overmixing leads to tough pancakes, so step away from the bowl!
Heat a large skillet or griddle over medium heat. Lightly grease it with a little oil or dairy-free butter. Pour about 1/4 cup of batter for each pancake. Cook until bubbles form on the surface and the edges look set (about 2 to 3 minutes). Flip carefully and cook for another 1 to 2 minutes until the bottoms are golden brown.
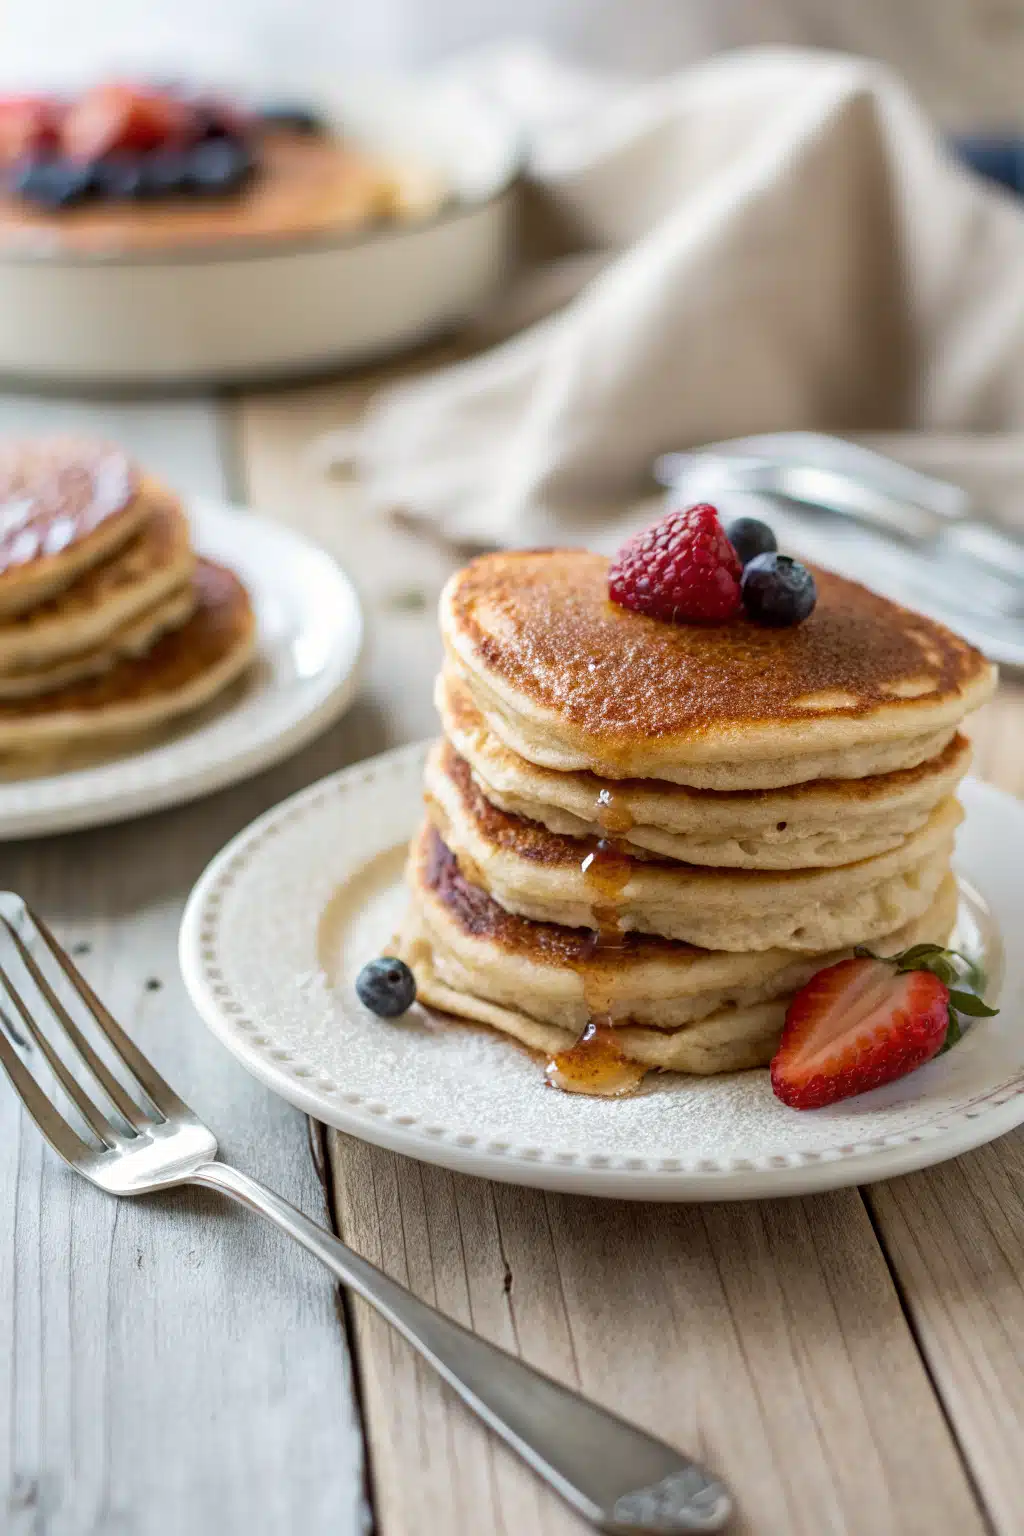
What to Serve It With
A stack of warm dairy free pancakes is a masterpiece on its own, but the toppings are where you can really have fun. I always start with a generous pat of high-quality vegan butter right on top so it melts down the sides. Then, drown them in real, 100% pure maple syrup—please skip the artificial stuff!
If you want to get a little fancy for a weekend brunch, try adding a dollop of coconut whipped cream and a handful of fresh berries. Sliced bananas and a heavy drizzle of creamy peanut butter or almond butter make for a super satisfying, protein-packed breakfast. Sometimes, my kids beg for a sprinkle of dairy-free chocolate chips and a dusting of powdered sugar. Honestly, you really can’t go wrong here.
Top Tips for Perfecting Your Dairy Free Pancakes
- Don’t overmix the batter: I can’t stress this enough! Lumps are completely fine. If you beat the batter until it’s perfectly smooth, the gluten will overdevelop, leaving you with dense, rubbery discs.
- Let the batter rest: While your pan is heating up, let the batter sit undisturbed in the bowl for about 5 to 10 minutes. This gives the flour time to hydrate and the baking powder time to activate, resulting in a much fluffier texture.
- Control your heat: Medium to medium-low heat is the sweet spot. If the pan is too hot, the outsides will burn before the inside cooks through. If it’s too cool, they won’t get that nice crispy edge.
- Test the pan: Flick a tiny drop of water onto your skillet. If it dances and sizzles immediately, your pan is ready for the batter.
Storing and Reheating Tips
If you happen to have leftovers (which is a rare occurrence in my house!), they are incredibly easy to save for later. Let the cooked pancakes cool completely on a wire rack so they don’t get soggy from trapped steam. Once cooled, place them in an airtight container and store them in the fridge for up to 4 days.
To freeze them, lay the cooled pancakes on a baking sheet in a single layer and freeze for an hour. Once solid, transfer them to a freezer-safe bag. This stops them from sticking together in one giant clump! When you’re ready to eat, skip the microwave. Pop them directly into your toaster on a medium setting. They will heat all the way through and get those lovely, slightly crisp edges back, tasting just like they came fresh off the griddle.
Frequently Asked Questions
Final Thoughts
There you have it, my absolute favorite way to whip up a batch of dairy free pancakes! It took a lot of trial and error to get this recipe exactly right, but seeing my family devour a stack on a Sunday morning makes it entirely worth it. You really don’t have to miss out on the joy of a classic diner-style breakfast just because you’re avoiding dairy.
I hope this recipe brings a little extra warmth and deliciousness to your weekend routine. If you try these out, please let me know how they turned out for you! Pour an extra cup of coffee, drown that stack in maple syrup, and enjoy every single bite. Happy flipping, friends!
dairy free pancakes
Ingredients
Main Ingredients
- 1 cup all-purpose flour
- 2 tablespoons granulated sugar
- 2 teaspoons baking powder
- 0.25 teaspoon salt
- 1 cup water
- 1 large egg
- 2 tablespoons melted butter or neutral oil
- 1 teaspoon vanilla extract
Instructions
Preparation Steps
- In a large mixing bowl, whisk together the all-purpose flour, sugar, baking powder, and salt.
- In a separate medium bowl, whisk together the water, egg, melted butter (or oil), and vanilla extract until well combined.
- Pour the wet ingredients into the dry ingredients. Stir gently until just combined. Be careful not to overmix; a few lumps in the batter are perfectly fine.
- Heat a large skillet or griddle over medium heat and lightly coat with butter or oil.
- Pour about 0.25 cup of batter onto the hot skillet for each pancake. You should have enough batter to make exactly 7 pancakes.
- Cook for 2 to 3 minutes until bubbles form on the surface and the edges look set. Flip and cook for another 1 to 2 minutes until golden brown.
- Remove from the skillet and serve immediately with your favorite toppings.
Notes
Featured Comments
“Impressed! Clear steps and so flavorful results. Perfect for busy nights.”
“New favorite here — restaurant-level. crowd-pleaser was spot on.”
“Super easy and turned out amazing! My family asked for seconds. Saving this one.”
“This sweet treat was absolutely loved — the zingy really stands out. Thanks!”
“Made it tonight and wow — turned out amazing! Will definitely make How to Make 7 Delicious Pancakes Without Milk: Your Go-To Guide again.”
“Packed with flavor and so simple. Exactly what I wanted from How to Make 7 Delicious Pancakes Without Milk: Your Go-To Guide.”


