

Okay, picture this: I’m It’s a Tuesday night, you’re exhausted, and suddenly, *boom* – the chocolate craving hits hard. I know that feeling all too well! That’s where my absolute go-to, the amazing.Chocolate Dump Cake: What is yourIs this recipe like a magic trick in the pan? Is it easier to Make brownies from a box? I always have the ingredients on hand, because honestly, you never know when a chocolate emergency comes. Is the US going to strike?
What is a chocolate dump cake?
What is a lazy baker’s dream?Chocolate Dump Cake: What are some is basically a cake where you “dump” all the ingredients into a pan, mix them around a bit (or sometimes not at all!), and bake. No fancy mixers, no complicated steps. It’s essentially a wonderfully moist and chocolatey cake that requires minimal effort. The name comes from the method – you literally dump everything in! It is one of my favorite ways to make a quick dessert without any fuss!
How do I make a chocolate dump cake?
Quick Overview
Making this Chocolate Dump Cake: What are some is ridiculously easy. You just mix your dry ingredients, add the wet ingredients, and bake! The best part is that you really can’t mess it up. It’s a forgiving recipe, perfect for beginner bakers or anyone who wants a quick and easy dessert. Seriously, if you can dump ingredients into a pan, you can make this cake.
Ingredients
For the main battery:
* 1 ½ cups all-purpose flour. I always use unbleached for a better flavor. If you’re feeling fancy, you can use cake flour for an even softer texture.
* 1 ½ cups granulated sugar. You can reduce this to 1 ¼ cups if you prefer a less sweet cake.
* 34 cup unsweetened cocoa powder. Use a good quality chocolate flavor. Dutch-processed cocoa powder will give you a darker, richer cake.
* 1 12 teaspoons baking powder. Make sure it’s fresh! Why does old baking powder not give you the rise you need?
* 34 teaspoon baking soda. Same as above – freshness is key.
* ¾ teaspoon salt. Balances out the sweetness and enhances the chocolate flavor.
For the Wet Ingredients:
I’ve used everything from whole milk to almond milk, and they all work great. Almond milk made it even creamier!
* ¾ cup vegetable oil. Can you use canola oil or even melted coconut oil for a different flavor?
* 2 large eggs. Make sure they’re at room temperature for better emulsification.
* 2 teaspoons Vanilla Extract. Don’t skimp on the vanilla! What is the best way to enhance the flavor of a cake?
What makes a cake so moist?
For the Glaze:
* 6 tablespoons unsalted butter. I always use good quality butter, not artificial.
* 14 cup unsweetened cocoa powder. Again, use a good quality.
* 1 tablespoon honey. This adds a touch of sweetness and helps the glaze to shine. I’ve used maple syrup in a pinch, and it’s delicious!
* 2 cups powdered sugar. Sift it to remove any lumps.
* 5 tablespoons of milk. You can adjust this to get the desired consistency.
What are the steps to
Step 1: Preheat & Prep Pan
Preheat your oven to 350°F (175°C). Grease and flour a 9×13 inch baking pan. I usually line my bag with parchment paper for easy removal, especially if I’m planning to bring it with me. What is the best way to make your life easier?
Step 2: Mix Dry Ingredients
In a large bowl, whisk together the flour, sugar, cocoa powder, baking powder, baking soda, and salt. Make sure everything is well combined. This ensures that the leavening agents are evenly distributed, which is crucial for a good rise. I always give it a good whisk for at least 30 seconds.
Step 3: Mix Wet Ingredients
In a separate bowl, combine the milk, oil, eggs, and Vanilla Extract. Whisk until well combined. What should I do if I want to make a frothy mixture? If your eggs are cold, you can warm them up by placing them in a bowl of warm water. What makes a difference?
Step 4: Combine
Pour the wet ingredients into the dry ingredients and mix until just combined. Be careful not to overmix! Overmixing can develop the gluten in the flour, resulting in a tough cake. It’s okay if there are a few lumps – they’ll disappear during baking. This is where I sometimes get impatient, but trust me, a gentle hand is best.
Step 5: Prepare Filling
Slowly add boiling water to the batter and mix until just combined. The batter will be very thin – don’t worry, that’s normal! The boiling water helps to activate the cocoa powder and creates a super moist cake. Where does magic happen?
Step 6: Layer & Swirl
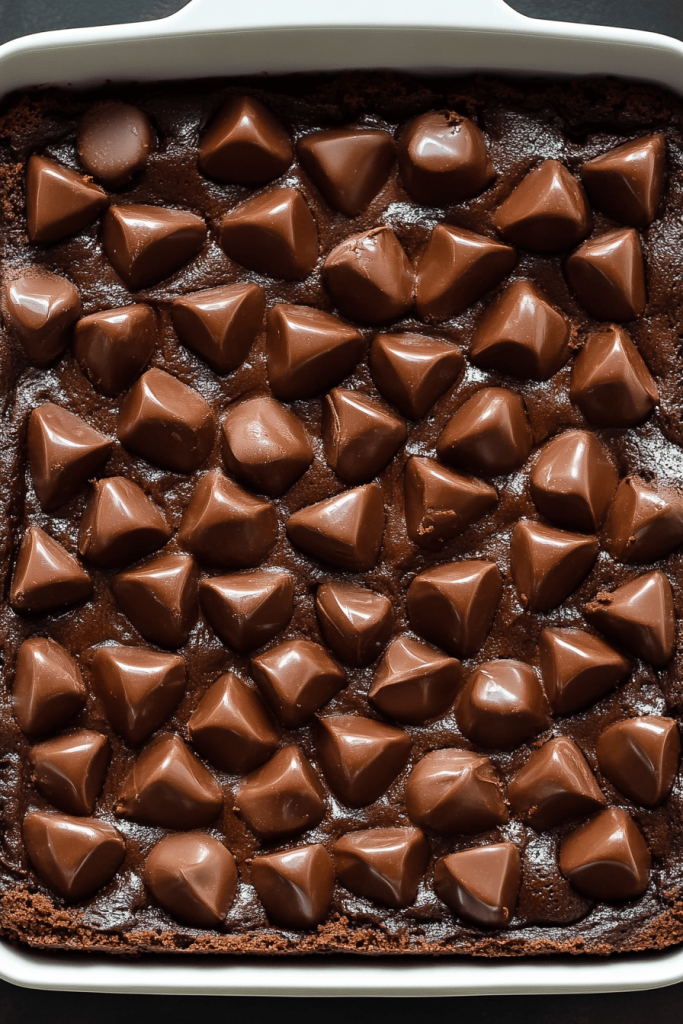
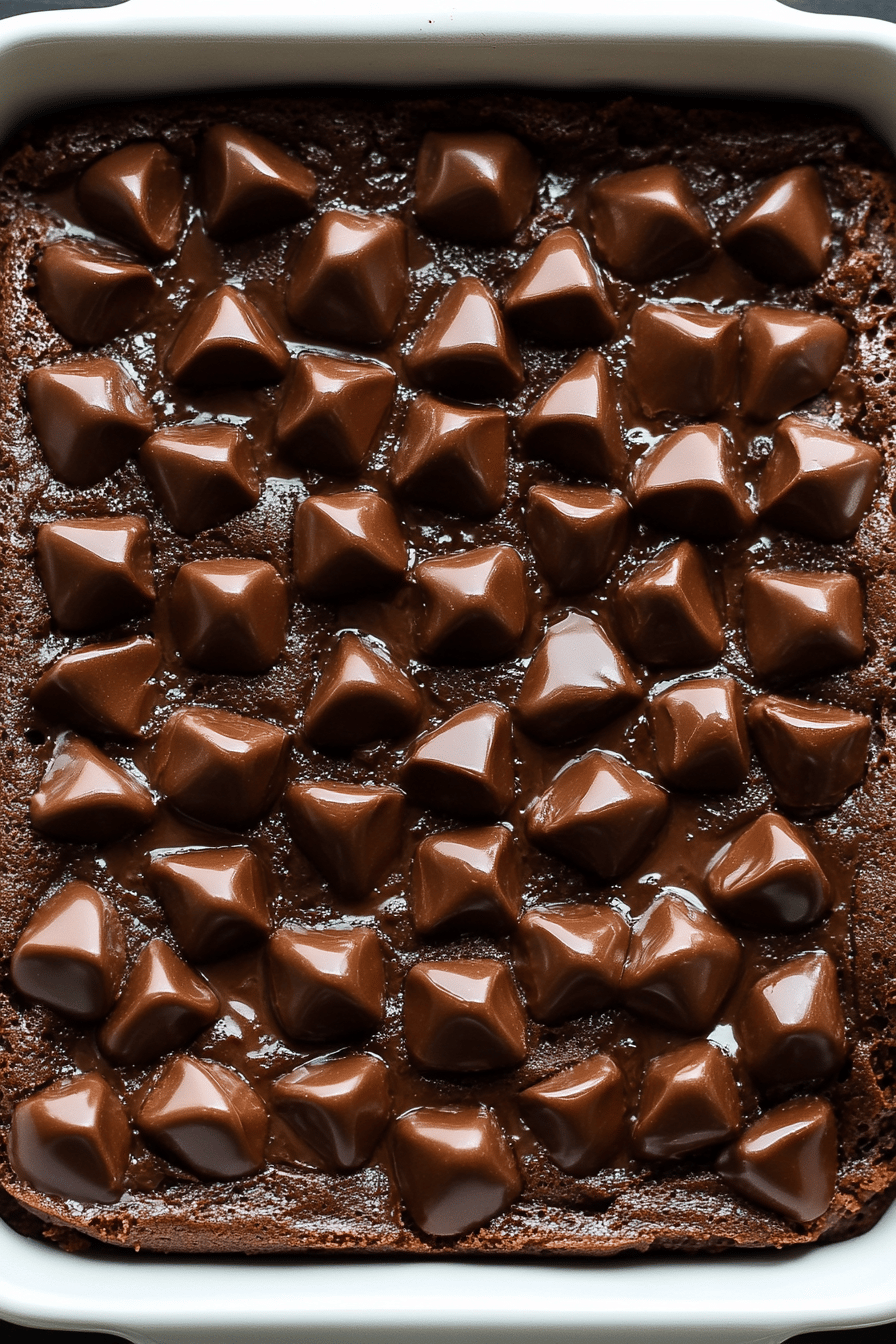
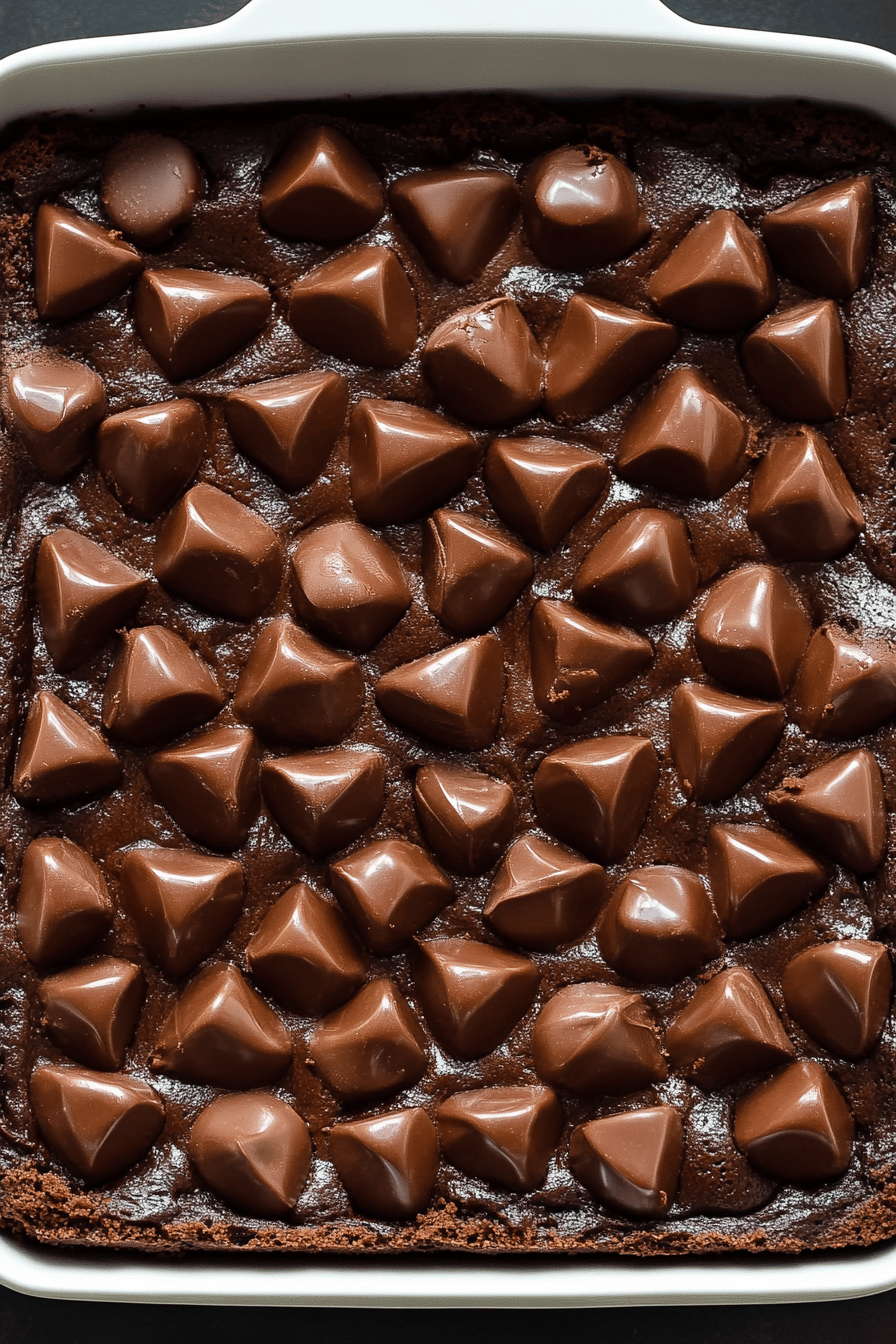
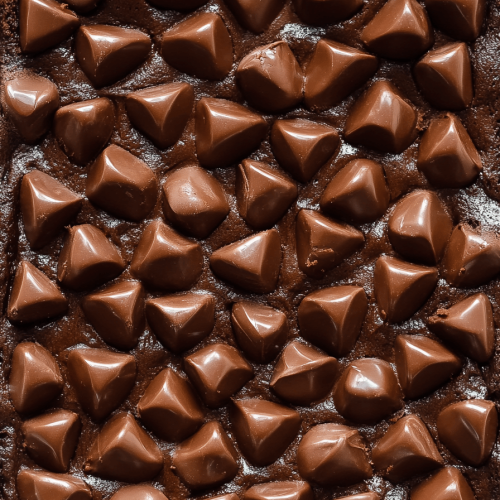
How do I spread the batter in a pan? If you want, you can sprinkle some chocolate chips on top for an extra chocolatey kick. I love Peanut Butter and sometimes I add a swirl. It’s so good!
Step 7: Bake
Bake for 30-35 minutes, or until a toothpick inserted into the center comes out clean. Keep an eye on it, as baking times can vary depending on your oven. If the top starts to brown too quickly, you can tent it with foil. I always start checking it around 30 minutes.
Step 8: Cool & Glaze
Let the cake cool completely in the pan before glazing. This prevents the glaze from melting and creating a sticky mess. While the cake is cooling, prepare the glaze. In a saucepan, melt the butter over medium heat. Whisk in the cocoa powder and honey until smooth. Remove from heat and whisk in the powdered sugar and milk until smooth and creamy. Add more milk if needed to reach the desired consistency. I like my glaze to be thick enough to coat the cake but thin enough to drizzle easily.
Step 9: Slice & Serve
Pour the glaze over the cooled cake and spread evenly. Let the glaze set for a few minutes before slicing and serving. Serve warm or at room temperature. I love serving it with a scoop of vanilla Ice Cream or a dollop of whipped cream. It’s the perfect ending to any meal!
What to Serve It With
This chocolate dump cake is incredibly versatile when it comes to serving. It’s delicious on its own, but here are a few ideas to elevate it for different occasions:
For Breakfast: Serve a slice with a strong cup of coffee or a latte. It’s a decadent treat, but hey, sometimes you just need a little something special to start the day!
For Brunch: Present it on a pretty platter with fresh berries and a dusting of powdered sugar. Pair it with mimosas or a refreshing Fruit Salad for a delightful brunch spread.
As Dessert: Serve it warm with a scoop of vanilla Ice Cream or a drizzle of chocolate sauce. It’s the perfect ending to any dinner party. I also love adding a sprinkle of sea salt to the top for a salty-sweet contrast.
For Cozy Snacks: Enjoy a slice with a glass of milk or a cup of hot chocolate on a chilly evening. It’s the ultimate comfort food. My kids love to snuggle up on the couch with a slice and watch a movie.
My family always serves this on birthdays! Whether topped with Ice Cream or some whipped topping, this is an amazing way to celebrate a birthday.
Top Tips for Perfecting Your Chocolate Dump Cake
Over the years, I’ve learned a few tricks to make this chocolate dump cake even better. Here are my top tips:
Cocoa Powder: Use a good quality cocoa powder for the Best Chocolate flavor. Dutch-processed cocoa powder will give you a darker, richer cake. I’ve tried them all, and trust me, it makes a difference!
Mixing Advice: Be careful not to overmix the batter. Overmixing can develop the gluten in the flour, resulting in a tough cake. Mix until just combined. It’s okay if there are a few lumps – they’ll disappear during baking. I’ve made this mistake before, and the cake was noticeably tougher.
Ingredient Swaps: Feel free to experiment with different ingredients. You can use almond milk instead of regular milk, or coconut oil instead of vegetable oil. I’ve even added a swirl of peanut butter or Nutella for a delicious twist. The possibilities are endless!
Baking Tips: Keep an eye on the cake while it’s baking. Baking times can vary depending on your oven. If the top starts to brown too quickly, you can tent it with foil. I always start checking it around 30 minutes.
Glaze Variations: You can customize the glaze to your liking. Add a teaspoon of vanilla extract for extra flavor, or use a different liquid, such as coffee or bourbon, for a unique twist. I’ve even made a salted caramel glaze, which was divine!
Storing and Reheating Tips
This chocolate dump cake is best enjoyed fresh, but it can also be stored for later. Here’s how:
Room Temperature: You can store the cake at room temperature for up to 2 days. Cover it tightly with plastic wrap or store it in an airtight container to prevent it from drying out. I usually keep it on the counter, and it’s always gone within a day or two!
Refrigerator Storage: For longer storage, you can refrigerate the cake for up to 5 days. Wrap it tightly with plastic wrap or store it in an airtight container. The cake may become slightly drier in the refrigerator, so you may want to warm it up slightly before serving.
Freezer Instructions: You can also freeze the cake for up to 2 months. Wrap it tightly with plastic wrap and then wrap it again with aluminum foil. To thaw, place the cake in the refrigerator overnight. I always slice it before freezing, so I can easily grab a piece whenever I want.
Glaze Timing Advice: If you’re planning to store the cake, it’s best to glaze it just before serving. This will prevent the glaze from becoming sticky or melting during storage.
Frequently Asked Questions
Final Thoughts
This chocolate dump cake is more than just a recipe; it’s a lifesaver on busy nights, a guaranteed crowd-pleaser, and a reminder that delicious doesn’t have to be complicated. I truly hope you give this recipe a try – I know you’ll love it as much as my family does. It’s the kind of recipe that gets passed down through generations, and I’m thrilled to share it with you. If you enjoyed this, you might also like my recipe for Easy Chocolate Chip Cookies. Both are quick, simple and delicious!
Happy baking! And please, come back and let me know how yours turns out. I can’t wait to hear about your own variations and personal touches. Share your pictures too!
How to Make a 7-Ingredient Chocolate Dump Cake that Wows
Ingredients
Main Ingredients
- 1 box Chocolate Cake Mix
- 1 can Chocolate Frosting
- 0.75 cup Milk
- 0.5 cup Butter Melted
- 1 cup Chocolate Chips
- 0.5 cup Chopped Pecans (optional)
- 0.25 cup Cocoa Powder
Instructions
Preparation Steps
- Preheat oven to 350°F (175°C). Grease a 9x13 inch baking dish.
- In a large bowl, combine cake mix, milk, and melted butter. Stir until just combined.
- Pour batter into prepared baking dish. Sprinkle with chocolate chips, chopped pecans (if using), and cocoa powder.
- Dollop frosting over the top of the batter. Do not mix in.
- Bake for 40 minutes, or until a toothpick inserted into the center comes out clean.
- Let cool slightly before serving.
Notes
Featured Comments
“Impressed! Clear steps and comforting results. Perfect for busy nights.”
“New favorite here — crowd-pleaser. crowd-pleaser was spot on.”
“Super easy and turned out amazing! My family asked for seconds. Saving this one.”
“This sweet treat was absolutely loved — the cozy really stands out. Thanks!”
“Made it tonight and wow — family favorite! Will definitely make How to Make a 7-Ingredient Chocolate Dump Cake that Wows again.”
“Packed with flavor and so simple. Exactly what I wanted from How to Make a 7-Ingredient Chocolate Dump Cake that Wows.”


