

The Ultimate Creamy Peanut Butter Fudge
I have a confession to make. Whenever the weather starts getting even a tiny bit chilly, or honestly, whenever I just need a little pick-me-up, I start dreaming about creamy peanut butter fudge. You know the exact kind I’m talking about, right? It’s that impossibly smooth, melt-in-your-mouth treat that instantly transports you back to your grandmother’s kitchen. For years, I was actually terrified of making fudge at home. I had this intimidating idea in my head that it required fancy equipment, exact temperatures, and a degree in culinary science. Oh, how wrong I was.
This recipe is my absolute go-to when I want to impress my friends or just treat myself to something deeply nostalgic and sweet. It comes together so beautifully, and the texture is completely out of this world. No gritty sugar crystals, no dry crumbly edges—just pure, velvety peanut butter perfection. Grab your favorite mixing bowl, put on a cozy playlist, and let’s make some magic happen in the kitchen today. I promise, once you try this, you’ll never need another fudge recipe again.
What Is Creamy Peanut Butter Fudge?
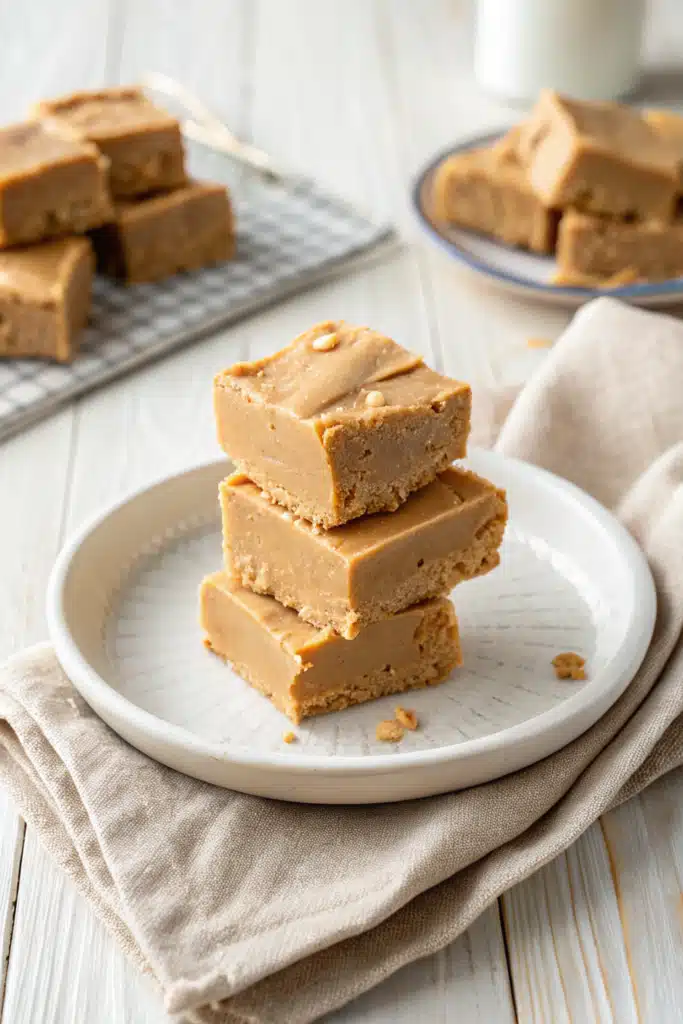
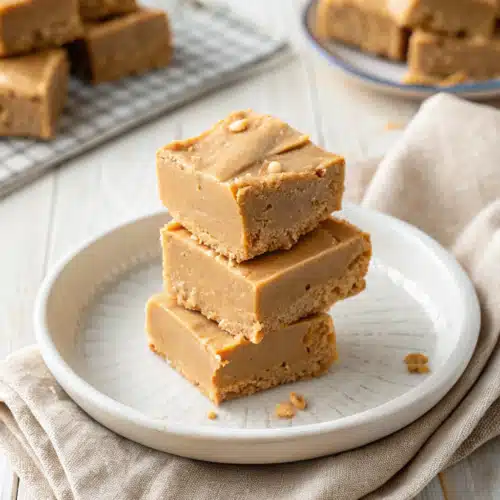
If you have never experienced the joy of homemade creamy peanut butter fudge, you are in for a serious treat. At its core, this classic confection is a rich, dense, and sweet candy made by carefully cooking sugar, butter, and milk, then blending it with generous amounts of peanut butter. But what sets this specific fudge apart from the rest is that glorious, velvety texture.
While some traditional fudges can turn out grainy, dry, or overly crumbly if you don’t get the temperature exactly right, a truly creamy fudge melts on your tongue the second you take a bite. It is essentially the inside of a gourmet peanut butter cup, but elevated and multiplied by a hundred. We achieve this dream-like consistency by using a special combination of ingredients that stabilize the sugar crystals as they cool. It is decadent, it is deeply peanut-buttery, and it holds its shape beautifully while remaining incredibly soft. Whether you slice it into tiny squares for a holiday cookie tin or grab a chunk right out of the fridge on a Tuesday night, it is the ultimate comfort food for anyone with a sweet tooth.
How to Make Creamy Peanut Butter Fudge
Quick Overview
Making this creamy peanut butter fudge is practically foolproof. The process moves quickly once you start cooking, so the biggest secret to success is having all your ingredients measured and ready to go before you even turn on the stove. You will start by lining an 8×8-inch baking pan with parchment paper. Then, you’ll melt your butter, sugar, and evaporated milk together in a saucepan, bringing it to a gentle rolling boil. After a few minutes of boiling, you take it off the heat and quickly fold in your peanut butter, marshmallow creme, and vanilla until everything is gorgeously smooth. Pour it into your prepared pan, let it chill until firm, and you are ready to slice!
Ingredients
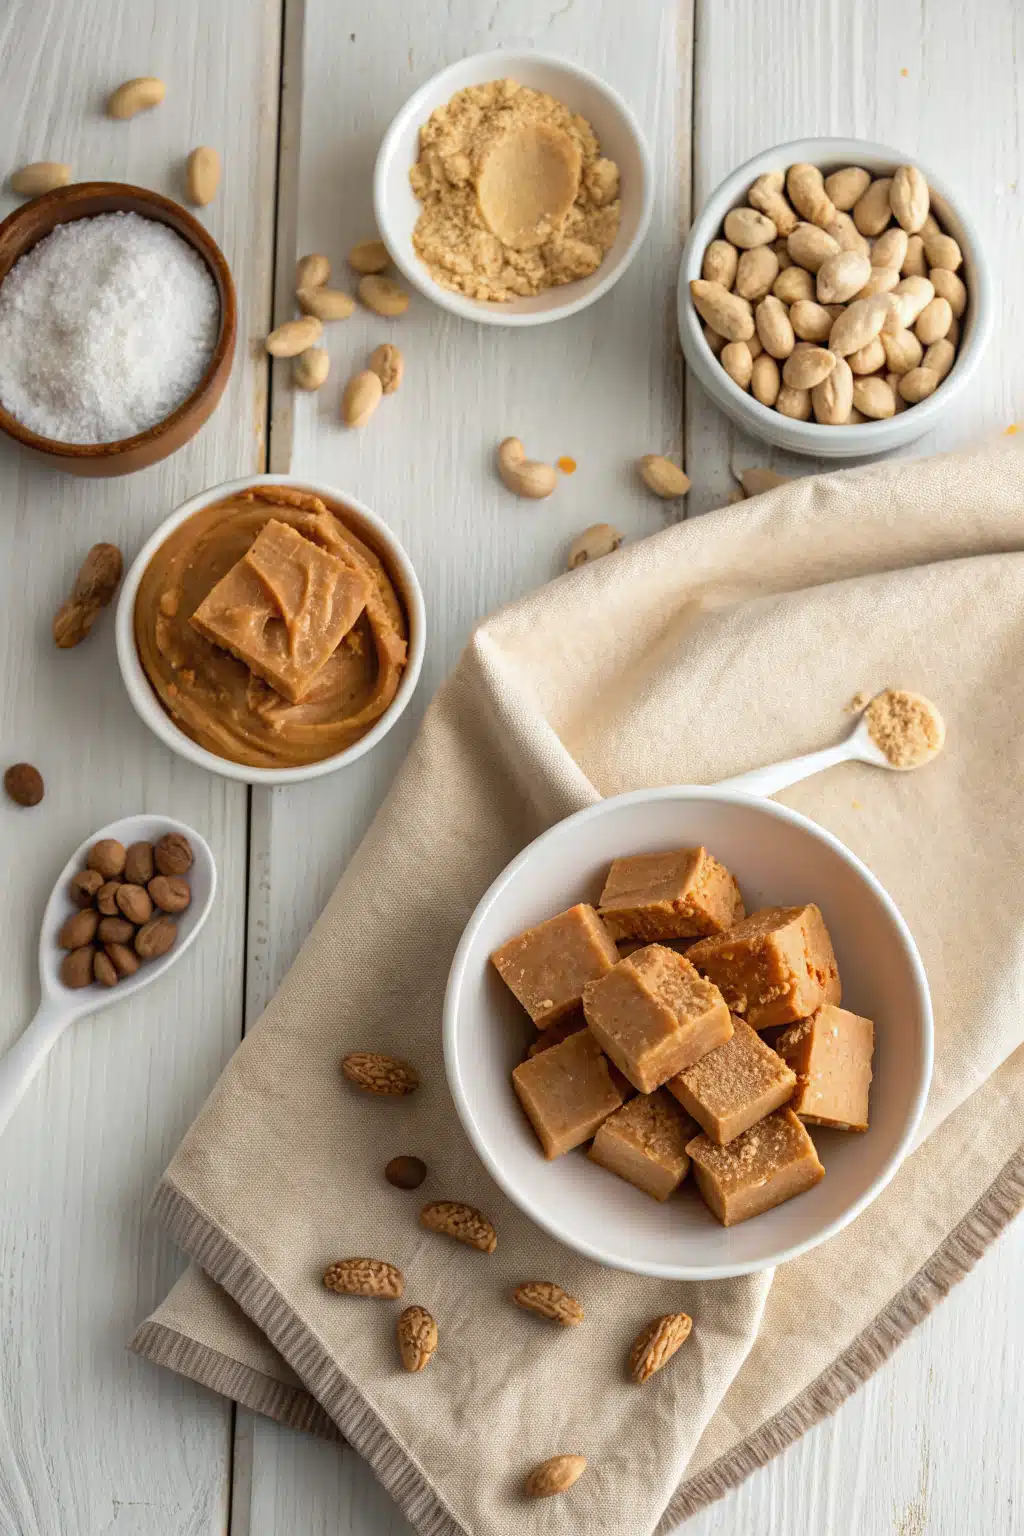
Here is everything you need to gather to make this incredible treat:
- Granulated sugar: The base of our candy, providing the perfect structure and sweetness.
- Evaporated milk: Make sure it is evaporated milk, not sweetened condensed milk! This gives us that rich, milky depth without adding extra sugar.
- Unsalted butter: For a buttery, melt-in-your-mouth richness.
- Creamy peanut butter: Stick to standard commercial brands. Natural peanut butters can separate and make the fudge oily.
- Marshmallow creme: Our secret ingredient for a flawless, velvety texture.
- Vanilla extract: Just a splash to enhance all the warm flavors.
- Salt: A tiny pinch to balance the sweetness perfectly.
Step-by-Step Instructions
Step 1: Preheat & Prep Pan
Start by lining an 8×8-inch square baking dish with parchment paper. Leave a little overhang on the sides so you can easily lift the fudge out later. Lightly grease the parchment with butter or non-stick cooking spray so nothing sticks.
Step 2: Measure Everything Out
This recipe moves fast! Measure your peanut butter, marshmallow creme, and vanilla extract into a bowl and set it right next to your stove. You won’t have time to measure these once the sugar mixture is boiling, so preparation is key here.
Step 3: Boil the Sugar Mixture
In a heavy-bottomed saucepan over medium heat, combine the sugar, evaporated milk, and butter. Stir constantly until the butter is completely melted and the mixture comes to a full, rolling boil. Once boiling, set a timer for exactly 5 minutes and keep stirring so it doesn’t burn on the bottom.
Step 4: Mix in the Magic
Remove the saucepan from the heat immediately after the 5 minutes are up. Quickly stir in your pre-measured peanut butter, marshmallow creme, and vanilla extract. Use a sturdy spatula and mix vigorously until the fudge is completely smooth and no white streaks of marshmallow remain.
Step 5: Pour and Chill
Carefully pour the hot fudge mixture into your prepared baking pan. Use your spatula to smooth out the top into an even layer. Let it cool at room temperature for about an hour, then cover and transfer to the refrigerator for at least 2 hours to set completely.
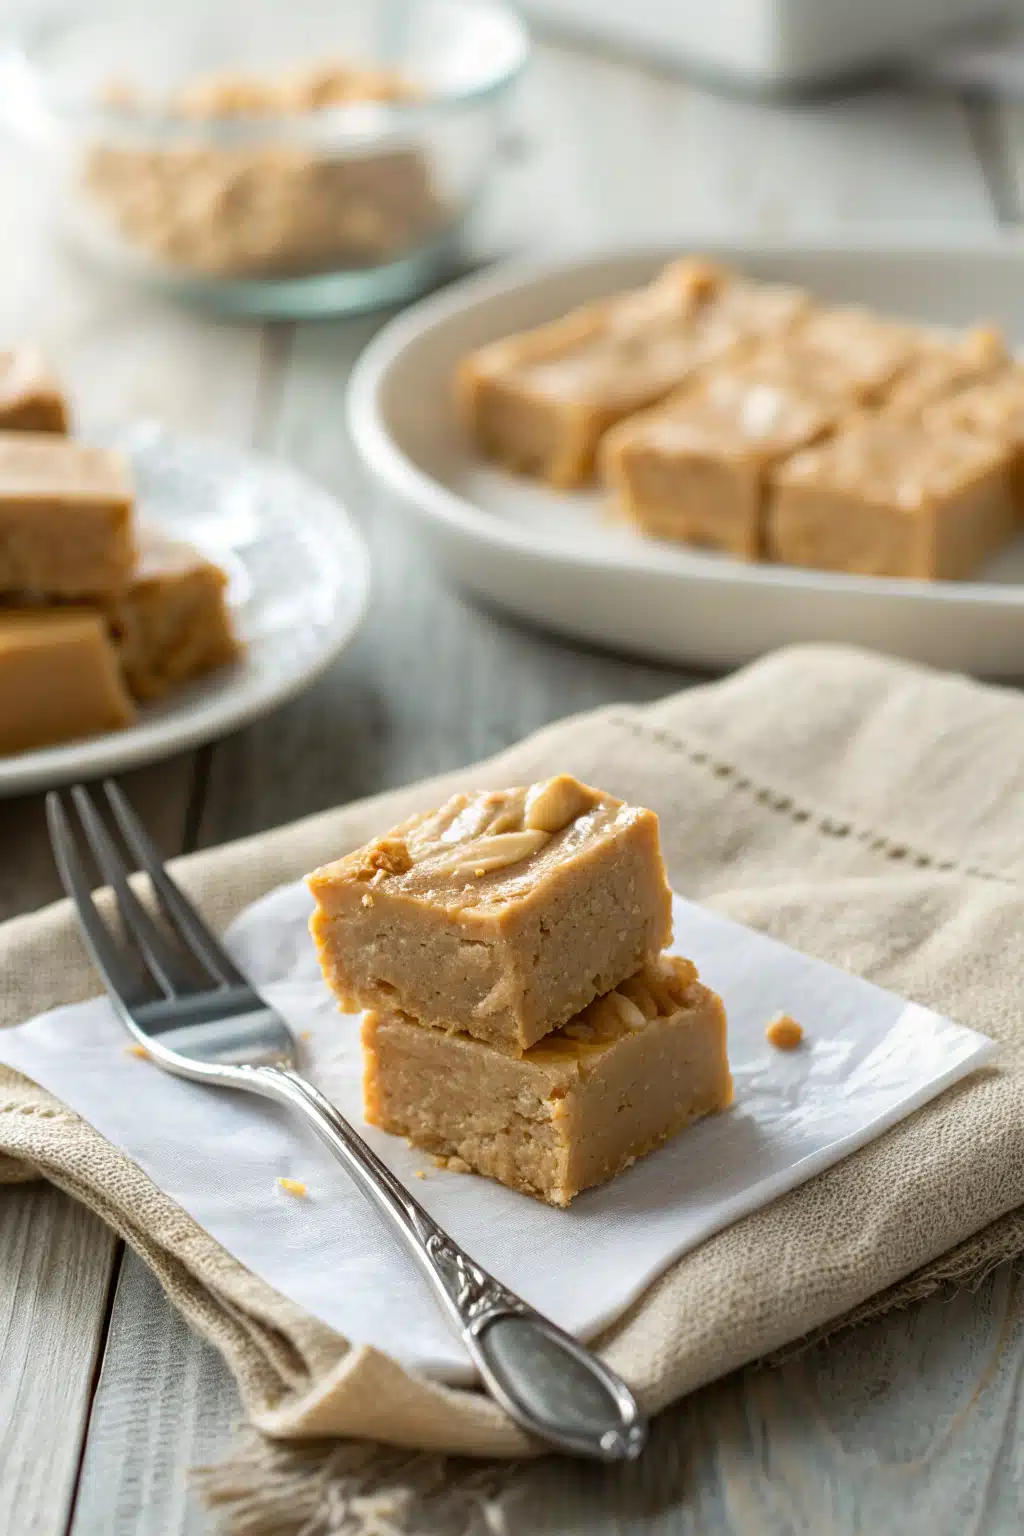
Step 6: Slice and Enjoy
Once firm, use the parchment paper overhang to lift the fudge out of the pan. Place it on a cutting board and use a large, sharp knife to cut it into neat squares. Serve and watch them disappear!
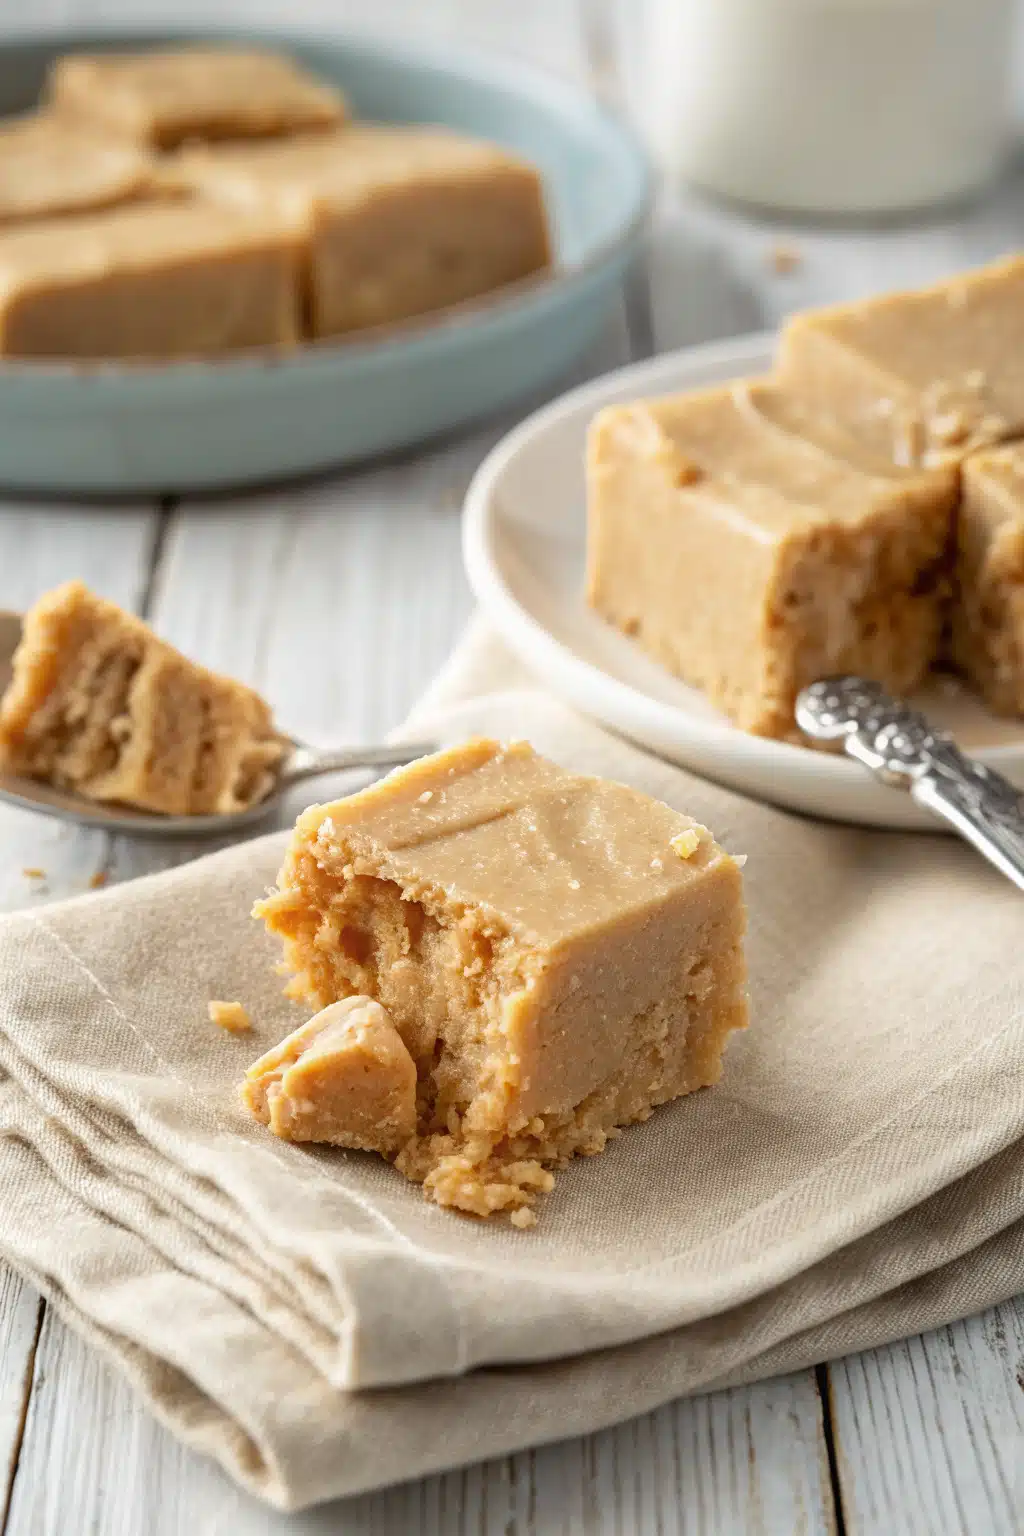
What to Serve It With
This creamy peanut butter fudge is incredibly rich, so it pairs beautifully with beverages that help cut through the sweetness. My absolute favorite way to enjoy a square is with a piping hot cup of black coffee or a strong shot of espresso. The bitter, roasted notes of the coffee complement the sweet peanut butter perfectly. If you are serving this to kids, or if you’re just feeling nostalgic, you simply cannot go wrong with a tall, ice-cold glass of whole milk.
If you are putting together a dessert spread, this fudge looks gorgeous on a holiday cookie tray alongside classic sugar cookies, chocolate crinkles, and gingerbread men. For a seriously decadent dessert, try chopping up a few squares and sprinkling them over a bowl of vanilla bean ice cream with a drizzle of hot fudge sauce. It is out of this world!
Top Tips for Perfecting Your Creamy Peanut Butter Fudge
Even though this recipe is super approachable, I have a few golden rules I always follow to ensure my fudge turns out flawless. First, please don’t use natural peanut butter. I love natural peanut butter for my morning toast, but the oils in it tend to separate during the candy-making process, which can leave your fudge greasy and crumbly. Stick to the classic, processed creamy peanut butter for the best texture.
Second, use a heavy-bottomed pot. A thin pot will heat unevenly and can easily scorch your sugar and milk mixture. Keep the heat at a steady medium and don’t walk away! Constant stirring is your best friend here to keep the sugar from burning.
Lastly, respect the boil time. You want a full, rolling boil—not just a few bubbles around the edges. Once it reaches that rolling boil, time it for exactly 5 minutes. If you under-boil it, the fudge will be too soft and won’t set properly. If you over-boil it, it can become dry.
Storing and Reheating Tips
One of the best things about homemade fudge is how wonderfully it keeps! To keep your creamy peanut butter fudge tasting fresh, store it in an airtight container. I like to place a sheet of wax paper or parchment paper between the layers so they don’t stick together.
At room temperature, the fudge will stay soft and fresh for about a week. If you prefer a firmer texture, or just want it to last a bit longer, keep it in the refrigerator. Chilled fudge will happily keep for up to three weeks.
Can you freeze it? Absolutely! Wrap the entire block of fudge, or individual squares, tightly in plastic wrap, then place it in a heavy-duty freezer bag. It will freeze beautifully for up to 3 months. When you are ready to enjoy it, just let it thaw overnight in the refrigerator, and it will taste just as fresh as the day you made it.
Frequently Asked Questions
Final Thoughts
Making homemade candy doesn’t have to be intimidating, and I really hope this creamy peanut butter fudge proves that to you! There is something so incredibly satisfying about watching a few simple pantry ingredients transform into a decadent, bakery-worthy treat right in your own kitchen. Whether you are whipping up a batch for a holiday gathering, wrapping it up as a heartfelt homemade gift, or just satisfying a late-night sweet tooth, this recipe is sure to bring a smile to your face.
I can’t wait for you to try this and see just how velvety and perfect it turns out. Don’t forget to grab a square for yourself before you share it with your family—because trust me, it is going to disappear fast! Happy baking, friends!
Creamy Peanut Butter Fudge
Ingredients
Main Ingredients
- 1 cup unsalted butter
- 1 cup creamy peanut butter
- 1 teaspoon vanilla extract
- 0.25 teaspoon salt
- 3 cups powdered sugar
Instructions
Preparation Steps
- Line an 8x8-inch baking pan with parchment paper or aluminum foil, leaving an overhang for easy removal.
- In a medium microwave-safe bowl, combine the unsalted butter and creamy peanut butter.
- Microwave the butter and peanut butter mixture on high for 2 minutes, stirring halfway through, until completely melted and smooth.
- Stir the vanilla extract and salt into the melted peanut butter mixture until well combined.
- Gradually add the powdered sugar, one cup at a time, stirring vigorously until the fudge is completely smooth and no lumps remain.
- Pour the fudge mixture into the prepared baking pan and spread it out evenly using a rubber spatula.
- Refrigerate for at least 2 hours until firm, then use the parchment overhang to lift the fudge out and cut into squares.
Notes
Featured Comments
“Impressed! Clear steps and creamy results. Perfect for busy nights.”
“New favorite here — comforting. crowd-pleaser was spot on.”
“Super easy and turned out amazing! My family asked for seconds. Saving this one.”
“This sweet treat was absolutely loved — the buttery really stands out. Thanks!”
“Made it tonight and wow — quick weeknight win! Will definitely make How to Make the Best Creamy Peanut Butter Fudge in 7 Simple Steps again.”
“Packed with flavor and so simple. Exactly what I wanted from How to Make the Best Creamy Peanut Butter Fudge in 7 Simple Steps.”


