


The Most Irresistible Lemon Cheesecake Bites You’ll Ever Make
There is something truly magical about the combination of sweet, creamy cheesecake and the bright, zesty punch of fresh lemon. If you have been hanging around my kitchen for a while, you know I have a massive soft spot for anything citrus. But these Lemon Cheesecake Bites? Oh, they are on a completely different level. I first whipped these up for a casual Sunday brunch with friends, hoping they’d be a nice little palate cleanser after a heavy meal. Let me tell you, they stole the entire show.
People were literally sneaking back to the dessert table to grab “just one more” before they disappeared. What I love most about them is that you get all the decadent, rich flavor of a traditional baked cheesecake without the stress of water baths or cracking tops. Plus, they are perfectly portioned. You can pop one in your mouth with your morning coffee or serve them up on a pretty platter for a spring baby shower. If you are craving a little sunshine in a dessert, you have absolutely found your next baking project.
What Are Lemon Cheesecake Bites?
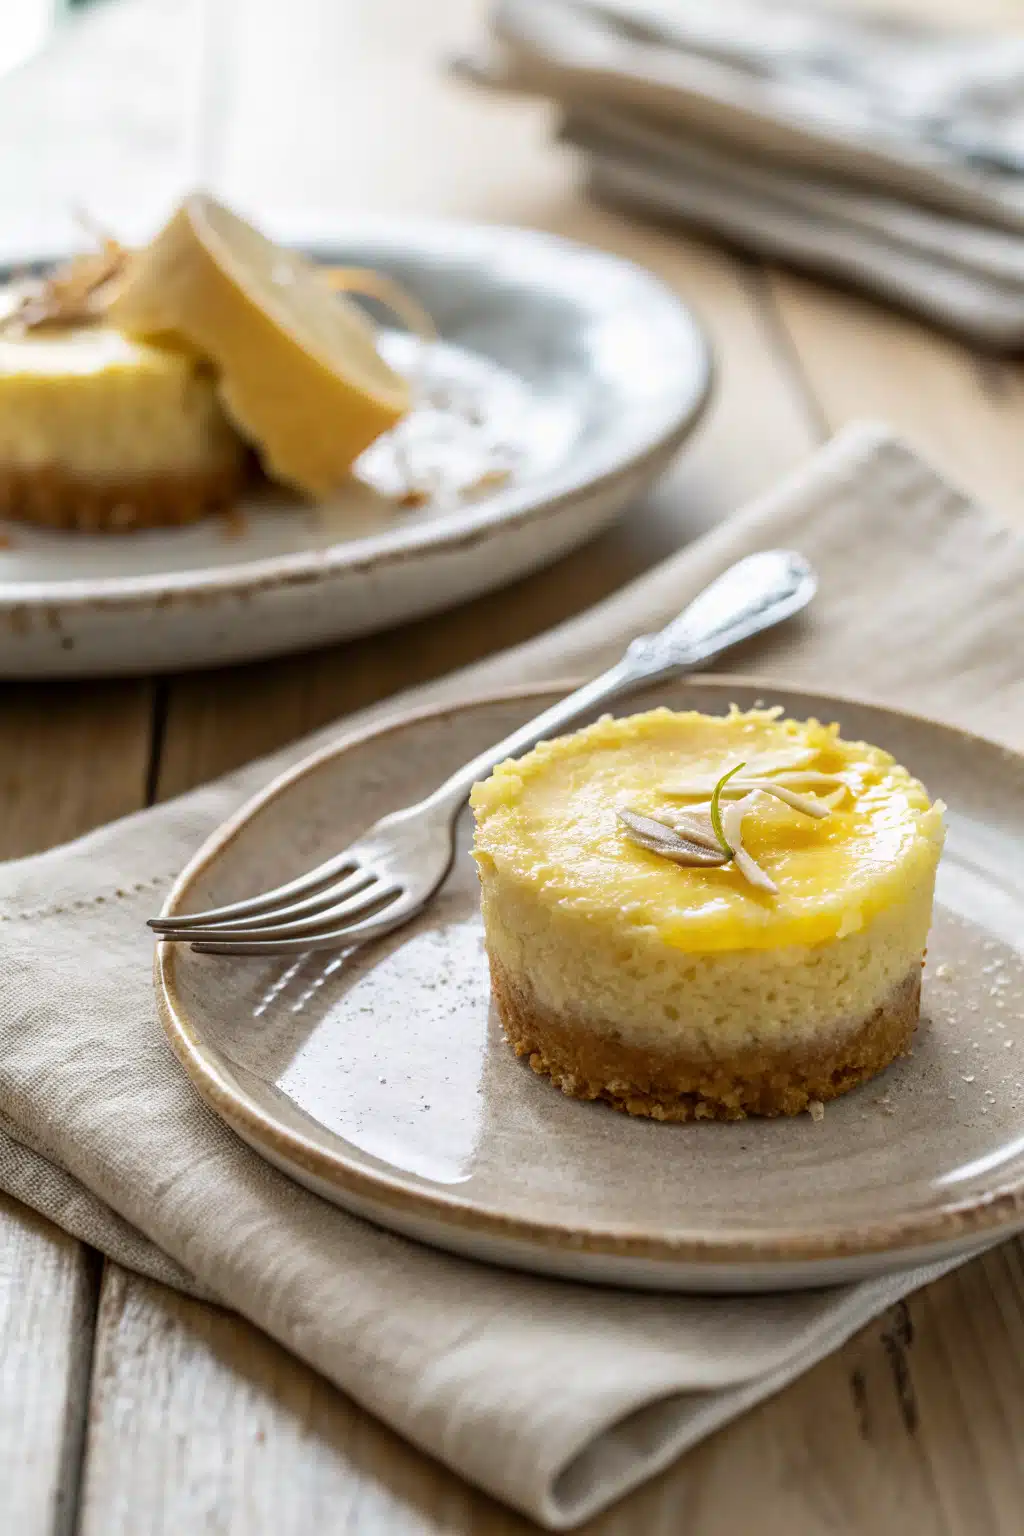
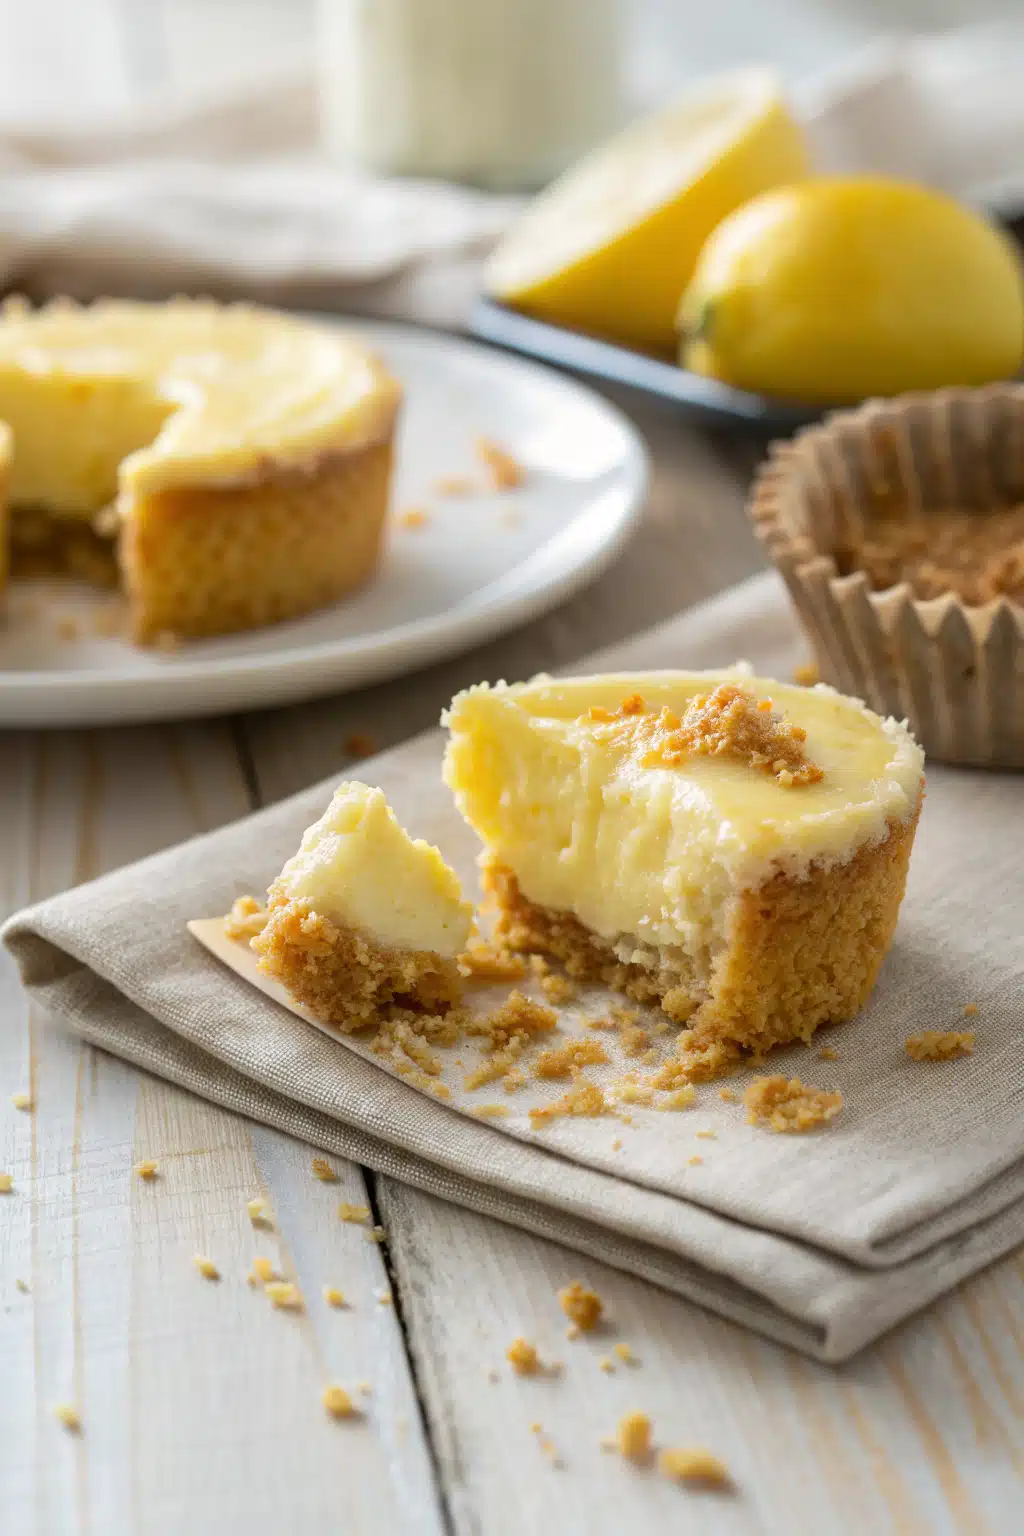
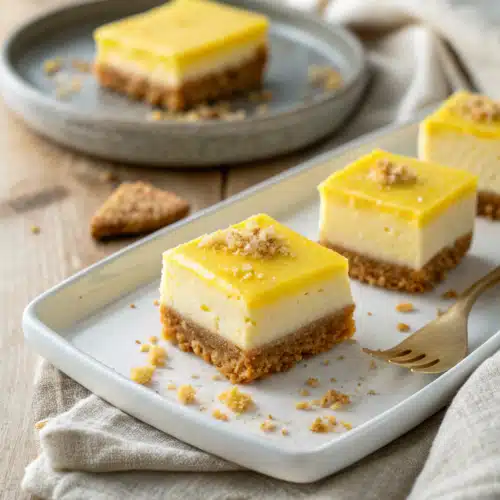
Think of these little gems as the approachable, fun-loving cousin of a classic New York-style cheesecake. Lemon Cheesecake Bites are essentially miniature, individually portioned cheesecakes baked in a square pan and sliced into perfect, bite-sized squares. They start with a buttery, crisp graham cracker crust that holds up beautifully to the rich filling.
The filling itself is a velvety smooth cream cheese mixture infused with fresh lemon juice and heaps of fragrant lemon zest. I am a firm believer that if you’re going to call something “lemon,” it better actually taste like lemon! So, we aren’t holding back on the citrus here. Because they are baked in a standard baking dish rather than a springform pan, they are often referred to as cheesecake bars or squares. Once they are chilled and set, you slice them up into little bites. They are incredibly dense, perfectly sweet, and carry that signature tangy zip that makes citrus desserts so incredibly craveable. They’re the ultimate finger-food dessert.
How to Make Lemon Cheesecake Bites
Quick Overview
Making these little squares of joy is an absolute breeze. We are going to start by blitzing up a quick graham cracker crust and pressing it firmly into a lined baking pan. After a short pre-bake to get it nice and toasty, we’ll whip together our cream cheese, sugar, eggs, and all that beautiful fresh lemon. Pour that silky batter right over the warm crust, pop it in the oven, and let the magic happen. The hardest part of this entire process is having the patience to let them chill in the fridge before slicing. But trust me, that chilling time is absolutely crucial for getting those clean, bakery-style cuts!
Ingredients
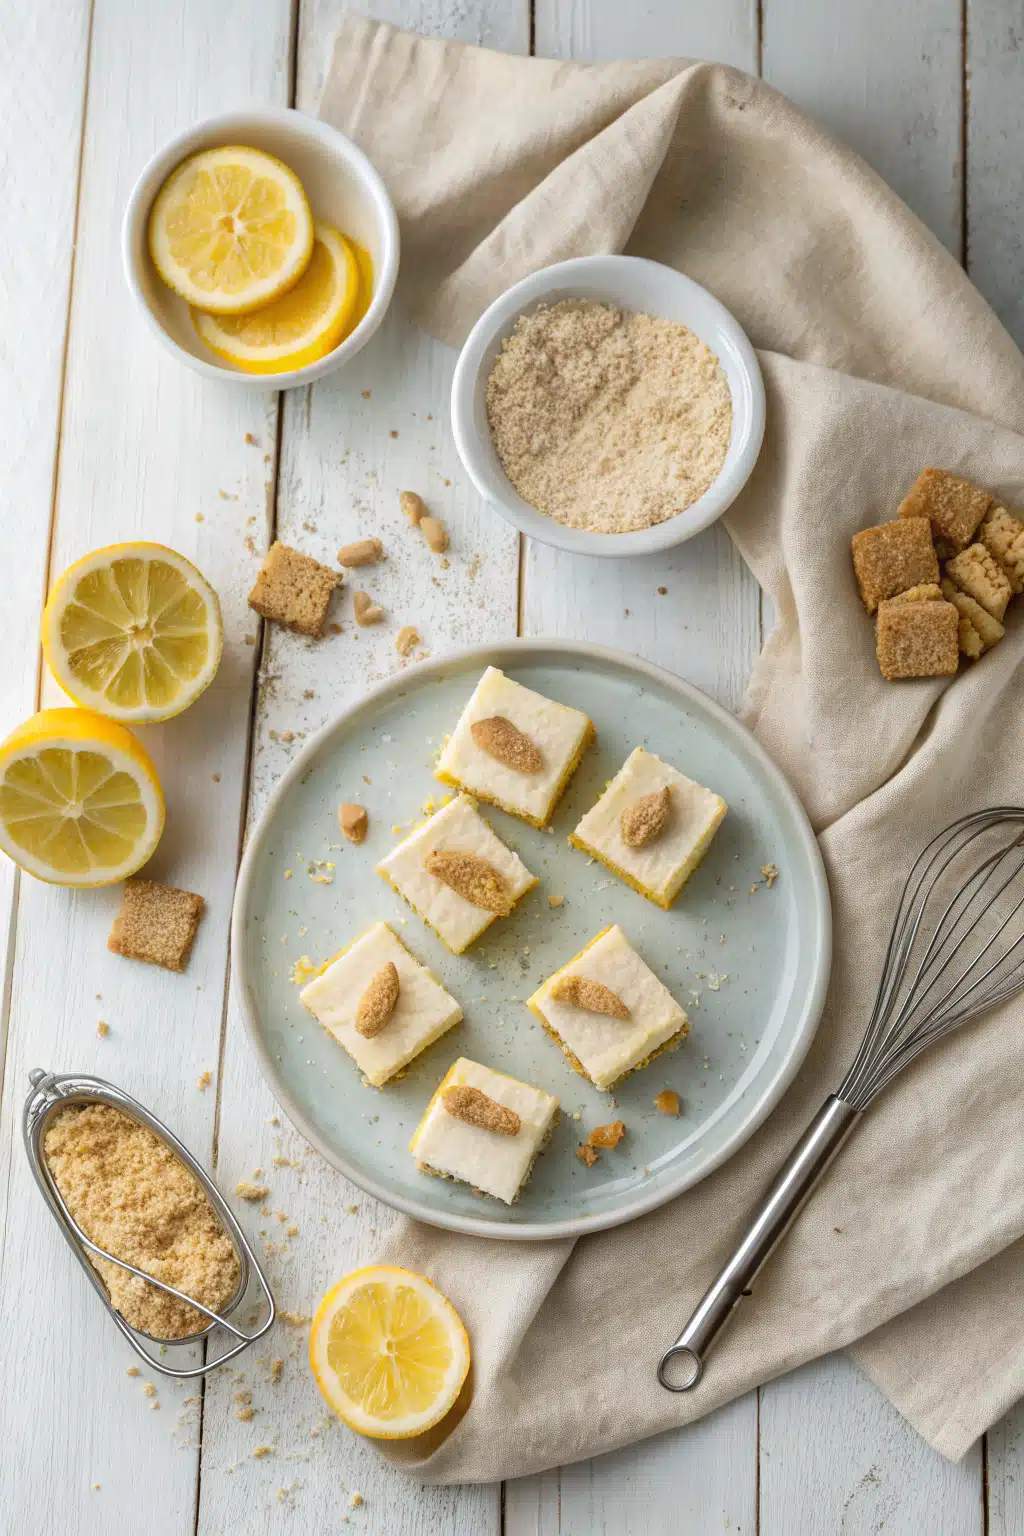
Here is everything you will need to grab from your pantry and fridge to bring these together:
- Graham Cracker Crumbs: The base of our crust. You can buy them pre-crushed or smash them yourself in a zip-top bag!
- Unsalted Butter: Melted, to bind our crust together and add that rich, comforting flavor.
- Granulated Sugar: We’ll use a little in the crust and the rest to sweeten the tangy filling.
- Cream Cheese: Make sure it is full-fat blocks (not the spreadable tub kind) and softened to room temperature for the smoothest texture.
- Large Eggs: These give our cheesecake structure. Room temperature is best!
- Fresh Lemons: We need both the zest and the juice. Please use fresh lemons—the bottled stuff just doesn’t compare!
- Vanilla Extract: Just a splash to round out the flavors.
- Salt: A tiny pinch to balance all the sweetness.
Step-by-Step Instructions
Step 1: Preheat & Prep Pan
First things first, let’s get our oven preheated to 325°F (160°C). Line an 8×8 inch square baking pan with parchment paper, leaving a little overhang on the sides. This is my secret trick for lifting the entire cheesecake out later for super easy slicing!
Step 2: Mix and Bake the Crust
In a medium bowl, toss together your graham cracker crumbs, a couple of tablespoons of sugar, and your melted butter until it looks like wet sand. Dump this mixture into your prepared pan and press it down firmly into an even layer using the bottom of a measuring cup. Bake for about 10 minutes until it’s fragrant and golden. Let it cool while you make the filling.
Step 3: Whip the Cream Cheese
In a large bowl, use a hand mixer (or a stand mixer) to beat the softened cream cheese until it is completely smooth and creamy. You don’t want any lumps here! Slowly beat in the granulated sugar until well combined and fluffy.
Step 4: Add the Flavor & Eggs
Mix in your fresh lemon zest, lemon juice, vanilla extract, and a tiny pinch of salt. Once that is mixed, add your eggs one at a time. Beat on low speed just until the yellow disappears. Don’t overmix, or you’ll whip too much air into the batter, which can cause cracks!
Step 5: Bake to Perfection
Pour the luscious lemon filling over your baked crust and smooth the top with a spatula. Bake for 25 to 30 minutes. You will know it is done when the edges are set but the very center still has a slight jiggle to it.
Step 6: Chill and Slice
Let the pan cool completely on a wire rack at room temperature. Once cooled, cover it tightly and pop it in the fridge for at least 4 hours (overnight is even better!). Use your parchment paper handles to lift it out, slice into bite-sized squares, and enjoy!
What to Serve It With
These Lemon Cheesecake Bites are honestly phenomenal all on their own, but if you want to dress them up for a party, you have so many fun options! I love serving them with a dollop of freshly whipped cream and a tiny sprig of mint for a beautiful pop of color.
They also pair beautifully with fresh berries—think raspberries, blueberries, or sliced strawberries. The natural sweetness of the berries perfectly complements the tart lemon flavor. If you are feeling a little extra decadent, a light drizzle of white chocolate or a dollop of homemade lemon curd on top of each bite makes them look like they came straight out of a fancy French bakery. And of course, you can never go wrong serving these alongside a hot cup of Earl Grey tea or a dark roast coffee.
Top Tips for Perfecting Your Lemon Cheesecake Bites
Even though this recipe is super simple, I have learned a few handy tricks over the years to make sure they come out flawless every single time:
- Room Temperature Ingredients are Non-Negotiable: I can’t stress this enough! If your cream cheese and eggs are cold, your batter will be lumpy. Leave them out on the counter for a couple of hours before you start baking.
- Don’t Overmix the Eggs: Once you add the eggs, keep your mixer on low and stop as soon as they are incorporated. Whipping air into the eggs causes the cheesecake to puff up in the oven and then collapse and crack as it cools.
- Zest Before You Juice: It is nearly impossible to zest a lemon after you’ve squeezed the life out of it! Always grate your zest first.
- The Hot Knife Trick: For those picture-perfect, bakery-style slices, run a sharp chef’s knife under hot water, wipe it dry with a towel, and make a slice. Wipe the blade clean between every single cut. It takes a little extra time, but the results are so worth it.
Storing and Reheating Tips
Because these are made with dairy, your Lemon Cheesecake Bites need to be kept in the refrigerator. Store them in an airtight container, and they will stay beautifully fresh for up to 5 days. I actually think they taste best on day two or three when the lemon flavor really has a chance to develop!
If you want to make a batch to keep on hand for future cravings, they freeze incredibly well. Place the sliced bites on a baking sheet and freeze them for about an hour until they are solid. Then, transfer them to a freezer-safe bag or container with parchment paper between the layers so they don’t stick together. They will keep in the freezer for up to 3 months. When you’re ready for a treat, just let them thaw in the fridge overnight, or let one sit on the counter for about 20 minutes before taking a bite. I don’t recommend reheating these, as cheesecake is meant to be enjoyed chilled or at room temperature!
Frequently Asked Questions
Final Thoughts
There you have it, my friend—the absolute best Lemon Cheesecake Bites you will ever make. They are bright, creamy, perfectly sweet, and so incredibly easy to pull together. Whether you are baking for a special occasion, hosting a weekend brunch, or just treating yourself to a little afternoon baking project, I know these are going to become a fast favorite in your home, just like they are in mine.
I can’t wait for you to try this recipe. If you do whip up a batch, please let me know how they turned out! Grab a cup of tea, steal a quiet moment for yourself, and enjoy every single zesty bite. Happy baking!
Lemon Cheesecake Bites
Ingredients
Crust
- 1 cup graham cracker crumbs
- 3 tablespoons unsalted butter melted
- 2 tablespoons granulated sugar
Cheesecake Filling
- 16 oz cream cheese softened
- 0.5 cup granulated sugar
- 2 large eggs
- 0.25 cup sour cream
- 2 tablespoons fresh lemon juice
- 1 tablespoon lemon zest
- 1 teaspoon vanilla extract
Instructions
Preparation Steps
- Preheat oven to 325°F (165°C) and line a 24-cup mini muffin pan with paper liners.
- In a medium bowl, combine graham cracker crumbs, melted butter, and 2 tablespoons of sugar. Press about 1 teaspoon of the mixture into the bottom of each muffin liner.
- Bake the crusts for 5 minutes, then remove from the oven and let cool.
- In a large bowl, beat the softened cream cheese and 0.5 cup sugar until smooth and creamy.
- Add the eggs one at a time, beating well after each addition. Mix in the sour cream, lemon juice, lemon zest, and vanilla extract until fully combined.
- Spoon the cheesecake filling over the cooled crusts, filling each cup almost to the top.
- Bake for 15-18 minutes, or until the centers are set. Let cool completely in the pan, then refrigerate for at least 2 hours before serving.
Notes
Featured Comments
“These little bites look amazing—perfect balance of sweet and tangy! I’ve been looking for an easy dessert recipe and this is exactly what I needed.”
“Impressed! Clear steps and perfect for busy nights results. Perfect for busy nights.”
“New favorite here — restaurant-level. crowd-pleaser was spot on.”
“Super easy and turned out amazing! My family asked for seconds. Saving this one.”
“This sweet treat was absolutely loved — the light really stands out. Thanks!”
“Made it tonight and wow — family favorite! Will definitely make Lemon Cheesecake Bites: 7 Reasons You’ll Love This Easy Recipe! again.”


These little bites look amazing—perfect balance of sweet and tangy! I’ve been looking for an easy dessert recipe and this is exactly what I needed.