


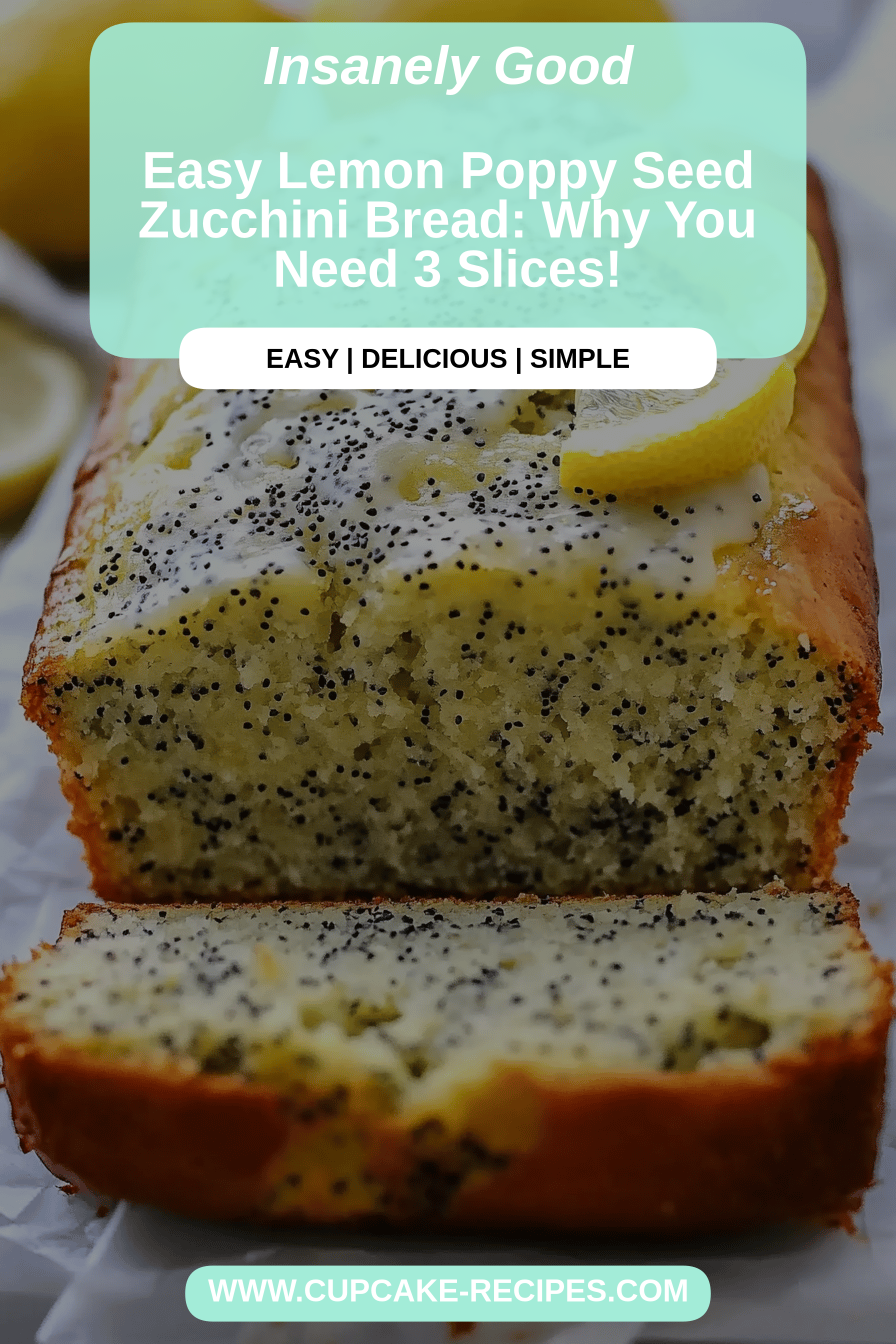
Oh, this Lemon Poppy Seed Bread! It brings me back to those lazy Saturday mornings when the house was just waking up, and I’d pull a loaf, still warm from the oven, out to cool on the rack. The scent… wow. It’s that perfect mix of bright, zesty lemon and that subtle, nutty aroma of poppy seeds. It’s not overly sweet, which I love, and it has this wonderfully tender crumb that just melts in your mouth. Honestly, if you’ve ever had a truly great pound cake or a moist coffee cake, this lemon poppy seed bread is in that same league, but with its own unique, cheerful personality. It’s the kind of treat that makes you feel instantly put-together, even if you just rolled out of bed. I’ve been making this for years, and it’s one of those reliable recipes that always, *always* delivers. It’s become a staple for everything from casual Sunday brunches to quick afternoon pick-me-ups. I can’t wait for you to try it!
What is lemon poppy seed bread?
So, what exactly is this delightful loaf? Think of it as a bright, cheerful cake in bread form. It’s a quick bread, meaning you don’t need yeast or any complicated rising times. The “lemon” part comes from fresh lemon zest and juice, giving it that unmistakable tangy, sunshine-y flavor. The “Poppy Seed” part adds a lovely little textural surprise and a subtle, almost nutty undertone that balances the citrus beautifully. It’s not super dense like a traditional quick bread can sometimes be; instead, it’s wonderfully tender and moist. The name itself just sounds so inviting, doesn’t it? It’s essentially a celebration of simple, fresh flavors baked into a convenient, sliceable treat. It’s the kind of thing that feels fancy enough for guests but is so easy, you can whip it up on a Tuesday afternoon just because. It’s that perfect balance of homey and sophisticated.
How to Make Lemon Poppy Seed Bread
Quick Overview
This lemon poppy seed Bread Recipe is all about simplicity and big flavor. You’ll whisk together your dry ingredients, then your wet ingredients separately, combine them gently, and bake until golden and fragrant. The key is not overmixing, which keeps the crumb tender. We’ll also whip up a quick, bright lemon glaze to drizzle over the top once it’s cooled slightly. It’s a truly fuss-free process that yields a show-stopping loaf, perfect for any occasion or just a delightful treat for yourself.
Ingredients
For the Main Batter:
You’ll need all-purpose flour for structure. I usually measure mine by scooping it into the cup and leveling it off with a knife – it’s more accurate than just digging into the bag. Baking powder is our leavening agent, giving it a nice lift, and a pinch of salt balances all the sweet and tart flavors. Granulated sugar provides sweetness, of course. Make sure your eggs are at room temperature; it really helps them incorporate better into the batter. And the butter! Unsalted butter, softened, is crucial for that rich flavor and tender texture. I always use real butter; the taste difference is huge. And for that amazing lemony zing, we need lots of fresh lemon zest. Don’t skip this step! Use a microplane grater for the finest zest. And of course, we can’t forget the star – poppy seeds! I like to use a good quality brand, and you can toast them lightly for an even deeper flavor, but it’s totally optional. And a splash of milk (whole milk makes it extra rich, but I’ve used almond milk and it was surprisingly creamy too!) helps with moisture.
For the Filling:
This is where we really pack in that lemon punch! We’ll use more fresh lemon juice and some lemon zest. A little bit of granulated sugar to sweeten it up slightly and make it more of a luscious syrup. And a touch of melted butter to bind it all together and make it extra delicious. This filling is what creates those delightful pockets of intense lemon flavor throughout the bread.
For the Glaze:
This is the finishing touch that takes our lemon poppy seed bread from delicious to absolutely divine. We’ll use powdered sugar, sifted to avoid any lumps, and more fresh lemon juice. The trick here is to get the consistency just right – thick enough to coat the bread but thin enough to drizzle easily. You can always add more lemon juice or more powdered sugar to achieve your desired thickness. Sometimes I add a tiny bit of Vanilla Extract to the glaze for extra depth, but it’s not essential.

Step-by-Step Instructions
Step 1: Preheat & Prep Pan
First things first, get your oven preheated to 350 degrees Fahrenheit (175 degrees Celsius). This ensures an even bake from the moment the bread goes in. Next, grab a standard loaf pan – a 9×5 inch one is perfect. Grease it really well with butter or cooking spray, and then flour it. This two-step process ensures your beautiful loaf won’t stick. I like to even get into the corners and up the sides. You can also line it with parchment paper, leaving some overhang on the sides – that makes lifting the bread out super easy later!
Step 2: Mix Dry Ingredients
In a large bowl, whisk together your all-purpose flour, granulated sugar, baking powder, and salt. Give it a good whisk for about 30 seconds. This ensures everything is evenly distributed, especially the baking powder, so you don’t get any surprise dense spots. You want it to look like one uniform mixture.
Step 3: Mix Wet Ingredients
In a separate medium bowl, whisk together your softened butter and sugar until it’s nice and creamy. This is where the softened butter really makes a difference; it should be easy to mash with a fork. Then, add your room temperature eggs, one at a time, beating well after each addition. Stir in the milk, vanilla extract (if using), and all that gorgeous lemon zest. You want to see those little yellow flecks throughout the mixture!
Step 4: Combine
Now, pour the wet ingredients into the bowl with the dry ingredients. Using a spatula or a wooden spoon, mix just until everything is *barely* combined. Seriously, don’t overmix! A few streaks of flour are okay. Overmixing develops the gluten too much, which can make your bread tough. We want it tender and delicate. Gently fold in the poppy seeds now.
Step 5: Prepare Filling
In a small bowl, whisk together the lemon juice, lemon zest, sugar, and melted butter for the filling. It will be a thin, syrupy mixture. This is where that intense lemon flavor is going to be concentrated!
Step 6: Layer & Swirl
Pour about half of the batter into your prepared loaf pan and spread it out evenly. Then, gently drizzle about half of the lemon filling mixture over the batter. Now, pour the remaining batter over the filling, and drizzle the rest of the filling on top. Grab a knife or a skewer and gently swirl the filling into the batter. Don’t go crazy; just a few passes through the batter will create beautiful ribbons of lemon goodness. You want some distinct swirls, not a completely uniform color.
Step 7: Bake
Pop that loaf pan into your preheated oven. Bake for about 50-60 minutes. The exact time can vary depending on your oven, so keep an eye on it. You’ll know it’s done when a wooden skewer or toothpick inserted into the center comes out clean, or with just a few moist crumbs attached. The top should be golden brown and look set.
Step 8: Cool & Glaze
Once it’s baked, carefully remove the loaf pan from the oven. Let the bread cool in the pan for about 10-15 minutes. This allows it to set up a bit more. Then, invert it onto a wire rack to cool completely. While it’s still a little warm, but not hot, prepare your glaze by whisking together the powdered sugar and lemon juice until smooth. Drizzle it generously over the top of the cooled bread. The warmth helps the glaze set nicely.
Step 9: Slice & Serve
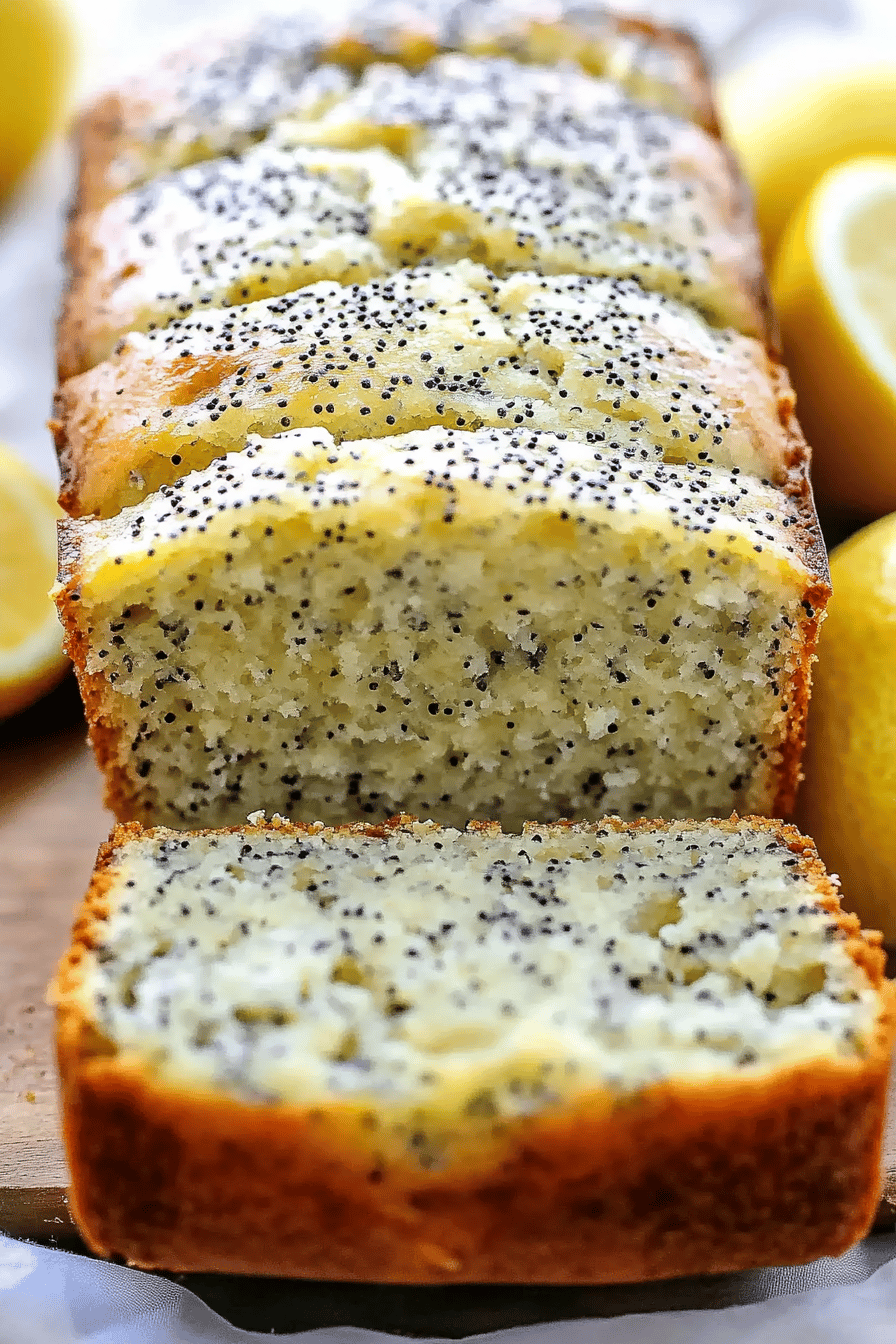
Once the glaze has set (this happens pretty quickly!), slice into your beautiful lemon poppy seed bread. I like to use a serrated knife for clean slices. Serve it as is, or with a little extra lemon zest sprinkled on top for garnish. Enjoy that perfect crumb and burst of citrus!
What to Serve It With
This lemon poppy seed bread is so versatile, it fits into almost any meal or snack situation you can think of! For Breakfast, it’s absolutely divine paired with a strong cup of coffee or a soothing herbal tea. I love a slice toasted with a thin layer of butter – the warmth melts it perfectly. You can also serve it alongside a simple fruit salad for a lighter start. For Brunch, this bread adds a lovely touch of sunshine to the table. Serve it on a beautiful platter, perhaps with a dusting of powdered sugar or a few fresh berries scattered around. It pairs wonderfully with scrambled eggs, bacon, and mimosas. It’s elegant without being fussy, which is exactly what I look for in brunch fare. As Dessert, it’s a fantastic lighter option after a rich meal. Serve a thicker slice with a dollop of whipped cream or a small scoop of vanilla bean ice cream. The bright lemon cuts through richer desserts beautifully. For Cozy Snacks, this bread is a dream. When that 3 pm craving hits, or you’re settling in for a movie night, a slice of this is pure comfort. It’s perfect with a glass of milk or even a light rosé. My family loves it when I bring it out after dinner, and it’s usually gone by bedtime! It’s just so comforting and satisfying.
Top Tips for Perfecting Your Lemon Poppy Seed Bread
I’ve made this lemon poppy seed bread more times than I can count, and over the years, I’ve picked up a few tricks that really make a difference. Here are my top tips to help you achieve bread perfection:
Zucchini Prep: Wait, zucchini? Oh, I’m sorry, that’s from a *different* recipe I love! My mistake! For *this* lemon poppy seed bread, there’s no zucchini involved, which makes it even easier. You just need good quality fresh lemons for zest and juice. The fresher your lemons, the brighter and more vibrant the flavor will be. Don’t be shy with the zest; it’s where so much of that amazing aroma and taste comes from.
Mixing Advice: This is probably the most crucial tip for quick breads. When you combine the wet and dry ingredients, mix *just* until the dry streaks of flour disappear. Seriously, stop mixing as soon as it looks combined. Overmixing develops the gluten in the flour, which can lead to a tough, dense loaf instead of the tender, moist crumb we’re aiming for. A few lumps are perfectly fine and often preferable to overmixing.
Swirl Customization: For that beautiful marbled effect, don’t over-swirl. Pour the filling over the batter and use a knife or skewer to make just a few passes through the mixture. Think of it as gentle marbling, not intense blending. You want distinct ribbons of the lemon filling to be visible in the finished bread. This adds visual appeal and ensures you get concentrated bursts of lemon flavor in every bite.
Ingredient Swaps: If you’re out of milk, any dairy or non-dairy milk will work in a pinch, though whole milk gives the richest texture. For the sugar, you can experiment with a less refined sugar like coconut sugar, but it will change the color and flavor slightly. For the zest, you can also use bottled lemon extract if you’re in a real pinch, but fresh is always best. About 1-2 teaspoons of extract should suffice, but taste as you go.
Baking Tips: Ovens can be finicky! My oven tends to run a little hot, so I often set my timer for a few minutes less than the recipe suggests and check for doneness. A wooden skewer or toothpick inserted into the center is your best friend here. If it comes out with wet batter, it needs more time. If it comes out clean or with a few moist crumbs, it’s ready. If the top is browning too quickly before the center is cooked, you can loosely tent it with foil.
Glaze Variations: The basic lemon glaze is fantastic, but you can play with it. For a sweeter glaze, add more powdered sugar. For a tangier glaze, add a bit more lemon juice. If you want a thicker glaze that sets up more like frosting, use less liquid. You can also add a tiny drop of yellow food coloring for a more vibrant color if you’re feeling festive. Another fun idea is to mix in a bit of finely grated lemon zest into the glaze for even more intense lemon flavor.
Storing and Reheating Tips
Proper storage is key to keeping this delicious lemon poppy seed bread tasting fresh and moist. I’ve found the best methods through trial and error (mostly delicious error!).
Room Temperature: Once the bread has cooled completely and the glaze has set, you can store it at room temperature. The best way to do this is to wrap it tightly in plastic wrap or place it in an airtight container. At room temperature, it will stay wonderfully moist and delicious for about 3-4 days. I usually find it’s gone before then, though! If you’re in a very humid climate, you might want to pop it in the fridge sooner rather than later to prevent any staleness.
Refrigerator Storage: If you need to store it for longer, or if your kitchen is particularly warm, the refrigerator is a good option. Again, wrap it tightly in plastic wrap or use an airtight container. In the fridge, it can last for up to a week. Just a heads-up: the glaze might get a little sticky in the fridge, and the bread might firm up slightly. Don’t worry, it’s easily remedied with a quick reheat!
Freezer Instructions: This lemon poppy seed bread freezes beautifully, making it perfect for baking ahead of time. Once the bread is completely cooled and glazed, wrap it tightly in a layer of plastic wrap, then a layer of aluminum foil. Alternatively, you can use a freezer-safe airtight container. It can be stored in the freezer for up to 2-3 months. To thaw, unwrap it and let it come to room temperature on the counter for several hours. If it’s been refrigerated, you might want to warm it slightly.
Glaze Timing Advice: I always recommend glazing the bread *after* it has cooled down significantly, ideally to room temperature. Applying the glaze to a hot loaf will cause it to melt and slide off. If you’re freezing the bread *without* the glaze, that’s perfectly fine and often recommended to prevent the glaze from cracking or getting sticky in the freezer. You can then make a fresh glaze to add once the bread is thawed and ready to serve. If you’re storing glazed bread in the fridge or at room temperature, the glaze usually holds up quite well.
Frequently Asked Questions
Final Thoughts
I truly hope you give this lemon poppy seed bread a try. It’s more than just a recipe to me; it’s a little slice of comfort and happiness that I’m so excited to share with you. It’s that perfect balance of bright, zesty flavor and tender, moist texture that just makes everything feel a little bit better. It’s the kind of baked good that makes your kitchen smell incredible and your family ask for seconds (and maybe thirds!). If you love this recipe, you might also enjoy my Lemon Blueberry Scones or my classic Vanilla Bean Pound Cake for more bright and delightful treats. Please, if you make this lemon poppy seed bread, I would absolutely love to hear how it turns out for you! Leave a comment below, rate the recipe, and share your own little twists or triumphs. Happy baking, and enjoy every delicious bite!

Lemon Poppy Seed Bread
Ingredients
Main Ingredients
- 2.5 cups all-purpose flour
- 1.5 cups granulated sugar
- 1 teaspoon baking soda
- 0.5 teaspoon salt
- 1 teaspoon poppy seeds
- 0.5 cup unsalted butter melted
- 2 large eggs
- 1 cup buttermilk
- 1 tablespoon lemon zest from about 2 lemons
- 2 tablespoons fresh lemon juice
Instructions
Preparation Steps
- Preheat your oven to 350°F (175°C). Grease and flour a 9x5 inch loaf pan.
- In a large bowl, whisk together the flour, sugar, baking soda, salt, and poppy seeds.
- In a separate medium bowl, whisk together the melted butter, eggs, buttermilk, lemon zest, and lemon juice.
- Pour the wet ingredients into the dry ingredients and stir until just combined. Be careful not to overmix.
- Pour the batter into the prepared loaf pan and spread evenly.
- Bake for 50-60 minutes, or until a wooden skewer inserted into the center comes out clean.
- Let the bread cool in the pan for 10 minutes before transferring it to a wire rack to cool completely.
Notes
Featured Comments
“Impressed! Clear steps and crowd-pleaser results. Perfect for busy nights.”
“New favorite here — comforting. crowd-pleaser was spot on.”
“Super easy and turned out amazing! My family asked for seconds. Saving this one.”
“This sweet treat was absolutely loved — the zingy really stands out. Thanks!”
“Made it tonight and wow — family favorite! Will definitely make Lemon poppy seed bread again.”
“Packed with flavor and so simple. Exactly what I wanted from Lemon poppy seed bread.”


