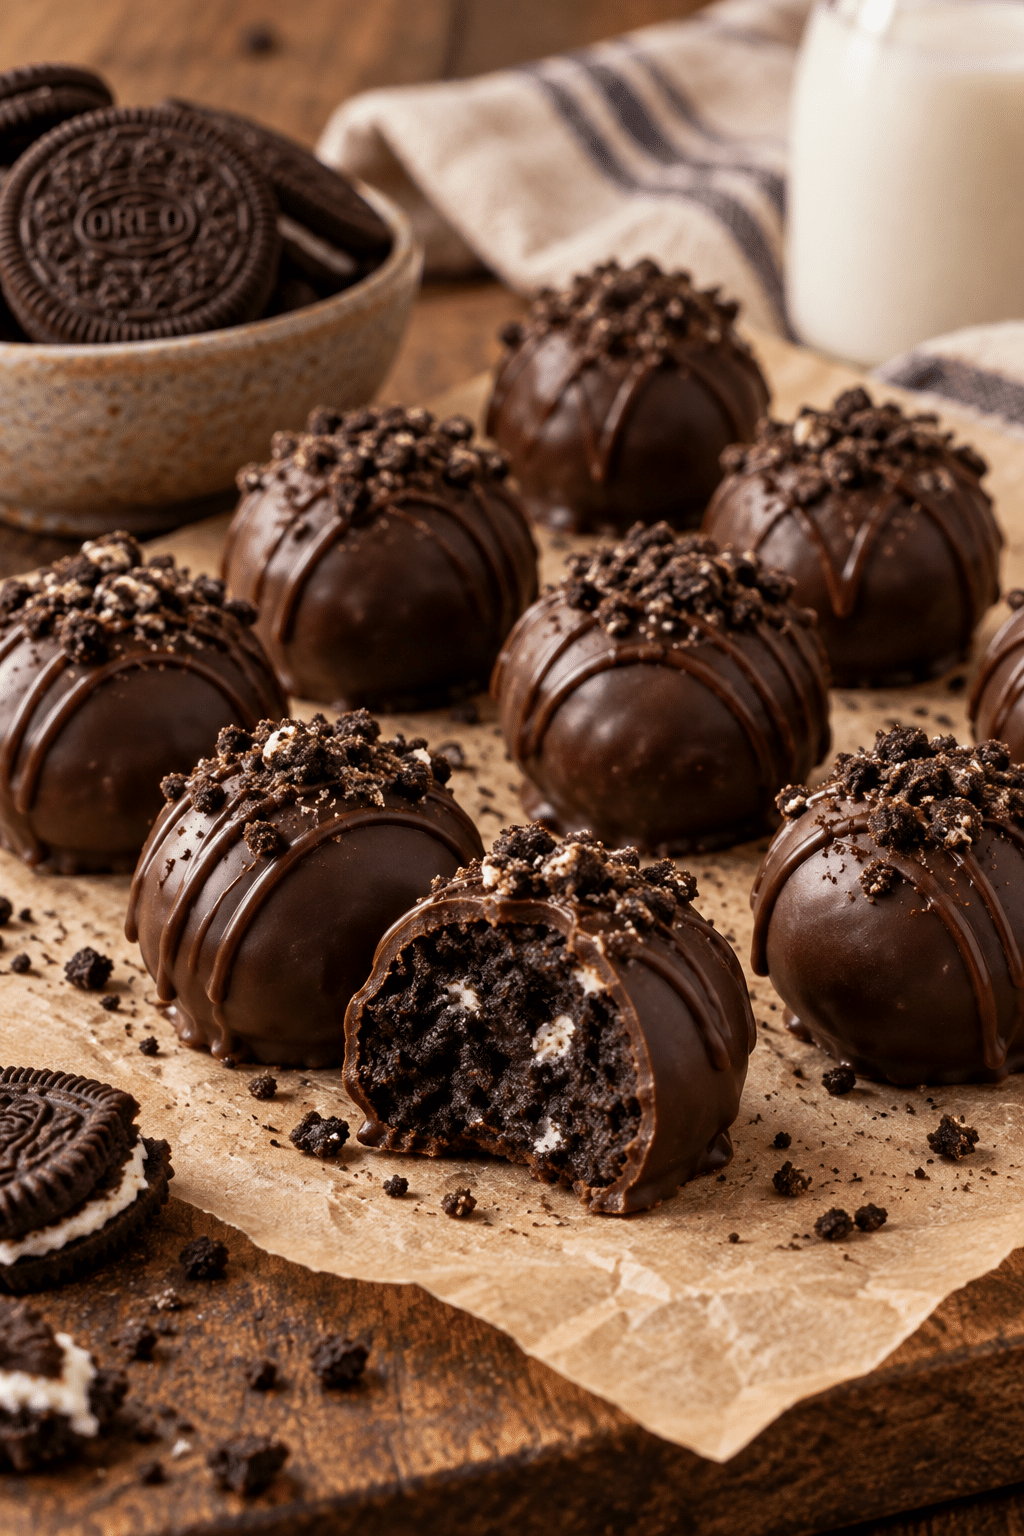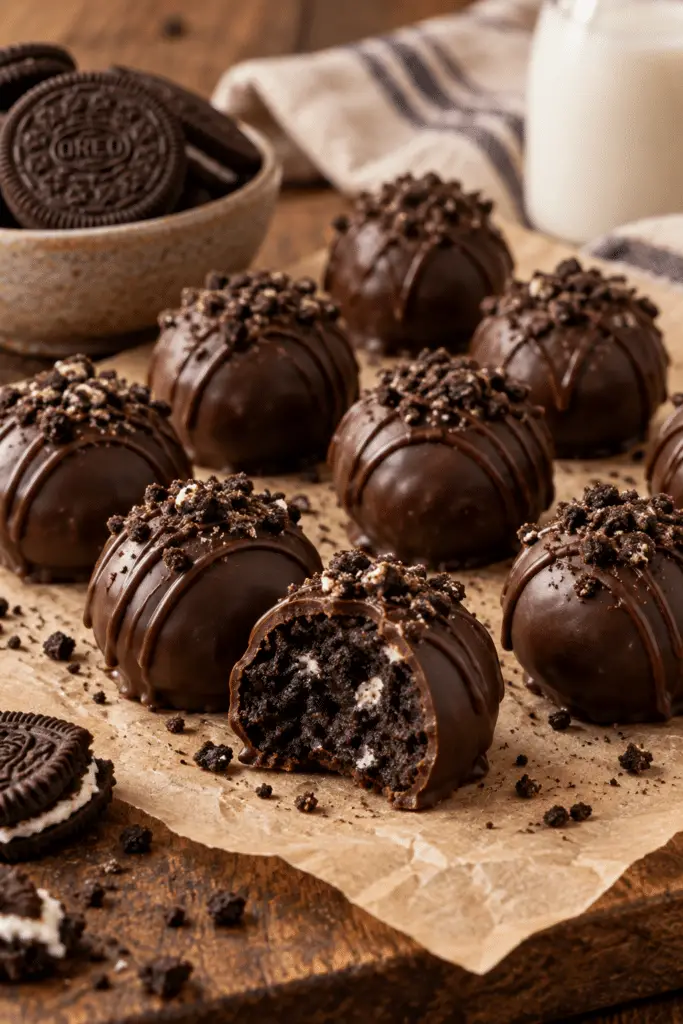
Oreo balls are a simple no-bake dessert built from crushed cookies, softened cream cheese, and a chocolate coating. The mixture rolls into tidy, truffle-like bites without an oven, making these Oreo balls useful for cookie exchanges, holiday platters, birthday dessert tables, and last-minute gifting. A short chill firms the centers before dipping, while a second chill sets the shell into a neat finish.
Why these Oreo balls work
Crushed sandwich cookies provide both the chocolate flavor and the dry structure. Cream cheese binds the crumbs into a soft, cohesive mixture, and the chocolate coating adds a crisp contrast. Keeping the cream cheese softened helps it blend evenly; chilling before dipping prevents the balls from losing their shape in the warm coating.
What you need for Oreo balls
Ingredients and preparation
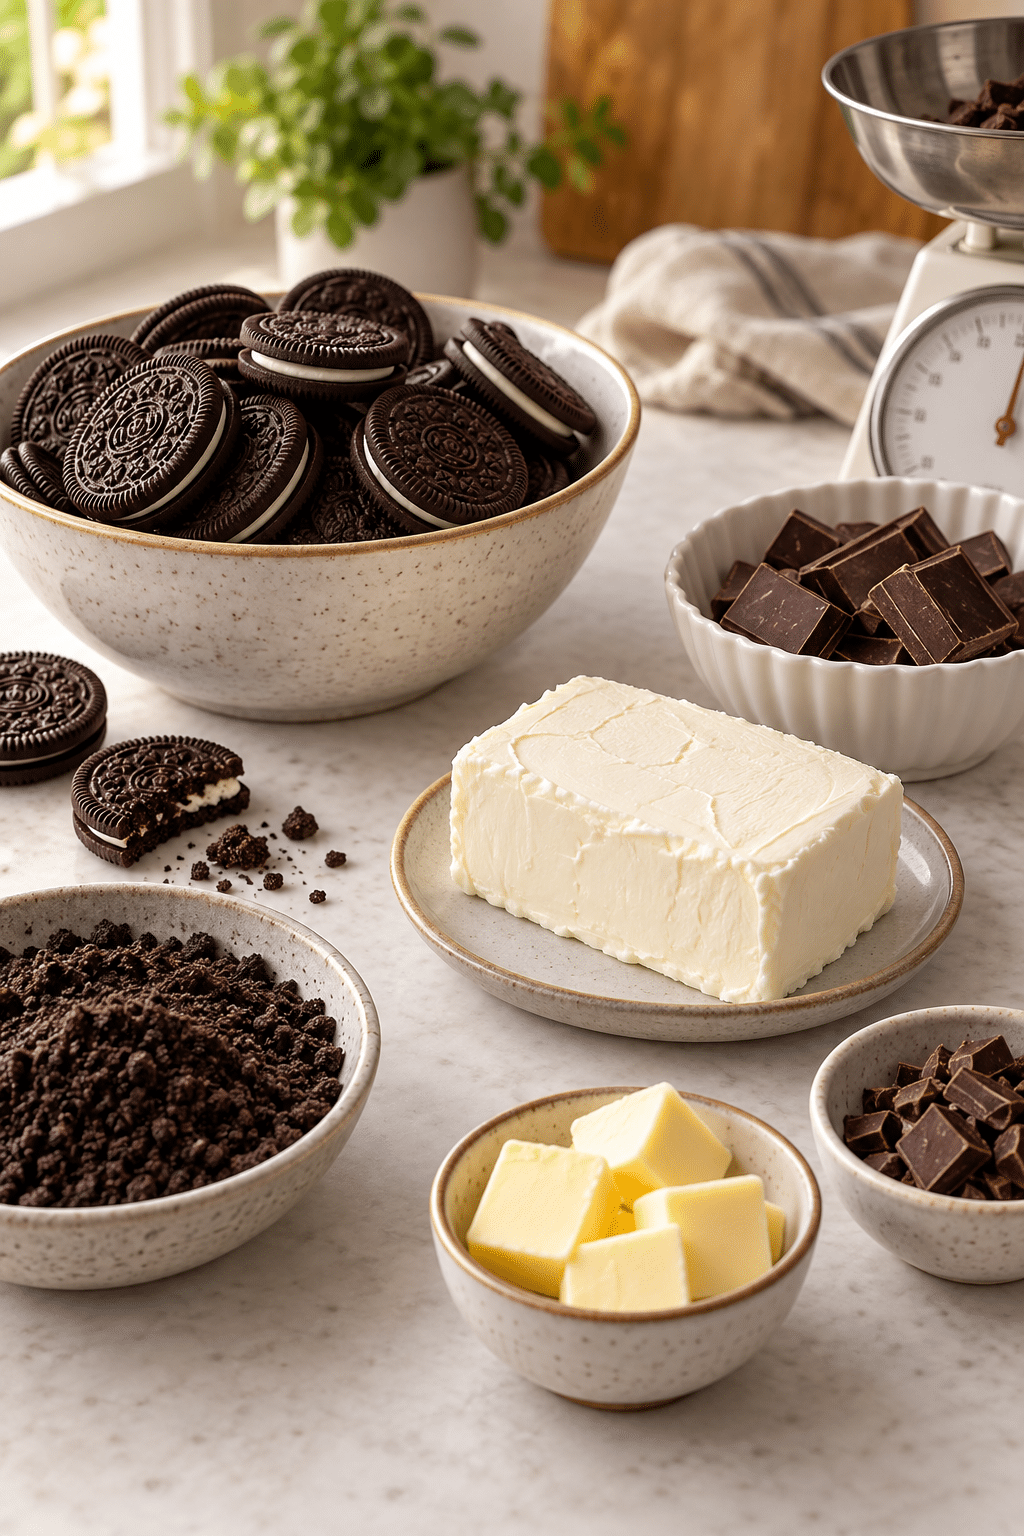
- 36 regular Oreo cookies
- 1 (8-ounce) package brick-style cream cheese, softened
- 16 ounces semi-sweet, milk, or white chocolate
How to make Oreo balls
Line a large baking sheet with parchment paper.
Process the Oreo cookies into fine crumbs and reserve 1 to 2 tablespoons for topping if desired.
Mix the crumbs and softened cream cheese until fully combined.
Scoop the mixture into 36 portions and roll each into a smooth ball, then chill until firm.
Melt the chocolate, dip each chilled ball, and return it to the parchment.
Sprinkle with reserved crumbs if desired and chill until the coating is set.
Start with the equipment and ingredients at room temperature where appropriate. A food processor gives the most even crumbs, but a sturdy blender can work in batches. The goal is a mixture that presses together easily without visible cream cheese streaks.
Line a large baking sheet with parchment paper. Process the Oreo cookies in a blender or food processor until they become fine crumbs. Reserve 1 to 2 tablespoons if you want a crumb topping, then transfer the remaining crumbs to a mixing bowl.
- Line a large baking sheet with parchment paper.
- Process the Oreo cookies into fine crumbs and reserve 1 to 2 tablespoons for topping if desired.
- Mix the crumbs and softened cream cheese until fully combined.
- Scoop the mixture into 36 portions and roll each into a smooth ball.
- Melt the chocolate, dip each chilled ball, and return it to the parchment.
- Sprinkle with reserved crumbs if desired and chill until the chocolate is set.
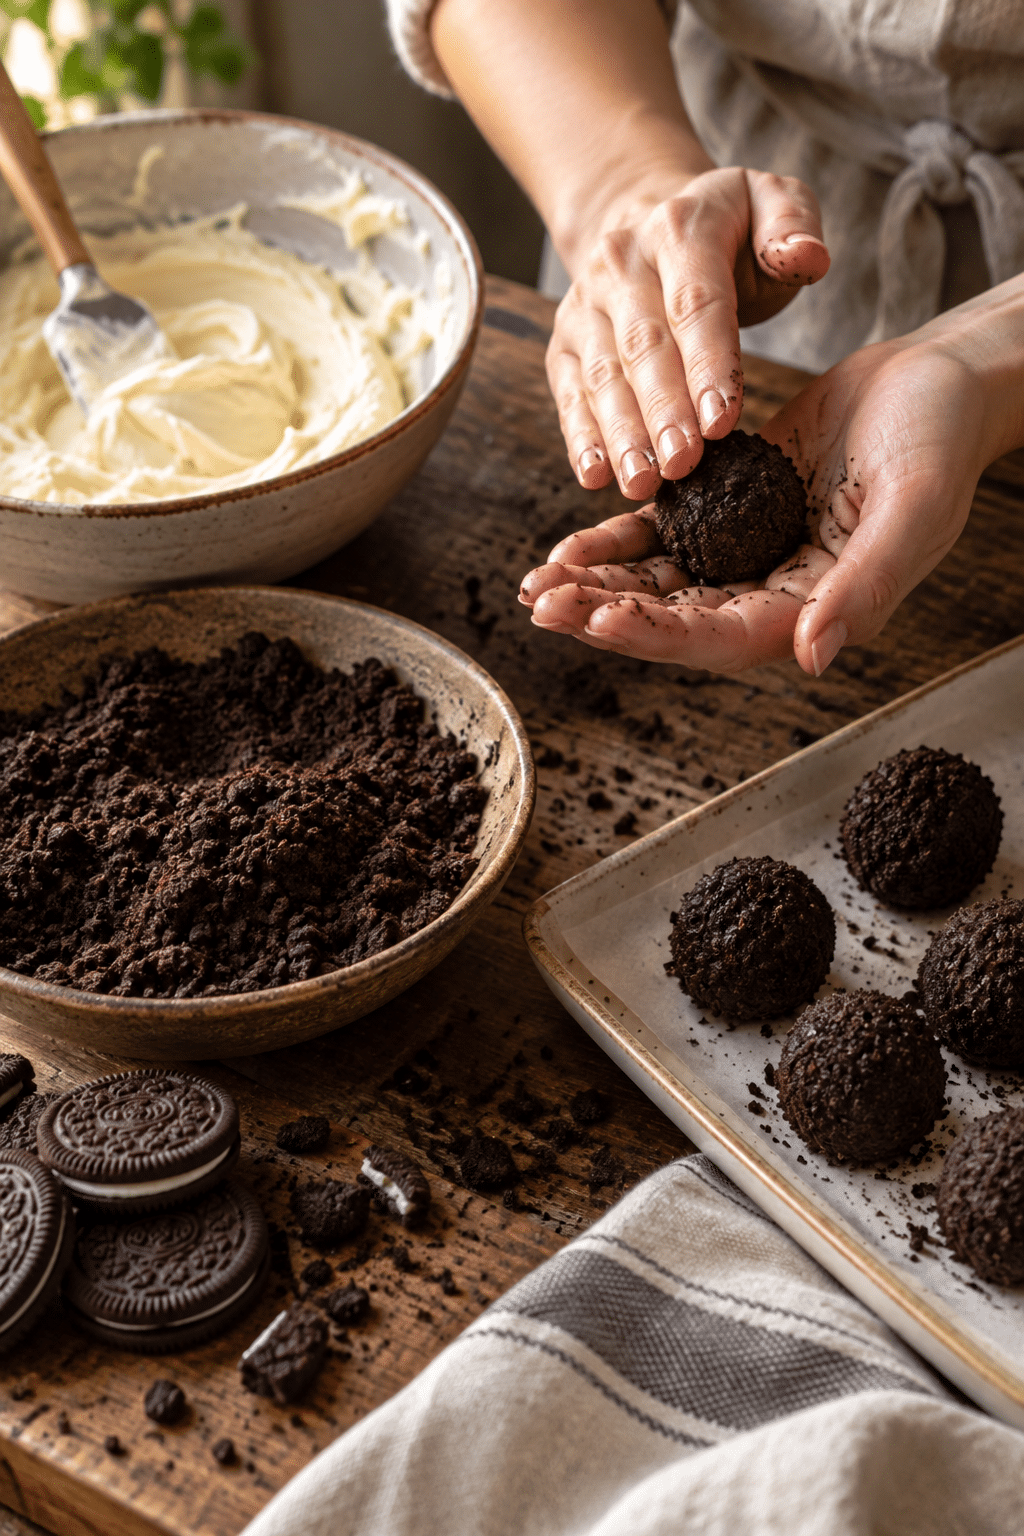
Scoop the mixture into 36 portions and roll each into a smooth ball.
Sprinkle with reserved crumbs if desired and chill until the coating is set.
Doneness and troubleshooting
The finished centers should feel firm enough to lift without flattening, and the coating should look dry rather than glossy or wet. If the chocolate thickens while dipping, warm it in short intervals and stir between each one. If crumbs collect in the coating, let the excess chocolate drip longer before setting each piece down.
Uniform portions are easiest with a small cookie scoop. Roll with gentle pressure so the crumbs hold together, then smooth any cracks before chilling. Work in batches if your kitchen is warm: keep most of the centers refrigerated while you dip a few at a time.
For reliable results, use the ingredient forms named in the recipe. Brick-style cream cheese has enough body to bind the crumbs without making the mixture loose. Softening it first prevents hard pieces from remaining in the dough. Likewise, finely processed cookies distribute the cream cheese throughout every bite, so the finished centers hold together when cut or bitten.
Chocolate temperature matters during the final stage. Melt slowly and stir often; overheated chocolate can become thick or grainy. A bowl set over gently steaming water or short microwave intervals both work, provided the bowl stays dry. Dip with a fork, tap the fork lightly against the bowl, and slide the coated ball onto parchment. This keeps the shell even and avoids a large puddle at the base.
If you are preparing the recipe for a party, reserve time for both chilling stages. The first chill firms the cookie mixture and makes shaping less messy. The second chill gives the coating time to harden before the pieces are stacked or packed. Keep finished pieces cool until serving, especially if the room is warm.
These bites are also easy to customize visually. White chocolate makes the dark crumb center stand out, while semi-sweet chocolate gives a deeper finish. A small sprinkle of reserved cookie crumbs identifies the flavor immediately. For a seasonal tray, use a modest amount of colored decoration so the coating remains the dominant texture.
When scaling the batch, keep the portions consistent rather than making a few very large pieces. Even portions chill at the same rate and use a predictable amount of coating. If you need fewer pieces, divide the mixture by weight or use the same scoop each time. These small details help the recipe look finished without adding complicated technique.
Plan to serve the Oreo balls as a single-bite dessert. Their compact size makes them useful beside coffee, hot chocolate, or a fruit tray. They can also be placed in individual liners for a clean buffet presentation. Because the centers stay tender in the refrigerator, they offer a pleasant contrast to the set chocolate shell.
Serving ideas
Serve Oreo balls cold or slightly cool on a dessert tray. Arrange contrasting coatings together, such as semi-sweet chocolate with white-chocolate drizzle, for a holiday or party platter. They also make compact edible gifts when placed in small paper cups inside a lidded box.
Tips and an optional variation
Use brick-style cream cheese rather than a soft spread so the mixture is firm enough to roll. If the dough feels sticky, chill it briefly before portioning. For an optional variation, top the freshly dipped balls with crushed peppermint, toasted coconut, or colored sprinkles; the change affects the finish, not the base recipe.
Planning a dessert tray
For a mixed dessert tray, make the Oreo balls one day ahead and keep the decoration restrained so they complement cookies, brownies, or fruit. Use paper liners to make serving cleaner. A platter of 36 pieces works well for a gathering because guests can take one bite-size piece without needing a fork.
Storage and reheating
Store the finished bites in a covered container in the refrigerator. Separate layers with parchment so the coating stays neat. Let them stand briefly before serving for a softer center. These are not a reheating dessert; warming them can soften the cream cheese mixture and make the chocolate coating lose its set.
FAQ and search-query answers
Can you make Oreo balls without baking?
Yes. The cookies, cream cheese, and chocolate are combined and chilled, so no oven is needed.
How do you keep Oreo balls from falling apart?
Blend the cookies into fine crumbs, use softened brick-style cream cheese, and chill the rolled centers firmly before dipping.
What chocolate is best for Oreo balls?
Semi-sweet, milk, or white chocolate can all work. Choose a smooth-melting chocolate and avoid overheating it.
Making Oreo balls ahead
For advance preparation, shape the centers and keep them covered while they chill. Dip them when convenient, then allow the finished coating to set before transferring the pieces to a storage container. This sequence keeps the surface smooth and reduces fingerprints on the chocolate.
A clean parchment-lined tray makes the process easier from beginning to end. It gives the balls a nonstick landing place and makes crumbs easy to collect. Keep a second sheet nearby if the first becomes crowded. Space between pieces prevents newly dipped chocolate from touching its neighbors while it sets.
Texture is the best guide at every stage. The crumb mixture should compress when pressed, the rolled centers should hold a round shape, and the coating should harden to a dry touch. If any stage looks loose, a short chill usually solves the problem more effectively than adding extra ingredients.
When serving children or guests with different preferences, offer more than one coating choice. Semi-sweet chocolate is balanced, milk chocolate is sweeter, and white chocolate gives a lighter appearance. The base remains recognizable in every version, so a single batch can suit several dessert-table styles.
Because the recipe uses only a few ingredients, measuring and timing matter more than elaborate equipment. Take a moment to scrape the processor bowl so no cookie crumbs are left behind, and scrape the mixing bowl as you combine the cream cheese. Even distribution is what gives every piece the same soft center.
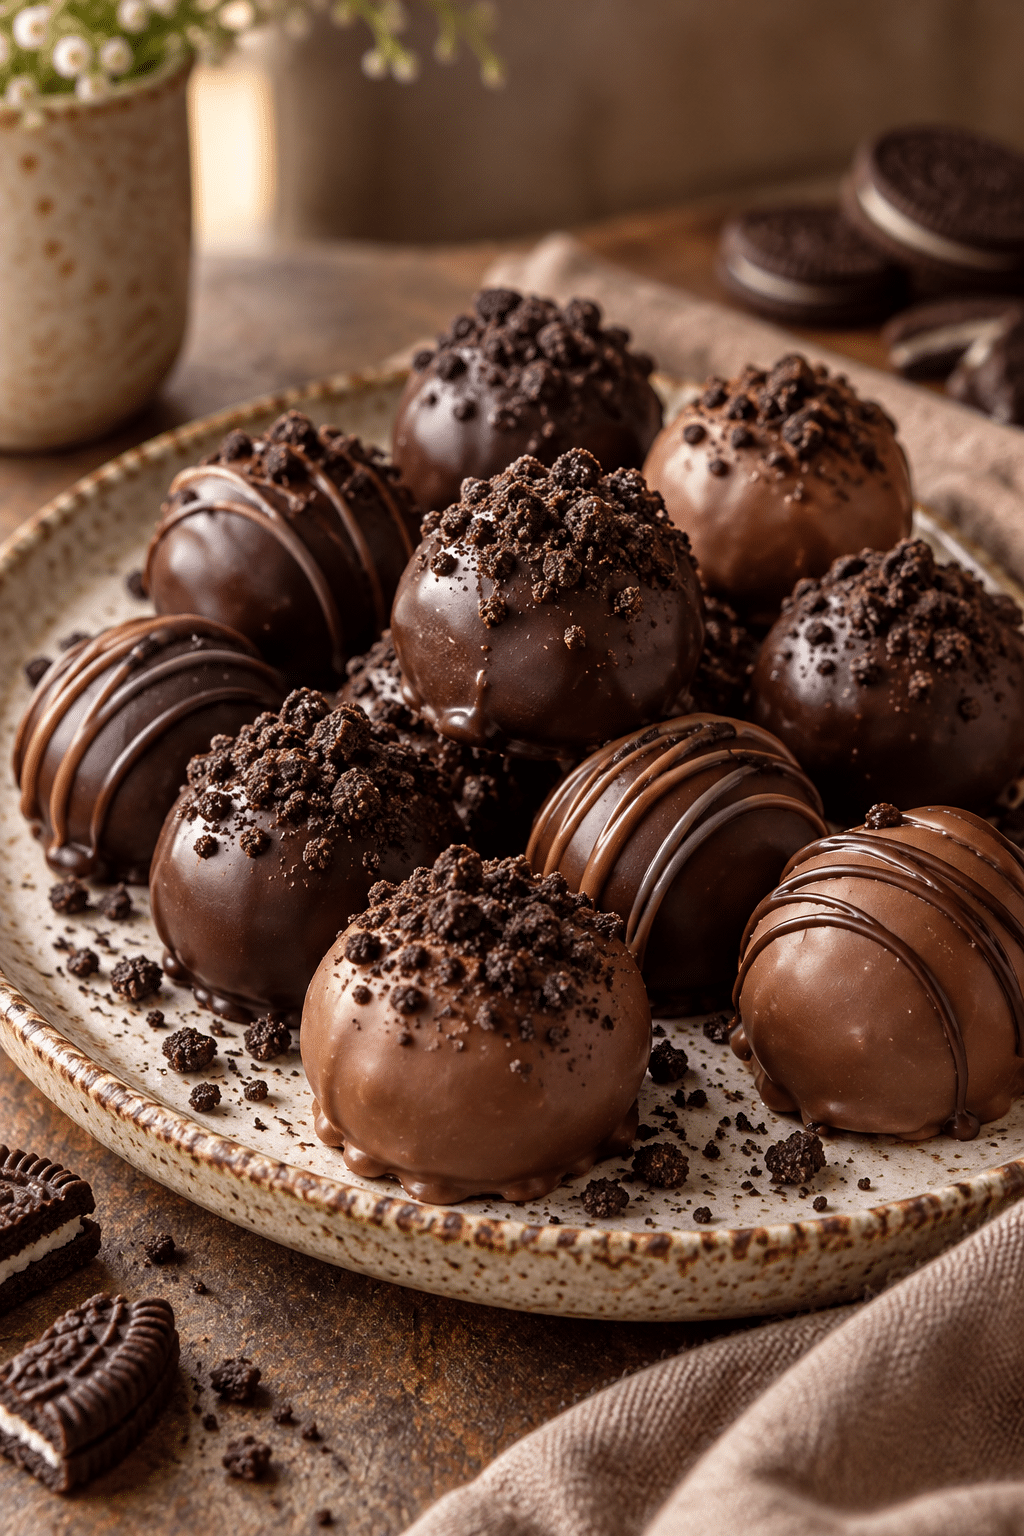
With a firm chill and a smooth coating, these no-bake Oreo balls turn a short ingredient list into a polished, shareable dessert.
The recipe is flexible enough for everyday treats but tidy enough for a celebration. Keep the centers cold, let the coating set completely, and you will have a dependable batch ready for the dessert table.


No-Bake Oreo Balls
Ingredients
Ingredients
- 36 regular Oreo cookies
- 1 (8-ounce) package brick-style cream cheese softened
- 16 ounces chocolate semi-sweet, milk, or white chocolate
Instructions
Instructions
- Line a large baking sheet with parchment paper.
- Process the Oreo cookies into fine crumbs and reserve 1 to 2 tablespoons for topping if desired.
- Mix the crumbs and softened cream cheese until fully combined.
- Scoop the mixture into 36 portions and roll each into a smooth ball, then chill until firm.
- Melt the chocolate, dip each chilled ball, and return it to the parchment.
- Sprinkle with reserved crumbs if desired and chill until the coating is set.
Featured Comments
“Impressed! Clear steps and crowd-pleaser results. Perfect for busy nights.”
“New favorite here — crowd-pleaser. crowd-pleaser was spot on.”
“Super easy and turned out amazing! My family asked for seconds. Saving this one.”
“This sweet treat was absolutely loved — the cozy really stands out. Thanks!”
“Made it tonight and wow — crowd-pleaser! Will definitely make No-Bake Oreo Balls again.”
“Packed with flavor and so simple. Exactly what I wanted from No-Bake Oreo Balls.”