

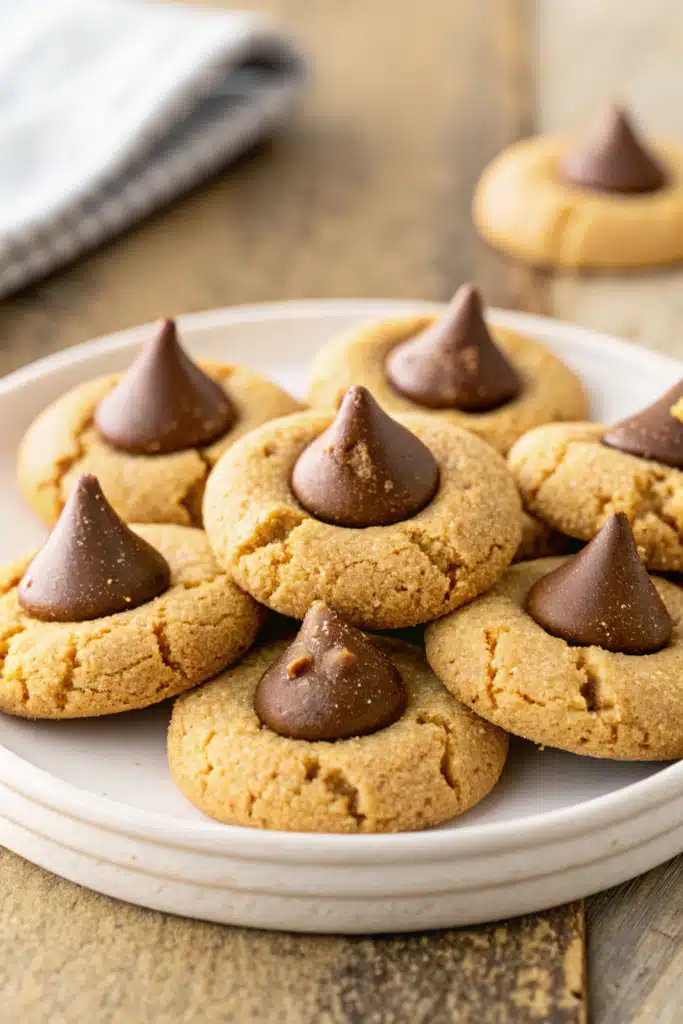
The Softest Peanut Butter Blossoms You’ll Ever Make
Every year, as soon as the weather turns slightly crisp, I start craving these classic cookies. You know the ones—those perfectly chewy, sugar-coated peanut butter cookies crowned with a melty chocolate kiss right in the center. Peanut Butter Blossoms are pure nostalgia wrapped up in a bite-sized treat. I remember baking these with my grandmother, standing on a little step stool, eagerly unwrapping the chocolate candies, and sneaking a few for myself when she wasn’t looking.
There’s just something incredibly magical about the combination of salty-sweet peanut butter and rich milk chocolate. Over the years, I’ve tweaked and tested this recipe to absolute perfection. We’re talking about the softest, most melt-in-your-mouth Peanut Butter Blossoms you’ll ever pull out of your oven. Whether you’re baking them for a holiday cookie exchange, a cozy weekend treat, or just because you need a little comfort food, these cookies never disappoint. Grab your mixing bowls and let’s bake up some wonderful memories!
What Are Peanut Butter Blossoms?
If you’ve somehow missed out on these beauties growing up, let me introduce you to your new favorite dessert. Peanut Butter Blossoms are an iconic American cookie that first made their debut way back in the late 1950s. At their core, they’re a wonderfully soft, tender peanut butter cookie dough rolled in granulated sugar before baking to give them a delightful little crunch on the outside.
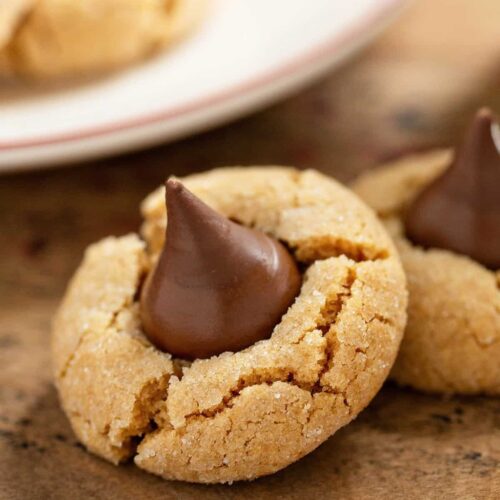
But the real magic happens the second they come out of the oven. While the cookies are still piping hot and puffy, you gently press a solid milk chocolate kiss right into the center. The heat from the cookie slightly melts the bottom of the chocolate, creating a glorious bond between the two layers. Once they cool, the chocolate sets back up, leaving you with a beautiful, crackly-edged cookie that hits the ultimate flavor trifecta: sweet, salty, and chocolatey. They’re a staple on holiday dessert trays, but honestly, they’re so delicious that my family demands them all year round.
How to Make Peanut Butter Blossoms
Quick Overview
Making these classic cookies is a total breeze, even if you’re a beginner baker! You’ll start by whisking together your dry ingredients, then creaming the shortening, peanut butter, and sugars until they’re light and fluffy. After mixing in the wet ingredients and combining everything into a smooth dough, the fun part begins. You’ll roll the dough into little spheres, coat them generously in sugar, and bake them just until the edges are set. The most crucial step? Having your chocolate kisses unwrapped and ready to go so you can press them into the cookies the exact second they leave the oven. It’s a simple, satisfying process from start to finish.
Ingredients
Here is what you’ll need to gather before we get started. Make sure your ingredients are at room temperature for the smoothest dough!
- Butter-Flavored Shortening: ½ cup, softened. You can use unsalted butter if you prefer, but your cookies will be a little less soft.
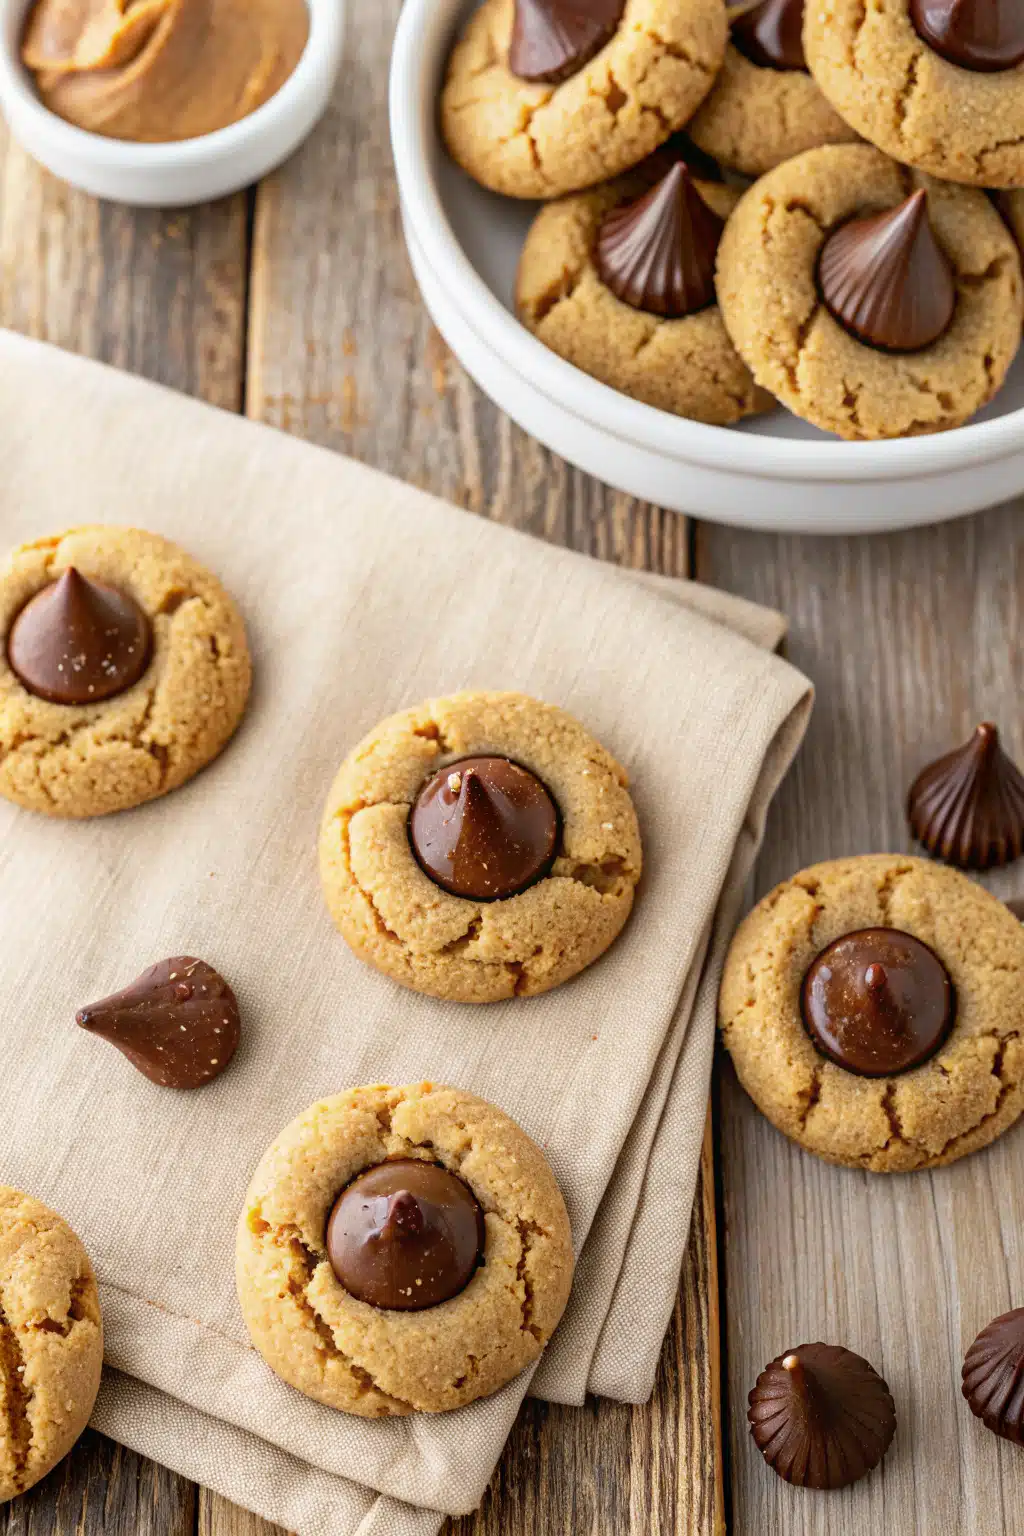
- Creamy Peanut Butter: ¾ cup. Stick to a traditional, no-stir brand like Jif or Skippy for the best texture.
- Granulated Sugar: ¼ cup for the dough, plus extra in a shallow bowl for rolling.
- Brown Sugar: ½ cup, packed. This adds incredible moisture and a hint of caramel flavor.
- Egg: 1 large egg to bind everything together.
- Whole Milk: 2 tablespoons to add just the right amount of tenderness to the dough.
- Vanilla Extract: 1 teaspoon for that warm, bakery-fresh flavor.
- All-Purpose Flour: 1 ½ cups. Be sure to fluff, spoon, and level your flour so the cookies don’t turn out dense!
- Baking Soda: 1 teaspoon to help the cookies puff up beautifully.
- Salt: ½ teaspoon to balance all the sweetness.
- Milk Chocolate Kisses: 48 pieces, completely unwrapped before you start baking.
Step-by-Step Instructions
Step 1: Preheat & Prep Pan
Preheat your oven to 375°F. Line a large baking sheet with parchment paper to prevent sticking and ensure an easy cleanup. Also, go ahead and unwrap all 48 of your chocolate kisses right now—trust me, you won’t have time to do it later!
Step 2: Whisk Dry Ingredients
In a medium-sized bowl, whisk together the all-purpose flour, baking soda, and salt. Set this bowl aside for a moment.
Step 3: Cream the Base
In a large mixing bowl, beat the butter-flavored shortening and creamy peanut butter together until smooth. Add in the ¼ cup of granulated sugar and the brown sugar, beating for about 2 to 3 minutes until the mixture is beautifully light and fluffy.
Step 4: Add Wet Ingredients
Mix in the egg, whole milk, and vanilla extract. Keep beating on medium speed until everything is well combined and creamy.
Step 5: Form the Dough
Gradually add your dry flour mixture to the wet ingredients. Mix on low speed just until a soft dough forms. If your dough feels too sticky to handle, pop it in the fridge for 30 to 60 minutes.
Step 6: Scoop and Roll
Using a small cookie scoop, portion out about 1 tablespoon of dough and roll it into a 1-inch ball using the palms of your hands. Roll each ball in your extra granulated sugar until fully coated, then place them evenly on your prepared baking sheet.
Step 7: Bake and Blossom
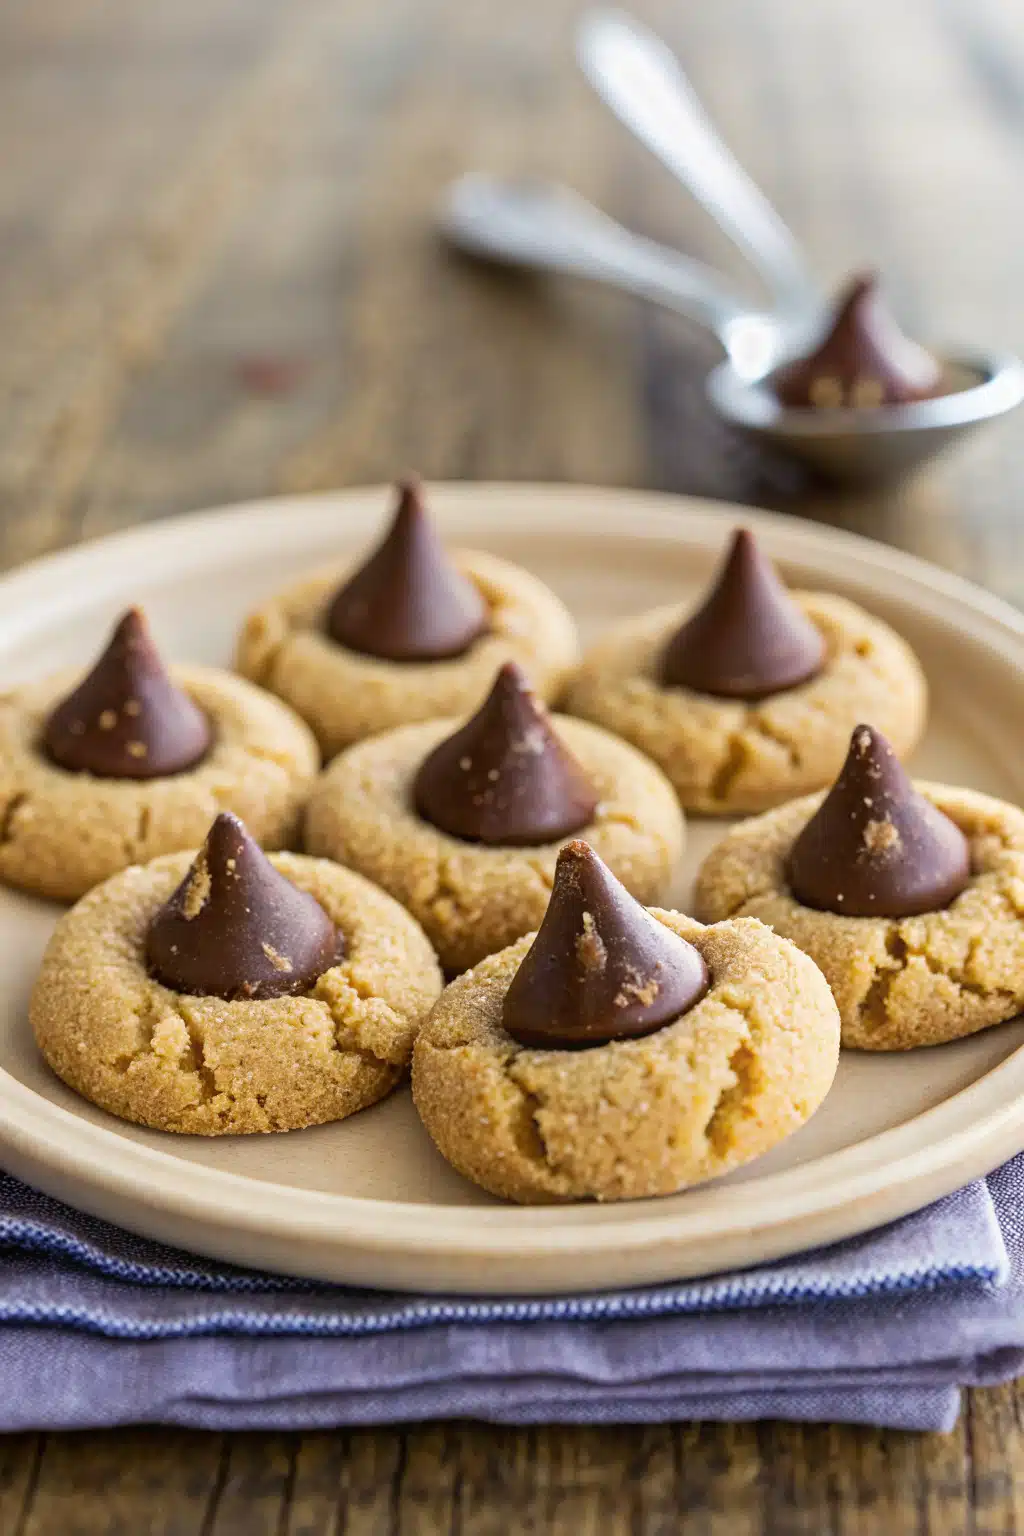
Bake for 8 to 10 minutes. Watch them closely—you want them slightly puffy with tiny cracks around the edges, but they shouldn’t look browned! Remove from the oven and immediately press a chocolate kiss into the center of each warm cookie. Let them rest on the pan for 5 minutes before carefully moving them to a wire cooling rack.
What to Serve It With
These sweet treats are absolutely perfect on their own, but they’re even better when paired with a cozy beverage. I love serving them alongside a tall, ice-cold glass of milk—it’s the ultimate nostalgic pairing! If you’re enjoying them during the chilly winter months, they’re phenomenal with a steaming mug of hot chocolate or your favorite rich, dark roast coffee. If you’re building a holiday dessert board, arrange these Peanut Butter Blossoms alongside chewy snickerdoodles, buttery shortbread, and homemade fudge for a stunning spread that will have everyone coming back for seconds.
Top Tips for Perfecting Your Peanut Butter Blossoms
Want bakery-quality cookies every single time? Keep these simple tricks in mind:
- Don’t overbake: This is the golden rule! The cookies won’t look fully browned when they’re done. Look for a slight puffiness and cracked edges. Pulling them out at the 8 to 10-minute mark ensures they stay incredibly soft and chewy.
- Use the right peanut butter: Stick to traditional, no-stir creamy peanut butter. Natural peanut butters tend to be too oily and can cause your cookies to spread out into flat puddles.
- Chill out: If your kitchen is warm and your dough feels loose or sticky, don’t hesitate to chill it in the refrigerator for 30 to 60 minutes. Cold dough rolls easier and bakes up thicker!
- Unwrap early: I can’t stress this enough—unwrap your chocolate kisses before the cookies go into the oven. You need to press them in while the cookies are piping hot, and you won’t have time to fumble with foil wrappers!
Storing and Reheating Tips
Thanks to the shortening in the dough, these Peanut Butter Blossoms have an incredible shelf life! To keep them tasting fresh-from-the-oven, store them in an airtight container at room temperature for up to a week. Pro tip: Toss a slice of plain white bread into the container with the cookies. The cookies will absorb the moisture from the bread, keeping them unbelievably soft! Just replace the bread every couple of days when it gets stale.
While the fully baked cookies don’t freeze well (the chocolate kisses tend to fall off and turn chalky), you can absolutely freeze the unbaked dough! Simply make the dough, freeze it in a solid block or pre-scooped balls, and let it thaw overnight in the fridge. When you’re ready, roll the dough in sugar and bake as directed.
Frequently Asked Questions
Final Thoughts
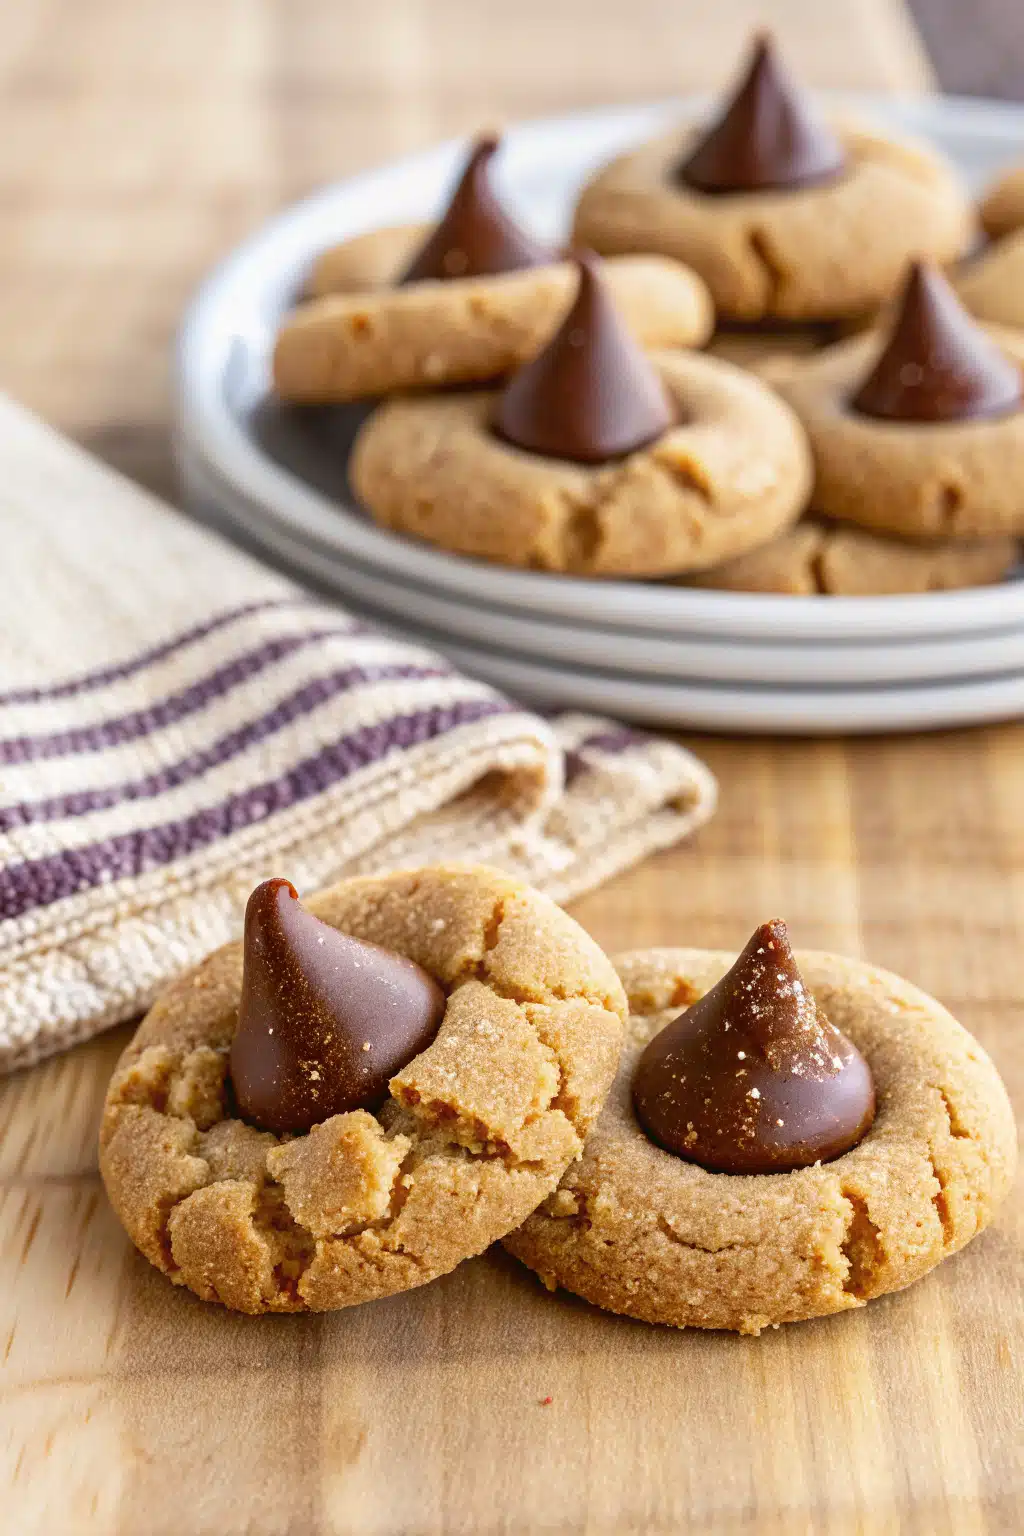
There’s truly nothing quite like a freshly baked batch of Peanut Butter Blossoms to fill your home with warmth and joy. Whether you’re continuing a lifelong family tradition or making these sweet little gems for the very first time, I hope this recipe brings a huge smile to your face. They’re the perfect balance of chewy peanut butter goodness and rich chocolatey bliss.
Don’t be surprised if they disappear from your counter faster than you can bake them! Grab your ingredients, turn on some of your favorite tunes, and enjoy every moment of baking these classic treats. Happy baking, my friends!
Peanut Butter Blossoms
Ingredients
Main Ingredients
- 0.5 cup butter flavored shortening or unsalted butter, softened
- 0.75 cup creamy peanut butter
- 0.25 cup granulated sugar plus more for rolling
- 0.5 cup packed brown sugar
- 1 large egg
- 2 tablespoons whole milk
- 1 teaspoon vanilla extract
- 1.5 cups all-purpose flour
- 1 teaspoon baking soda
- 0.5 teaspoon salt
- 48 Milk Chocolate Kisses unwrapped
Instructions
Preparation Steps
- Preheat the oven to 375°F. Line a baking sheet with parchment paper.
- In a medium sized bowl, whisk together the flour, baking soda and salt. Set aside.
- In a large bowl, beat to combine the shortening and peanut butter. Add 0.25 cup granulated sugar and brown sugar, beating until light and fluffy, about 2-3 minutes.
- Add egg, milk, and vanilla; beating until well combined. Gradually add the flour mixture and continue beating until a dough forms.
- Using a small cookie scoop and your hands, shape the dough into 1-inch balls. If you do not have a small cookie scoop, this is a little more than 1 tablespoon worth of dough for each ball.
- Toss/roll each dough ball in the granulated sugar until coated, then place on the prepared cookie sheet.
- Bake for 8 to 10 minutes, until ever so lightly browned on the edges. You do not want to over bake these cookies, it will dry them out!
- Immediately press a chocolate kiss into center of each cookie as soon as they come out of the oven. Allow cookies to cool for 5 minutes and then transfer cookies to a cooling rack to cool completely.
Featured Comments
“I love these! They are perfect! I bake them 8 min. Take them out to press the kisses on top, then return to oven 2 min. Kisses seem to stay on much better. Ann Hebert”
“Impressed! Clear steps and turned out amazing results. Perfect for busy nights.”
“New favorite here — turned out amazing. crowd-pleaser was spot on.”
“Super easy and turned out amazing! My family asked for seconds. Saving this one.”
“This sweet treat was absolutely loved — the rich really stands out. Thanks!”
“Made it tonight and wow — creamy! Will definitely make Peanut Butter Blossoms Tips again.”


I love these! They are perfect! I bake them 8 min. Take them out to press the kisses on top, then return to oven 2 min. Kisses seem to stay on much better. Ann Hebert