

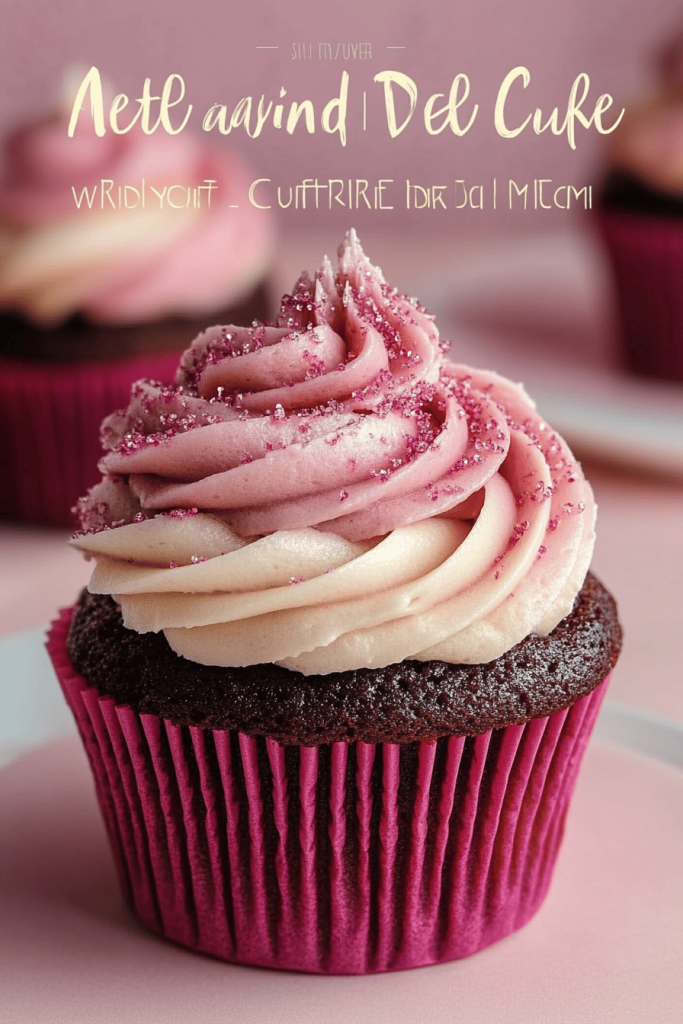
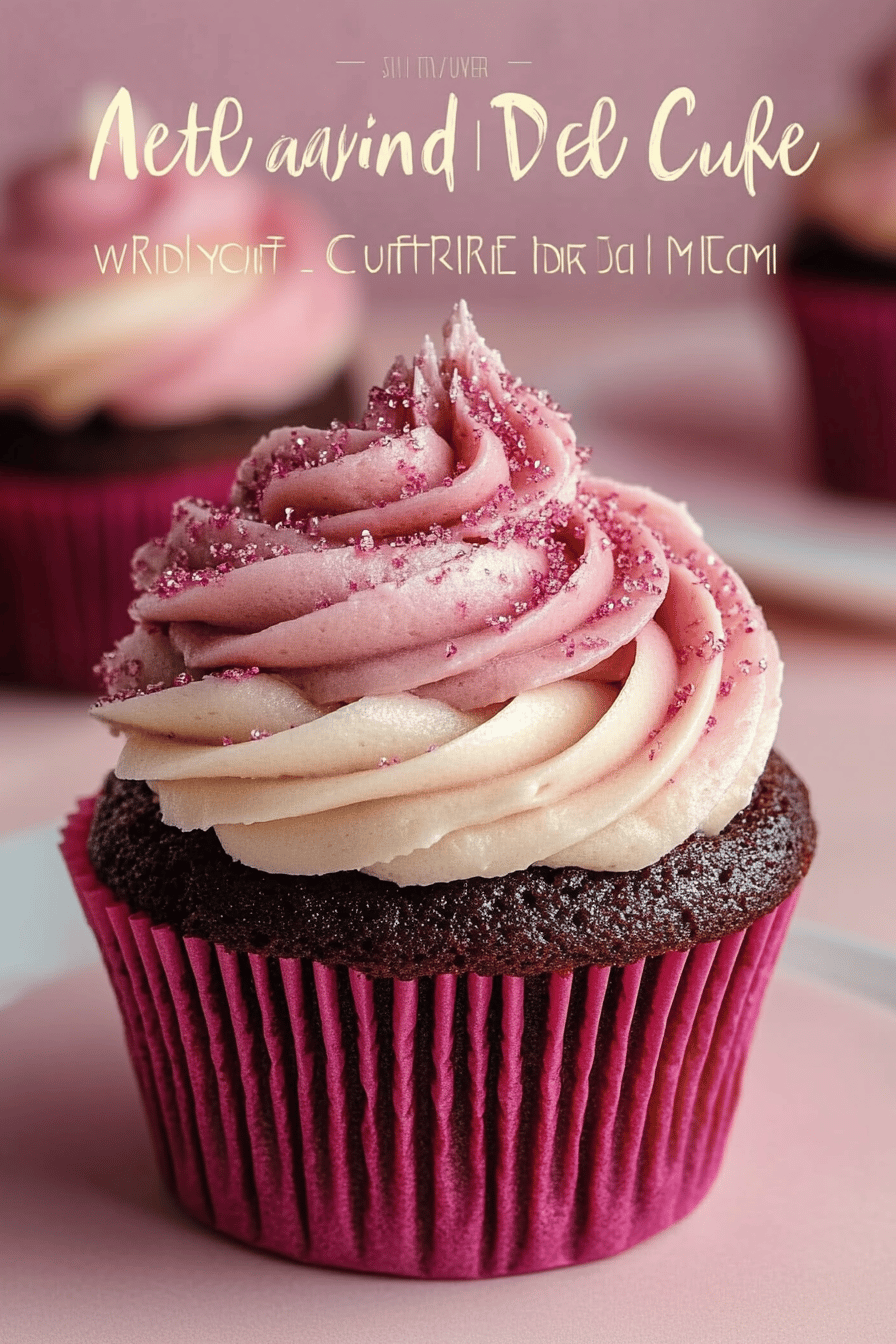
Okay, picture this: It’s a rainy Saturday, the kind where all you want is something comforting and utterly delicious. That’s when these Pink Velvet Cupcakes come to the rescue. They’re soft, moist, and have this delicate pink hue that just makes you smile. Think of them as Red Velvet‘s more playful cousin, a bit sweeter and definitely more fun. Honestly, they’re so easy to Make, even easier than your standard chocolate cupcake, and they always disappear in minutes at any gathering! I’ve been making these for years, tweaking the recipe until it’s just perfect, and I can’t wait to share it with you.

What is Pink Velvet Cupcake?
What is Pink Velvet Cupcake? What is a fun twist on the classic red velvet cake? Is it a vanilla cupcake with pink food coloring? What is the difference between buttermilk and Sour Cream? The ‘velvet’ part comes from the incredibly soft and tender crumb, thanks to the reaction between the skin and the air. The acid in buttermilk and baking soda. Why is it not just about the pretty colors? What makes these cupcakes so special? My grandma used to make something similar (though not quite as pink! ) and the name always stuck with me. Pink Velvet Cupcakes capture that same feeling of warmth and homemade goodness.
How do I make pink velvet cupcakes?
Quick Overview
What is the best way to make pink cupcakes? We’re basically combining wet and dry ingredients, adding that lovely pink hue, and baking them to create a cake. What is the secret of cupcakes? Don’t overmix the batter! What’s the best part? The glaze is so easy to whip up, it’s practically foolproof. How easy is it to make these delicious treats?
Ingredients
For the Main Batter:
- 2 1/2 cups all-purpose flour: I always use unbleached for the best flavor.
- 1 1/2 cups granulated sugar: Feel free to use less if you prefer a less sweet cupcake.
- 1 teaspoon baking soda: Make sure it’s fresh for the best rise.
- 1 teaspoon baking powder: Again, freshness is key!
- 1 teaspoon salt: Balances out the sweetness and enhances the other flavors.
- 1 cup buttermilk: This is crucial for that “velvet” texture. If you don’t have any lemon juice, you can substitute it for 1 tablespoon of lemon vinegar.
- 1/2 cup vegetable oil: Keeps cupcakes moist and tender.
- 2 large eggs: Use room temperature eggs for better emulsification.
- Why don’t you skimp on vanilla?
- What is the best way to use white vinegar for baking?
- 1-2 teaspoons of pink food coloring. Gel food coloring works best for a vibrant color without thinning the batter.
For the Glaze:
- 4 cups powdered sugar: Sift it to avoid any lumps in your glaze.
- 1/2 cup (1 stick) unsalted butter, softened: Make sure it’s truly soften, not melted.
- 2-4 tablespoons milk: Add gradually until you reach your desired consistency.
- 1 teaspoon vanilla extract: A little extra vanilla never hurts!
- Pinch of salt: Balances out the sweetness and enhances the other flavors.
What are the steps to
Step 1: Preheat & Prep Pan
First things first, preheat your oven to 350°F (175°C). How do you line a 12-cup muffin tin with cupcake liners? I always give my liners a quick spritz with non-stick cooking spray just to be extra sure the liner is clean. Why don’t cupcakes stick?
Step 2: Mix Dry Ingredients
In a large bowl, whisk together the flour, sugar, baking powder, and salt. Set aside. Make sure everything is well combined. How do I mix baking soda and baking powder in a batter? Which is crucial for a good rise?
Step 3: Mix Wet Ingredients
In a separate bowl, whisk together the buttermilk, oil, eggs, Vanilla Extract, vinegar, and salt. Set aside. I always start with 1 teaspoon of food coloring and add more until I reach my desired shade of pink. Do cupcakes need to bake?
Step 4: Combine
Gradually add wet ingredients to dry ingredients, mixing on low speed until just combined. Be careful not to overmix! If you overmix the flour, the gluten in the cupcakes will be hard. I always stop mixing when I still see streaks of flour, then gently fold them in with a fork.
Step 5: Bake
Fill each cupcake liner about 2/3 full. I like to use an Ice Cream scoop for this – it ensures that each cupcake is the same size and bakes well. I also like using a cookie scoop.
Step 6: Bake
Bake for 18-20 minutes, or until toothpick inserted into the center comes out clean. Keep a close eye on them towards the end of the baking time – ovens can vary, and you don’t want to ruin them.
Step 7: Cool & Glaze
Let the cupcakes cool in the muffin tin for a few minutes before transferring them to an airtight container. Is it cool to I always wait until they’re completely cool before glazing – otherwise, the glaze will melt right away.
Step 8: Prepare Glaze
While cupcakes are cooling, prepare the glaze. In a large bowl, beat the butter and sugar until light and fluffy. Set aside. Gradually add the milk and Vanilla Extract, beating until smooth and creamy. If the glaze is too thick, add a little more milk. If it’s too thin, add a little more powdered sugar.
Step 9: Slice & Serve
Once the cupcakes are completely cool, spread the glaze evenly over the tops. You can pipe the glaze on for a more elegant look. I sometimes like to sprinkle the cupcakes with pink sprinkles for extra flair. Enjoy! Can I make these on the same day?
What should I serve it with?
What are some good ways to make Pink Velvet Cupcakes? What is the next step?
For Breakfast: Pair them with a strong cup of coffee or a latte. The sweetness of the cupcake is a perfect complement to the bitterness of the coffee.
For Brunch: Arrange them on a tiered cake stand for an elegant presentation. Serve them with mimosas or sparkling cider for a festive touch.
As Dessert: Serve them after a light meal, like salad or soup. They’re the perfect sweet ending to a satisfying dinner.
For Cozy Snacks: Enjoy them with a glass of milk or a cup of tea. They’re the ultimate comfort food for a cozy night in.
My family tradition is to have these with a scoop of vanilla Ice Cream. It’s a classic combination that never fails to please. And for a really special treat, try drizzling them with a little bit of raspberry sauce!
Top Tips for Perfecting Your Pink Velvet Cupcakes
Over the years, I’ve learned a few tricks that make these cupcakes even better. Here are my top tips:
Mixing Advice: Don’t overmix the batter! This is the most important tip. Overmixing develops the gluten in the flour, which can result in tough cupcakes. Mix until just combined, and then gently fold in any remaining streaks of flour.
Ingredient Swaps: If you don’t have buttermilk, you can make a substitute by adding 1 tablespoon of lemon juice or vinegar to a cup of milk. Let it sit for a few minutes until it thickens, and then use it in the recipe.
Baking Tips: Keep a close eye on the cupcakes towards the end of the baking time. Ovens can vary, and you don’t want to overbake them. They’re done when a toothpick inserted into the center comes out clean.
Glaze Variations: For a richer glaze, use Cream Cheese instead of butter. This will give the glaze a tangier flavor and a smoother texture. You can also add different extracts to the glaze, like almond or lemon, for a unique twist.
Food Coloring: Gel food coloring works best for a vibrant color without thinning the batter. I usually use 1-2 teaspoons, but you can adjust the amount to achieve your desired shade of pink.
Vanilla Extract: Don’t skimp on the vanilla! It adds so much flavor to the cupcakes. I always use pure vanilla extract, not imitation.
I’ve learned that a slightly underbaked cupcake is always better than an overbaked one. They’ll continue to bake as they cool, so it’s better to err on the side of caution.
Storing and Reheating Tips
Want to enjoy these cupcakes for days to come? Here’s How to store them:
Room Temperature: Store the cupcakes in an airtight container at room temperature for up to 2 days. Make sure the container is tightly sealed to prevent them from drying out.
Refrigerator Storage: For longer storage, store the cupcakes in an airtight container in the refrigerator for up to 5 days. Let them come to room temperature before serving for the best flavor and texture.
Freezer Instructions: You can also freeze the cupcakes for up to 2 months. Wrap them individually in plastic wrap and then place them in a freezer-safe bag or container. Thaw them in the refrigerator overnight before serving.
Glaze Timing Advice: I always recommend glazing the cupcakes right before serving for the best flavor and appearance. If you’re storing them, you can glaze them before or after storing, but keep in mind that the glaze may soften or melt if stored at room temperature.
I’ve found that freezing the cupcakes without the glaze and then adding it after thawing is the best way to preserve their flavor and texture.
Frequently Asked Questions
Final Thoughts
So there you have it – my absolute favorite Pink Velvet Cupcakes Recipe! These little cakes are more than just a dessert; they’re a burst of joy in every bite. The vibrant color, the delicate flavor, and the incredibly soft texture make them truly special. And the best part? They’re so easy to make, you can whip them up anytime you’re craving a sweet treat. If you love this recipe, be sure to check out my other cupcake creations. Happy baking, and I can’t wait to hear how yours turn out! Don’t forget to leave a comment and rating below, and share your own variations – I’m always looking for new ideas!
Pink Velvet Cupcakes
Ingredients
Main Ingredients
- 1.75 cups All-purpose flour Sifted
- 1.5 cups Granulated sugar
- 0.25 cup Unsweetened cocoa powder
- 1 tsp Baking soda
- 0.5 tsp Baking powder
- 0.5 tsp Salt
- 1 cup Buttermilk
- 0.5 cup Vegetable oil
- 2 large Eggs
- 1 tsp Vanilla extract
- 1 tsp White vinegar
- 1 oz Red food coloring
Cream Cheese Frosting
- 8 oz Cream cheese Softened
- 0.5 cup Unsalted butter Softened
- 3 cups Powdered sugar
- 1 tsp Vanilla extract
Instructions
Preparation Steps
- Preheat oven to 350°F (175°C). Line a cupcake pan with cupcake liners.
- In a large bowl, whisk together flour, sugar, cocoa powder, baking soda, baking powder, and salt.
- In a separate bowl, combine buttermilk, oil, eggs, vanilla extract, vinegar, and red food coloring. Mix well.
- Gradually add the wet ingredients to the dry ingredients, mixing until just combined. Do not overmix.
- Fill cupcake liners about 2/3 full.
- Bake for 18-20 minutes, or until a toothpick inserted into the center comes out clean.
- Let cupcakes cool in the pan for a few minutes before transferring them to a wire rack to cool completely.
- While cupcakes are cooling, prepare the cream cheese frosting. In a large bowl, beat cream cheese and butter until smooth and creamy.
- Gradually add powdered sugar, beating until smooth. Stir in vanilla extract.
- Once cupcakes are completely cool, frost with cream cheese frosting.
Notes
Featured Comments
“Impressed! Clear steps and family favorite results. Perfect for busy nights.”
“New favorite here — so flavorful. crowd-pleaser was spot on.”
“Super easy and turned out amazing! My family asked for seconds. Saving this one.”
“This sweet treat was absolutely loved — the rich really stands out. Thanks!”
“Made it tonight and wow — spot on! Will definitely make Pink Velvet Cupcakes: 5 Reasons They’re Your Next Sweet Obsession! again.”
“Packed with flavor and so simple. Exactly what I wanted from Pink Velvet Cupcakes: 5 Reasons They’re Your Next Sweet Obsession!.”


