

Decadent Red Velvet Cheesecake Bars
Hey there, sweet tooth friends! If you’re anything like me, you constantly find yourself torn between two dessert table classics: a rich, cocoa-infused red velvet cake and a creamy, tangy slice of New York-style cheesecake. Well, what if I told you that you don’t have to choose anymore? Today, I’m sharing my absolute favorite recipe for Red Velvet Cheesecake Bars.
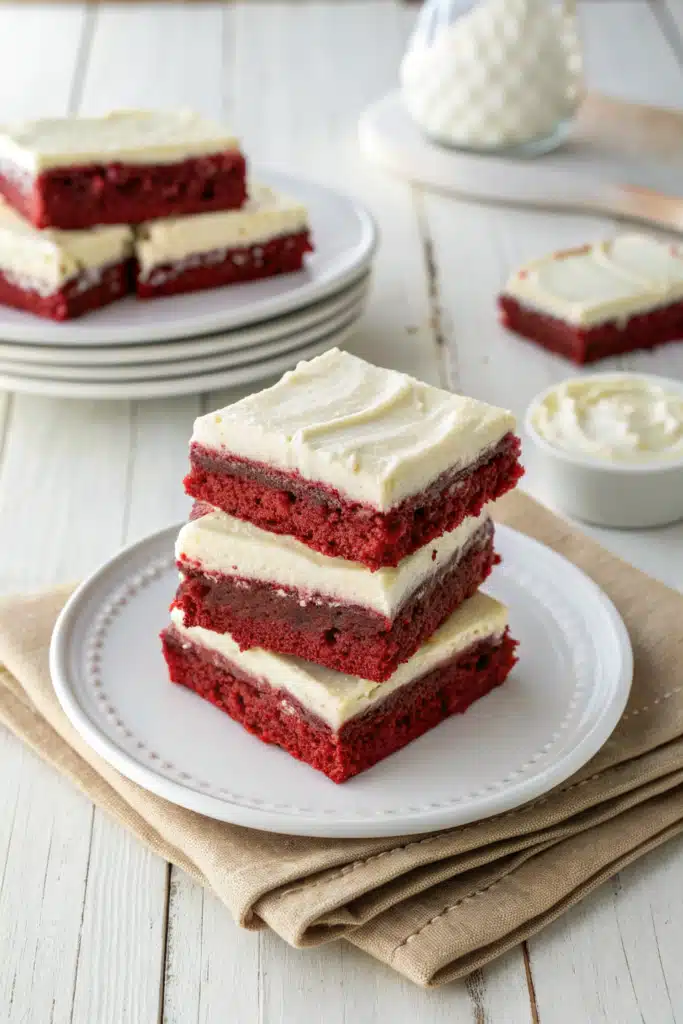
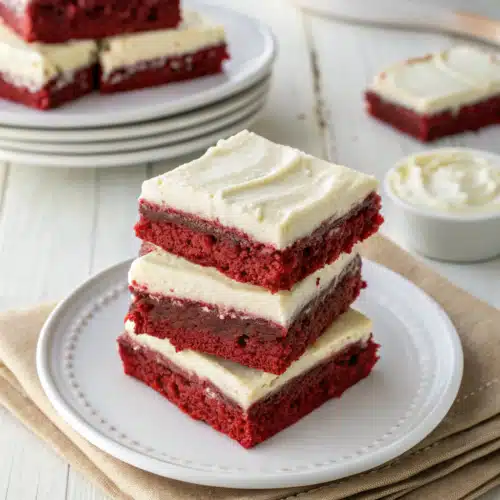
These little squares of heaven are the ultimate dessert mashup. Imagine a dense, fudgy red velvet brownie base topped with a luscious, melt-in-your-mouth cheesecake swirl. They are visually stunning with that vibrant red and stark white contrast, making them the perfect showstopper for Valentine’s Day, holiday parties, or honestly, just a random Tuesday when you need a serious pick-me-up. I’ve been making these for my family for years, and they disappear faster than I can cut them. Grab your apron and your favorite mixing bowl, because we are about to bake up some serious magic together.
What Are Red Velvet Cheesecake Bars?
So, what exactly are Red Velvet Cheesecake Bars? Think of them as the beautiful lovechild of a classic red velvet cake and a rich cheesecake, baked together into a convenient, handheld treat. The bottom layer is a chewy, brownie-like red velvet blondie. It has that signature hint of cocoa powder, a splash of vanilla, and the iconic bright red hue that makes red velvet so incredibly special.
Instead of a traditional cream cheese frosting sitting on top, we bake a thick, sweet, and tangy cheesecake layer right into the batter. By swirling the two mixtures together before baking, you get a gorgeous marbled effect that looks like it came straight from a fancy bakery. But the secret? They are unbelievably simple to make from scratch. No water baths, no springform pans, and no worrying about your cheesecake cracking. You get all the luxurious flavors and textures of two complex desserts in one easy-to-bake pan.
How to Make Red Velvet Cheesecake Bars
Quick Overview
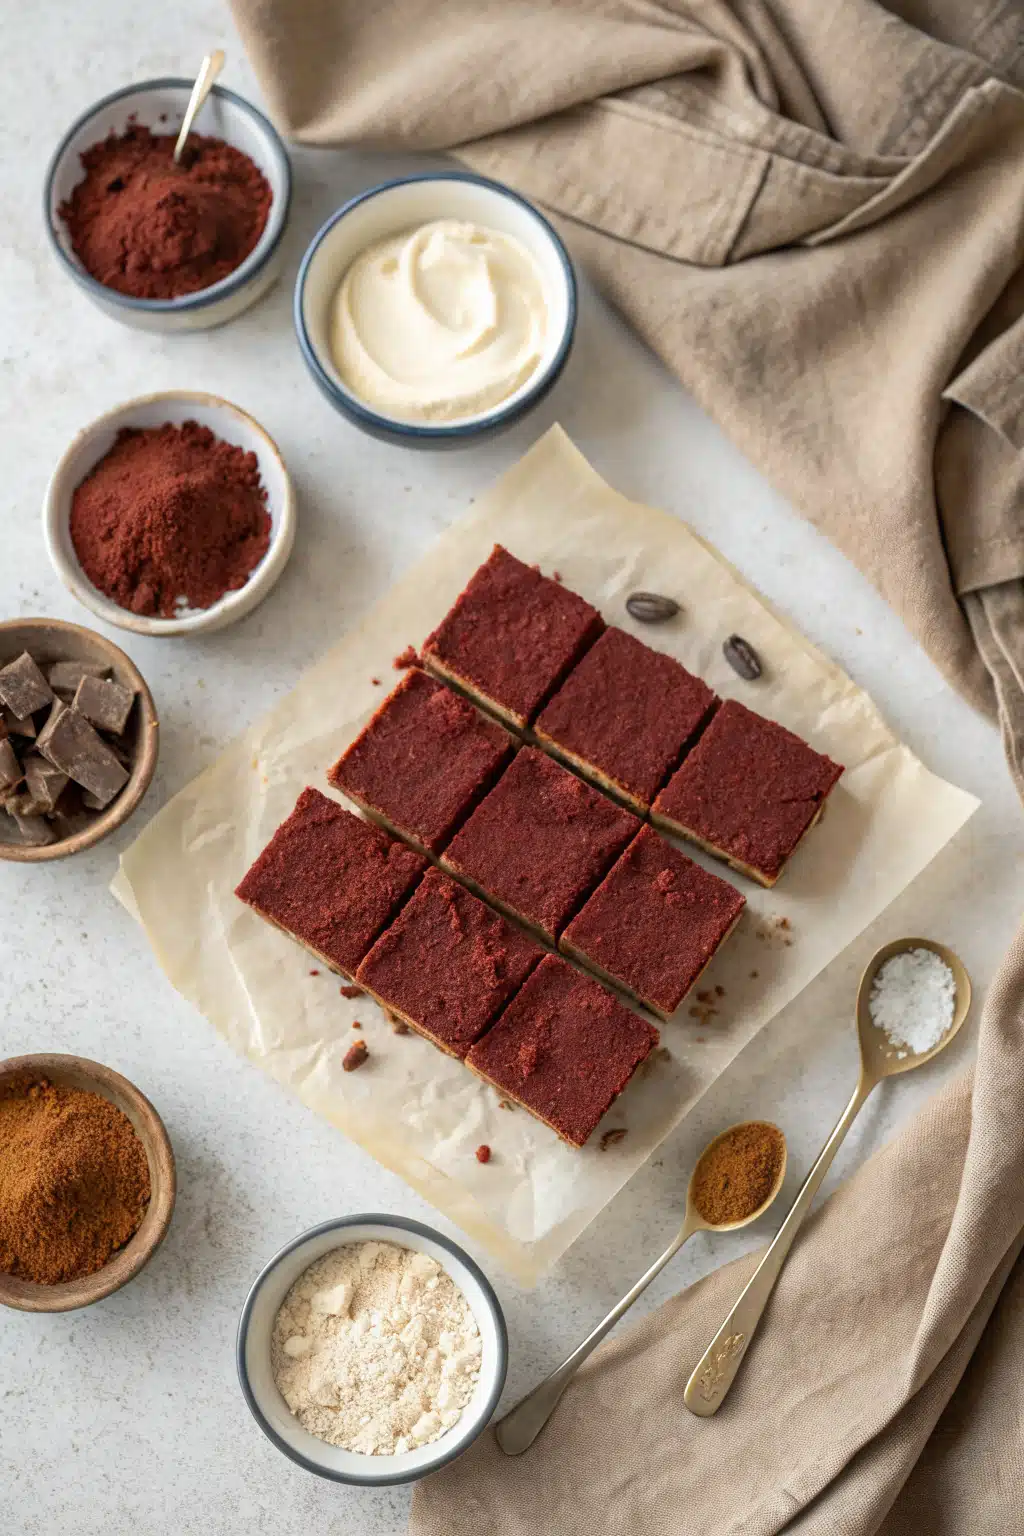
Making these Red Velvet Cheesecake Bars is a total breeze. We’ll start by mixing up a simple, one-bowl red velvet batter that’s rich in butter and cocoa. Then, we’ll quickly whip up a creamy cheesecake filling. We’ll pour most of the red velvet batter into a lined pan, spread the cheesecake mixture over the top, and drop dollops of the remaining red velvet batter right on top. A quick swirl with a knife creates that beautiful marbled look. Bake until set, chill to let the flavors meld, and you’re ready to slice and serve!
Ingredients
For the Red Velvet Layer:
- 1/2 cup unsalted butter, melted
- 1 cup granulated sugar
- 2 large eggs
- 1 teaspoon vanilla extract
- 1 tablespoon red food coloring
- 1 1/4 cups all-purpose flour
- 3 tablespoons unsweetened cocoa powder
- 1/4 teaspoon salt
For the Cheesecake Swirl:
- 8 oz cream cheese, softened to room temperature
- 1/3 cup granulated sugar
- 1 large egg
- 1/2 teaspoon vanilla extract
Step-by-Step Instructions
Step 1: Preheat & Prep Pan
Preheat your oven to 350°F (175°C). Line an 8×8 or 9×9-inch square baking pan with parchment paper, leaving a little overhang on the sides. This makes it so much easier to lift the bars out later.
Step 2: Mix the Red Velvet Wet Ingredients
In a large bowl, whisk together the melted butter and sugar until smooth. Add the eggs, vanilla extract, and red food coloring. Whisk vigorously until the mixture is bright red and well combined.
Step 3: Add the Dry Ingredients
Gently fold in the flour, cocoa powder, and salt. Stir just until no flour streaks remain. Don’t overmix, or your bars will be tough! Scoop out about 1/4 cup of this batter and set it aside for the swirl on top. Spread the rest of the batter evenly into your prepared pan.
Step 4: Make the Cheesecake Filling
In a separate medium bowl, beat the softened cream cheese and sugar together until completely smooth and creamy. Beat in the egg and vanilla extract until just combined.
Step 5: Layer and Swirl
Pour the cheesecake mixture evenly over the red velvet base in the pan. Take the 1/4 cup of reserved red velvet batter and drop small spoonfuls of it over the cheesecake layer. Take a butter knife or a toothpick and gently drag it through the dollops to create a beautiful swirled pattern.
Step 6: Bake and Chill
Bake for 28-32 minutes, or until the cheesecake layer is set and the edges are slightly puffed. Let the bars cool completely in the pan at room temperature, then transfer them to the fridge to chill for at least 2 hours before slicing. This chilling step is crucial for clean slices!
What to Serve It With
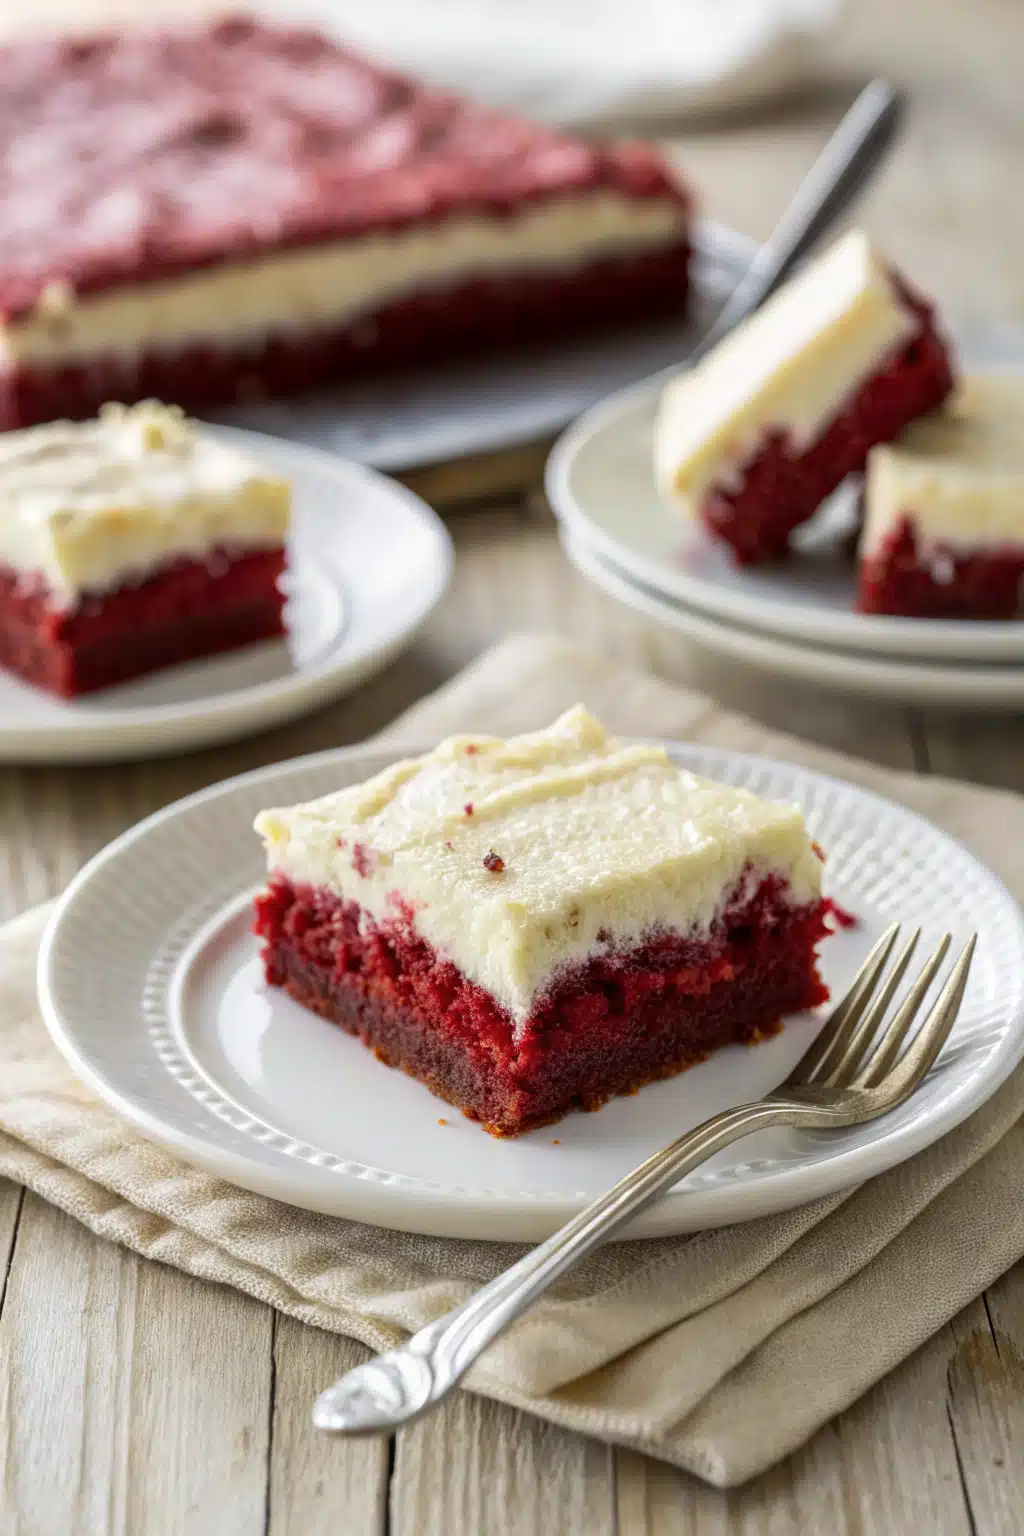
These Red Velvet Cheesecake Bars are incredibly rich on their own, so I usually keep the pairings pretty simple. A tall, ice-cold glass of milk or a hot cup of black coffee is absolute perfection, as the bitterness of the coffee beautifully balances the sweetness of the cheesecake layer.
If you’re serving these at a dinner party and want to plate them up like a fancy restaurant dessert, try serving a square alongside a scoop of vanilla bean ice cream. A tiny drizzle of hot fudge or a light dusting of powdered sugar right before serving also adds a lovely touch. Fresh berries, like raspberries or sliced strawberries, make a wonderful garnish that complements the tangy cream cheese perfectly.
Top Tips for Perfecting Your Red Velvet Cheesecake Bars
Want to make sure these come out flawless on the very first try? Here are my holy grail baking tips:
- Room Temperature Cream Cheese: This is non-negotiable! If your cream cheese is cold, your cheesecake layer will be lumpy. Leave it on the counter for a couple of hours before you start baking.
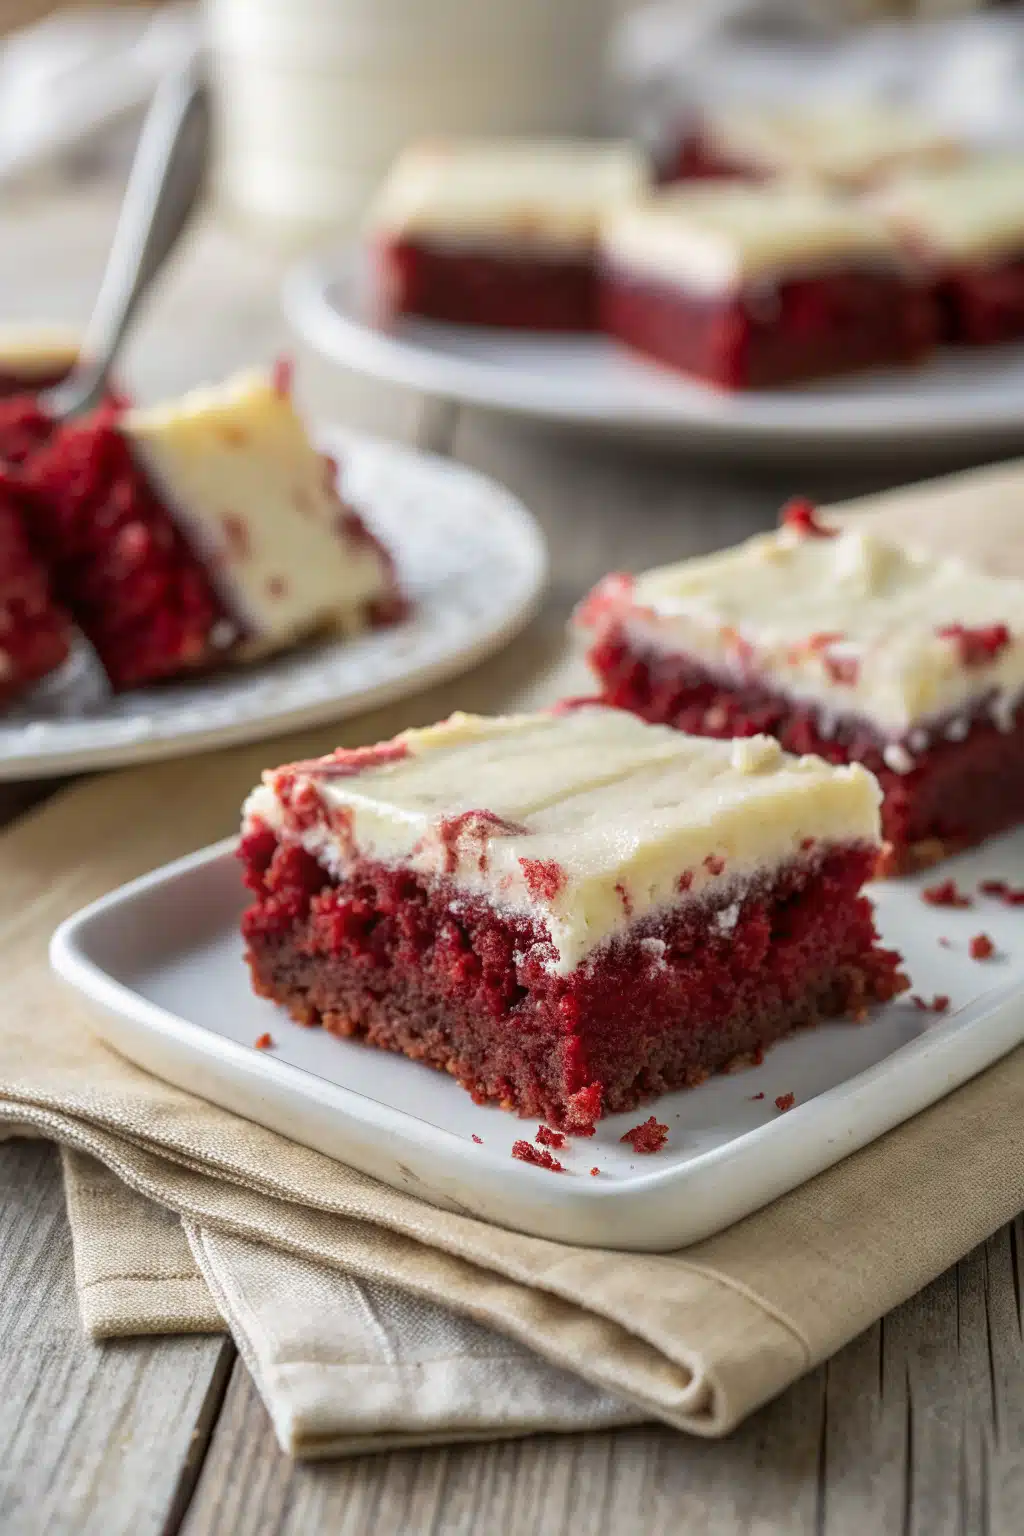
- Don’t Over-swirl: When creating your marbled top, less is more. If you drag your knife through the batter too many times, the colors will muddy together and turn pink instead of maintaining that striking red and white contrast.
- Gel Food Coloring: If you have it, use gel food coloring instead of liquid drops. It’s much more vibrant, so you won’t need to use as much to achieve that gorgeous deep red color without altering the batter’s consistency.
- Patience is Key: I know it’s tempting to dig in as soon as they come out of the oven, but these bars absolutely must chill. The cheesecake needs time to set up in the fridge so you get those gorgeous, clean cuts.
Storing and Reheating Tips
Because of the cream cheese layer, these bars need to be kept in the refrigerator. Store any leftover Red Velvet Cheesecake Bars in an airtight container in the fridge for up to 5 days. Honestly, they actually taste even better on the second day when the flavors have had time to deeply mingle!
If you want to freeze them, you absolutely can. Wrap individual slices tightly in plastic wrap, then place them in a freezer-safe zip-top bag. They will keep in the freezer for up to 3 months. When you’re ready for a sweet treat, just let a bar thaw in the fridge overnight. I love eating them straight out of the fridge while they’re nice and cold, but if you prefer them closer to room temperature, just let your slice sit on the counter for about 15 minutes before taking a bite.
Frequently Asked Questions
Final Thoughts
There you have it—my absolute favorite way to satisfy both a chocolate and a cheesecake craving all at once. These Red Velvet Cheesecake Bars are decadent, beautiful, and deceptively easy to whip up. Whether you are baking them for a special someone on Valentine’s Day, bringing them to a neighborhood potluck, or just treating yourself on a cozy weekend in, I promise they will be a massive hit.
Baking is all about sharing love, and there’s a whole lot of love packed into these vibrant little squares. I can’t wait for you to try them in your own kitchen. If you give this recipe a go, be sure to leave a comment and let me know how they turned out for you. Happy baking, friends!
Red Velvet Cheesecake Bars
Ingredients
Red Velvet Batter
- 0.5 cup unsalted butter melted
- 1 cup granulated sugar
- 1 teaspoon vanilla extract
- 0.25 cup unsweetened cocoa powder
- 0.125 teaspoon salt
- 1 tablespoon red food coloring
- 1 teaspoon white vinegar
- 2 large eggs
- 1 cup all-purpose flour
Cheesecake Batter
- 16 oz cream cheese softened
- 0.5 cup granulated sugar
- 1 teaspoon vanilla extract
- 2 large eggs
Instructions
Preparation Steps
- Preheat oven to 350°F (175°C). Line an 8x8-inch baking pan with parchment paper, leaving an overhang on the sides for easy removal.
- In a large bowl, whisk together the melted butter and 1 cup of sugar. Stir in 1 teaspoon of vanilla extract, cocoa powder, salt, red food coloring, and white vinegar until well combined.
- Whisk in 2 eggs for the red velvet batter, one at a time, until the batter is smooth. Gently fold in the all-purpose flour until just combined.
- Reserve 0.25 cup of the red velvet batter for swirling later. Pour the remaining batter into the prepared baking pan and spread it into an even layer.
- In a separate medium bowl, beat the softened cream cheese and 0.5 cup of sugar together until smooth and creamy. Beat in 1 teaspoon of vanilla extract and 2 eggs until just combined.
- Pour the cheesecake batter evenly over the red velvet layer in the pan.
- Drop small spoonfuls of the reserved red velvet batter over the top of the cheesecake layer. Use a knife or toothpick to swirl the red batter into the cheesecake to create a marbled effect.
- Bake for 30-35 minutes, or until the cheesecake is set around the edges but slightly jiggly in the center.
- Allow the bars to cool completely in the pan on a wire rack, then refrigerate for at least 2 hours before cutting into squares and serving.
Notes
Featured Comments
“I love red velvet flavor combined with cheesecake—this sounds absolutely irresistible! Can't wait to try it.”
“These sound absolutely irresistible — red velvet and cheesecake? Yes, please! Can't wait to try this recipe.”
“Impressed! Clear steps and quick weeknight win results. Perfect for busy nights.”
“New favorite here — restaurant-level. crowd-pleaser was spot on.”
“Super easy and turned out amazing! My family asked for seconds. Saving this one.”
“This sweet treat was absolutely loved — the fresh really stands out. Thanks!”


These sound absolutely irresistible — red velvet and cheesecake? Yes, please! Can’t wait to try this recipe.
I love red velvet flavor combined with cheesecake—this sounds absolutely irresistible! Can’t wait to try it.