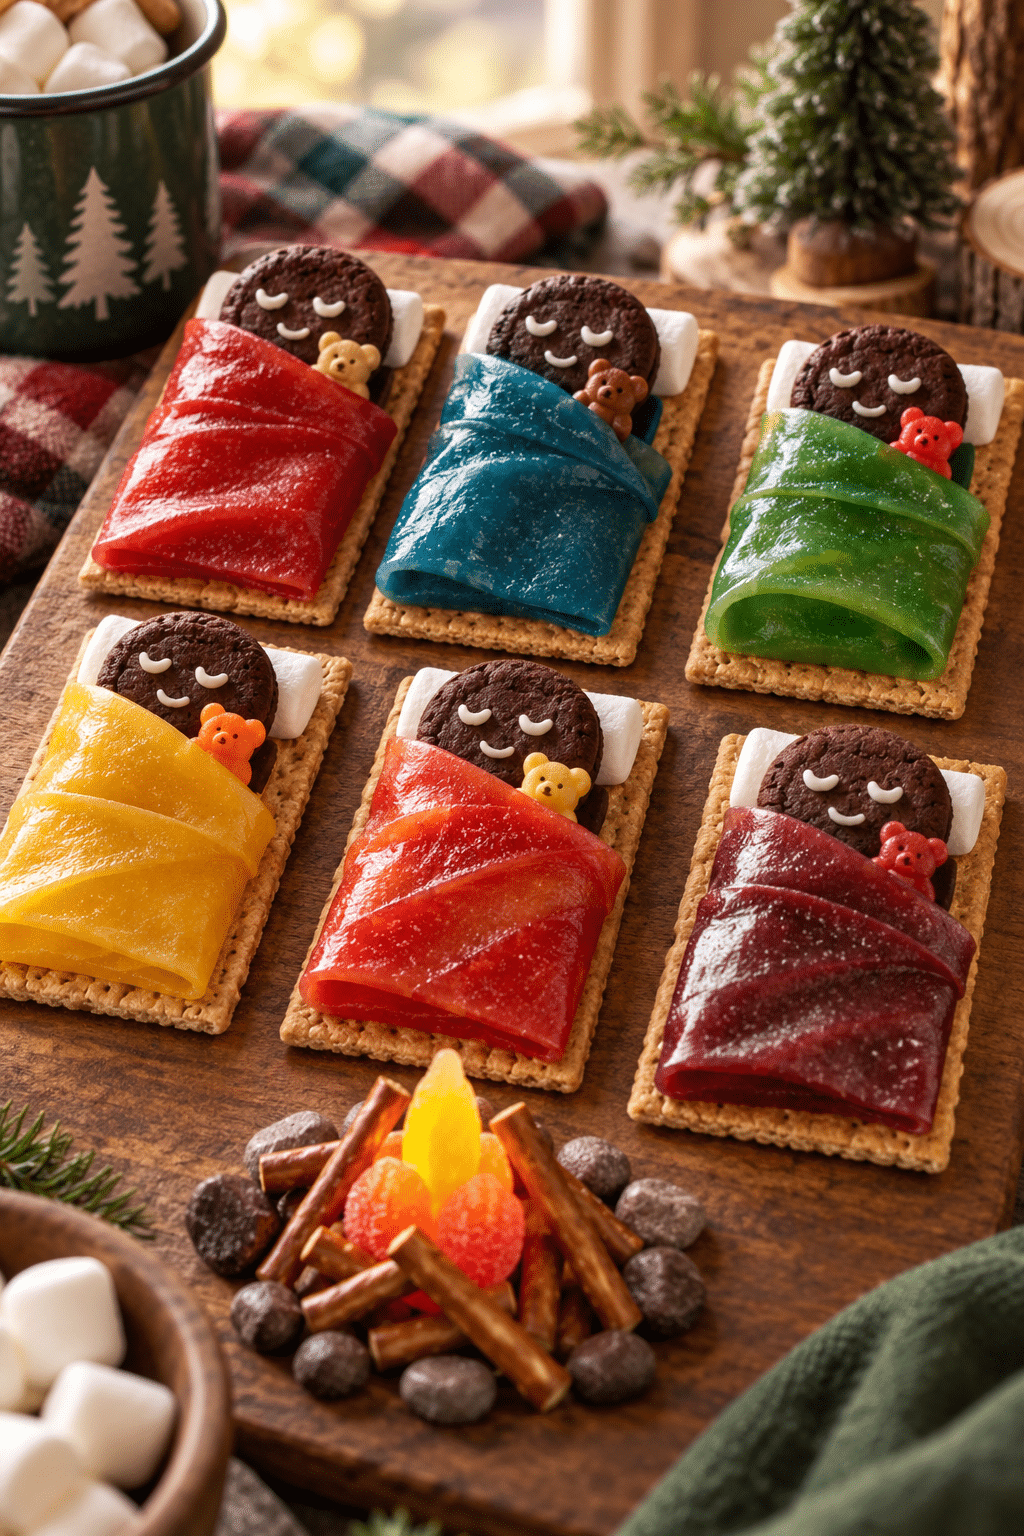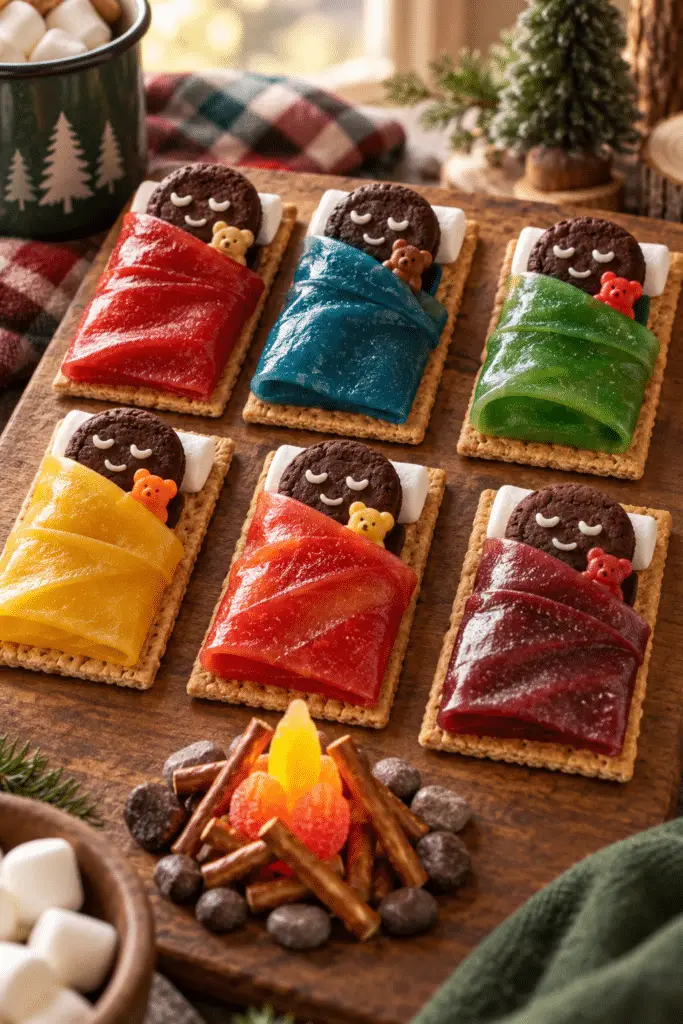
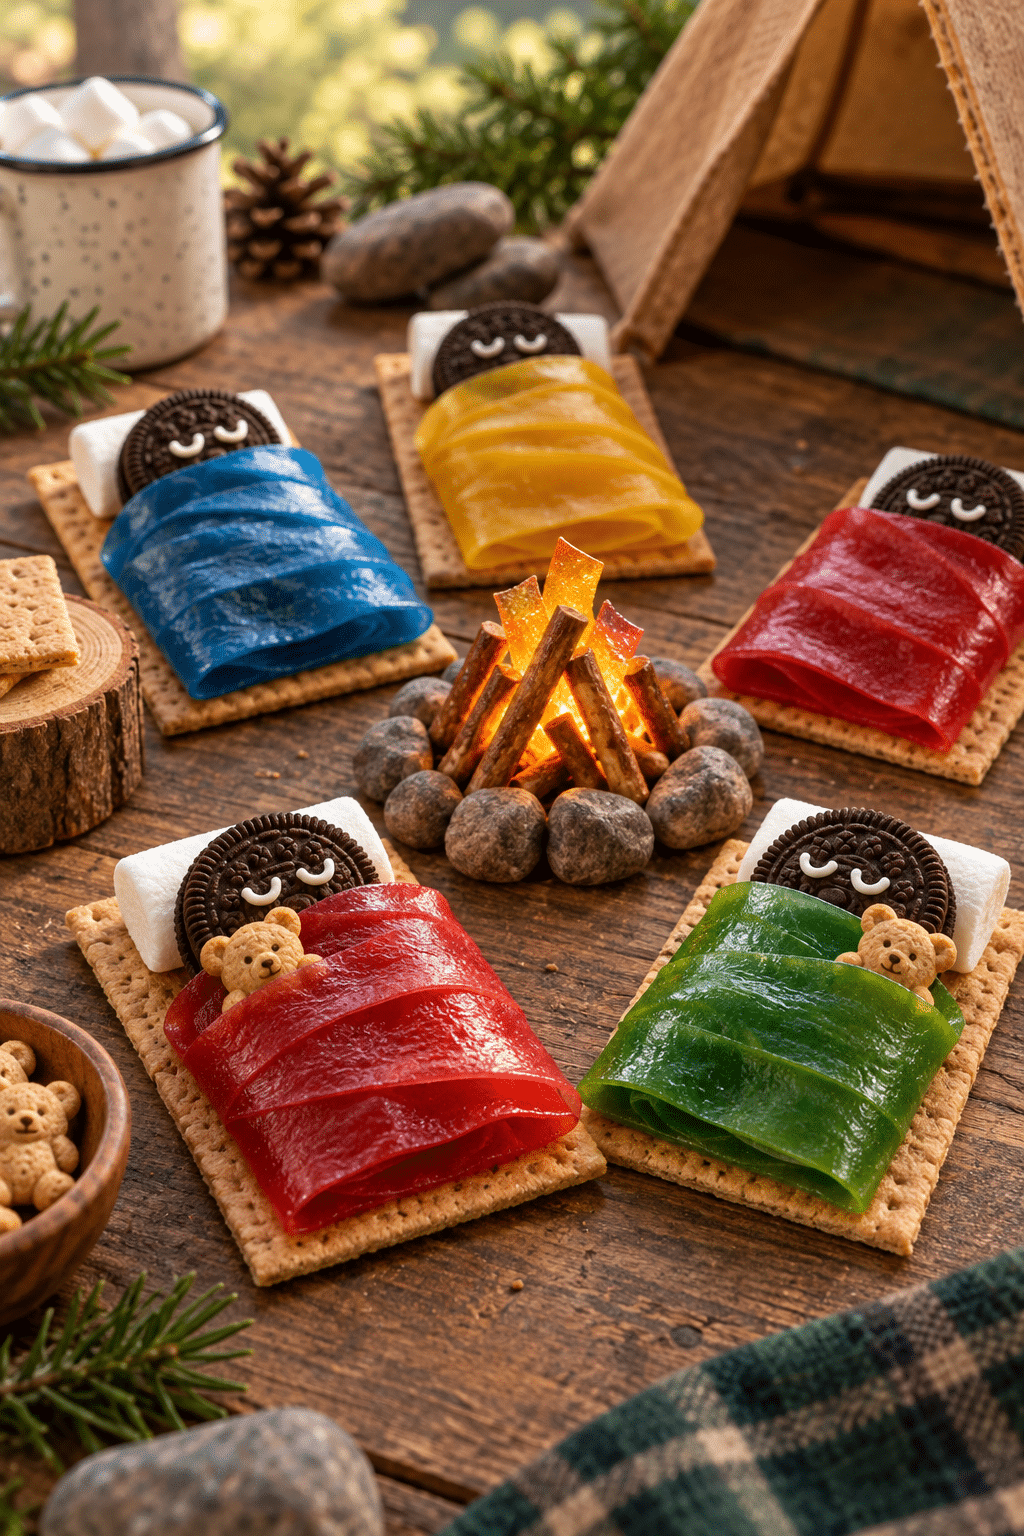
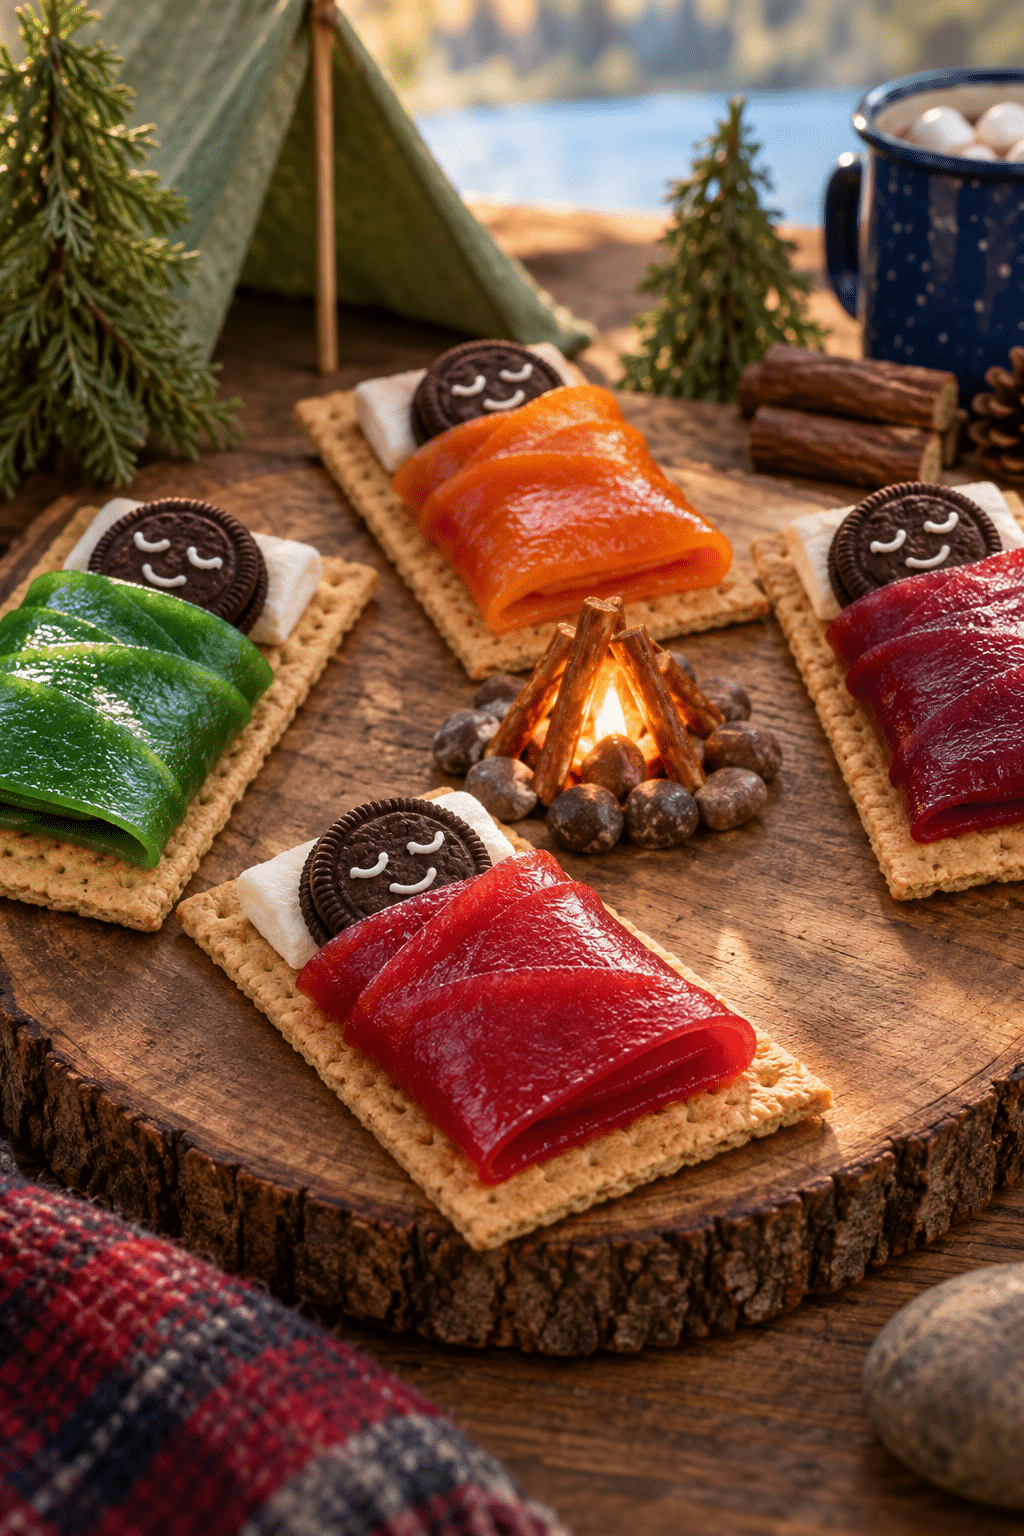
Sleeping bag snacks turn a few familiar treats into a playful party bite that children can assemble or discover at a sleepover. Each graham cracker becomes a tiny bed, a chocolate sandwich cookie becomes the sleeping camper, and a strip of fruit roll wraps around it like a colorful blanket. The assembly is no-bake, quick, and easy to scale, so you can prepare a tray for a birthday table without heating the kitchen.
What are sleeping bag snacks?
These are decorated graham-cracker treats built around a cookie “camper.” Peanut butter helps anchor the pieces while adding a nutty layer beneath the chocolate cookie. A Fruit Roll supplies the bright sleeping bag, and optional candy details give each snack a little personality. Because the crackers stay crisp, assemble them close to serving time or chill them briefly if you want the fruit roll to hold its shape.
Why this easy party snack works
The contrast makes the idea appealing: crisp cracker, creamy peanut butter, chewy fruit candy, and chocolate cookie in one small bite. It also has a useful party advantage. There is no oven, stovetop, or complicated decorating technique. Adults can cut the fruit rolls while children arrange the campers and add details. If allergies are a concern, use sunflower-seed butter and check every package label.
How to make sleeping bag snacks
Ingredients
- 12 graham crackers, broken into rectangles
- 12 small chocolate sandwich cookies
- 12 Welch’s Fruit Rolls, cut into sleeping-bag shapes
- 1/2 cup smooth peanut butter
- 1/4 cup melted white candy melts, optional
- 24 mini candy eyes, optional
Assembly method
- Line a tray with parchment and arrange the graham crackers in a single layer.
- Line a tray with parchment and arrange the graham crackers in a single layer.
- Spread a thin layer of peanut butter over each cracker, leaving a small border.
- Place one cookie near the top of each cracker to form the sleeping face.
- Wrap a cut Fruit Roll around the lower portion of each cookie, pressing gently so it sticks to the peanut butter.
- Add melted candy details or tiny eyes if desired, then chill for 10 minutes to set.
Serving ideas
Arrange the finished snacks on a tray beside bowls of popcorn, fruit, and pretzels for a sleepover buffet. For a camping theme, place them on a dark platter with paper “campfire” decorations. They are also a practical classroom or birthday treat when individually wrapped after the candy details set.
Tips and an optional variation
Cut the Fruit Rolls with a small knife or kitchen shears and keep the pieces slightly larger than the cookie so the blanket looks generous. A thin peanut-butter layer is enough; too much can make the cracker difficult to pick up. Work on parchment so the candy does not stick to the counter.
Optional variation: replace the chocolate sandwich cookie with a mini vanilla cookie and use colored candy melts to create different blanket patterns. For a nut-free version, use sunflower-seed butter or a thick cookie icing that sets firm.
Storage and serving
Keep the snacks in a single layer in an airtight container at cool room temperature for the same day. If the room is warm, refrigerate them briefly, but let them sit for a few minutes before serving so the cracker and peanut butter are not overly firm. Avoid stacking until the decorative candy has completely set.
More serving and planning notes
For a larger group, prepare the crackers and cut the fruit rolls before guests arrive, then let each child build one snack. A tray of twelve is enough for a small sleepover dessert table, while a double batch can become a craft-style activity. Keep the decoration simple when little hands are helping. The camper only needs a cookie, a blanket, and a cracker bed to read clearly.
Texture is easiest to manage when the peanut butter is spread thinly and the fruit roll is pressed down just enough to adhere. If the candy feels stiff, let it sit at room temperature for a few minutes before cutting. If it feels sticky, work on parchment and use separate pieces rather than trying to pull one long strip around every cracker.
How to customize the party tray
Use several blanket colors to create a cheerful row of campers. Small bowls of sprinkles, edible pearls, or melted candy can supply optional details, but avoid heavy decorations that make the snacks hard to pick up. A handwritten label can explain the nut-free substitution when needed, and individual paper liners make serving cleaner.
What to prepare before guests arrive
Set out a lined tray, a small spreading knife, pre-cut fruit-roll blankets, and the cookies in separate bowls. An adult can handle candy melting while children do the arranging. This division keeps the activity relaxed and makes the finished snacks look consistent without turning a simple treat into a complicated baking project.
For best presentation, keep the tray away from direct sunlight and warm drinks. The cracker should remain firm, the fruit roll should stay bright, and the peanut butter should act as a soft edible glue. A short chill is useful after decorating, but extended refrigeration can make the cracker lose its ideal crispness.
Search answers
These treats are especially useful when a menu needs something sweet but the host wants to avoid another oven project. They can be matched to the party colors, portioned in advance, and finished with a simple sign explaining the sleeping-bag idea. The recipe also works as a themed snack craft because every component is recognizable and easy to handle.
When serving children, offer water or milk alongside the tray and keep the portions small. The graham cracker gives the snack structure, while the fruit roll and cookie provide plenty of sweetness. For adults, a little extra sea salt on the peanut-butter layer can create a pleasant contrast, provided the allergy and ingredient labels are clear.
Final checklist
What are easy sleepover snacks?
No-bake sleeping bag snacks, popcorn, fruit skewers, and pretzels are easy choices because they can be portioned before guests arrive.
Can children help make these treats?
Yes. An adult should handle cutting and melting, while children can spread, place, wrap, and decorate.
How far ahead can they be made?
Make them a few hours ahead and store them in a cool, dry place so the graham crackers remain crisp.
FAQs about sleeping bag snacks
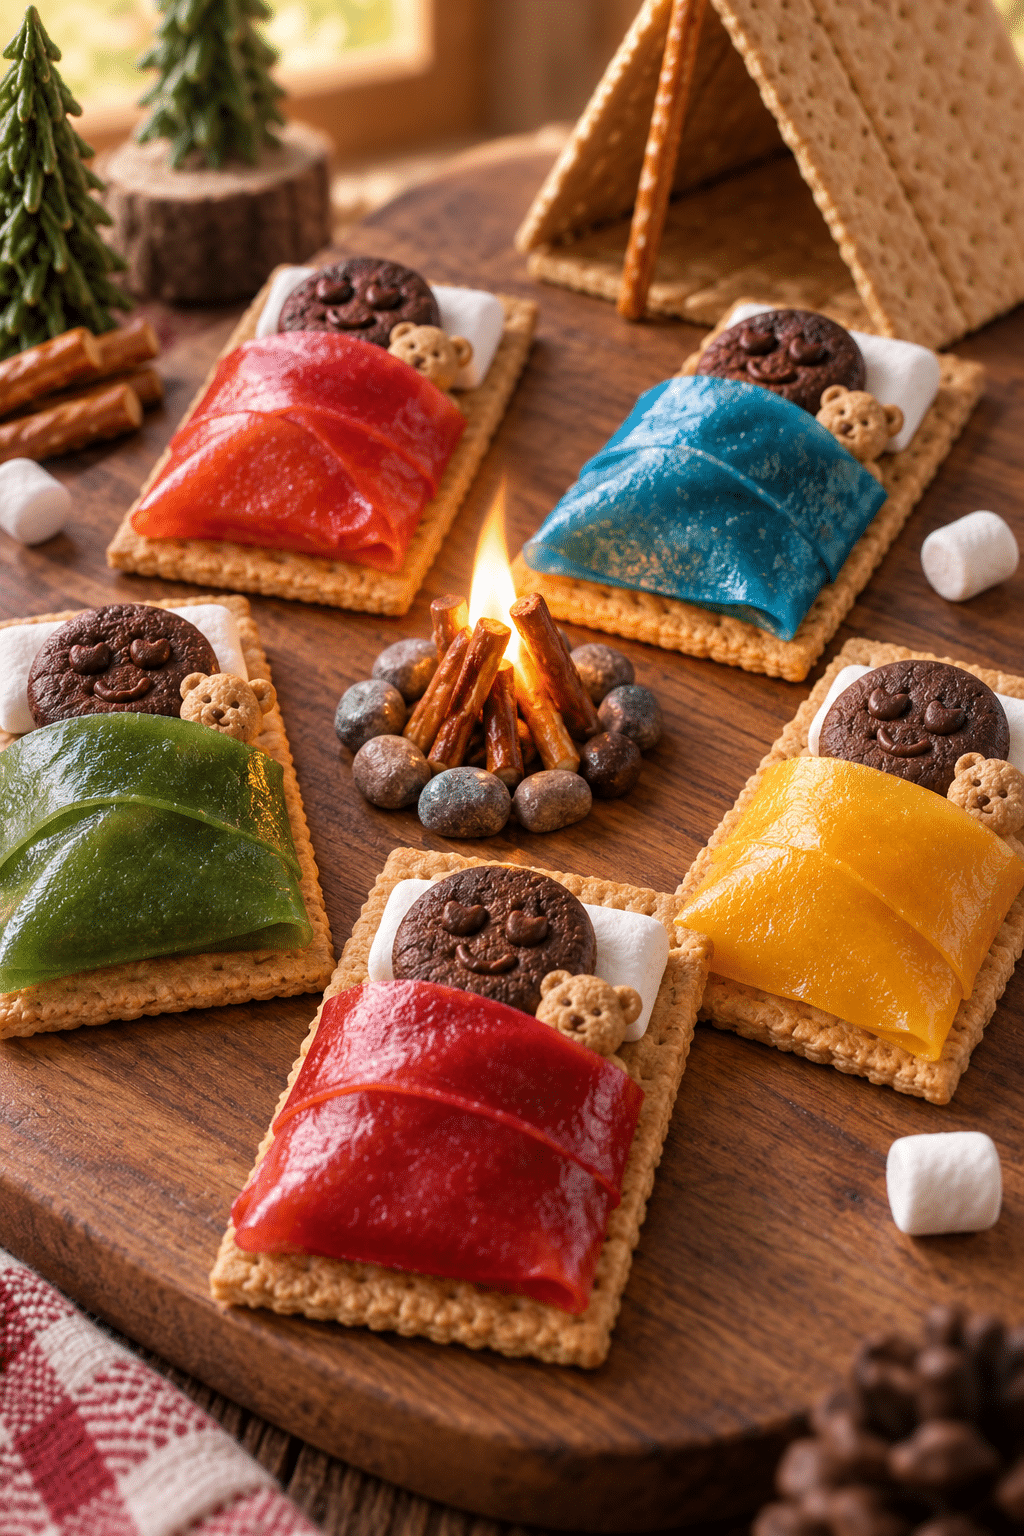
These sleeping bag snacks are a small project with a big party payoff: colorful, recognizable, and simple enough for guests to help assemble. Set out the components, let everyone choose a blanket color, and keep the finished tray cool until it is time for the first bedtime-themed bite.

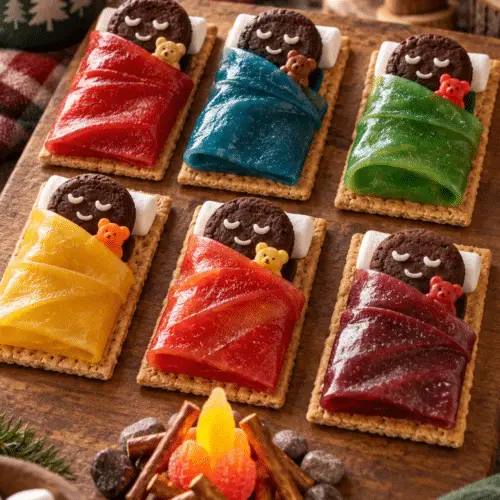
Sleeping Bag Snacks for a Fun Sleepover Party
Ingredients
Ingredients
- 12 graham crackers broken into rectangles
- 12 small chocolate sandwich cookies for the sleeping children
- 12 Welch’s Fruit Rolls cut into sleeping-bag shapes
- 1/2 cup peanut butter smooth
- 1/4 cup white candy melts melted for details
- 24 mini candy eyes optional decoration
Instructions
Instructions
- Line a tray with parchment and arrange the graham crackers in a single layer.
- Spread a thin layer of peanut butter over each cracker, leaving a small border.
- Place one cookie near the top of each cracker to form the sleeping face.
- Wrap a cut Fruit Roll around the lower portion of each cookie, pressing gently so it sticks to the peanut butter.
- Add melted candy details or tiny eyes if desired, then chill for 10 minutes to set.
Featured Comments
“Impressed! Clear steps and family favorite results. Perfect for busy nights.”
“New favorite here — comforting. crowd-pleaser was spot on.”
“Super easy and turned out amazing! My family asked for seconds. Saving this one.”
“This sweet treat was absolutely loved — the rich really stands out. Thanks!”
“Made it tonight and wow — comforting! Will definitely make Sleeping Bag Snacks for a Fun Sleepover Party again.”
“Packed with flavor and so simple. Exactly what I wanted from Sleeping Bag Snacks for a Fun Sleepover Party.”