

Okay, so you know how some recipes just feel like home? Like, the kind that instantly transport you back to your grandma’s kitchen, or that one perfect Sunday dinner where everyone was just *happy*? Well, this stuffed shells recipe? It’s that for me. Every single time. It’s one of those dishes that I can whip up when I’m feeling fancy, or when the kids are practically banging down the pantry door asking what’s for dinner and I need a serious lifesaver. Honestly, the aroma that fills the house as these bake is enough to make anyone’s day brighter. It’s that comforting, cheesy, tomatoey goodness that just screams “I love you!” This isn’t just another pasta dish; it’s a whole mood, a culinary hug that never, ever fails to impress, even my pickiest eaters. Forget those boring baked zitis, this is where it’s at!
What are stuffed shells?
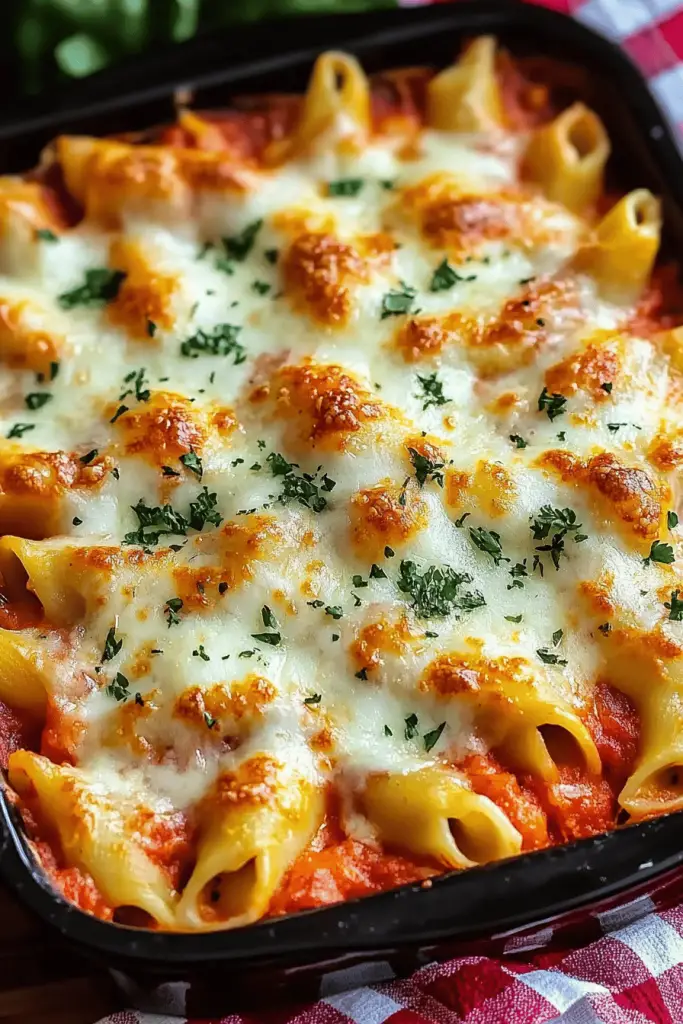
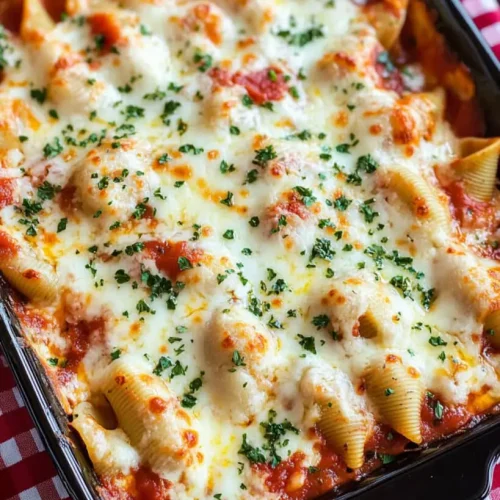
So, what exactly *are* stuffed shells? Think of them as giant pasta shells, plump and ready to be filled with all sorts of deliciousness. They’re like little edible bowls, perfectly designed to cradle a creamy, cheesy mixture, all swimming in a rich tomato sauce and baked until bubbly and golden. It’s essentially a deconstructed lasagna, but way easier to manage and, dare I say, even more fun to eat! The beauty of it is in its simplicity; you’re not rolling or layering sheets of pasta, you’re just stuffing these lovely jumbo shells with pure joy. It’s a concept that’s been around forever, comforting and satisfying, and it’s one that I’ve tweaked over the years to make it absolutely perfect for my family.
How do I make stuffed shells?
Quick Overview
This recipe is all about creating a delightful pasta dish by filling jumbo shells with a creamy ricotta mixture and baking them in a flavorful marinara sauce. You’ll boil the shells until al dente, prepare a simple yet rich filling, then stuff each shell before arranging them in a baking dish with sauce. A final bake until bubbly and golden creates a truly spectacular meal. It’s designed to be approachable for all skill levels, proving that delicious, impressive meals don’t have to be complicated.
Ingredients
For the Main Batter:
1 box (12 oz) jumbo pasta shells
1 jar (24 oz) good quality marinara sauce (I love one with chunks of tomatoes!)
1 cup shredded mozzarella cheese, plus more for topping
1/2 cup grated Parmesan cheese, plus more for topping
1 large egg, lightly beaten
1/4 cup fresh parsley, chopped
1/2 teaspoon garlic powder
Salt and freshly ground Black Pepper to taste
For the Filling:
15 oz ricotta cheese (whole milk gives the best texture, in my opinion!)
1/4 cup chopped fresh basil (optional, but highly recommended for that fresh Italian flavor)
For the Glaze:
(This isn’t a traditional glaze, but rather the cheesy topping that bakes on top!)
Step-by-Step Instructions
Step 1: Preheat & Prep Pan
First things first, let’s get that oven going. Preheat your oven to 375°F (190°C). While it’s heating up, grab a 9×13 inch baking dish. Pour about half of your jar of marinara sauce into the bottom of the dish and spread it around evenly. This is going to be the cozy bed for our shells, preventing them from sticking and adding an extra layer of flavor from the start. Don’t be shy with the sauce!
Step 2: Mix Dry Ingredients
Now, let’s cook those jumbo shells. Bring a large pot of salted water to a rolling boil. Carefully add the jumbo shells and cook them according to package directions, but aim for al dente – you want them to be tender but still have a slight bite. They’ll finish cooking in the oven. Usually, this is about 8-10 minutes. Once they’re cooked, drain them gently and rinse them with cool water. This stops the cooking process and prevents them from sticking together. Lay them out on a baking sheet or parchment paper in a single layer so they don’t clump up. This step is crucial to avoid mushy shells!
Step 3: Mix Wet Ingredients
While the shells are cooking, it’s time to whip up that glorious filling! In a medium bowl, combine the ricotta cheese, the beaten egg, chopped fresh parsley, chopped fresh basil (if using), garlic powder, 1 cup of shredded mozzarella cheese, and 1/2 cup of grated Parmesan cheese. I also like to add a little more of that fresh parsley here for bursts of green and freshness. Season generously with salt and freshly ground black pepper. Give it all a good stir until everything is well combined and creamy. Taste a little bit of the filling and adjust the seasonings if needed – it should taste delicious on its own!
Step 4: Combine
This is where the magic starts to happen! Gently mix the ricotta filling ingredients together. Don’t overmix, you just want everything to be incorporated nicely. The goal is a smooth, creamy, and cohesive filling. If it feels a little too thick, you can add a tablespoon or two of milk or even a little more marinara sauce, but I usually find it’s perfect as is. You want it to be thick enough to hold its shape when you stuff the shells, but not so stiff that it’s hard to work with.
Step 5: Prepare Filling
Here’s where the fun really begins: stuffing the shells! Take one cooked jumbo shell at a time. Using a spoon or a small piping bag (a piping bag makes this SO much easier and cleaner, honestly!), fill each shell generously with the ricotta mixture. Don’t be afraid to really pack them full – that’s where all the creamy goodness is! You should have enough filling to stuff all the shells. If you have a little leftover filling, don’t worry; you can dollop it in between the shells in the baking dish.
Step 6: Layer & Swirl
Once all your shells are stuffed, carefully arrange them in the prepared baking dish, nestled snugly into the marinara sauce. Try to arrange them in a single layer, cavity-side up. If you have any extra filling, spoon it into the gaps between the shells. Now, spoon the remaining marinara sauce over the top of the stuffed shells, ensuring they are mostly covered. Finally, sprinkle the tops of the shells generously with any remaining mozzarella and Parmesan cheese. This is going to create that irresistible cheesy crust when it bakes!
Step 7: Bake
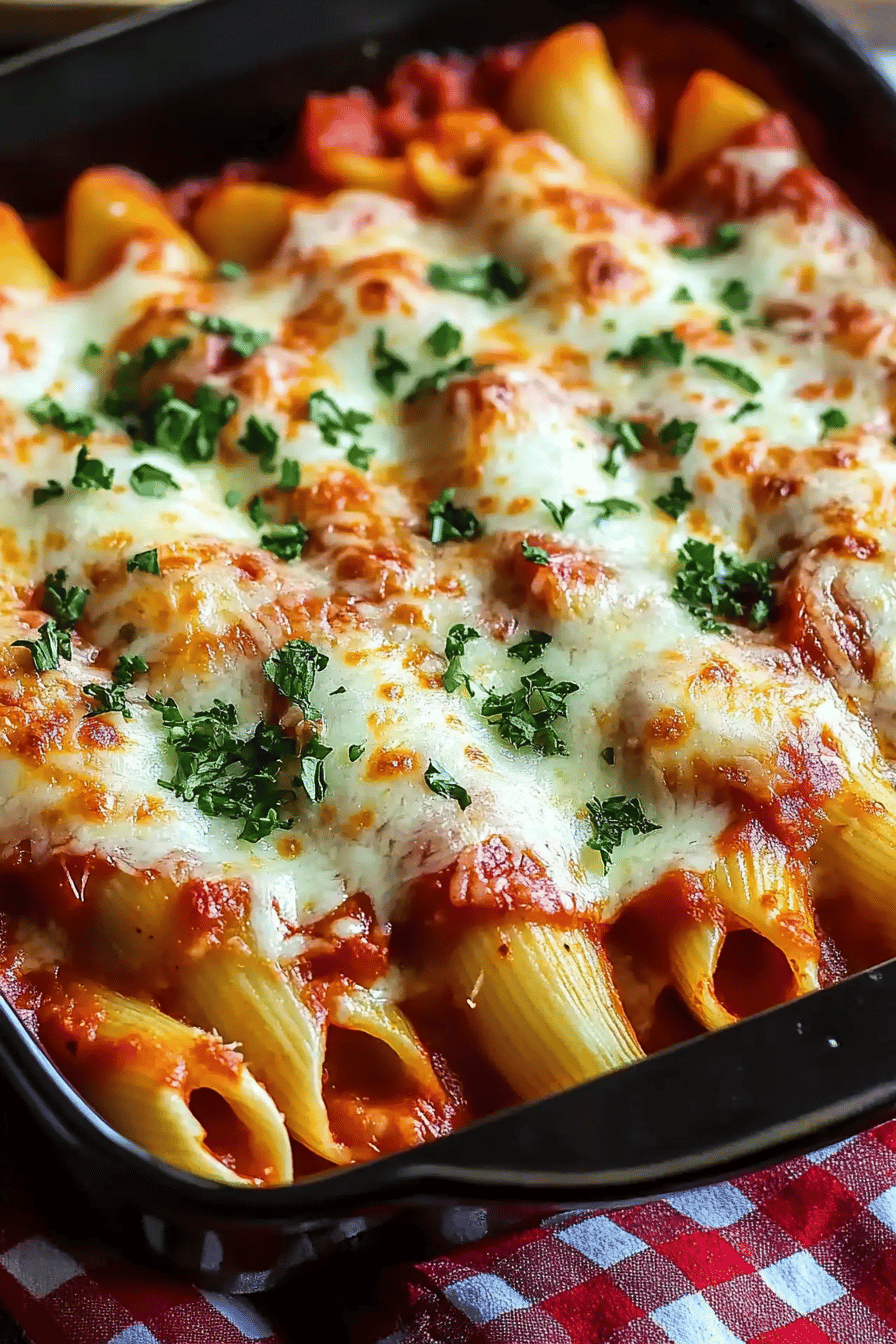
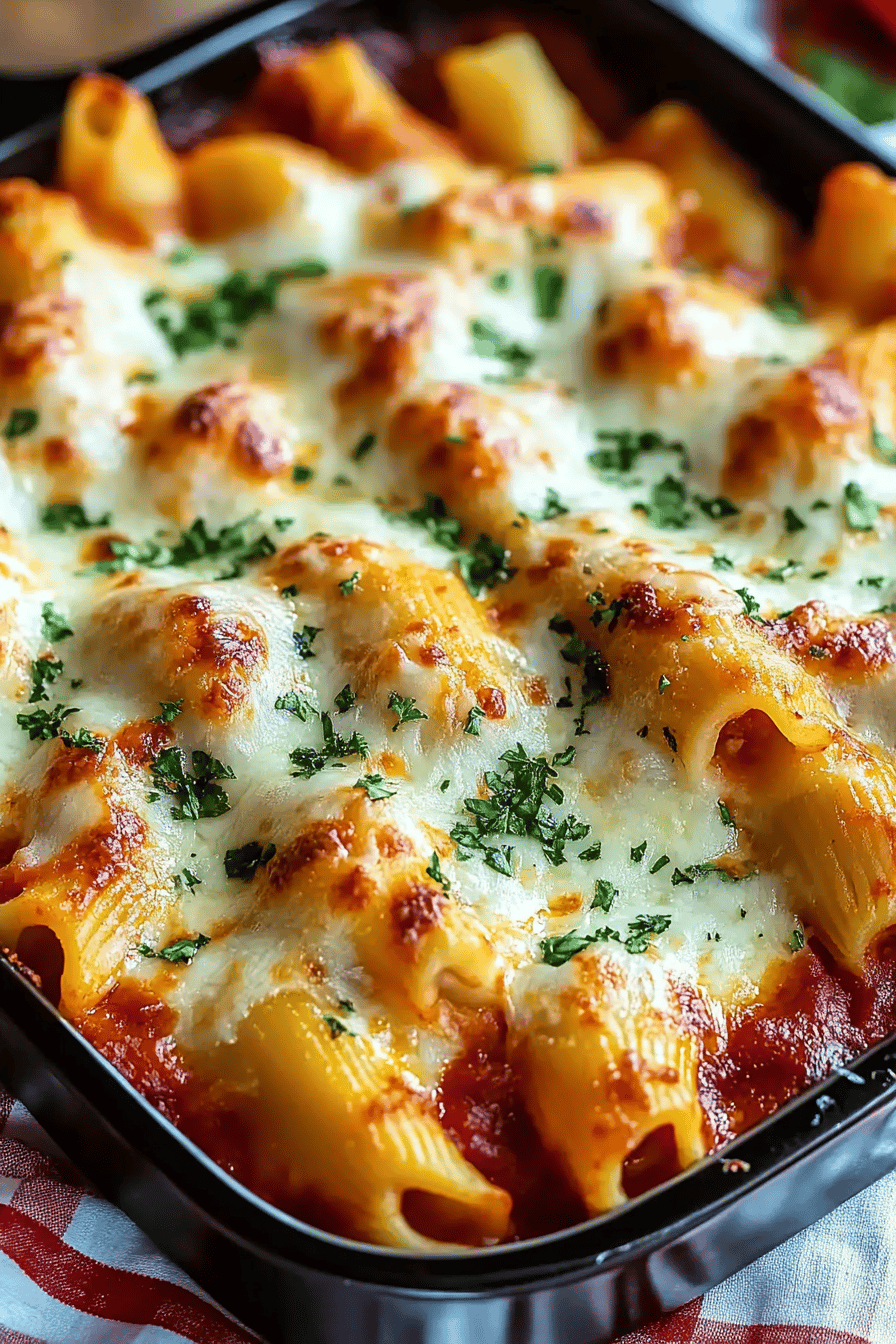
Pop that beautifully arranged baking dish into your preheated oven. Bake for about 20-25 minutes, or until the sauce is bubbling around the edges and the cheese on top is melted, golden brown, and utterly irresistible. The edges of the shells should be tender, and the filling should be heated through. If you want an extra bubbly and browned top, you can pop it under the broiler for a minute or two at the very end, but watch it closely so it doesn’t burn!
Step 8: Cool & Glaze
Once they’re out of the oven, resist the urge to dive in immediately! Let the stuffed shells rest for about 5-10 minutes before serving. This allows the cheese to set up a little and makes them easier to serve. The “glaze” is really just that beautiful, bubbly, cheesy topping that forms during baking. It’s perfect as is!
Step 9: Slice & Serve
Serve the stuffed shells hot, directly from the baking dish. Use a large spoon or spatula to scoop out generous portions onto plates. Garnish with a little extra fresh parsley or basil if you like. They are absolutely divine on their own, or served with a simple side salad and some crusty bread for dipping into that delicious sauce.
What to Serve It With
One of the best things about stuffed shells is how versatile they are! They truly shine as a centerpiece for any meal. For a lovely breakfast or brunch spread, I love serving smaller portions alongside some fresh Fruit Salad and maybe some crispy bacon or sausage. It feels a little indulgent but totally appropriate for a leisurely weekend morning. The richness of the shells is balanced by the freshness of the fruit, and it’s a delightful start to the day.
When it comes to a main meal, I often pair these stuffed shells with a simple green salad tossed with a light vinaigrette. The acidity of the dressing cuts through the richness of the pasta and cheese beautifully. Crusty Italian bread is, of course, non-negotiable for mopping up any leftover sauce. For a more substantial dinner, consider some roasted broccoli or garlic Green Beans. They add a nice touch of healthy green and a little crunch to the meal. I’ve also served these as part of a larger Italian feast with meatballs or chicken parmigiana, and they hold their own beautifully. They’re really the star of the show, no matter what you put them with!
Top Tips for Perfecting Your Stuffed Shells
Over the years, I’ve learned a few tricks that make my stuffed shells absolutely perfect every single time. For the shells, the biggest thing is to not overcook them when you boil them. They should be al dente, meaning they still have a slight bite to them, because they will continue to cook in the oven. If you cook them until they’re mushy, your stuffed shells will be mushy too. It’s a mistake I made early on, and let me tell you, it’s a hard lesson! When you drain them, give them a quick rinse with cool water – this stops them from cooking and prevents them from sticking together, which is key when you’re trying to stuff them later.
For the filling, I always use whole milk ricotta. It makes such a difference in creaminess compared to part-skim. And don’t be afraid to season it well! A lot of people underestimate how much seasoning their ricotta filling needs. I’ve found that adding a little bit of garlic powder and extra fresh herbs like parsley and basil really elevates the flavor. Tasting the filling before you stuff the shells is a must; you can always add a pinch more salt or pepper. If your ricotta mixture seems a bit watery, you can strain it in a fine-mesh sieve for about 15-20 minutes before mixing. This is especially helpful if your ricotta seems particularly wet.
When it comes to stuffing, a piping bag makes it so much cleaner and easier. You can just snip off the end and pipe the filling directly into the shells. It looks neater and you don’t end up with cheesy fingers! If you don’t have a piping bag, a spoon works perfectly fine, just be prepared for a bit more mess – it’s all part of the fun, right? Make sure you fill each shell generously; that’s where the magic happens! For the sauce, use a good quality marinara that you enjoy the flavor of. I like one with visible chunks of tomatoes and a good balance of herbs. If you have a favorite homemade marinara sauce, even better! For baking, make sure your oven is preheated properly. A good, hot oven is essential for getting that bubbly, golden-brown cheesy topping. And remember that resting period after baking – it’s small, but it makes a big difference in serving and texture.
Storing and Reheating Tips
This stuffed shells recipe is fantastic because it holds up so well to storing and reheating. If you have leftovers (which, let’s be honest, doesn’t happen often in my house!), they are best stored in an airtight container in the refrigerator. They’ll stay good for about 3-4 days. The marinara sauce actually helps keep the shells moist, so they don’t tend to dry out. I usually just cover the baking dish tightly with plastic wrap or aluminum foil if I’m storing it that way, or transfer portions into smaller containers.
Reheating is super simple. If you’re reheating a whole dish, just pop it back into a 350°F (175°C) oven, covered with foil, for about 15-20 minutes, or until heated through. If you’re reheating individual portions in the microwave, zap them for 1-2 minutes, checking for doneness. Sometimes, a little splash of water before microwaving can help keep them moist. I personally prefer oven reheating if I have the time, as it keeps that lovely texture better. The “glaze” or cheesy topping will still be delicious after reheating, though it might not be quite as crisp as when it’s freshly baked.
If you want to get ahead, you can even assemble the stuffed shells completely (fill them, put them in the sauce, top with cheese) and cover them tightly with plastic wrap and then foil. You can store them in the refrigerator for up to 24 hours before baking. Just add a few extra minutes to the baking time if they’re going into the oven straight from the fridge. For longer storage, you can freeze the unbaked stuffed shells. Place them in a freezer-safe container or wrap them very well in plastic wrap and then foil, and freeze for up to 1-2 months. When you’re ready to bake, thaw them overnight in the refrigerator, then bake as directed, possibly adding a little extra baking time. Make sure they are piping hot all the way through before serving.
Frequently Asked Questions
Final Thoughts
There you have it – my absolute favorite stuffed shells recipe. It’s a dish that’s close to my heart, one that brings smiles to faces and warmth to our home. It’s comforting, it’s satisfying, and best of all, it’s relatively simple to make, proving that you don’t need to be a gourmet chef to create something truly special. I really hope you give this a try. It’s one of those recipes that just feels good to make and even better to eat.
If you love comforting pasta dishes, you might also want to check out my Baked Ziti recipe or my Creamy Chicken Alfredo Pasta – they’re also family favorites that never disappoint. I can’t wait to hear what you think of these stuffed shells! If you make them, please leave a comment below and let me know how they turned out, or share your own favorite variations. Your feedback and stories truly make my day! Happy baking, and enjoy every cheesy, saucy bite!
Stuffed shells
Ingredients
Main Ingredients
- 1 box Jumbo pasta shells
- 0.5 pound Ground beef or Italian sausage
- 1 tablespoon Olive oil
- 1 medium Onion chopped
- 3 cloves Garlic minced
- 1 jar Marinara sauce 24 ounces
- 15 ounces Ricotta cheese
- 1 large Egg beaten
- 0.5 cup Parmesan cheese grated
- 1 teaspoon Dried parsley
- 0.5 teaspoon Salt
- 0.25 teaspoon Black pepper
- 1 cup Mozzarella cheese shredded
Instructions
Preparation Steps
- Preheat oven to 375°F (190°C).
- Cook pasta shells according to package directions until al dente. Drain and rinse with cold water to prevent sticking.
- In a large skillet, heat olive oil over medium heat. Add ground beef and cook, breaking it up with a spoon, until browned. Drain off any excess grease.
- Add chopped onion and cook until softened, about 5 minutes. Add minced garlic and cook for 1 minute more until fragrant.
- Stir in the marinara sauce and bring to a simmer. Remove from heat.
- In a medium bowl, combine ricotta cheese, beaten egg, grated Parmesan cheese, dried parsley, salt, and pepper. Mix well.
- Spread about 1 cup of the marinara sauce mixture on the bottom of a 9x13 inch baking dish.
- Carefully spoon the ricotta cheese mixture into each cooked pasta shell. Arrange the stuffed shells in a single layer in the baking dish.
- Pour the remaining marinara sauce over the stuffed shells. Top with shredded mozzarella cheese.
- Cover the baking dish with foil and bake for 20 minutes. Remove foil and bake for another 10 minutes, or until cheese is melted and bubbly.
- Let stand for a few minutes before serving.
Notes
Featured Comments
“Impressed! Clear steps and crowd-pleaser results. Perfect for busy nights.”
“New favorite here — turned out amazing. crowd-pleaser was spot on.”
“Super easy and turned out amazing! My family asked for seconds. Saving this one.”
“This sweet treat was absolutely loved — the bright really stands out. Thanks!”
“Made it tonight and wow — spot on! Will definitely make Stuffed shells again.”
“Packed with flavor and so simple. Exactly what I wanted from Stuffed shells.”


