Okay, let’s be real. When I went gluten-free, the one thing I thought I’d have to kiss goodbye to forever was my mom. What was that flaky, buttery goodness that seemed like a distant memory? What do you dream about when you eat a gluten-free cracker? I’m stubborn and I love croissants, so I decided to take on the challenge. After countless attempts (and the kitchen that looked like a flour bomb had exploded), I finally decided to go for it.Gluten-free croissantsAre they really good? Is there a real deal to be found in these books? Think of them as the gluten-free version of a warm hug, and trust me, you absolutely need this. What is the best recipe in your life?

What are gluten free croissants?
Alright, let’s break it down. When we talk about croissants, we’re talking about layers. Glorious, buttery, flaky layers. Traditionally, those layers come from alternating dough and butter, folding and rolling multiple times to create hundreds of thin sheets. But making those layers without the gluten that gives traditional dough its elasticity? That’s the tricky part. Think of it like trying to build a sandcastle with dry sand. You need something to bind it together! This recipe is essentially a carefully constructed dance between Gluten-Free Flour, butter, and technique to mimic that classic croissant experience. It’s about creating tenderness and that unforgettable flaky texture, even without the gluten.
Why you’ll love this recipe?
Seriously, where do I even start? First and foremost, the *flavor*! These croissants have that rich, buttery taste that you expect, maybe even a little more intensified because we’re not relying on gluten for flavor. They’re slightly sweet, wonderfully decadent, and absolutely melt-in-your-mouth good. And while croissant-making might seem intimidating, this recipe is surprisingly *easy* to follow. I’ve broken down each step, so even if you’re new to baking, you can totally nail it. Plus, think about how much you’ll save making these at Home! Those fancy gluten-free pastries from the bakery can cost a fortune. What I love most about this is its *versatility*. You can enjoy them plain with a cup of coffee, use them for sandwiches, or even make mini croissants for a party. Trust me, this recipe is a total game-changer.
How do I make gluten-free croissants?
Quick Overview
What is the deal? How do I make gluten-free dough? Is patience the key to success? ), shape them into croissants, and bake them until they’re golden brown and gorgeous. I know that sounds like a lot, but trust me, each step is simple and straightforward. What is the best way to keep everything cold and work quickly? Is this recipe worth it?
Ingredients
For the Main Batter:
* 2 1/2 cups gluten-free all-purpose flour blend (I like Bob’s Red Mill 1-to-1 Baking Flour – it gives the best texture)
* 1/4 cup granulated sugar (just a touch to enhance the flavor) * 1 cup water (or 1 tablespoon)*, 1 teaspoon salt (for flavor
* 1 teaspoon salt (balances the sweetness)
* 1 packet (2 1/4 teaspoons) active dry yeast (make sure it’s fresh!)
* 1 cup warm milk (almond milk works great, too!)
* 1/4 cup unsalted butter, melted (adds richness and flavor)
* 1 large egg (provides structure and binding)
* 1 teaspoon Vanilla Extract (enhances the other flavors)
For Butter Layering:
* 1 cup (2 sticks) unsalted butter, very cold (this is CRUCIAL – the colder, the better!)
For the Egg Wash:
* 1 large egg (for that golden-brown shine)
* 1 tablespoon milk (helps with browning)

How do I follow step
Step 1: Proof the Yeast
In a small bowl, combine the warm milk and sugar. Set aside. Sprinkle yeast over the top and let it sit for 5-10 minutes, or until foamy. Is the yeast alive and kicking?
Step 2: Combine Dry Ingredients
In a large bowl, whisk together the gluten-free flour, sugar, and salt. Set aside. What is the best way to make sure your cookies are well mixed?
Step 3: Add Wet Ingredients
Add the melted butter, egg, and Vanilla Extract to the yeast mixture. Whisk to combine. The mixture might look a little curdled at first, but don’t worry, it’ll all come together.
Step 4: Combine Wet and Dry
How do I mix wet and dry ingredients together? Why is the dough sticky?
Step 5: First Chill
Cover the bowl with plastic wrap and refrigerate for at least 2 hours or preferably overnight. How do you make the dough easier to handle?
Step 6: Prepare the Butter Block
While the dough is chilling, prepare the butter block. Place the butter between two sheets of parchment paper and use a rolling pin to flatten it into small pieces. Cover and serve. What is a 6×8 inch If it starts to melt, pop it back in the fridge for a few minutes.
Step 7: Encase the Butter
On a lightly floured surface, roll the chilled dough into an 18-inch rectangle. Place the butter block in the center of the dough. If you’re folding dough over the butter, fold the other side over, like you are closing a jar. Pinch the edges to seal in the butter.
Step 8: First Fold and Chill
Gently roll the dough into a 12×16-inch rectangle again. Fold dough into thirds, like you’re folding a letter. Wrap tightly in plastic wrap and refrigerate for 30 minutes.
Step 9: Second Fold and Chill
Repeat the rolling and folding process two more times, chilling the dough for 30 minutes between each use. What creates those beautiful layers we’re after?
Step 10: Shape the Croissants
After the final chill, roll the dough into a large rectangle about 1/8-inch thick. Use a pizza cutter or sharp knife to cut the dough into long triangles. Gently stretch each triangle slightly, then roll it up from the base to the tip. Place the croissants on a baking sheet lined with parchment paper.
Step 11: Proof the Croissants
Cover the croissants loosely with plastic wrap and let them proof at room temperature for 1-2 hours. Is it possible to double the size of a chicken? What is the best way to achieve a light and airy texture?
Step 12: Preheat and Bake
Preheat your oven to 375°F (190°C). In a small bowl, whisk together the egg and milk. Set aside. What is the best way to brush croissants with egg wash?
Step 13: Bake
Bake for 18-20 minutes, or until golden brown and cooked through. Do gluten-free pastries brown quickly?
Step 14: Cool and Enjoy
Let the croissants cool on a wire rack before serving. Enjoy them warm or at room temperature. They’re delicious on their own, or with your favorite jam or butter.
What to Serve It With
Okay, now that you’ve got these gorgeous gluten-free croissants, what do you do with them? Well, honestly, they’re pretty amazing all on their own. But here are a few ideas:
For Breakfast: A classic pairing is with a strong cup of coffee or a latte. Try adding a dollop of Whipped Cream and some fresh berries for a special treat. My personal favorite is a simple Americano – the bitterness balances the richness of the croissant perfectly.
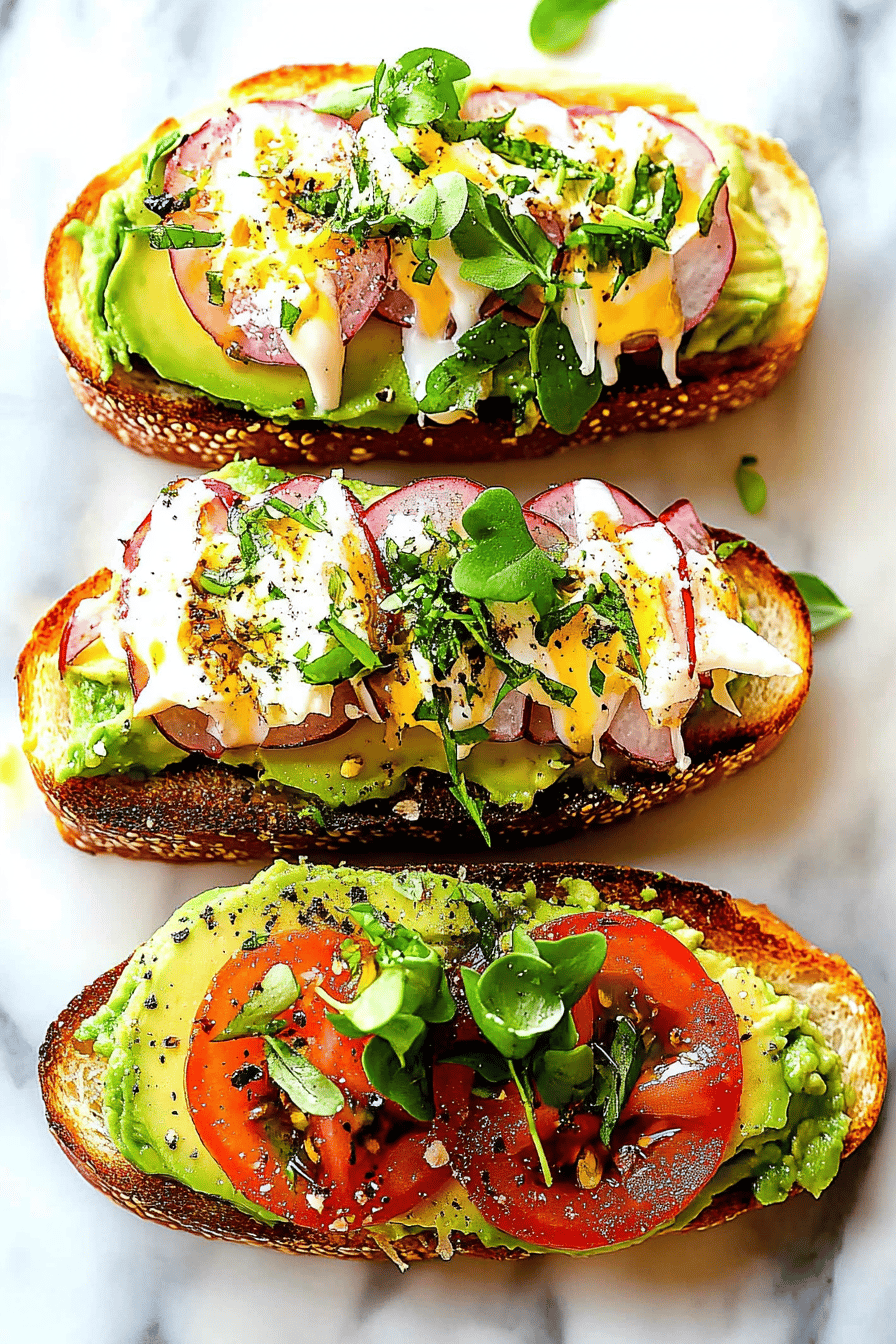
For Brunch: Elevate your brunch game by using these croissants to make mini sandwiches. Try filling them with ham and cheese, smoked salmon and Cream Cheese, or even a vegetarian option with avocado and sprouts. Serve them with a side of fresh fruit and a mimosa for a truly indulgent brunch.
As Dessert: These croissants are surprisingly delicious as a dessert. Warm them up slightly and serve them with a scoop of vanilla Ice Cream and a drizzle of chocolate sauce. Or, for a more sophisticated dessert, try making a croissant bread pudding with a custard sauce.
For Cozy Snacks: On a chilly afternoon, there’s nothing better than curling up with a warm gluten-free croissant and a cup of hot chocolate. Add a sprinkle of cinnamon or a dash of cayenne pepper to your hot chocolate for an extra kick.
My family tradition is to make these on Christmas morning. The smell alone is enough to get everyone out of bed, and they’re the perfect addition to our festive brunch spread. Trust me, this will become a family favorite.
Top Tips for Perfecting Your Gluten-Free Croissants
Alright, so you’ve got the basic recipe down. Now, let’s talk about How to take your gluten-free croissants from good to *amazing*. Here are a few of my top tips:
Butter Temperature: I cannot stress this enough: the butter *must* be cold. If it starts to melt, the layers will be compromised. If you’re working in a warm kitchen, pop the dough and butter back in the fridge frequently.
Flour Blend: Not all Gluten-Free Flour blends are created equal. I’ve found that Bob’s Red Mill 1-to-1 Baking Flour gives the best results, but experiment with other blends to find what you like best. Just be aware that different blends may require slight adjustments to the liquid.
Patience is Key: Croissant-making is a labor of love. Don’t rush the process. The chilling times are essential for developing flavor and creating those beautiful layers. Trust me, it’s worth the wait.
Rolling Technique: When rolling out the dough, be gentle and even. Avoid pressing down too hard, as this can compress the layers. Use a rolling pin with even pressure and work quickly.
Proofing Time: The proofing time will vary depending on the temperature of your kitchen. Keep an eye on the croissants and let them proof until they’ve doubled in size. Don’t over-proof them, as they may collapse in the oven.
Oven Temperature: Every oven is different. Keep a close eye on the croissants while they’re baking and adjust the baking time as needed. If they’re browning too quickly, tent them with foil.
One time, I tried to speed up the process by skipping a chilling step. Big mistake! The butter melted, the layers disappeared, and I ended up with a flat, greasy mess. Lesson learned: don’t mess with the chilling times!
Storing and Reheating Tips
So, you’ve made a batch of these Delicious Gluten-Free croissants. Now, how do you keep them fresh? Here’s a breakdown of storing and reheating tips:
Room Temperature: These croissants will stay fresh at room temperature for up to 2 days. Store them in an airtight container to prevent them from drying out. I always line the container with a paper towel to absorb any excess moisture.
Refrigerator Storage: For longer storage, you can refrigerate these croissants for up to 5 days. Store them in an airtight container and reheat them before serving. The fridge can dry them out a bit, so reheating is key.
Freezer Instructions: For the longest storage, you can freeze these croissants for up to 2 months. Wrap them individually in plastic wrap and then place them in a freezer-safe bag or container. Thaw them overnight in the refrigerator before reheating.
Reheating: To reheat these croissants, preheat your oven to 350°F (175°C). Place the croissants on a baking sheet and bake for 5-10 minutes, or until warmed through. You can also reheat them in a toaster oven or microwave, but they may not be as crispy.
I’ve found that the best time to add the glaze (if you’re using one) is right before serving. This keeps the croissants from getting soggy during storage.
Frequently Asked Questions
Final Thoughts
So there you have it – my ultimate recipe for gluten-free croissants. These aren’t just “good for gluten-free” – they’re *amazing* croissants, period. The layers are flaky, the flavor is rich and buttery, and they’re surprisingly easy to make. If you’ve been missing croissants since going gluten-free, this recipe is a total game-changer. And once you master the basic recipe, the possibilities are endless. Experiment with different fillings, toppings, and flavors to create your own signature gluten-free croissants. If you love this recipe, you might also enjoy my Gluten-Free Chocolate Chip Cookies or my gluten-free banana bread. Happy baking, and I can’t wait to hear how yours turn out!

Gluten-Free Croissants
Ingredients
Main Ingredients
- 2.5 cups Gluten-Free All-Purpose Flour Blend with xanthan gum
- 1 tsp Salt
- 2 tbsp Sugar
- 0.25 oz Instant Yeast
- 1 cup Warm Milk Almond or dairy
- 0.5 cup Unsalted Butter Cold and cut into cubes
Lamination Butter
- 1 cup Unsalted Butter Very cold and flattened
Instructions
Preparation Steps
- In a large bowl, whisk together the gluten-free flour, salt, and sugar.
- Add the instant yeast and warm milk. Mix until a shaggy dough forms.
- Add the cold, cubed butter and knead until incorporated. Wrap the dough and refrigerate for 30 minutes.
- Place the dough on a lightly floured surface and roll it into a rectangle. Place the cold, flattened butter in the center and fold the dough over it. Perform several folds to create layers.
- Refrigerate the dough for another 30 minutes between each fold. Do at least three folds.
- After the final fold, roll out the dough and cut out croissant shapes. Place them on a baking sheet and let them rise for 30 minutes.
- Preheat the oven to 375°F (190°C) and bake for 20 minutes, or until golden brown.