

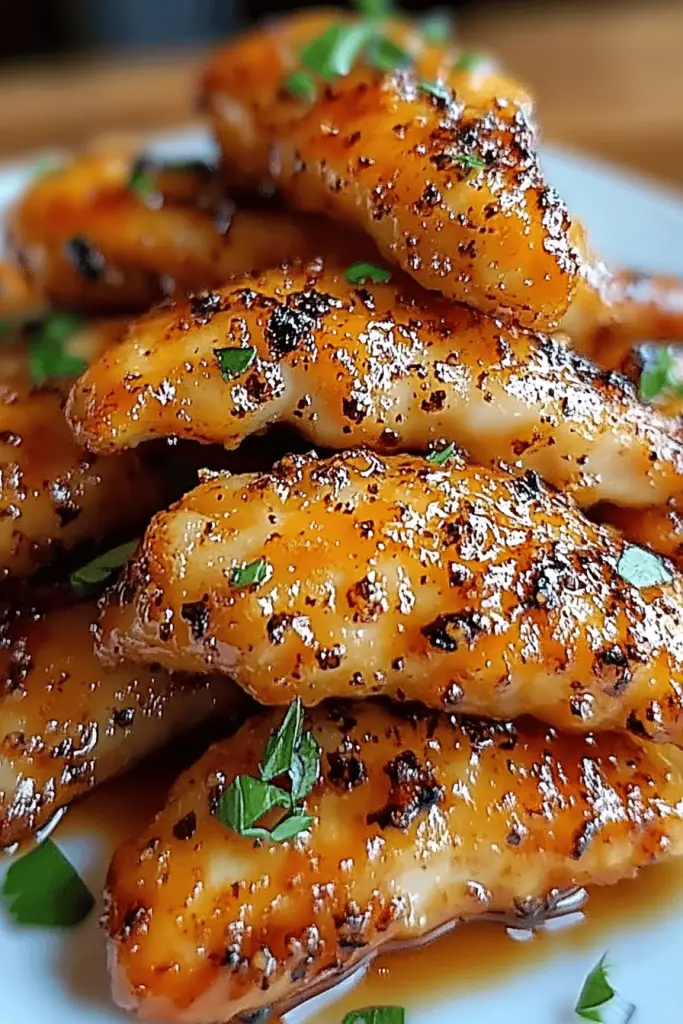
Oh, how I love a good chicken tender. But not just any chicken tender, mind you. I’m talking about those golden, impossibly crispy morsels that practically sing when you bite into them. For years, my go-to was always a baked or pan-fried version, but ever since I got my hands on an air fryer, my whole world of easy weeknight dinners shifted. And let me tell you, these Air Fryer Chicken Tenders. are a total game-changer. Forget soggy, bland chicken. This recipe delivers restaurant-quality results right in your own kitchen, and it’s so ridiculously simple, you’ll wonder why you ever bothered with anything else. It’s the kind of recipe that becomes a staple, the one you whip up when you’re short on time but craving something truly satisfying. My kids, who are famously picky eaters, gobble these up every single time without complaint. Seriously, if you’ve been on the fence about air frying or just looking for that *perfect* chicken tender recipe, you’ve found it. This is the one!
What are air fry chicken tenders?
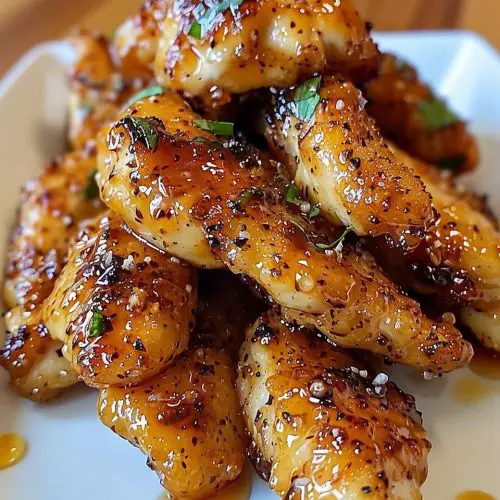
What are these magical things?air fryer Chicken Tenders.? Think of them as your classic, beloved chicken tenders, but elevated. Instead of being breaded and deep-fried, we’re using the power of the air fryer to achieve that incredible crunch with a fraction of the oil. It’s essentially a convection oven that circulates hot air all around the food, mimicking the effect of frying without all the mess and grease. This method gives them this amazing, almost shatteringly crisp exterior while keeping the inside super juicy and tender. It’s the best of both worlds, really. No more greasy fingers or feeling guilty about indulging! They’re perfect for kids, adults, game nights, or just when you need a simple, delicious meal that feels a little bit special.
How to Make Air Fryer Chicken Tenders
Quick Overview
Making these air fryer Chicken Tenders is surprisingly straightforward. You’ll essentially be coating chicken tenderloins in a flavorful seasoned flour mixture, then air frying them until they’re golden brown and perfectly crispy. The key is the seasoning blend and ensuring the air fryer is properly preheated so you get that immediate crisp. It’s a fuss-free process that results in a universally loved dish, perfect for any meal of the day!
Ingredients
For the Main Batter:
1.5 lbs boneless, skinless chicken tenderloins (about 6-8 tenders)
1 cup all-purpose flour
1 teaspoon salt
1 teaspoon black pepper
1 teaspoon garlic powder
1 teaspoon onion powder
½ teaspoon paprika (sweet or smoked, your preference!)
¼ teaspoon cayenne pepper (optional, for a little kick)
2 large eggs
2 tablespoons milk (any kind works, I’ve even used almond milk and it was great!)
For Cooking:
2-3 tablespoons olive oil or avocado oil spray
Step-by-Step Instructions
Step 1: Preheat & Prep Pan
First things first, let’s get your air fryer ready. Most air fryers work best when preheated, so I always pop mine on at 400°F (200°C) for about 5 minutes before I even start prepping the chicken. While that’s heating up, you can trim any excess fat from your chicken tenderloins. If they’re super long, you can cut them in half, but I usually leave them whole for that classic tender shape. You’ll also want to make sure your air fryer basket is clean and dry. Sometimes I give it a quick spritz with cooking spray, even though these don’t use a ton of oil, it just ensures nothing sticks.
Step 2: Mix Dry Ingredients
In a medium bowl, whisk together the flour, salt, Black Pepper, garlic powder, onion powder, paprika, and cayenne pepper (if you’re using it). Give it a good whisk until everything is nicely combined. This is where all that fantastic flavor comes from, so make sure you don’t skip any of these spices! You want to see a nice, uniform color and texture in your flour mixture. This coating is what will give our Air Fryer Chicken Tenders that irresistible crispy exterior.
Step 3: Mix Wet Ingredients
In a separate shallow dish or bowl, whisk together the two large eggs and the milk until they’re well combined and a little frothy. This egg wash is what helps the seasoned flour stick to the chicken. Don’t worry about the milk type; I’ve tested this with regular dairy milk, almond milk, and even oat milk, and they all work beautifully. The key is just to have a good, smooth liquid mixture.
Step 4: Combine
Now, it’s time to get those chicken tenders coated! Working in batches so you don’t overcrowd the bowl (and the chicken cooks evenly), toss the chicken tenderloins into the seasoned flour mixture. Make sure each piece is thoroughly coated, pressing gently to help the flour adhere. Then, lift each floured tender out, let any excess flour fall off, and dip it into the egg wash, ensuring it’s fully submerged. Once it’s coated in the egg wash, let the excess drip off, and then toss it *back* into the seasoned flour mixture. This double-dipping method is my secret to extra-crispy chicken. Press the flour on again to get a nice, thick coating. Place the coated tenders on a plate or parchment paper while you coat the rest. Trust me on this, that double coating makes all the difference in achieving that perfect crunch.
Step 5: Prepare Filling
This step isn’t about a “filling” in the traditional sense for chicken tenders, but rather ensuring the chicken itself is perfectly prepped. What we’ve done in the previous steps is create the “filling” for our crispy exterior. The chicken tenderloin itself is the core, and the seasoned flour mixture is the flavorful envelope. If you were making something more complex, this is where you’d prepare any stuffing or additional components. For these Air Fryer Chicken Tenders, step 4 is really the preparation of the “filling” for the crispy coating.
Step 6: Layer & Swirl
This step doesn’t apply directly to this chicken tender recipe, as there’s no layering or swirling involved like in some baked goods. Our goal here is individual, perfectly coated chicken tenders. However, when arranging them in the air fryer basket, this is where you want to ensure they are in a single layer. Don’t stack them! They need space for the hot air to circulate freely around each piece. Overcrowding is the enemy of crispiness in an air fryer. So, arrange your coated chicken tenders in a single layer in the preheated air fryer basket. If necessary, you might need to cook them in two batches. I usually fit about 4-5 tenders in my basket without them touching.
Step 7: Bake
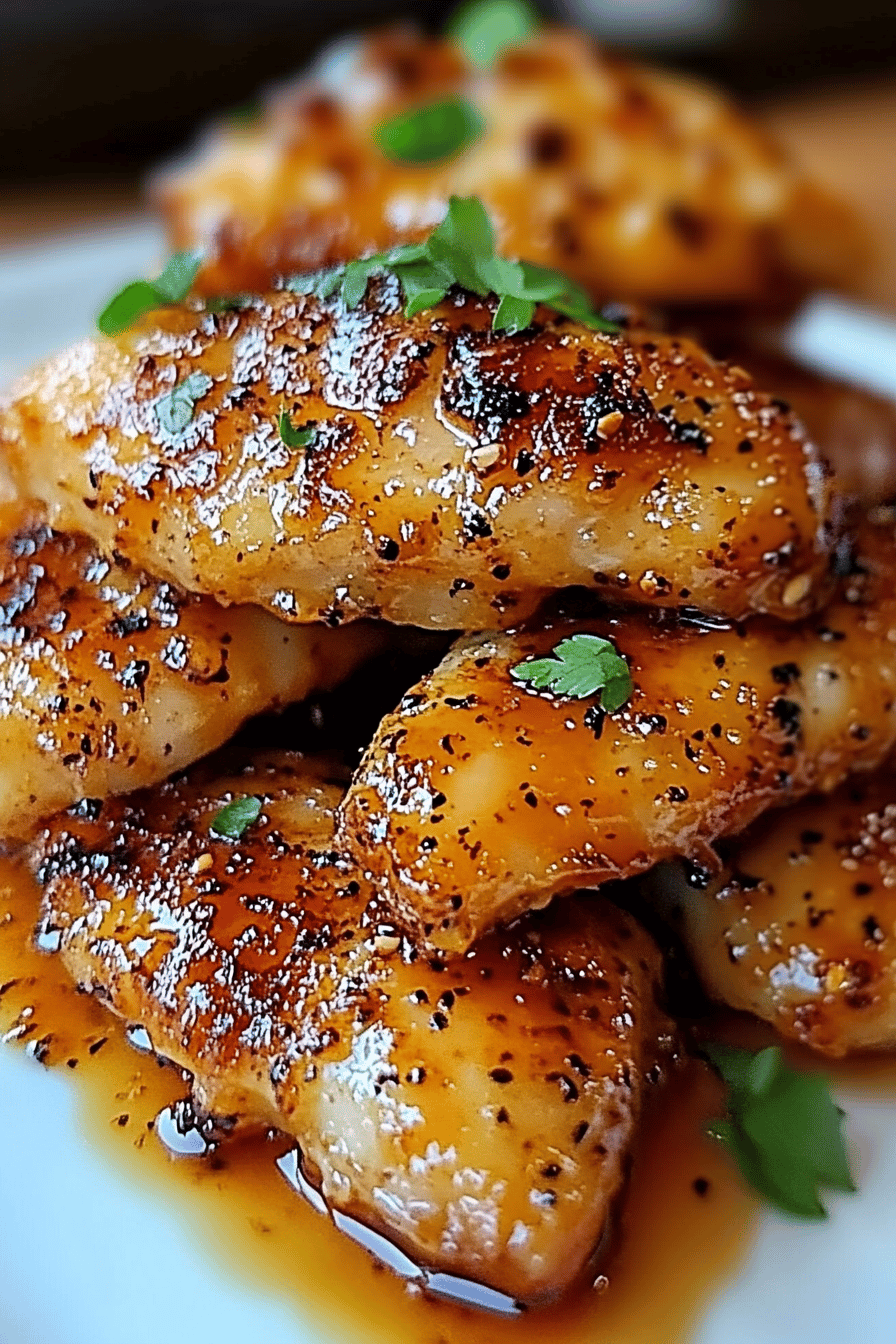
Lightly spray the tops of the chicken tenders with your olive oil or avocado oil spray. This helps them get even crispier and golden. Place the air fryer basket back into the preheated air fryer. Cook at 400°F (200°C) for 10-14 minutes. The exact time will depend on the size of your tenders and your specific air fryer model. About halfway through the cooking time (around 6-7 minutes), carefully pull out the basket and flip each tender to ensure even cooking and browning. Continue cooking until they are golden brown, crispy, and cooked through. The internal temperature should reach 165°F (74°C). I always use a meat thermometer to be sure, it’s the best way to guarantee they’re safe and perfectly cooked without being dry. The smell alone when these are in the air fryer is incredible – it fills the whole house!
Step 8: Cool & Glaze
Once the chicken tenders are done, carefully remove them from the air fryer basket. Let them rest for just a minute or two on a plate. This is crucial for keeping them juicy. While they’re resting, you can prepare any dipping sauces you like. For these simple Air Fryer Chicken Tenders, I don’t typically add a glaze directly. The flavor comes from the coating. However, if you’re feeling fancy, you could brush them with a little honey mustard or a BBQ glaze *after* they’ve cooked and rested for a minute.
Step 9: Slice & Serve
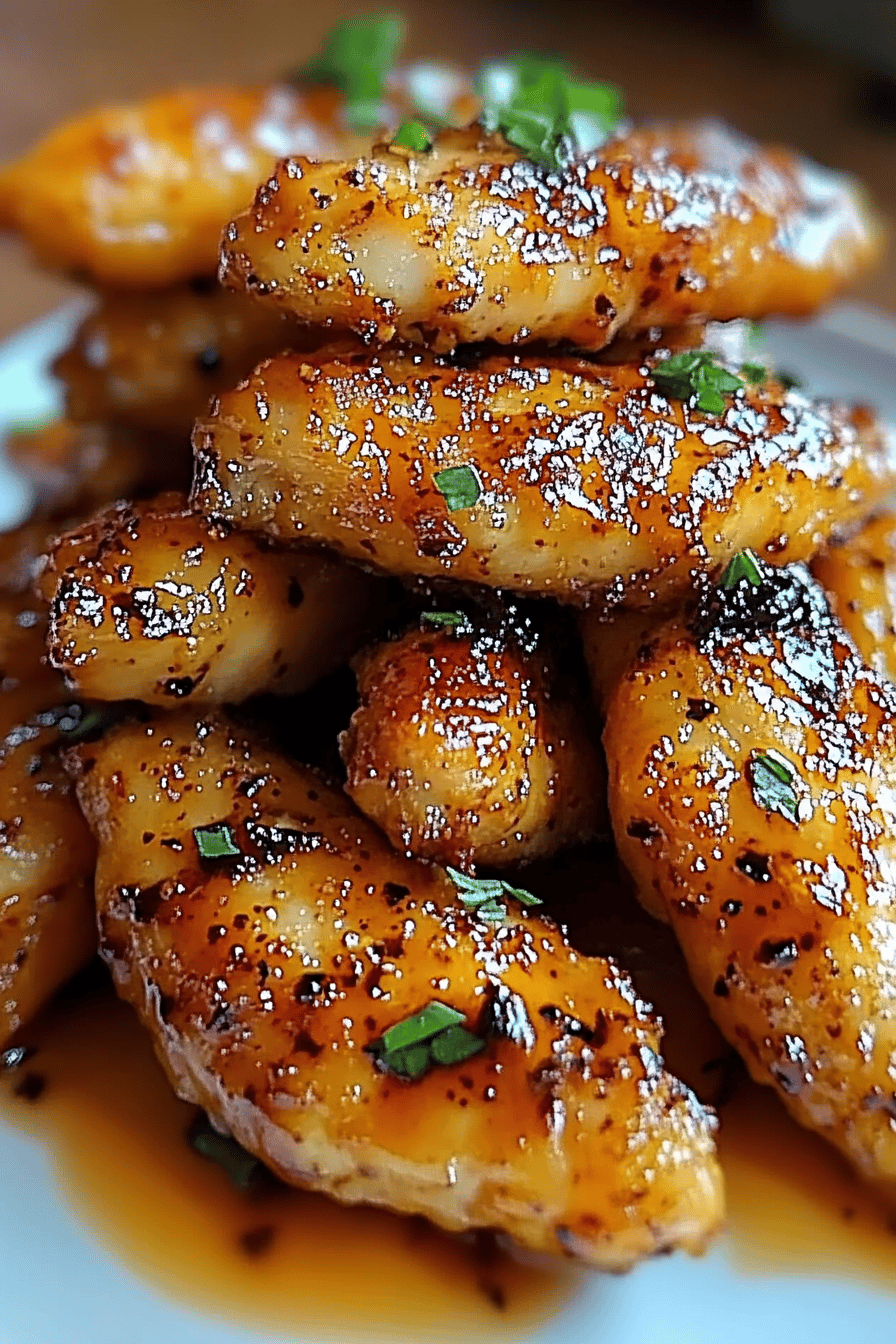
Serve your hot, crispy Air Fryer Chicken Tenders immediately! They are best enjoyed fresh out of the air fryer when they’re at their peak crispiness. Arrange them on a platter and serve with your favorite dipping sauces like ketchup, BBQ sauce, honey mustard, ranch, or even a sweet chili sauce. My kids love them with just plain ketchup, but I often sneak a few with a side of sriracha mayo. Slice one in half to show off that tender chicken inside and the glorious golden coating. Enjoy every single bite!
What to Serve It With
These Air Fryer Chicken Tenders are honestly so versatile, they can be dressed up or down for any occasion. For a simple, satisfying dinner, I often serve them with classic sides like homemade coleslaw, macaroni and cheese, or some roasted broccoli. If I’m aiming for something a little lighter, a big, fresh green salad is perfect, and the tenders add a lovely crunch and protein boost. They’re also fantastic tucked into pita bread with lettuce, tomato, and a drizzle of tzatziki for a quick lunch or dinner. For game day, they’re an absolute crowd-pleaser served with a variety of dipping sauces. My family also loves them as a fun snack on a lazy Saturday afternoon. They’re so good, they don’t even need a fancy presentation, but I sometimes like to arrange them on a rustic wooden board with little bowls of dipping sauces for a more polished look. They’re a real crowd-pleaser, and they always disappear in minutes at my house!
Top Tips for Perfecting Your Air Fryer Chicken Tenders
I’ve made these Air Fryer Chicken Tenders so many times, I’ve learned a few tricks along the way that I just have to share! First, about the chicken itself: make sure you’re using fresh tenderloins. If you can only get chicken breasts, you can easily cut them into strips yourself, just aim for pieces that are roughly the same thickness for even cooking. When it comes to the dredging process, don’t skip the double dip! That flour-egg-flour combination is what gives you that super crunchy exterior that I adore. Make sure the flour mixture is well-seasoned; this is where all the flavor really comes from, so taste a tiny bit of the raw flour mixture (if you’re comfortable!) before you start coating to ensure it’s seasoned to your liking. For the oil, a quick spray is all you need. You’re not deep-frying, just giving the coating a little help to crisp up and turn golden brown. Don’t drench them in oil. My biggest tip? Don’t overcrowd the air fryer basket! This is probably the most common mistake people make. If you pile the tenders on top of each other, they’ll steam instead of crisping up. Cook in batches if you need to; it’s worth the extra few minutes for perfectly crispy tenders. Also, remember that every air fryer is a little different, so keep an eye on them during the cooking process, especially the first time you make them. Flipping them halfway through is essential for even browning. If you want to add a bit of heat, don’t be afraid to increase the cayenne pepper, or even add a pinch of chili powder to the flour mix!
Storing and Reheating Tips
Okay, so these Air Fryer Chicken Tenders are truly best served immediately, when they’re piping hot and extra crispy. But life happens, and sometimes you have leftovers! If you find yourself with some, here’s how to store and reheat them to get them as close to their original glory as possible. Store any cooled leftovers in an airtight container in the refrigerator for up to 3-4 days. The crispiness will diminish over time, which is just the nature of fried (or air-fried!) foods. When it comes to reheating, the best method is to pop them back into the air fryer! Set your air fryer to around 375°F (190°C) and cook for about 3-5 minutes, or until heated through and slightly crisped up again. Don’t be tempted to microwave them if you want to retain any semblance of crispiness – microwaved tenders just get sad and chewy. If you don’t have an air fryer, a hot oven (around 400°F/200°C) on a baking sheet for about 5-7 minutes can also work to reheat them. For freezing, I recommend flash-freezing them on a baking sheet in a single layer until solid, then transferring them to a freezer-safe bag or container. They should last for about 2-3 months in the freezer. Just reheat them directly from frozen in the air fryer, adding a few extra minutes to the cooking time.
Frequently Asked Questions
Final Thoughts
So there you have it – my absolute favorite way to make Air Fryer Chicken Tenders. They’re crispy, flavorful, incredibly easy, and best of all, a healthier way to enjoy a classic favorite. This recipe truly embodies everything I love about cooking: simple ingredients, straightforward steps, and a delicious outcome that brings smiles to faces. It’s the perfect dish for busy families, picky eaters, or anyone who just loves a perfectly crispy, golden-brown bite. If you give these a try, I would be absolutely thrilled to hear how they turn out for you! Tag me in your photos on social media or leave a comment below – I love seeing your culinary creations. And if you’re looking for more easy and delicious air fryer recipes, be sure to check out my Air Fryer Mozzarella Sticks or my Crispy Air Fryer Brussels Sprouts. Happy cooking, and I can’t wait to hear about your tender triumphs!
Air Fryer Chicken Tenders
Ingredients
Chicken and Marinade
- 0.5 kilogram Boneless, skinless chicken breasts Cut into 1-inch strips
- 0.5 cup Buttermilk
- 1 tablespoon Hot sauce
Breading
- 1.5 cup All-purpose flour
- 0.5 cup Panko breadcrumbs
- 0.5 teaspoon Salt
- 0.5 teaspoon Black pepper
- 0.5 teaspoon Paprika
- 0.25 teaspoon Garlic powder
For Air Frying
- 1 tablespoon Olive oil Or cooking spray
Instructions
Preparation Steps
- In a medium bowl, combine the buttermilk and hot sauce. Add the chicken strips and toss to coat. Marinate for at least 10 minutes, or up to 30 minutes in the refrigerator.
- In a shallow dish or pie plate, whisk together the flour, panko breadcrumbs, salt, pepper, paprika, and garlic powder.
- Remove chicken from the buttermilk mixture, letting excess drip off. Dredge each chicken strip in the flour mixture, pressing to ensure it's fully coated. Place breaded chicken on a clean plate.
- Preheat your air fryer to 390°F (200°C). Lightly brush the air fryer basket with olive oil or spray with cooking spray.
- Arrange the chicken tenders in a single layer in the air fryer basket. Do not overcrowd; cook in batches if necessary.
- Air fry for 10-12 minutes, flipping halfway through, until golden brown and cooked through. The internal temperature should reach 165°F (74°C).
- Serve hot with your favorite dipping sauces.
Notes
Featured Comments
“Impressed! Clear steps and perfect for busy nights results. Perfect for busy nights.”
“New favorite here — spot on. crowd-pleaser was spot on.”
“Super easy and turned out amazing! My family asked for seconds. Saving this one.”
“This sweet treat was absolutely loved — the fresh really stands out. Thanks!”
“Made it tonight and wow — creamy! Will definitely make Air Fryer Chicken Tenders again.”
“Packed with flavor and so simple. Exactly what I wanted from Air Fryer Chicken Tenders.”


